Related Topics
[AI Router] AdGuard Home Installation & Setup Guide
To provide you more detailed instruction, you can also click ASUS Youtube video link below to know more about [How to Install AdGuard in AI Router]
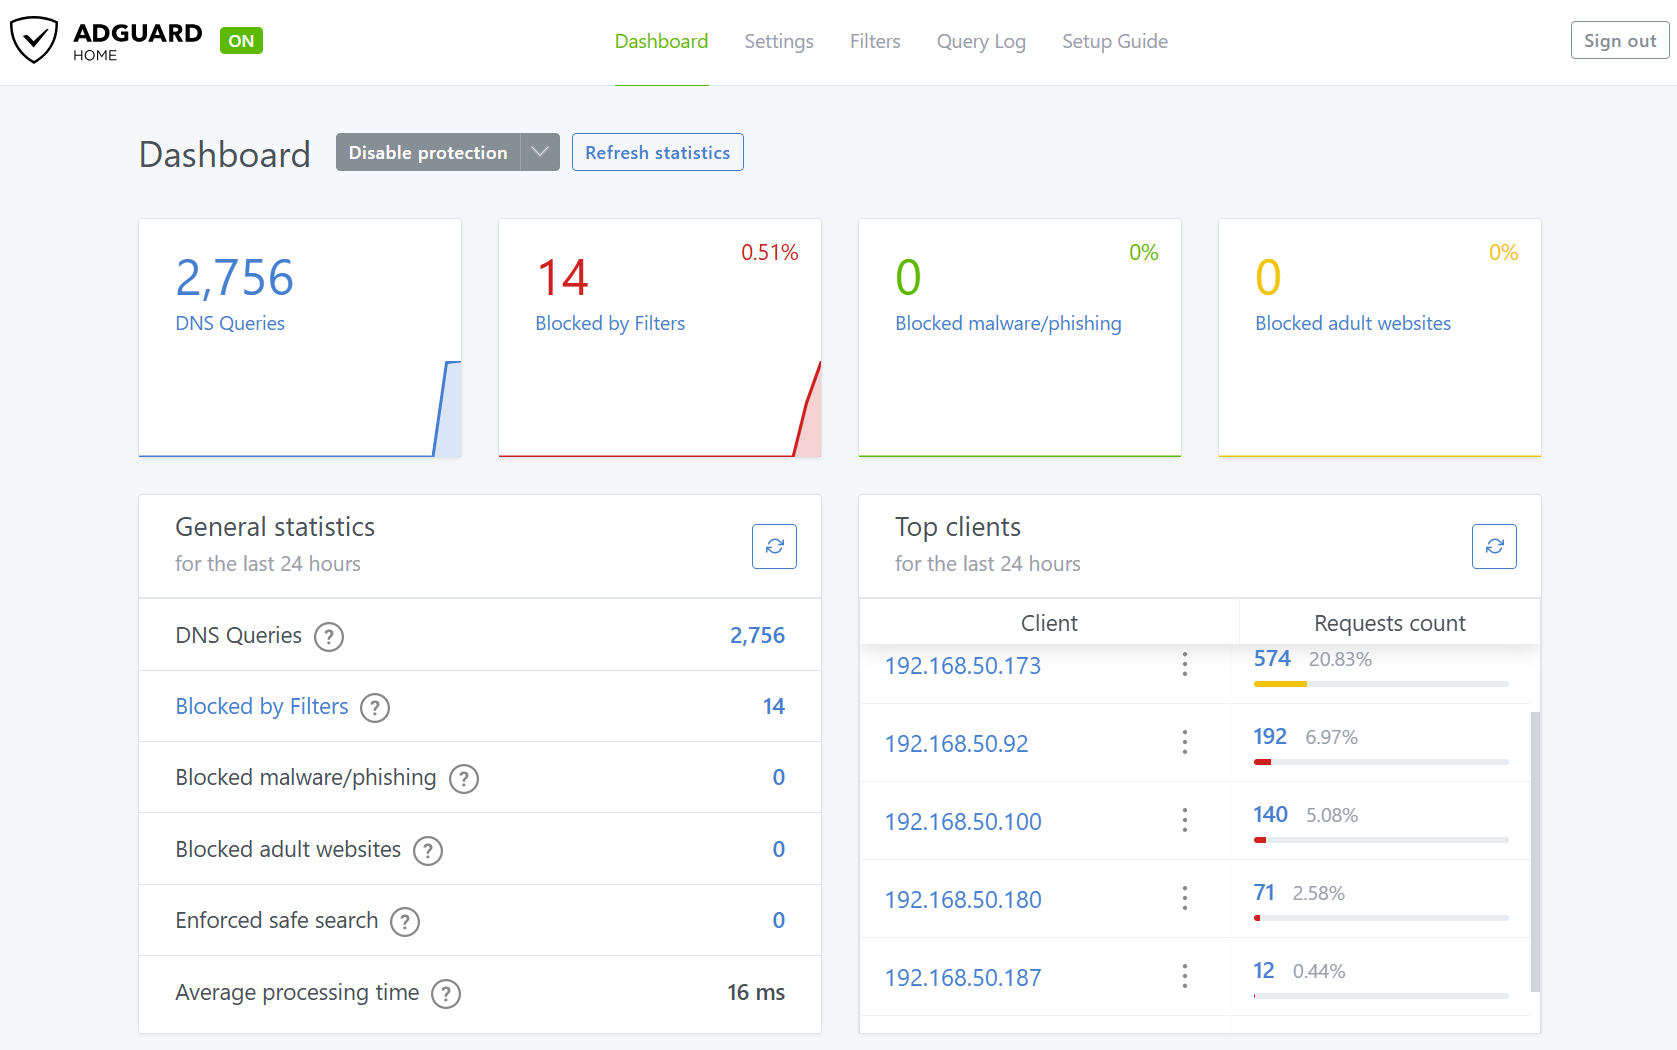
After completing this guide, you'll have a DNS server running on your AI router that can block ads and help keep your family safe online. Below are screenshots of the AdGuard Home dashboard and filtering settings you’ll see once setup is complete:
Before you begin, make sure you can access the web interface (https://www.asusrouter.com:8443) in your browser.
1. Installing AdGuard Home
In this chapter, we’ll get AdGuard Home up and running on your AI Board.
1.1 Log in to AI Board and Find AdGuard Home
Log in to the AI Board web interface. Once inside, look for the AdGuard Home section and click the [Install] button. The system will handle the installation for you.

1.2 Note Your AI Board Hostname
During installation, look for the hostname (e.g., aiboard-anpu.local) shown on the settings card at the bottom of the screen. You’ll use this address to connect to AdGuard Home later, so write it down.
2. Configuring AdGuard Home
Now let’s get AdGuard Home working for your network.
2.1 Connect to AdGuard Home
After installation, open your browser and enter:
http://<your AI board host name>:3000
Replace <your AI board host name> with the hostname you noted earlier.
For example, if your hostname is aiboard-anpu.local,the address is:http://aiboard-anpu.local:3000
2.2 Initial Setup Wizard
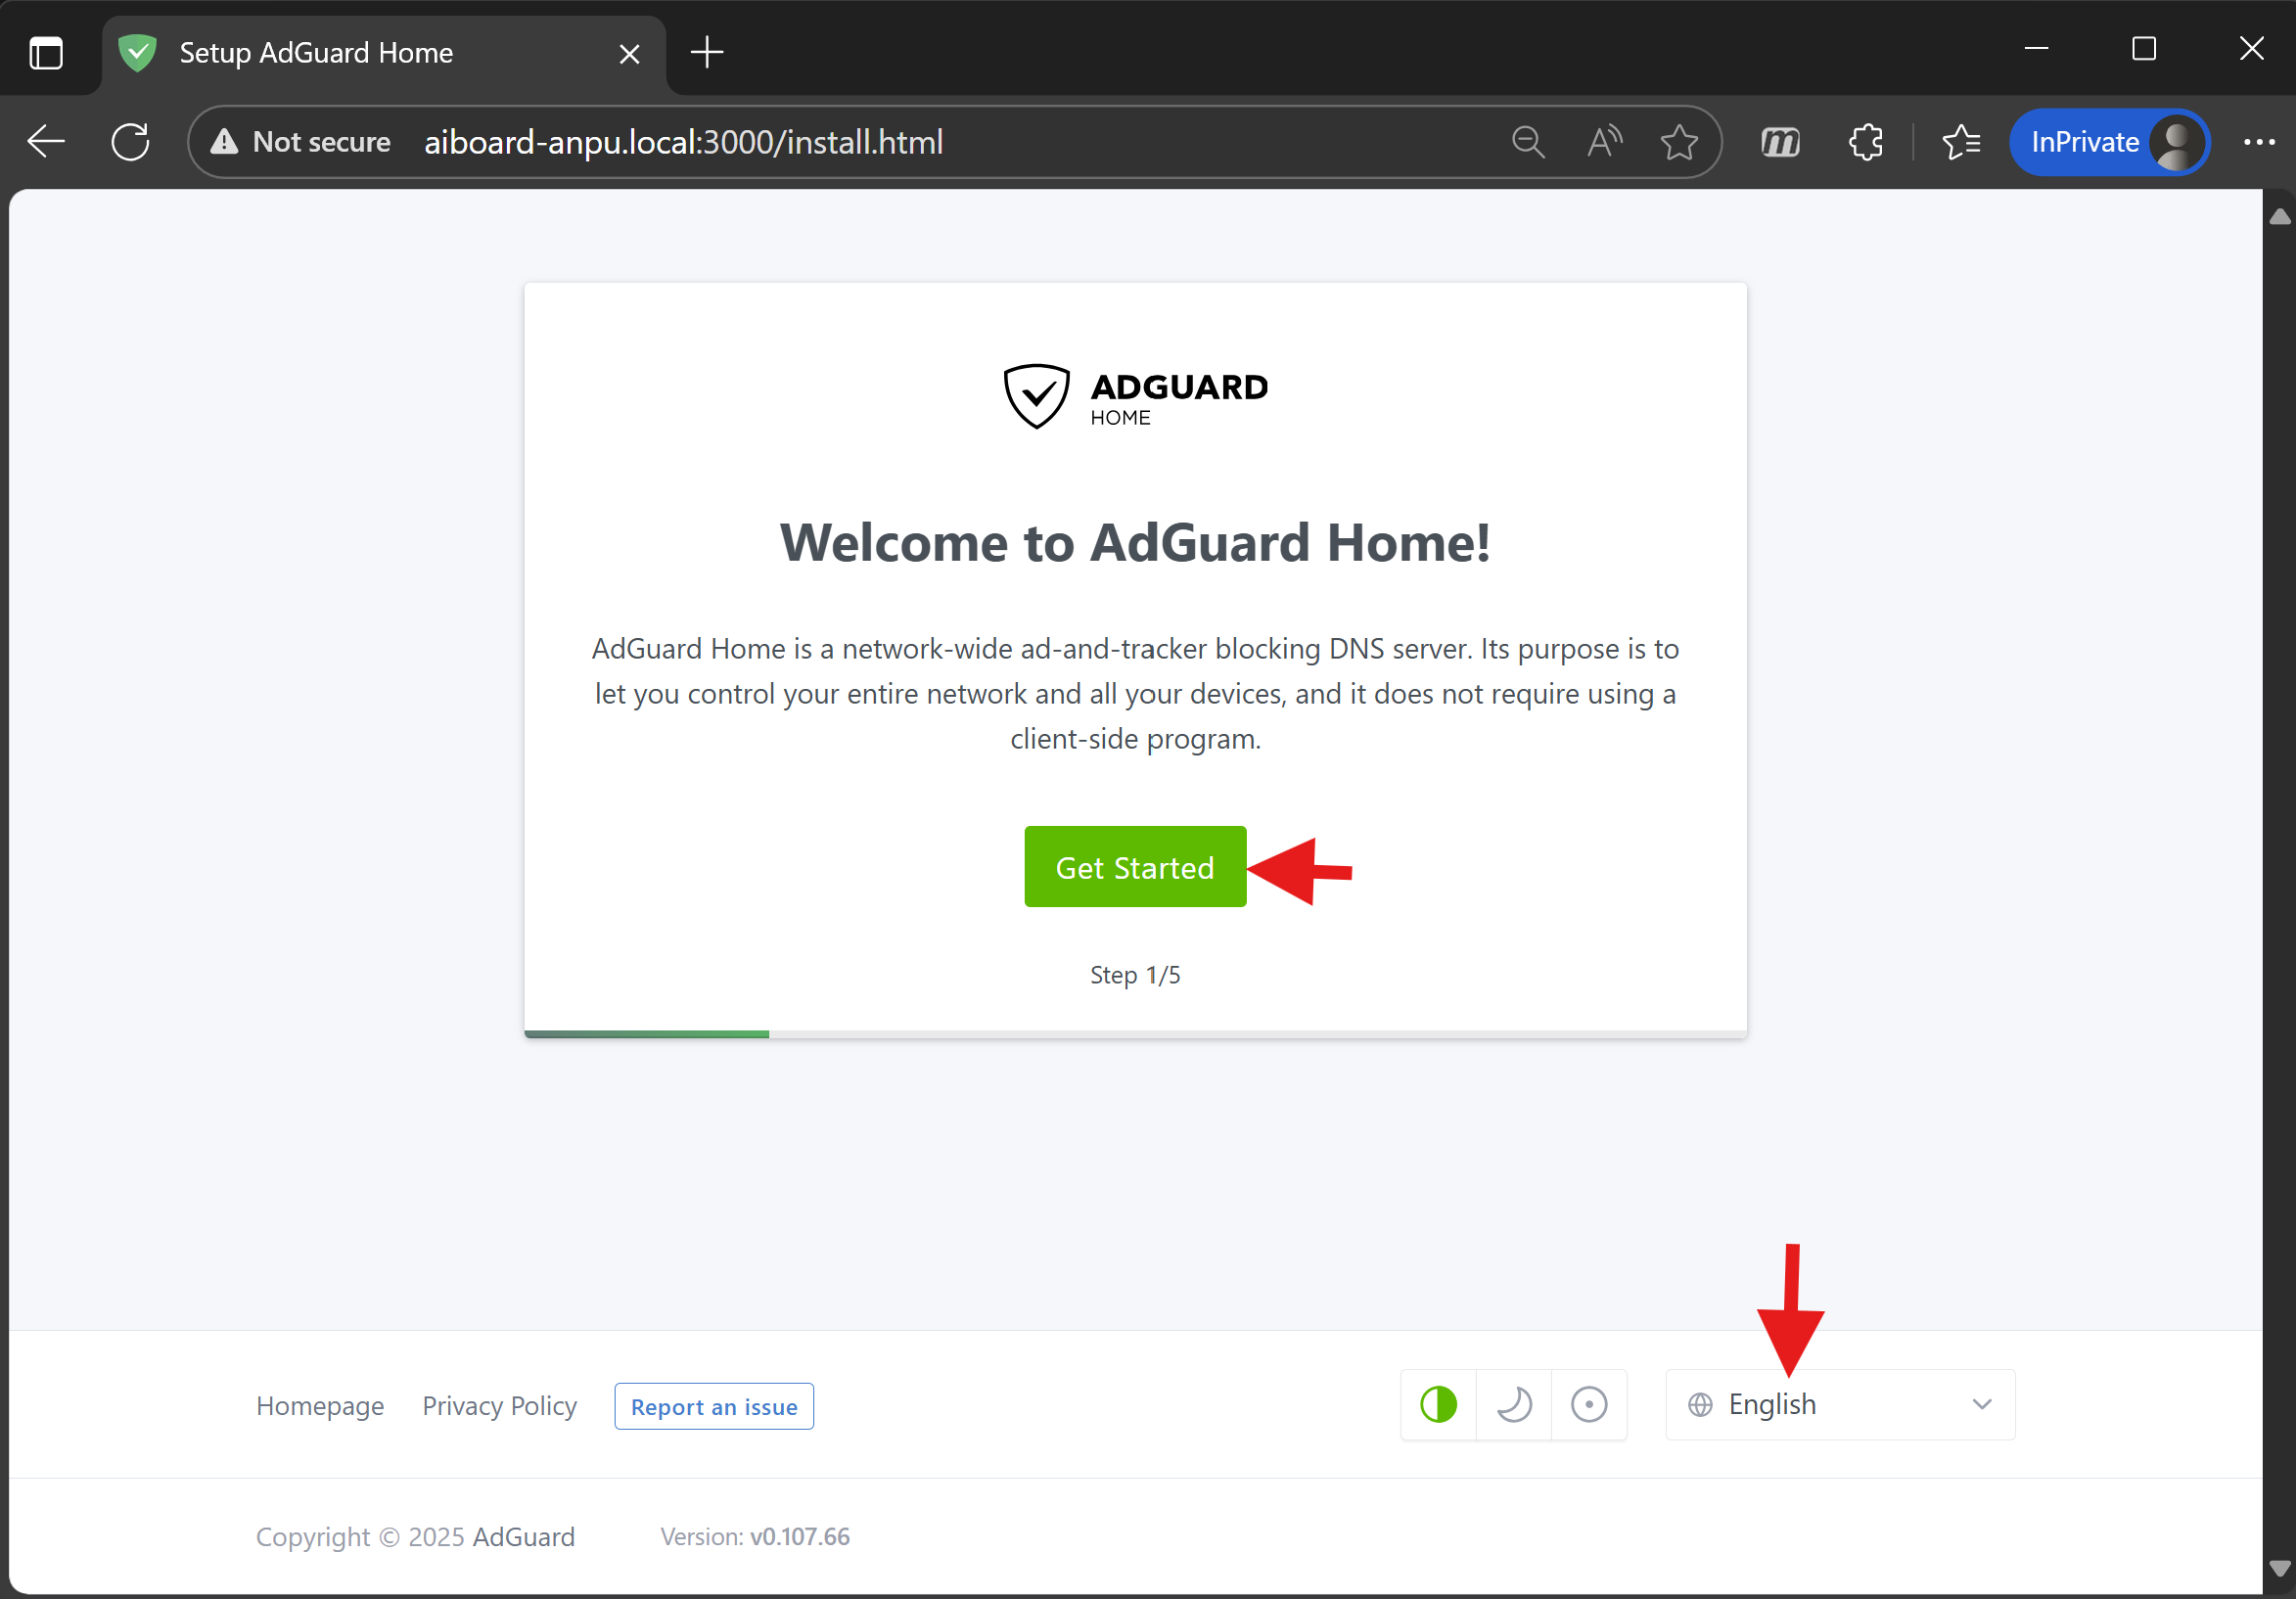
The first time you visit, you’ll be guided through a few basic steps:
1. Choose Language and Start
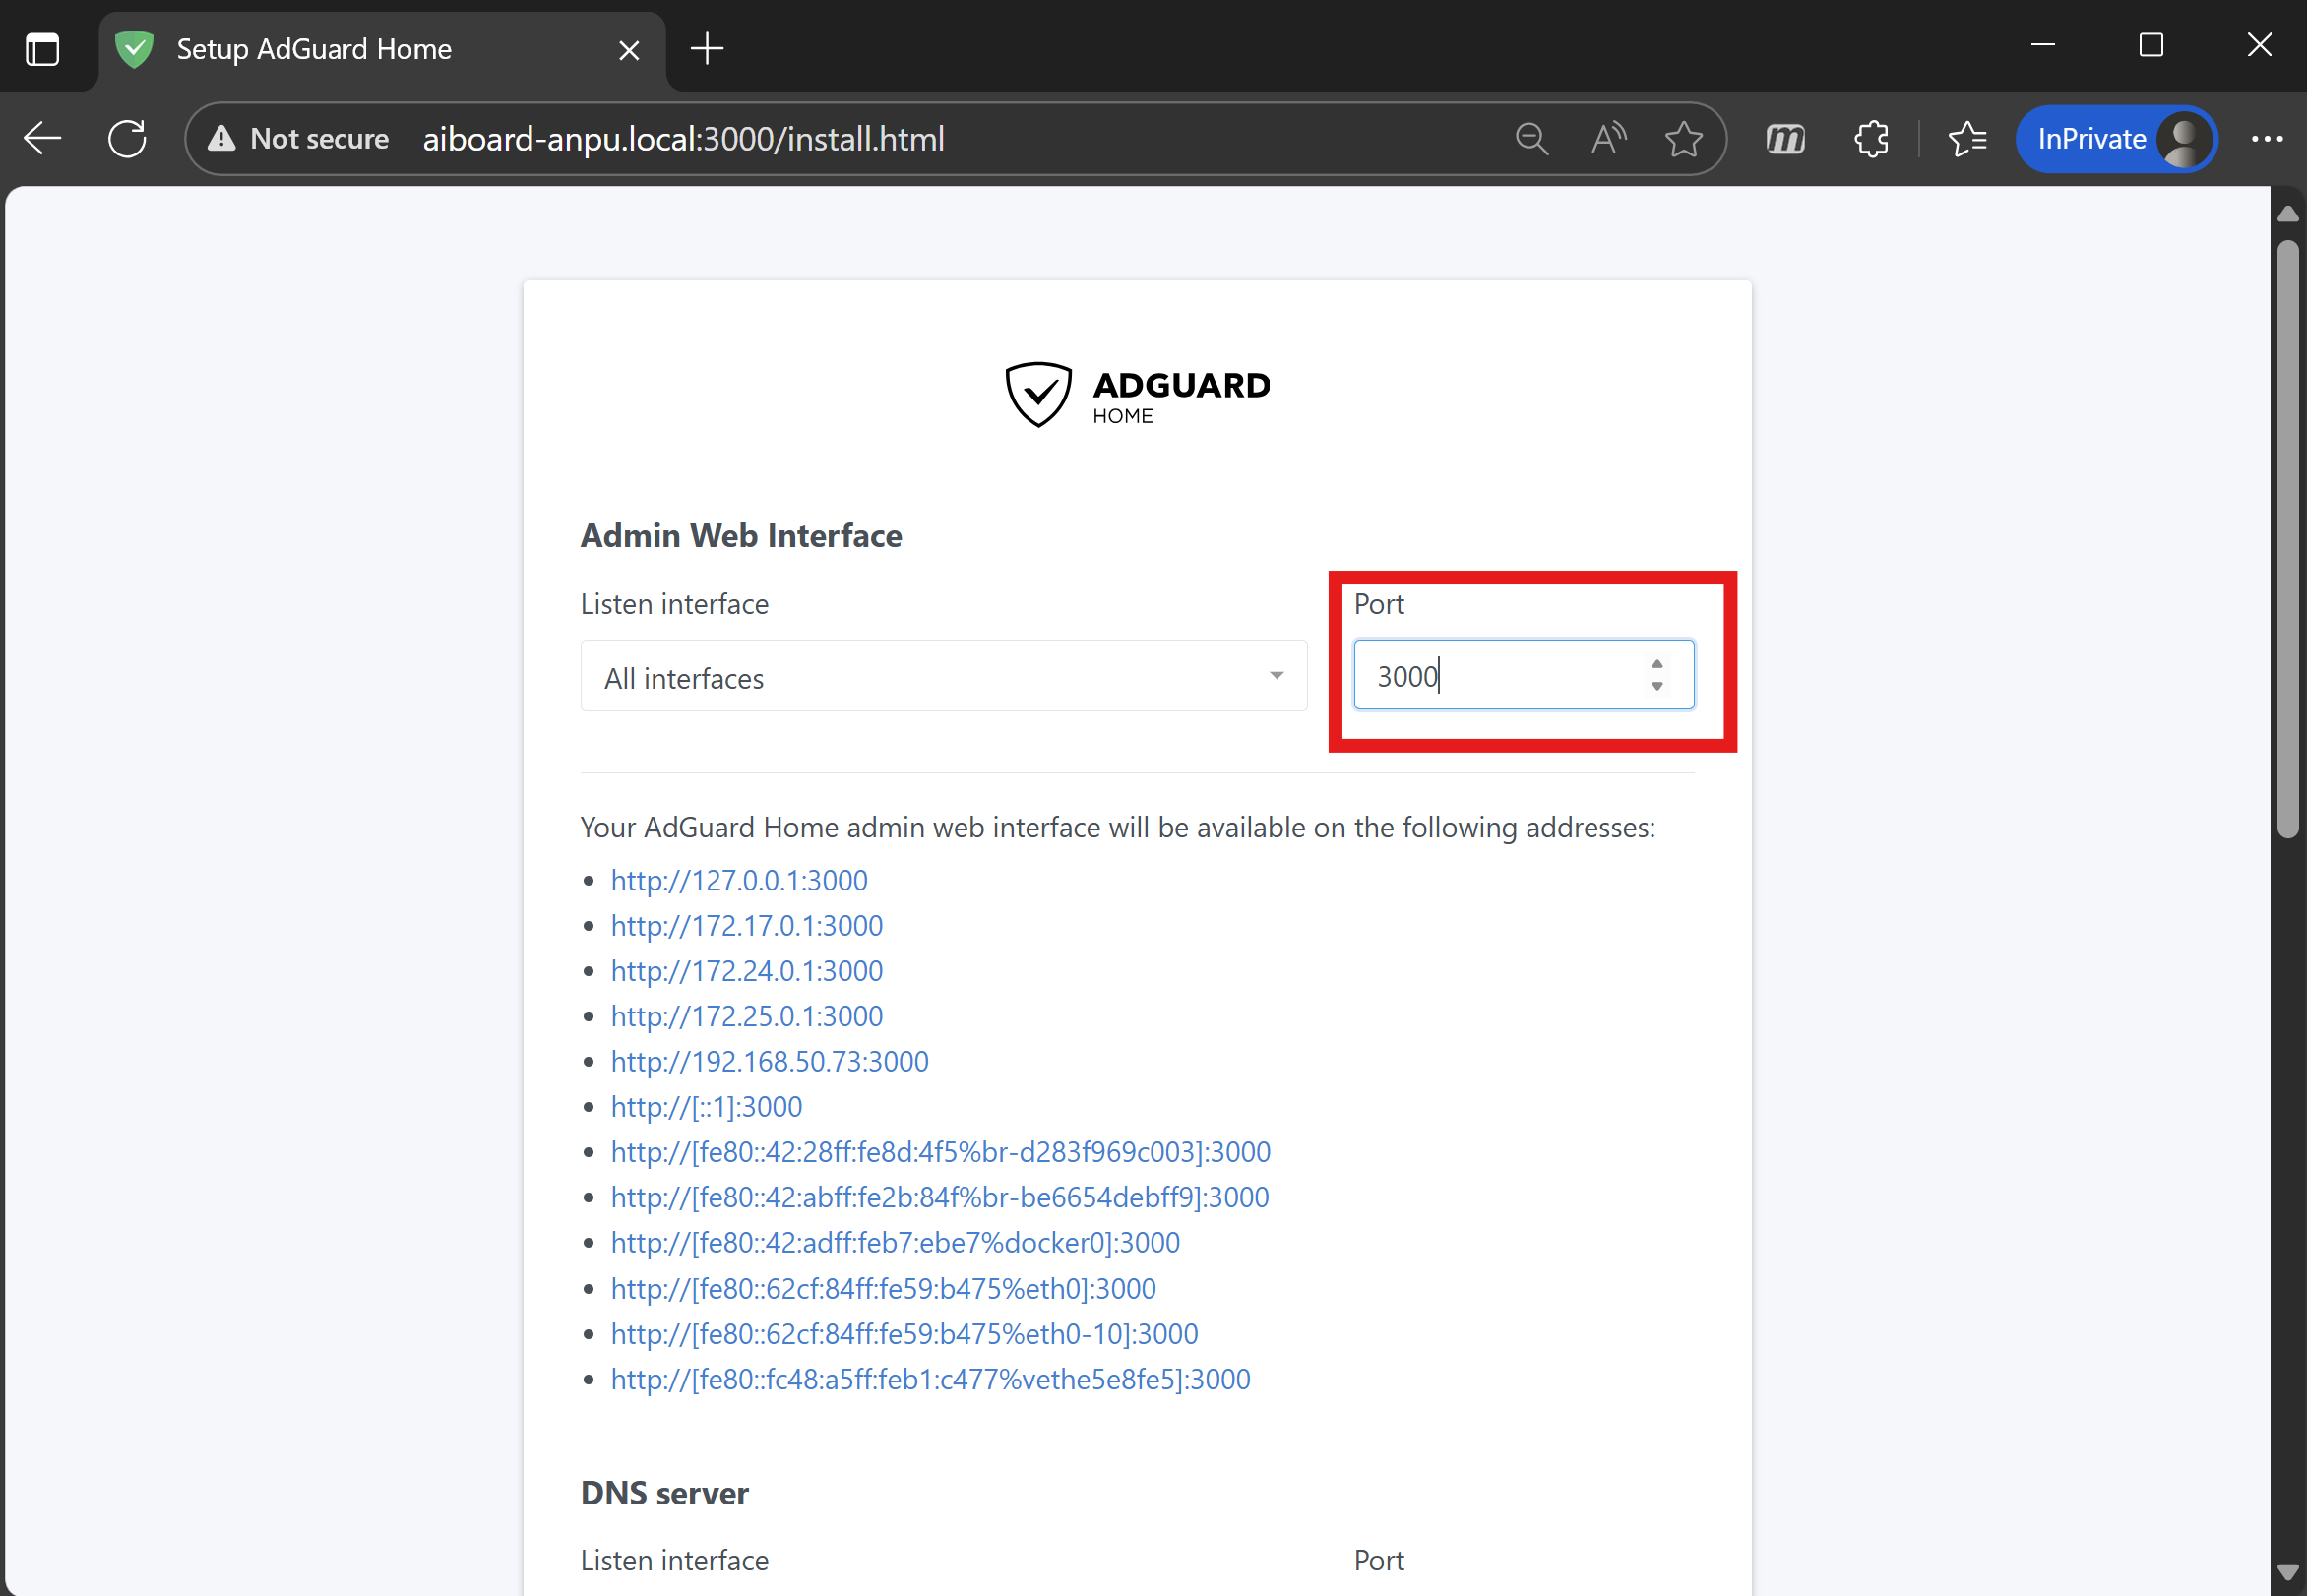
2. Set Admin Interface and DNS Service Port
Set the admin interface port to 3000 so your access address stays the same.
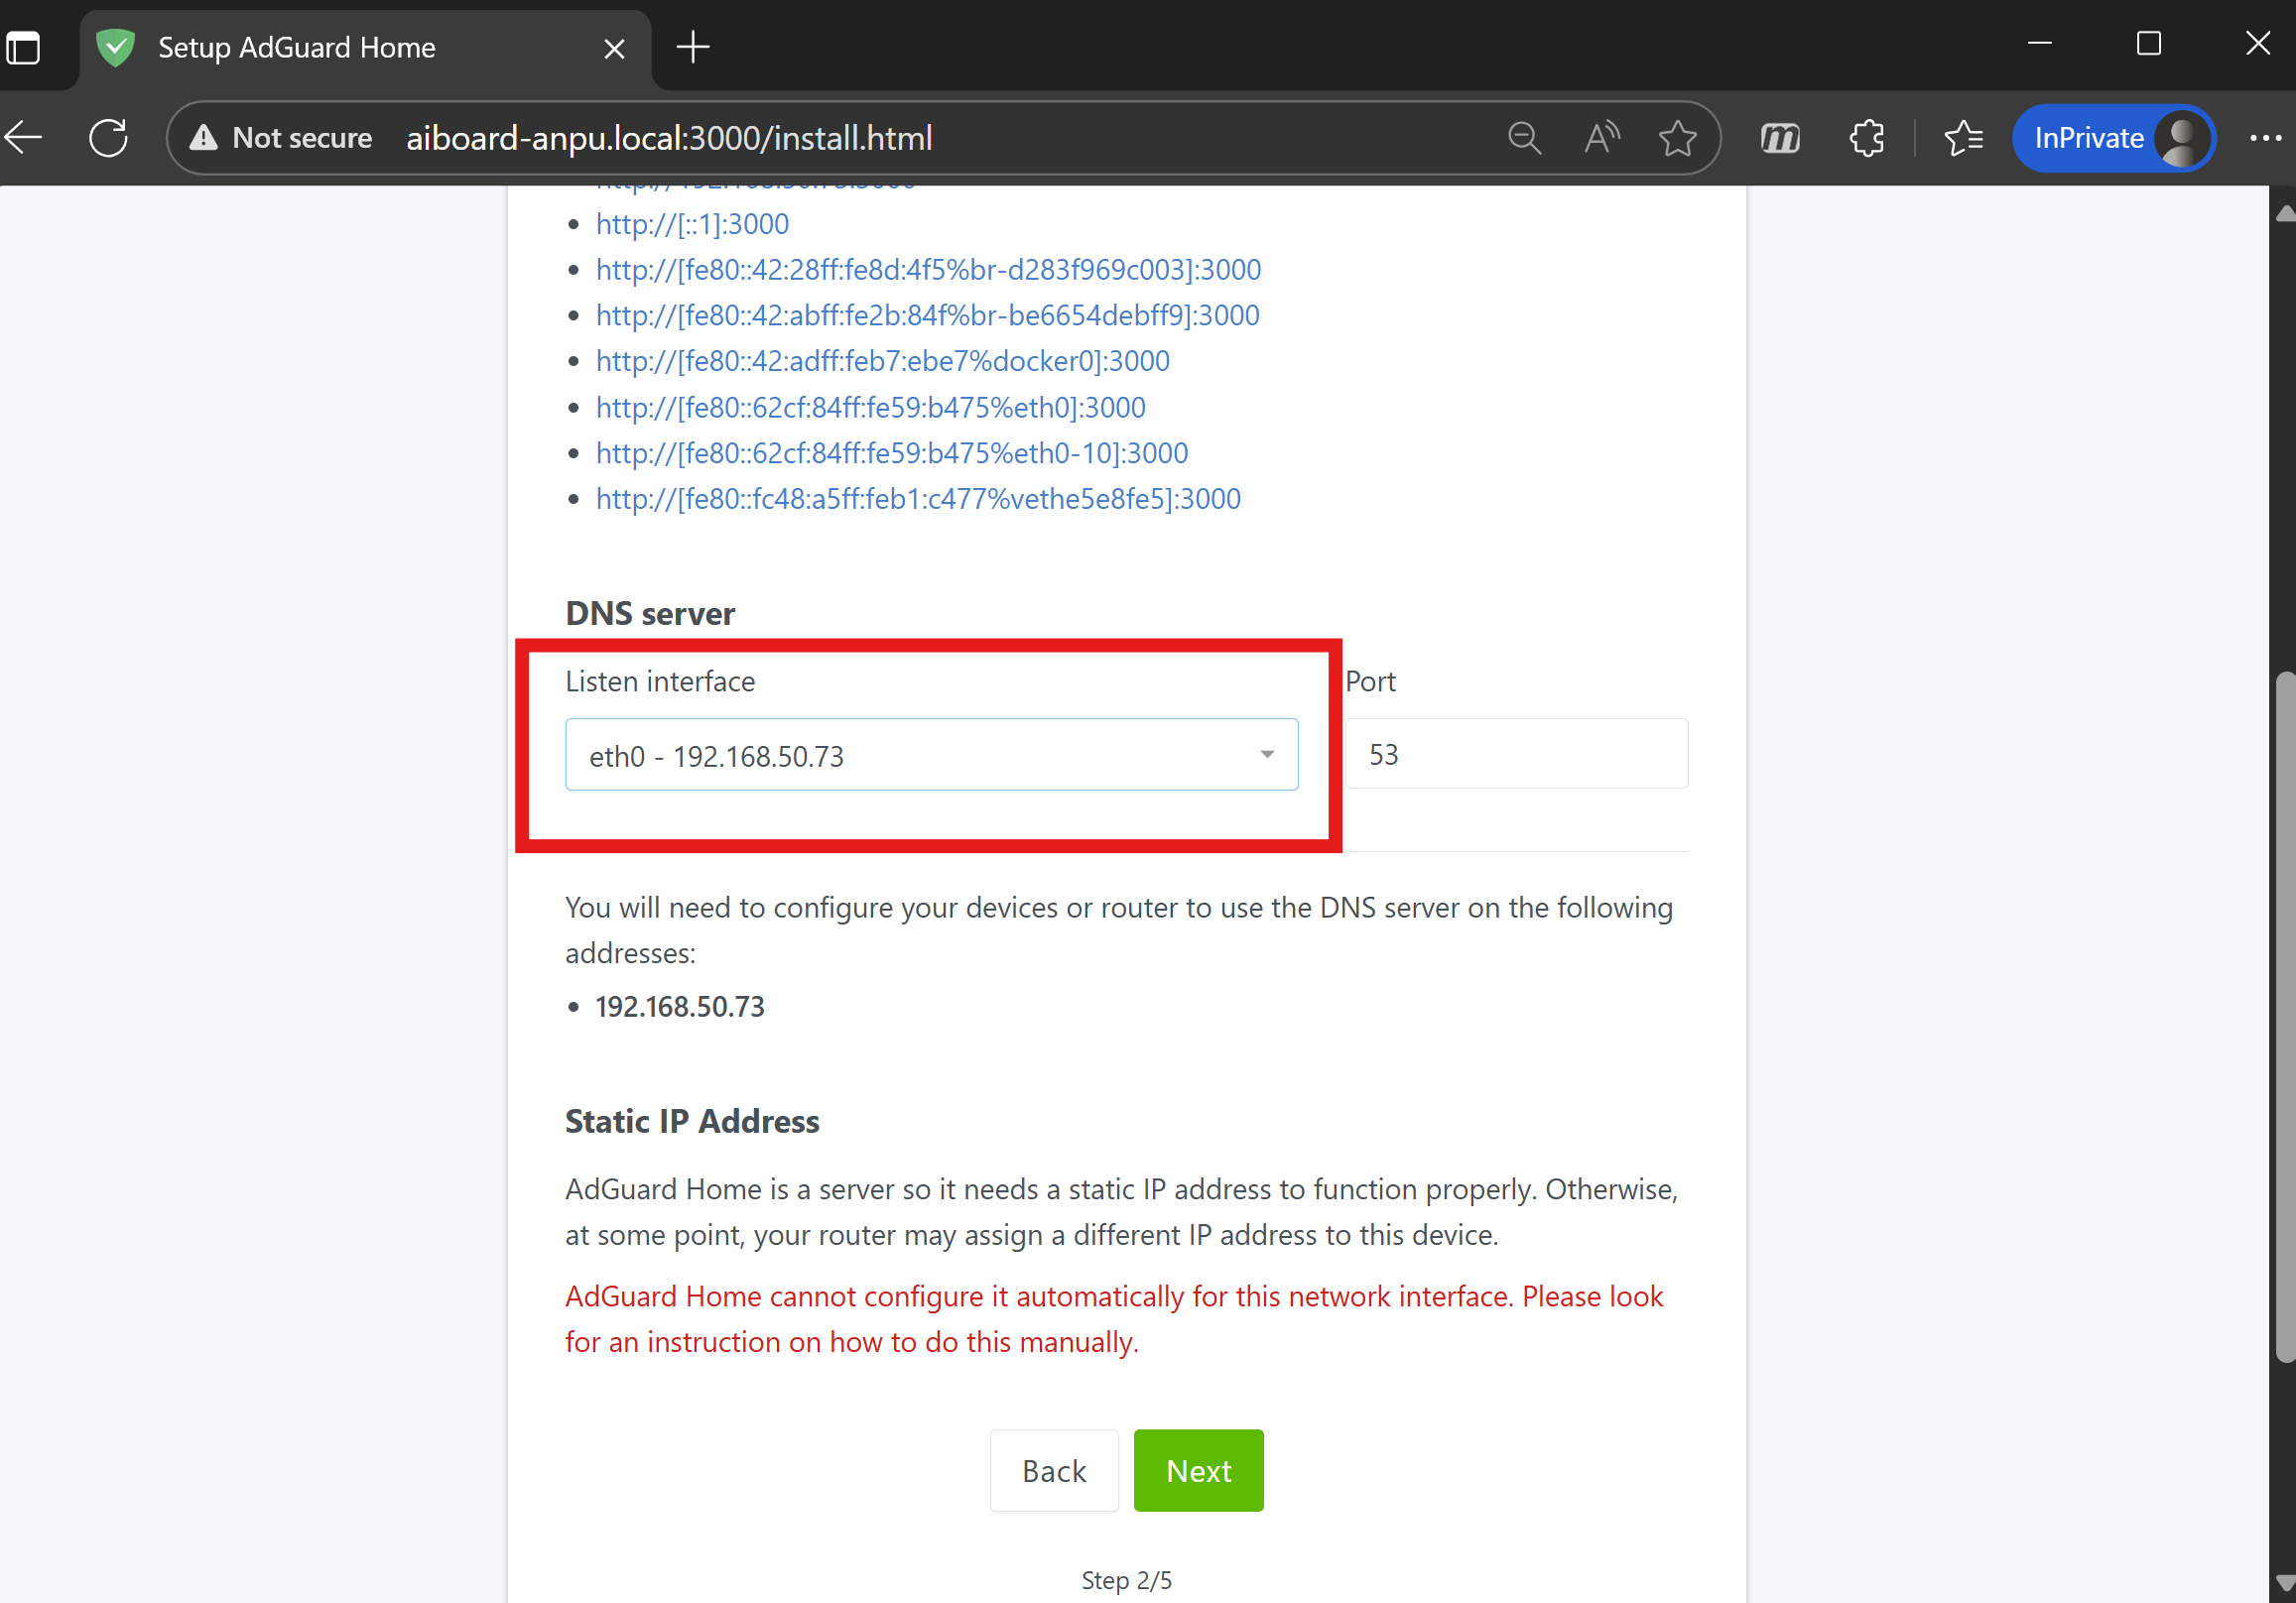
3. Select DNS Listen Interface Choose eth0, which usually corresponds to 192.168.50.x.
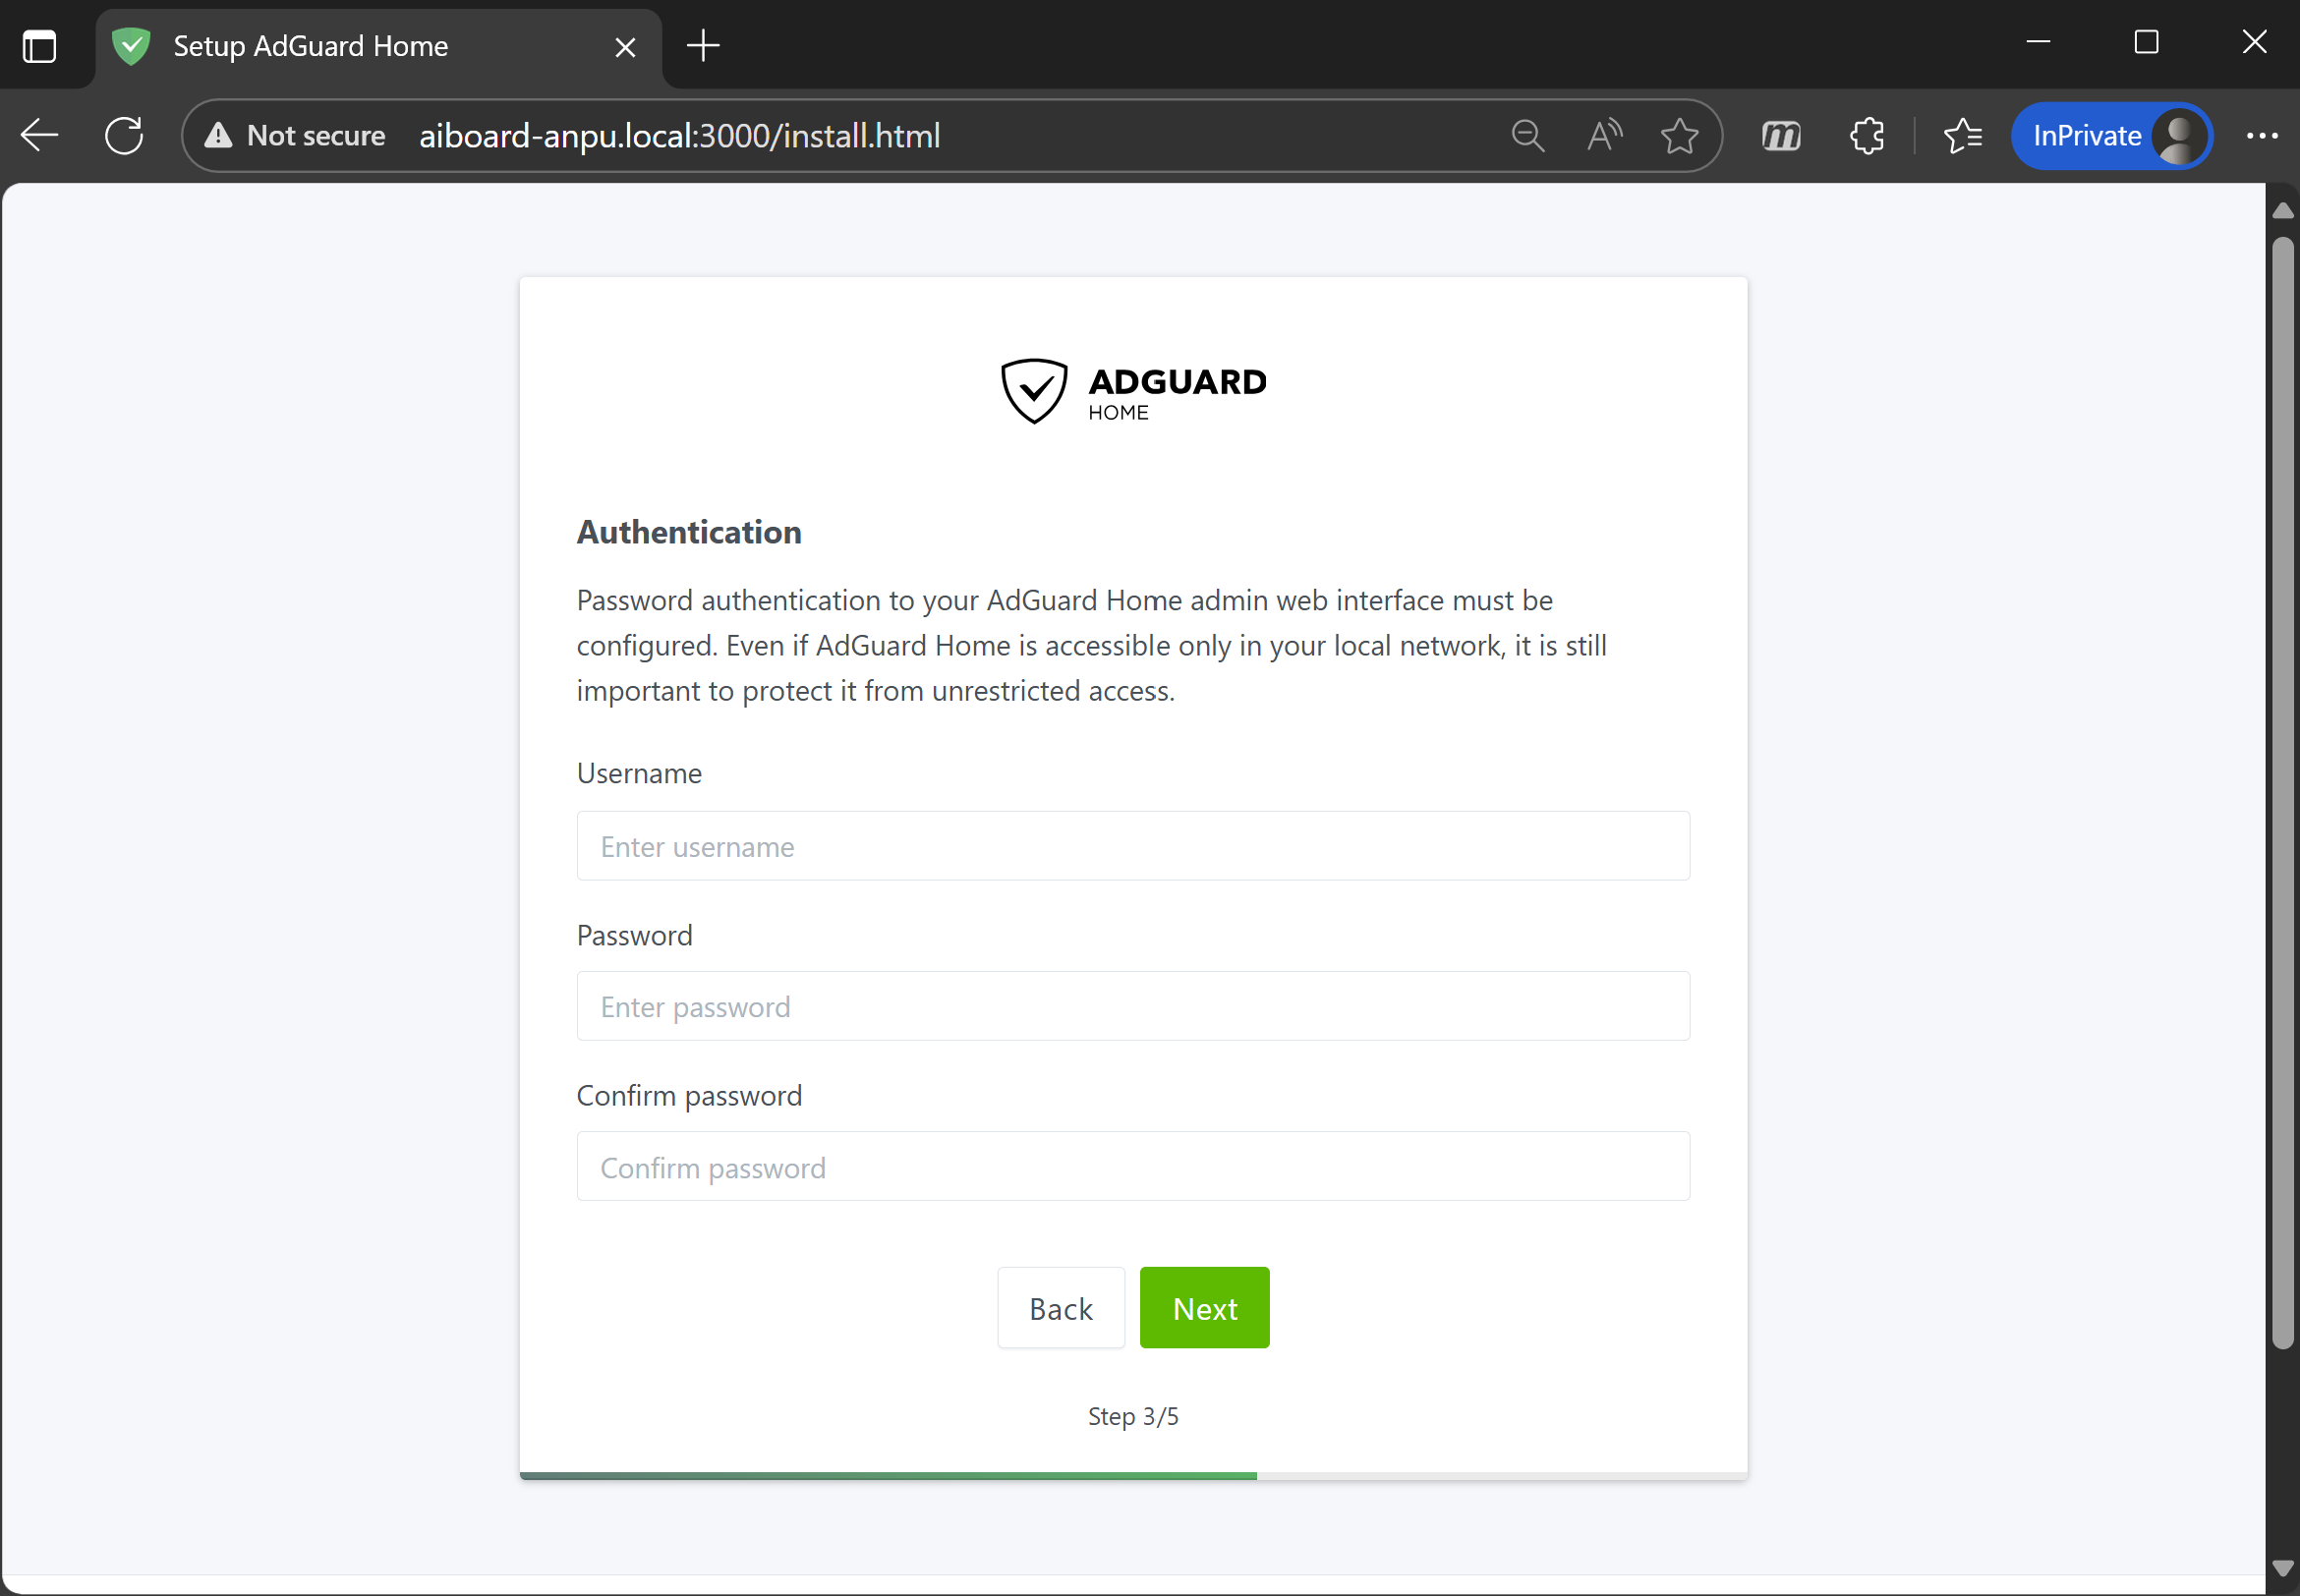
4. Set AdGuard Home Username and Password Create a new username and password(recommended: at least 10 characters). This is separate from your router password.
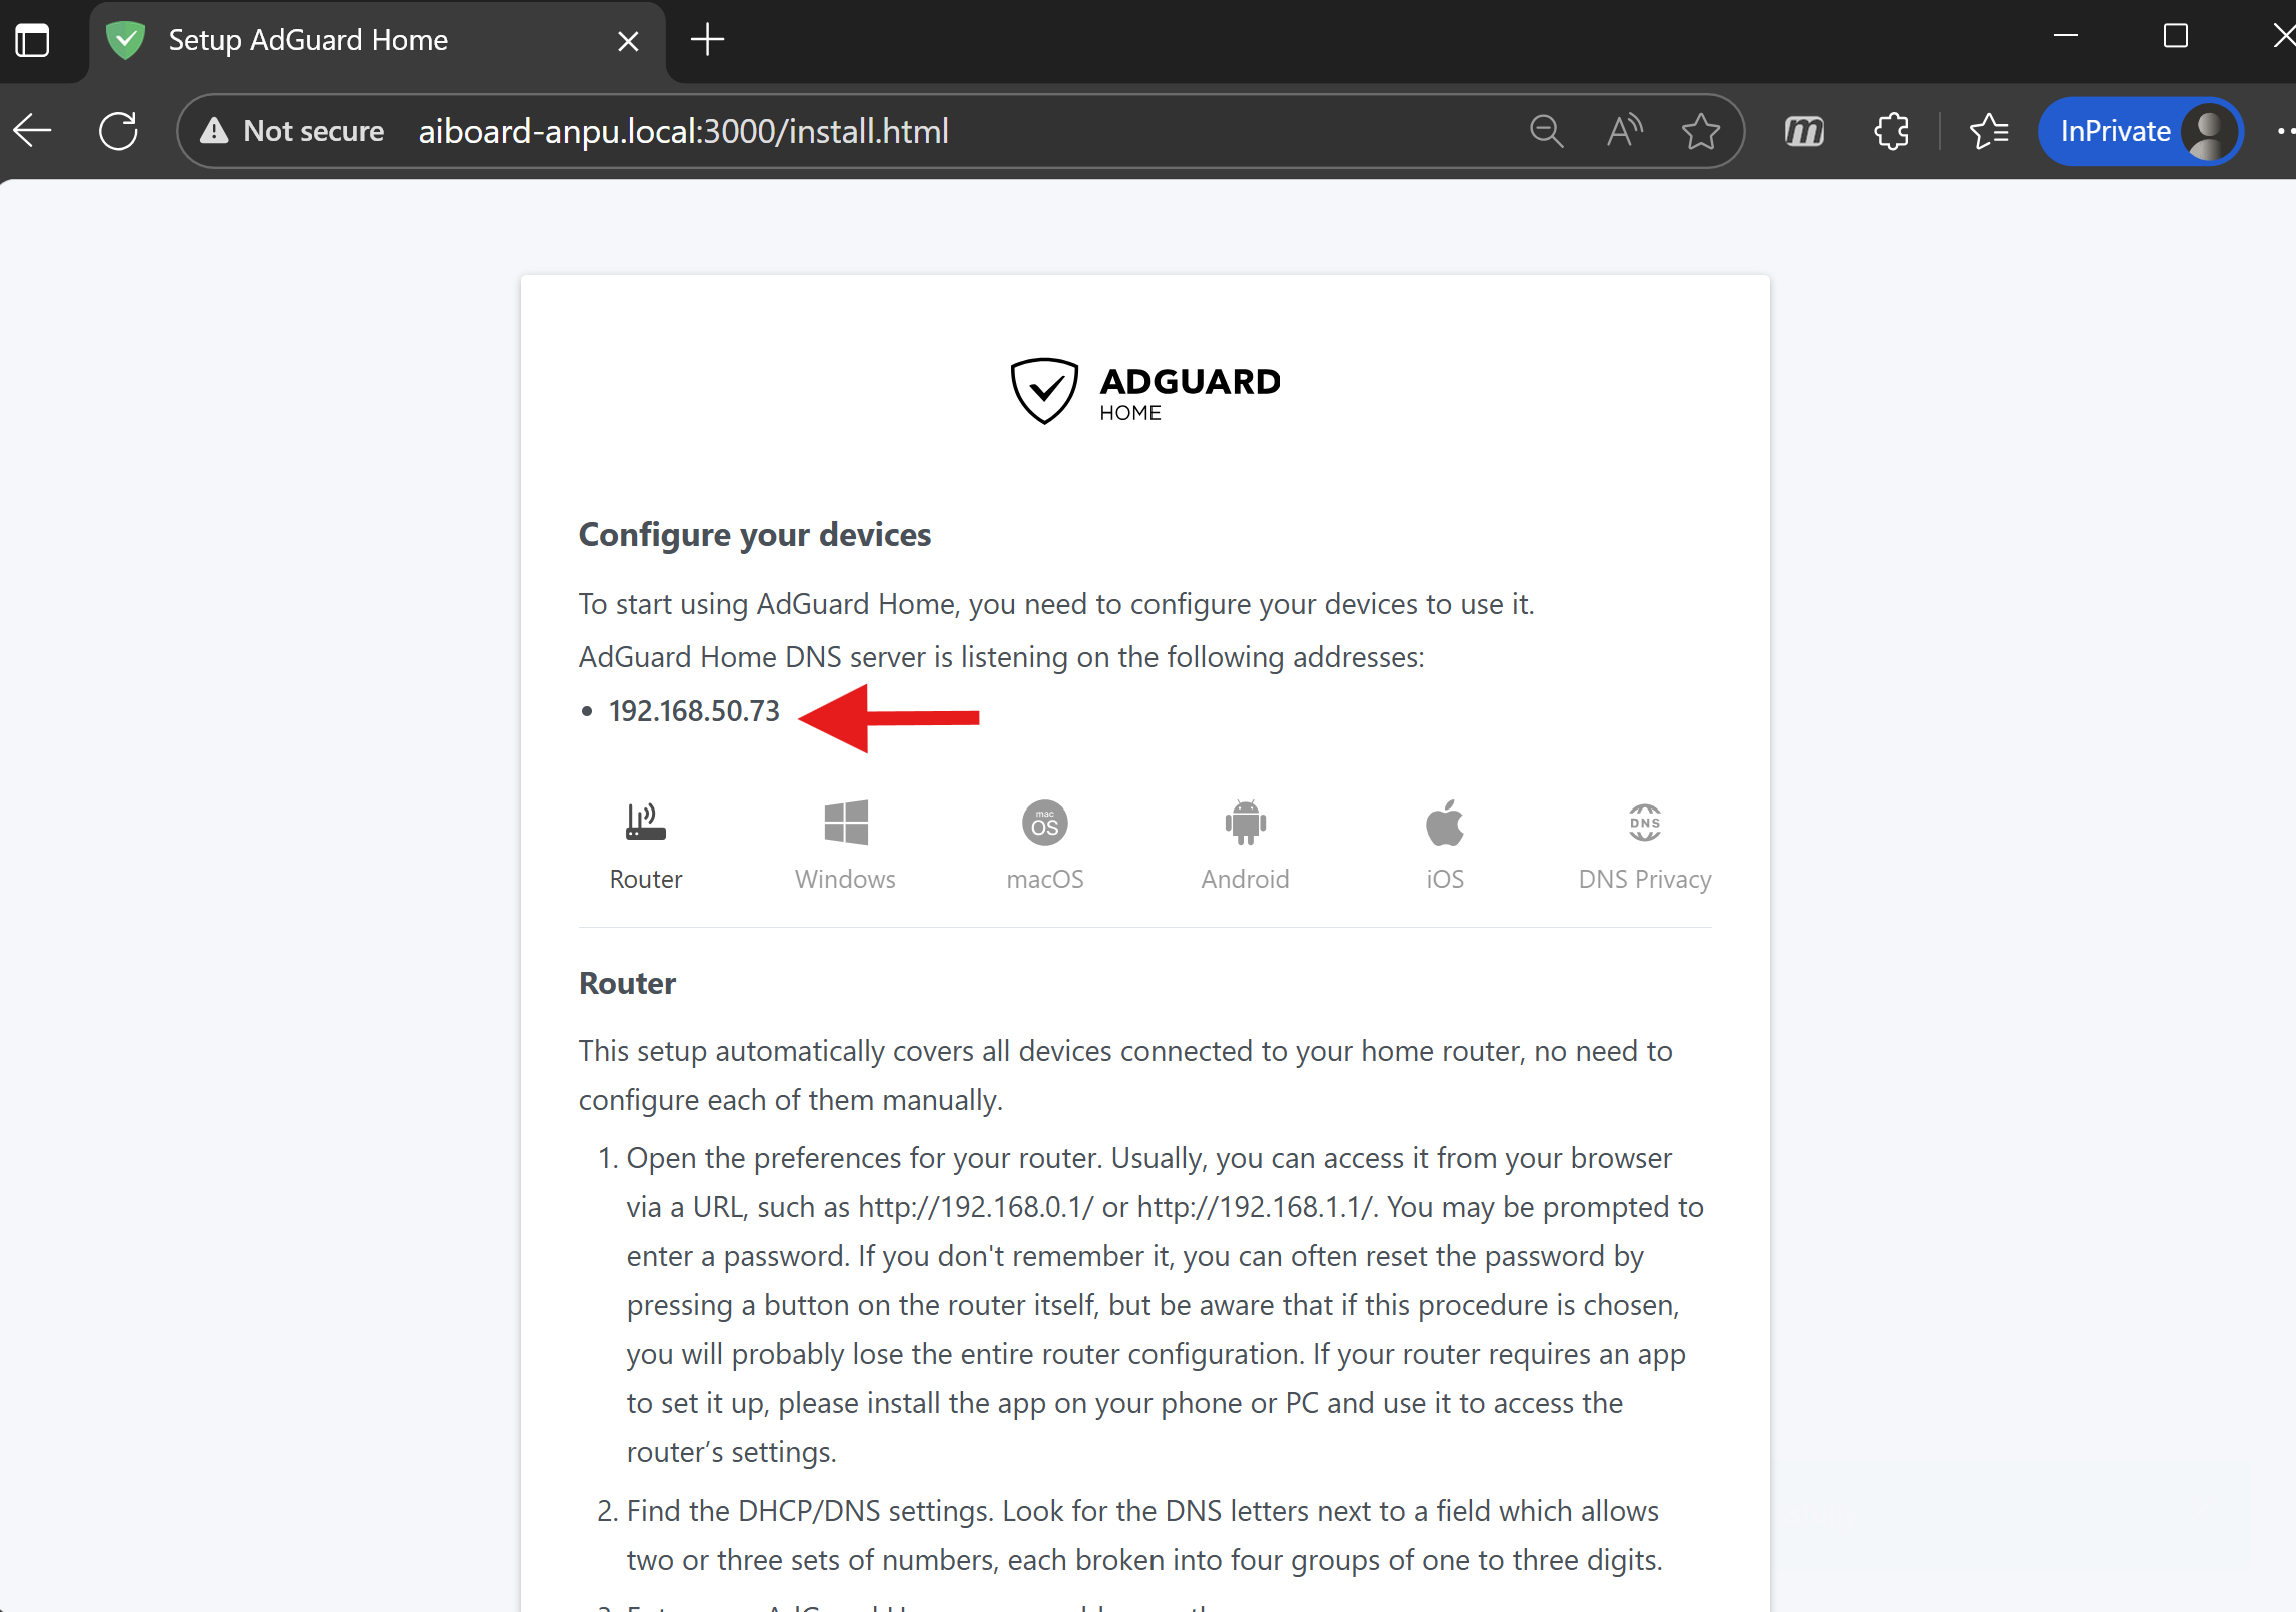
5. Note the AdGuard Home IP Address The setup will display the AdGuard Home IP. Write this down—you’ll need it for later steps.
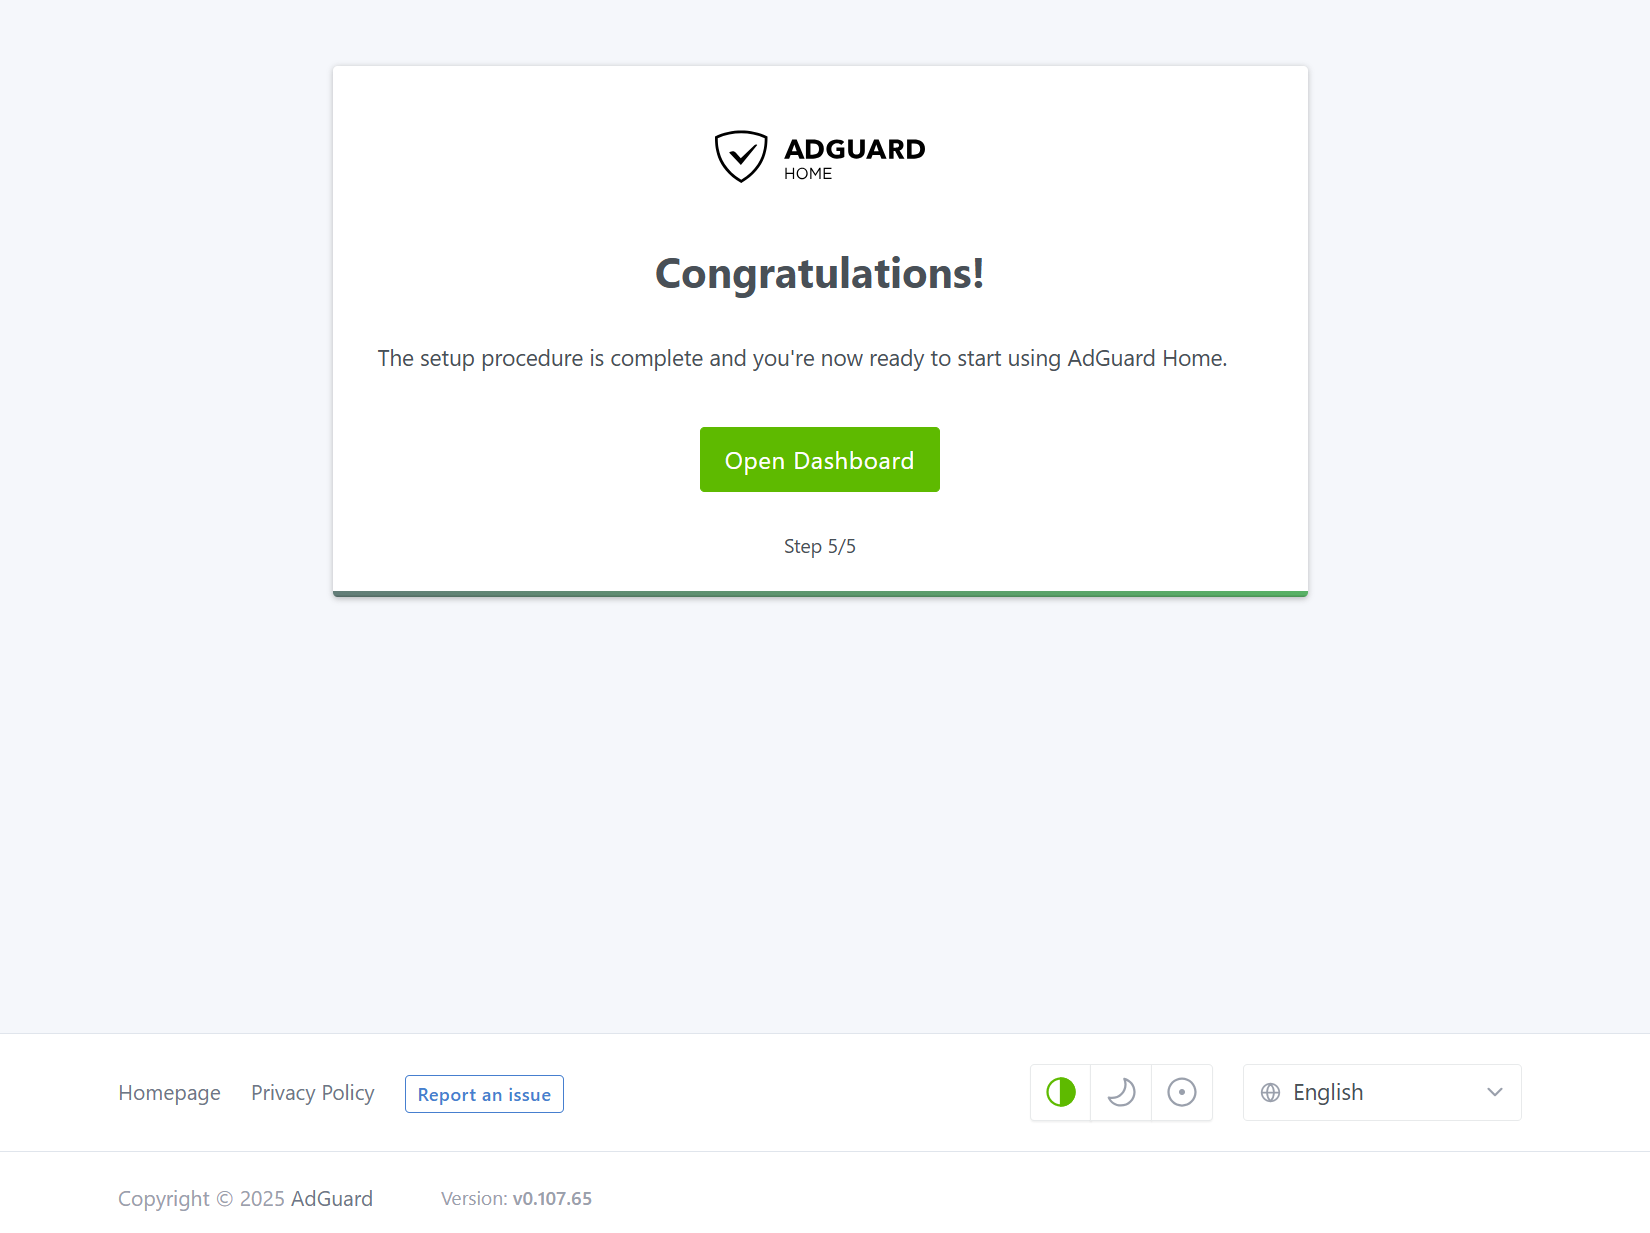
6. Finish Setup Congratulations! You’ve installed AdGuard Home and completed the initial setup. Next, we’ll personalize your settings.
3. Personalizing AdGuard Home
Now let’s make AdGuard Home your network’s assistant. You can adjust filtering rules and monitor your network as needed.
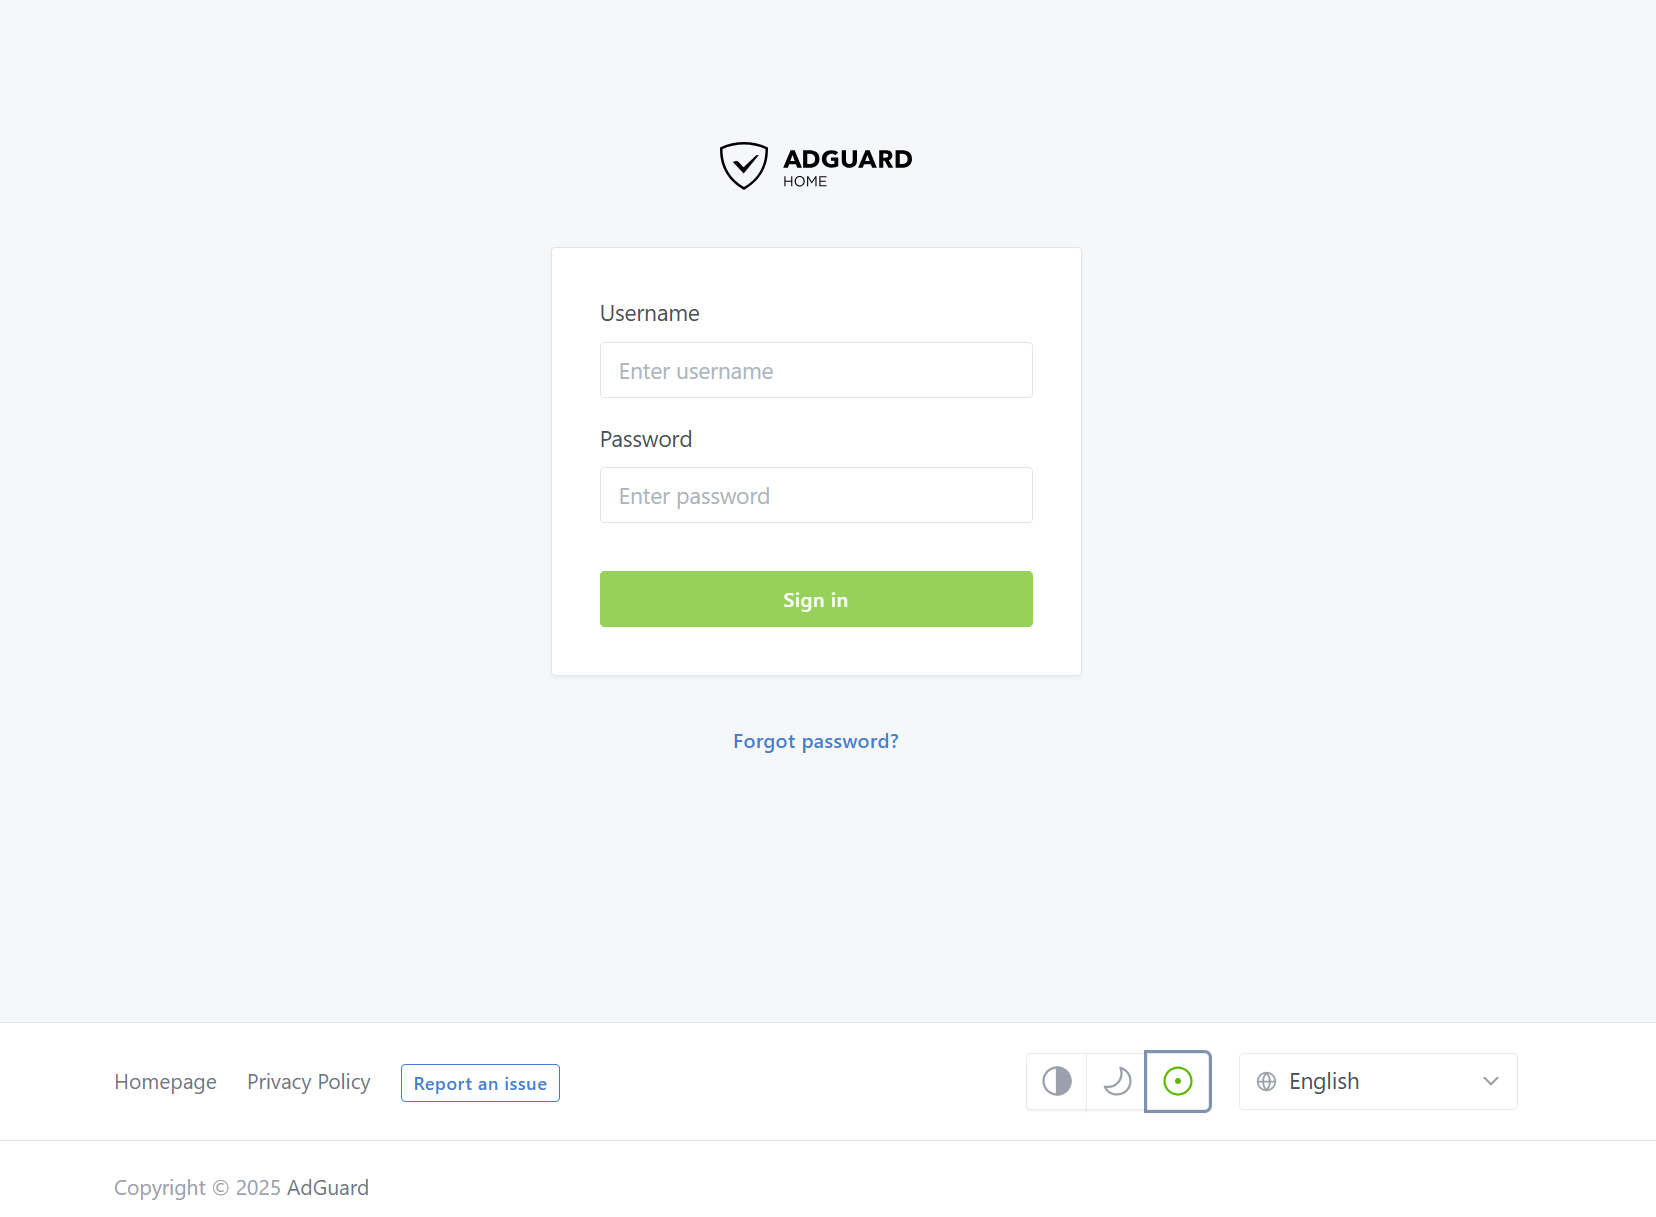
3.1 Log in to AdGuard Home
Log in with the username and password you just set up:
http://<your AI board host name>:3000 (e.g., http://aiboard-anpu.local:3000)
After logging in, you’ll see the main dashboard with real-time stats and settings.
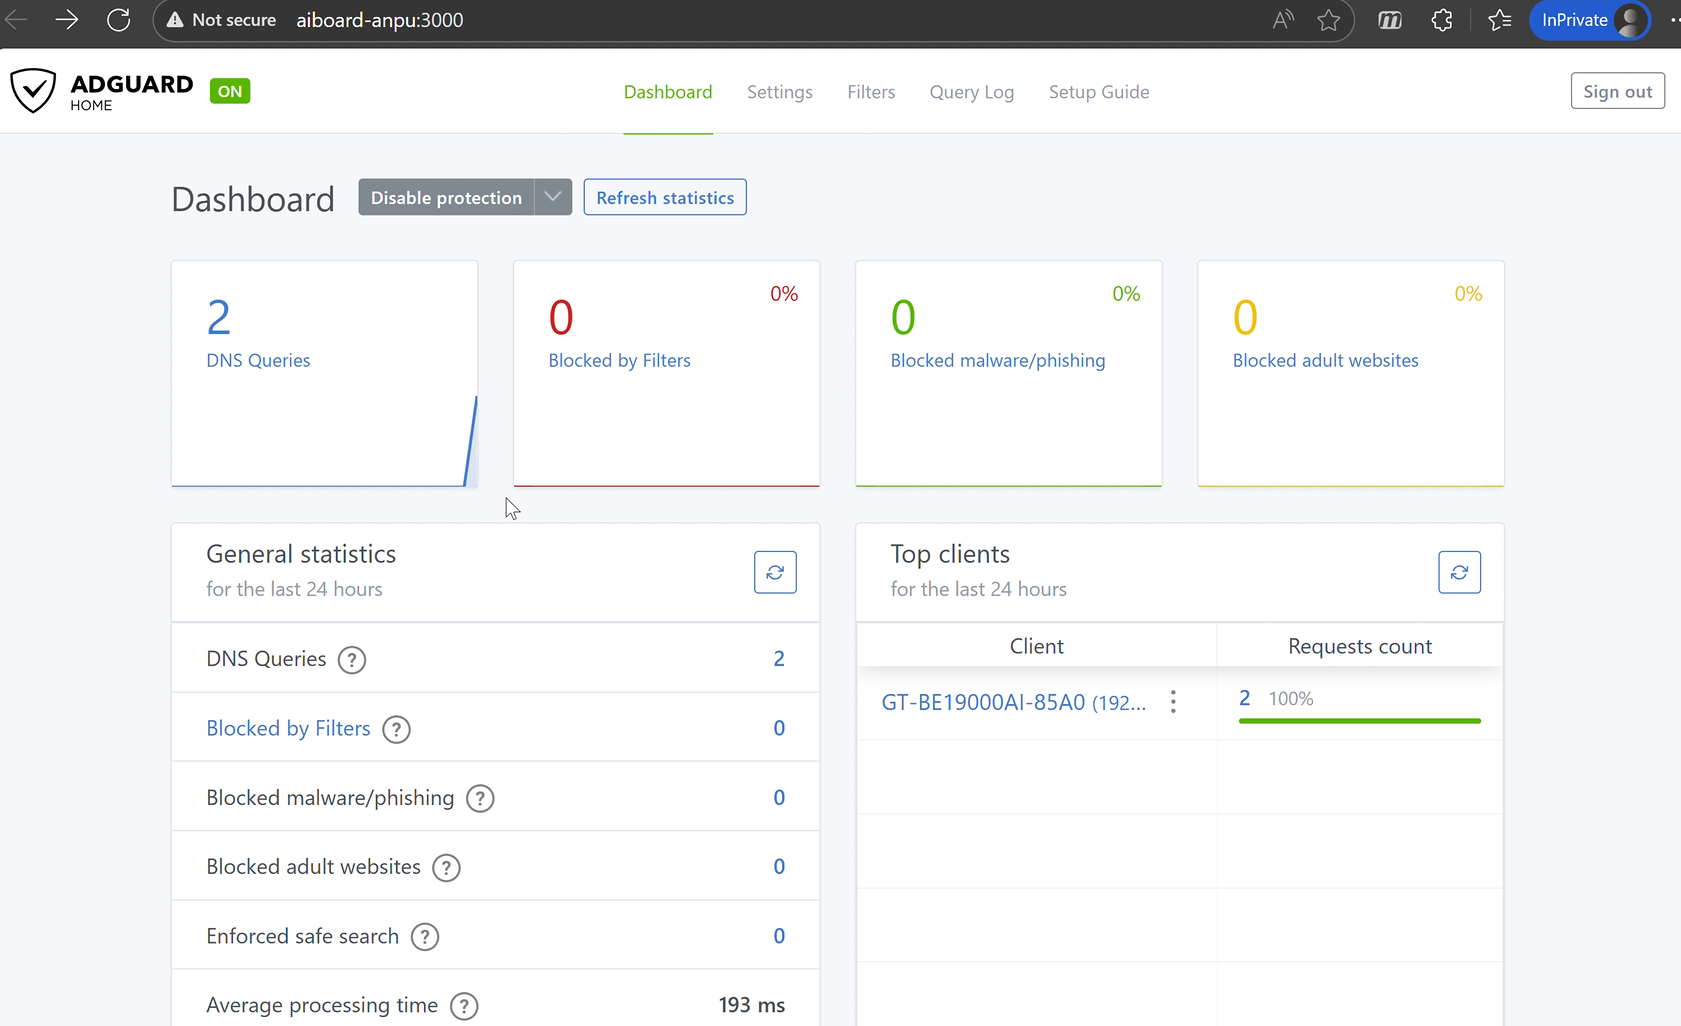
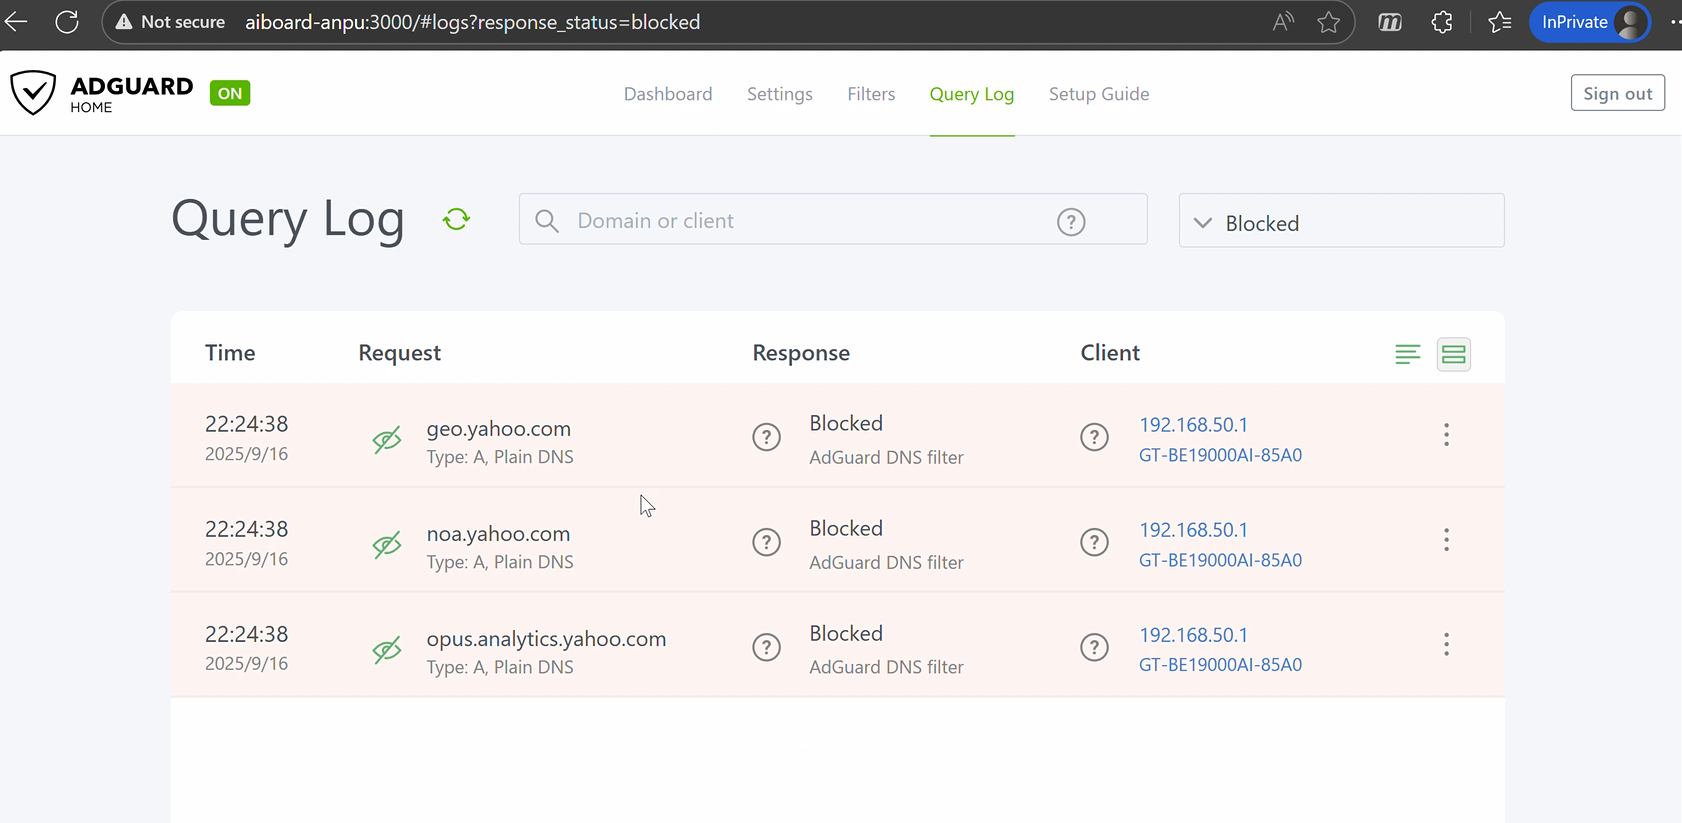
Click [Query log] to see all DNS queries from your home devices. This helps you understand which sites are accessed and which are blocked, so you can monitor your network’s activity and spot anything unusual.
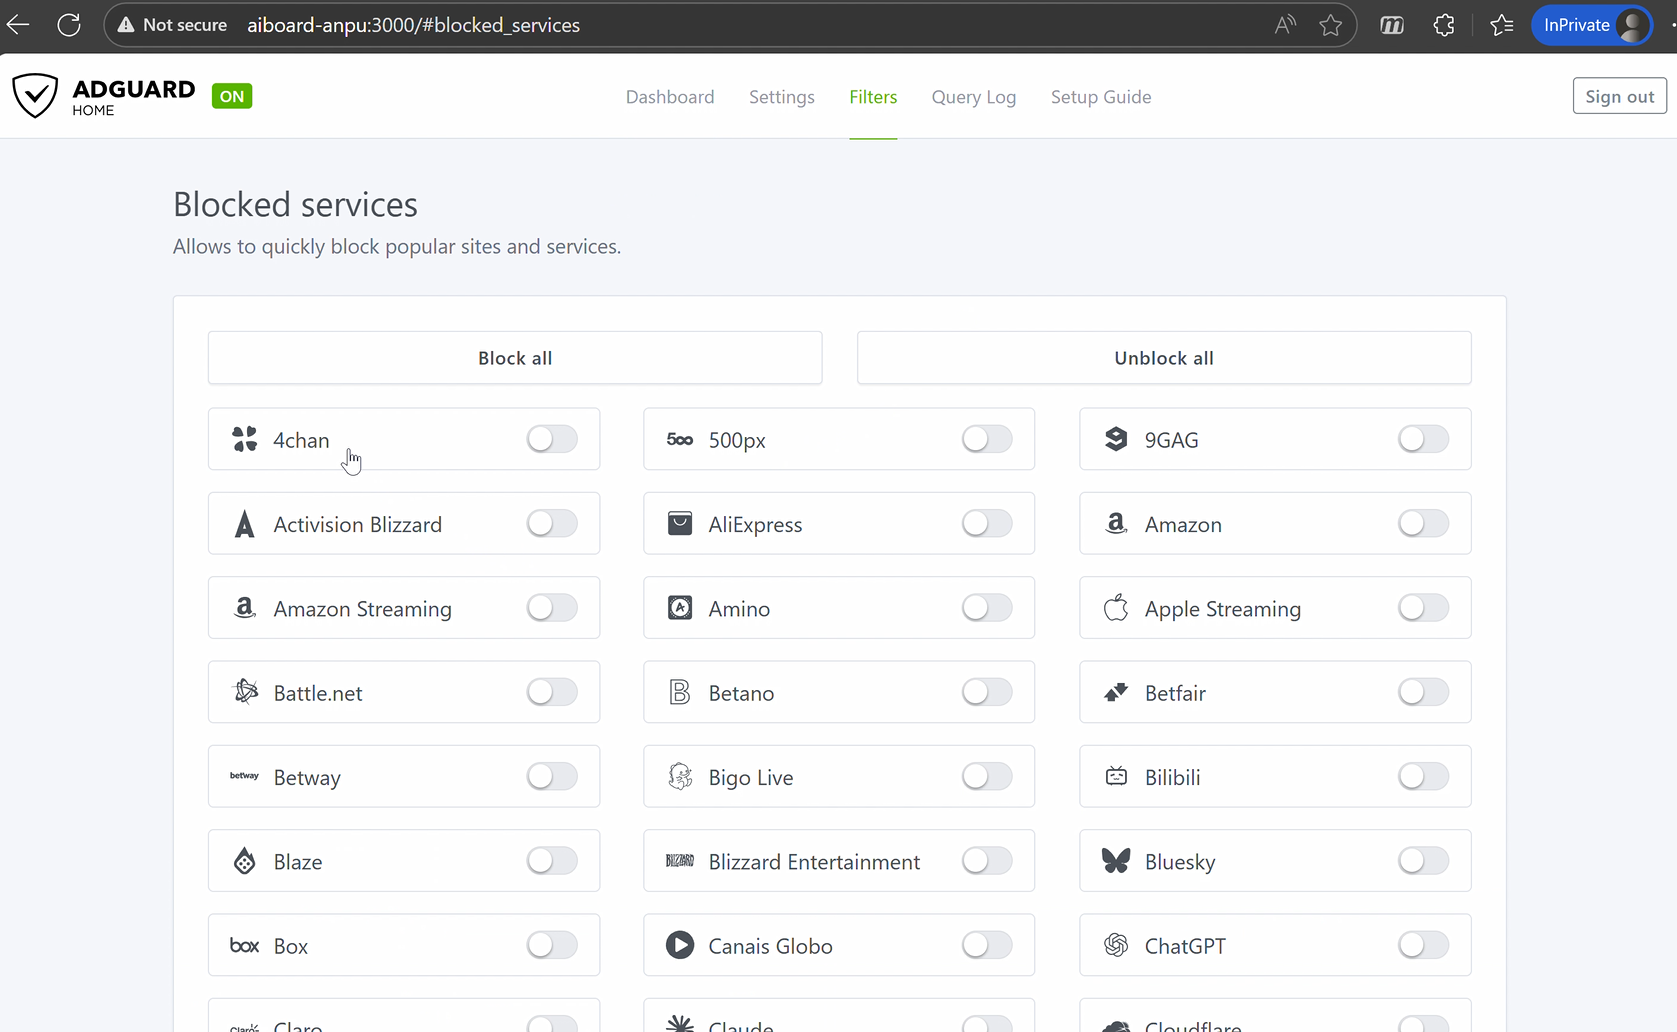
3.2 Set Up Filters
AdGuard Home offers a variety of filters. Go to [Filters] > [Blocked services] to block specific sites or services as needed.

4. Advanced Settings
If you want to see DNS activity for every device on your network, this chapter will help you complete the integration.
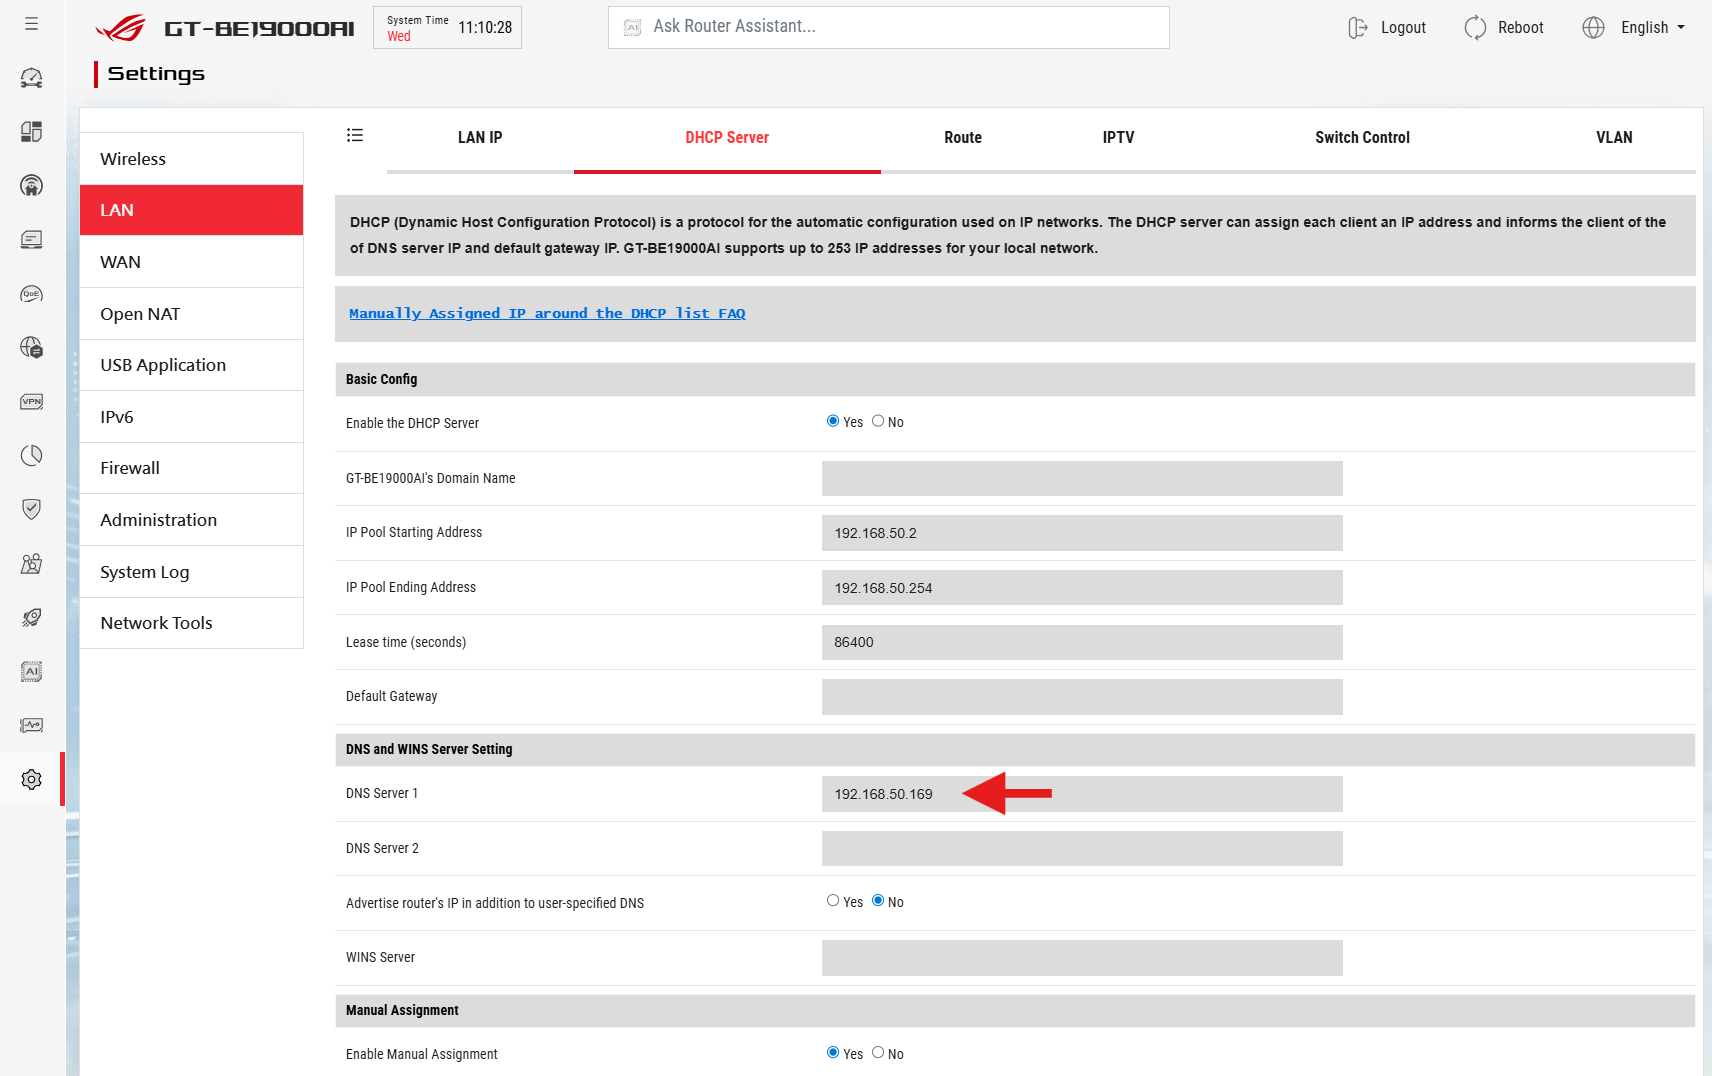
4.1 Router DNS Settings
Go to your router’s LAN > DHCP Server > DNS and WINS Server Setting page. Set the DNS Server to the AdGuard Home IP you noted earlier. This way, all devices will automatically send DNS queries to AdGuard Home—no need to configure each one individually.
After this, you’ll see all device DNS queries in the AdGuard Home dashboard.

4.2 Troubleshooting
Sometimes, after these changes, you may not be able to access your router using its usual URL (like www.asusrouter.com, aiboard-anpu.local or homeassistant.local).
If this happens:
1. Use your router’s IP address to log in.
2. Or, in AdGuard Home, go to [Filters] > [DNS rewrites] and add a rule to point the URL to the correct IP address. 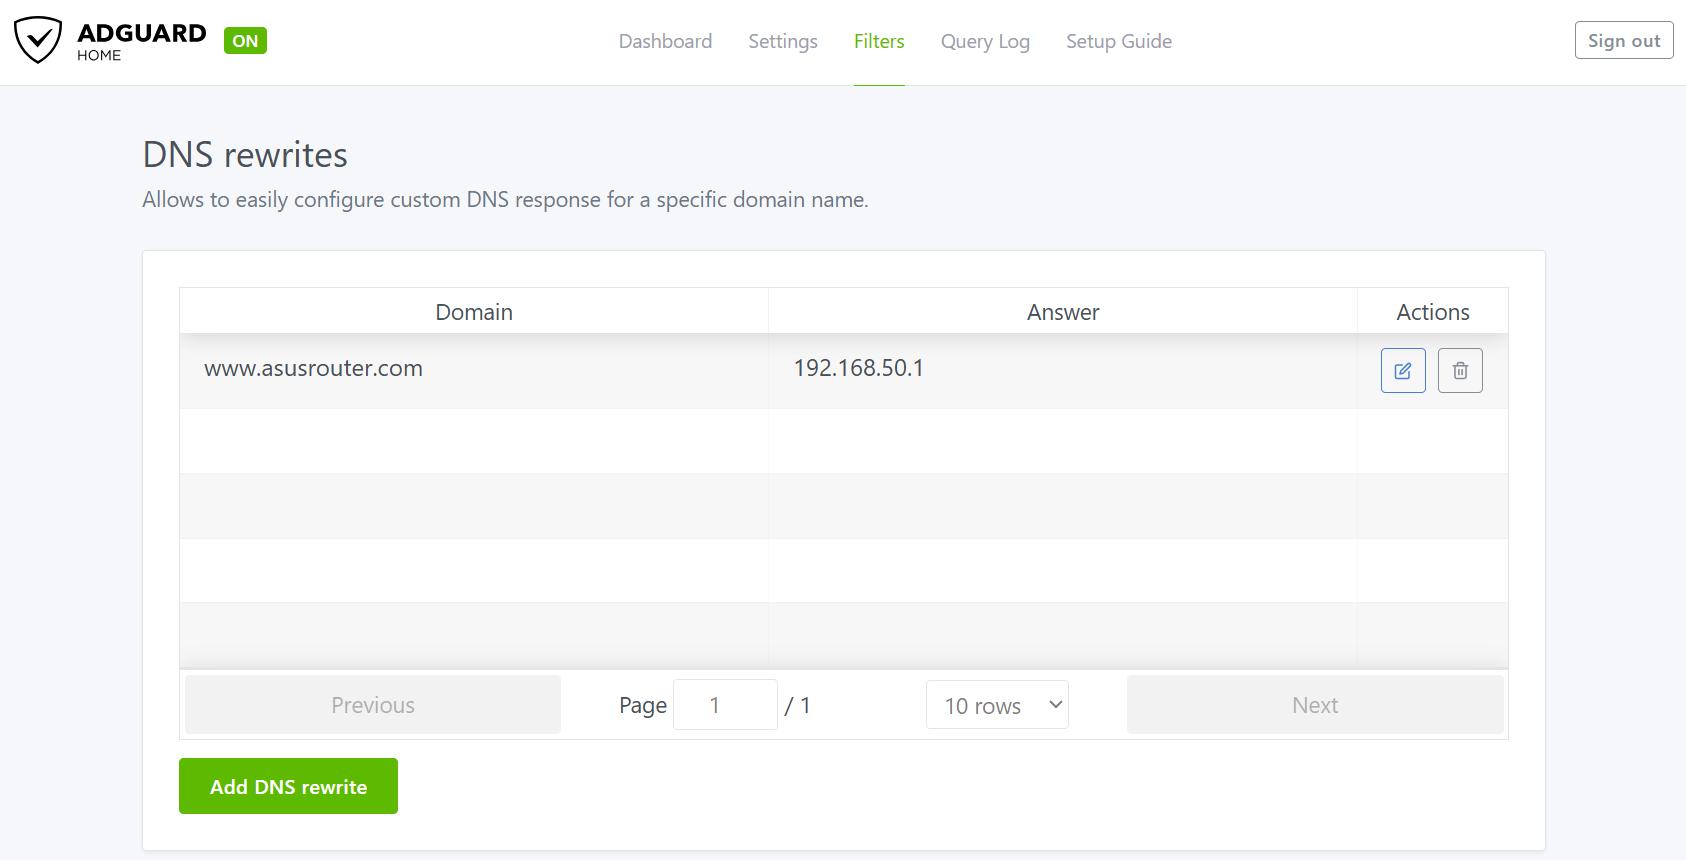
How to get the (Utility / Firmware)?
You can download the latest drivers, software, firmware and user manuals in the ASUS Download Center.
If you need more information about the ASUS Download Center, please refer this link.