Turn on suggestions
Auto-suggest helps you quickly narrow down your search results by suggesting possible matches as you type.
Showing results for
- Republic of Gamers Forum
- Discussions
- Case Mods & PC Builds
- Kegputer MOD *** ASUS ROG powered.
Options
- Subscribe to RSS Feed
- Mark Topic as New
- Mark Topic as Read
- Float this Topic for Current User
- Bookmark
- Subscribe
- Mute
- Printer Friendly Page
Kegputer MOD *** ASUS ROG powered.
Options
- Mark as New
- Bookmark
- Subscribe
- Mute
- Subscribe to RSS Feed
- Permalink
06-15-2011
12:33 AM
- last edited on
03-06-2024
09:31 PM
by
![]() ROGBot
ROGBot
The Kegputer
My name is Ben Lzicar, aka Bennyboy; I've been modding since I learned to build computers, which was about 8 years ago. Modding for me has always been a labor of love, I really do see it as a type of art. Like most art forms some people just don't understand why you would do it, but once they see the final product and their jaw drops... it's a universal appeal that anyone can understand.
I've always prided myself with my MODs being built from scratch; It's my philosophy that a computer case only confines your creativity to a standard, that's why you'll never see me MOD a case unless by someone elseses request. My pieces are always made out of heavy duty steel, which more then often requires lots of grinder cutting and welding, the Kegputer is no exception. I like to raise the standards of computer MODs by bringing in another criteria to the art, and that's durability; if you have a MOD that can't survive being toated around to LAN parties then what's the point of it. I want my computer to be able to banged around a bit without breaking anything, and that's something universal you will see with all my builds.
The Kegputer arose from a dream of mine, I've always seen beer kegs and really wanted to throw a computer into it; well I finally acquired a keg and just started moving the pieces around in my head, then using google sketchup to make sure everything would fit.
The idea was to build a PC inside of a stainless steel 15.5gal keg, eventually I realize that was way more room then I needed, so I decided to cut the middle section out of the keg to shrink it down.

Cut view from the side, I'm designing the case so it the upper half can just pop off for easy access of internals.


The general layout of compenents, the whole Idea of using sketchup for me is to make sure there is enough room to fit everything I need, otherwise I prefer to design my cases as I go.

The keg as I bought it, only 20$, which is a steal!!! A brand new keg will cost you about 120$.

Pretty cool Busch Eagle emblems.

MACRO!!! Obviously I will need to do alot of polishing/sanding.

After I cut the middle section out.

So I decided to cut the bottom of the case out and just put a mesh bottom to allow maxiumum airflow; this also gives me more space for the frame and components.

Skipped a head a little bit, this is the starting of the frame and Optical mount already implace.

Back side shot of the frame, you can see where the PSU is going to fit, also I made a very simple but economical hardrive rack for my backup HDs; I plan on just velcro taping my SSD primary somewhere in the front 🙂

The frame, yes my welding is really crappy, but for this application is doesn't need to be professionally quality; and I would like to see anyone do a much better job using a large industrial stick welder with 1/8 rods 😉

Closer look at my hadrive rack, it put a few test HDs in it, and is suprsing holds them in very tight, and looks really sexy with the offset!!!! This design is so simple idk why I didn't think of it years ago.

Bottom half with the frame in it.

These clasps are going to be what holds the top half of the case to the bottom.

So I forgot to take pictures for while, so sorry for the gap; but this is what the exterior looks like after I was finished cutting all the window holes, fan holes, PCI/mobo ports, and other holes for screws; and a 80 grit rough polish.

Side view of the Optical drive, and yes that's a big hole over where the optical will be, I plan on having a window over the top my drive so you can see the DVDs as they spin around inside the drive.

The big 200mm fan I plan in the top of the case to pull air up and out.

This is where the 200mm will be mounted, hopefully this is enough room for decent CFM.

Ghetto stove I got for 30$.... perfect for powder coating 🙂

Frame in the oven

Mobo Tray after heat treatment and coating

Powder Coat Gun


Tap I hope to mount on the top at some point.

Bottom half with powder coat, ready to be put in oven.

Acrylic Windows


Bottom half with the perforated steel bottom, and chrome trim.


That's it for now, I decided to powder coat the exterior because it require much less effort on my part, and will also provide a durable tarnish resistant coating.
I still have alot of trim work to do, power relay to PSU, and some mesh screening.


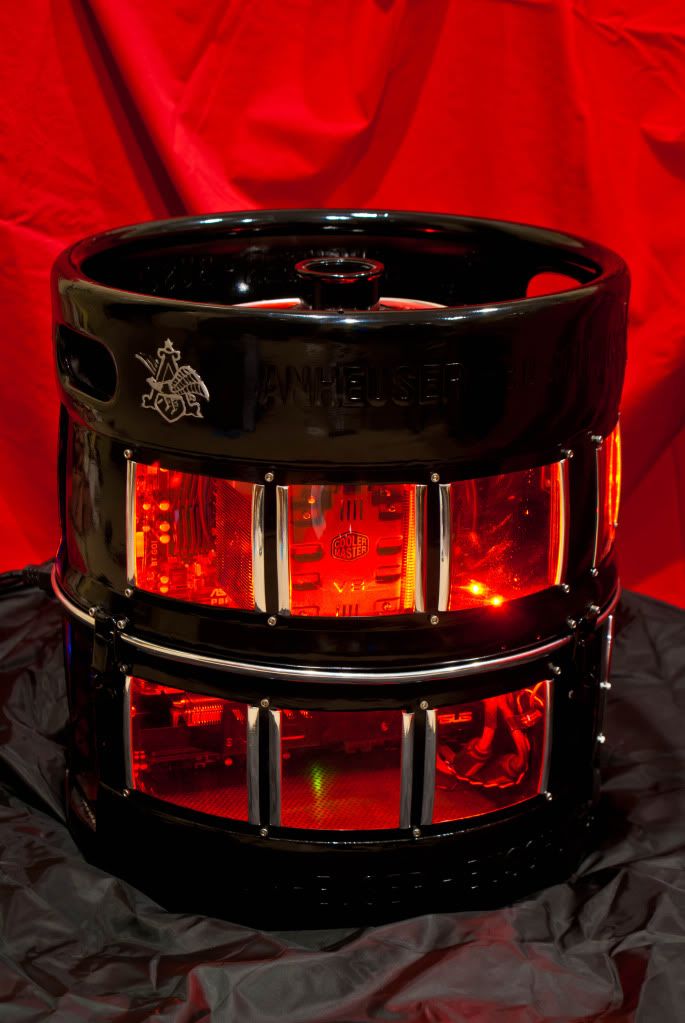
The powder coat finish truned out really great, not to mention it's super durable and scratch resistant.

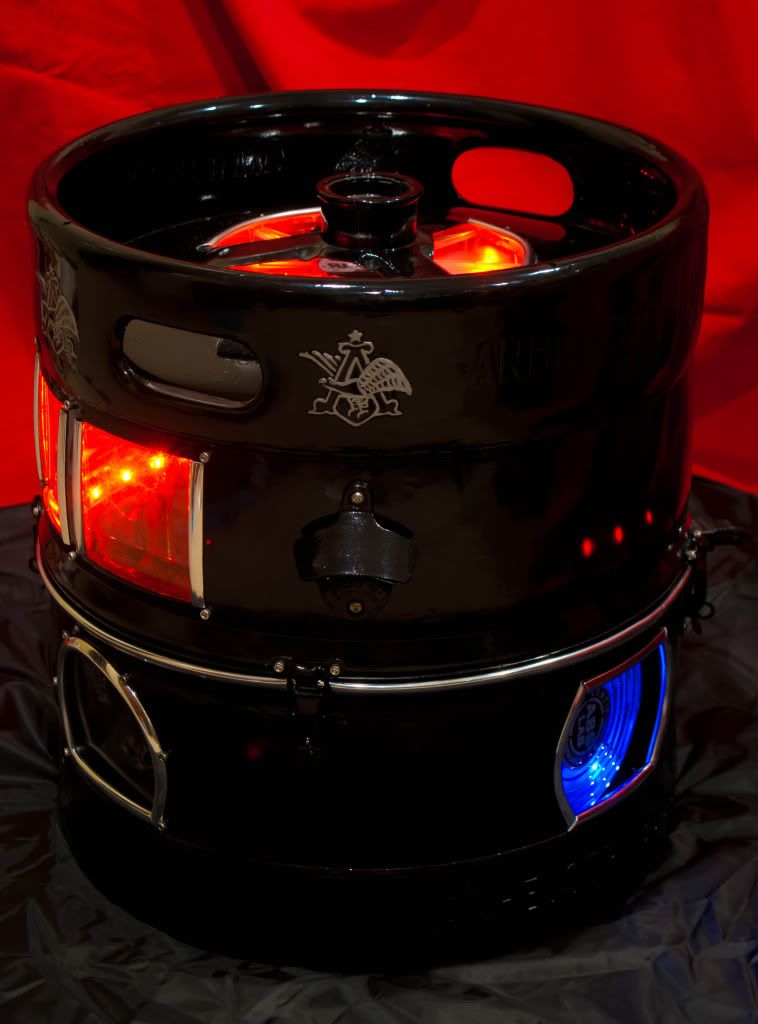
Added some chrome trimming, and hand painted the eagle emblems, for the most part they turned out pretty good; there are a few minor imperfections, but if I ever want to later I can just take some paint thiner and start all over again lol
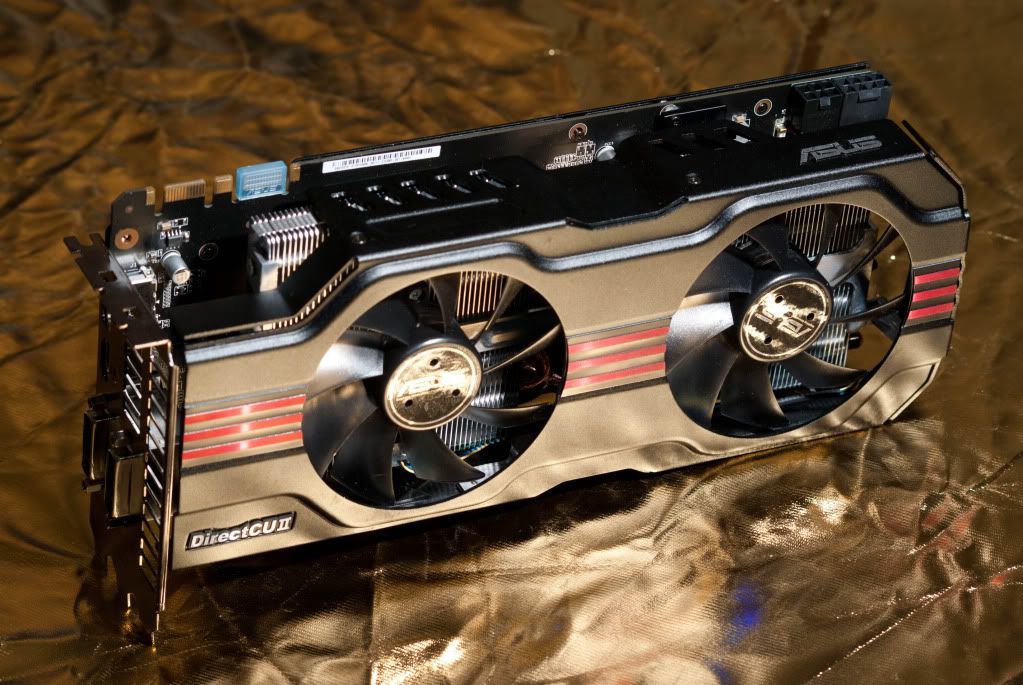
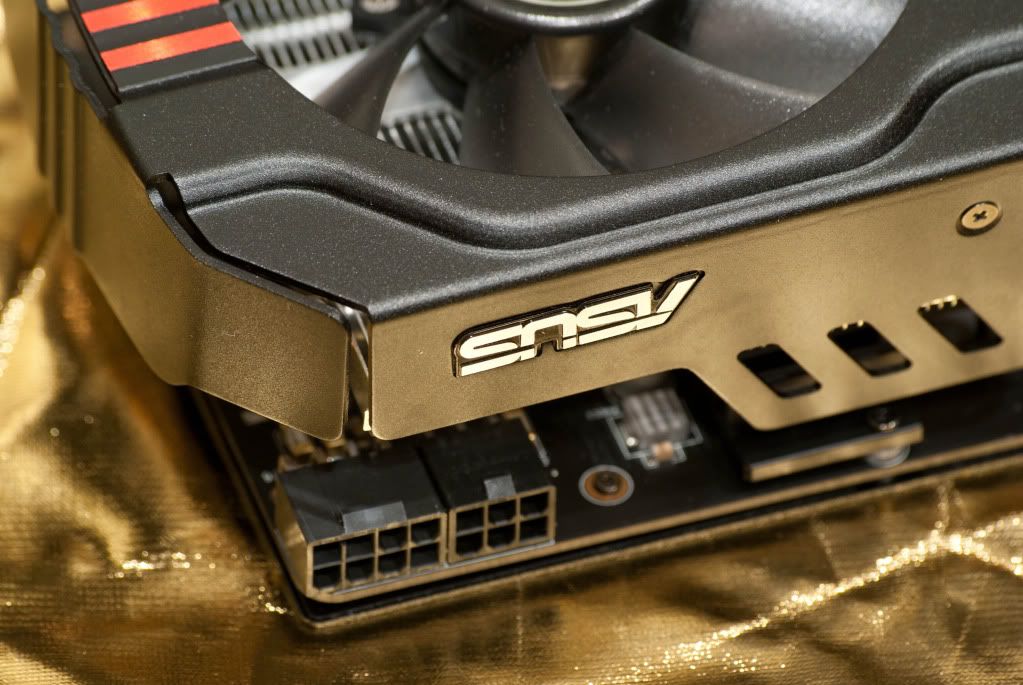
The Beautiful ASUS 570, really got to love the heatsink on this; I did notice the shield was slightly too big to fit in the case, so I had to trim a bit off, but no worries.
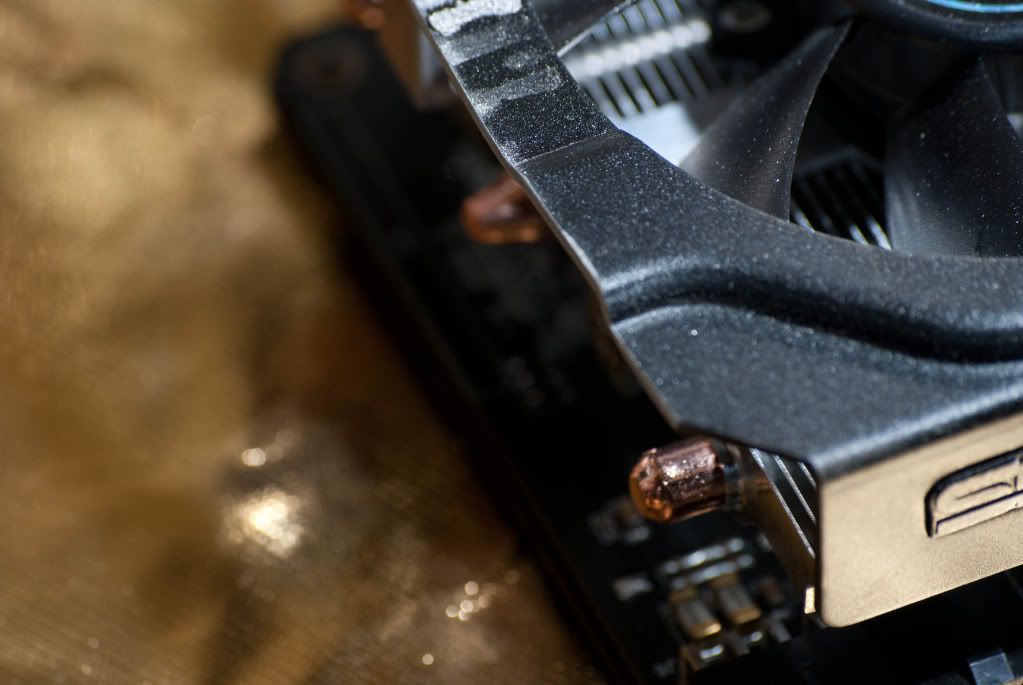
After the trimming, didn't realize the shield was aluminum, you usually don't find quality like this in heatsink shields.
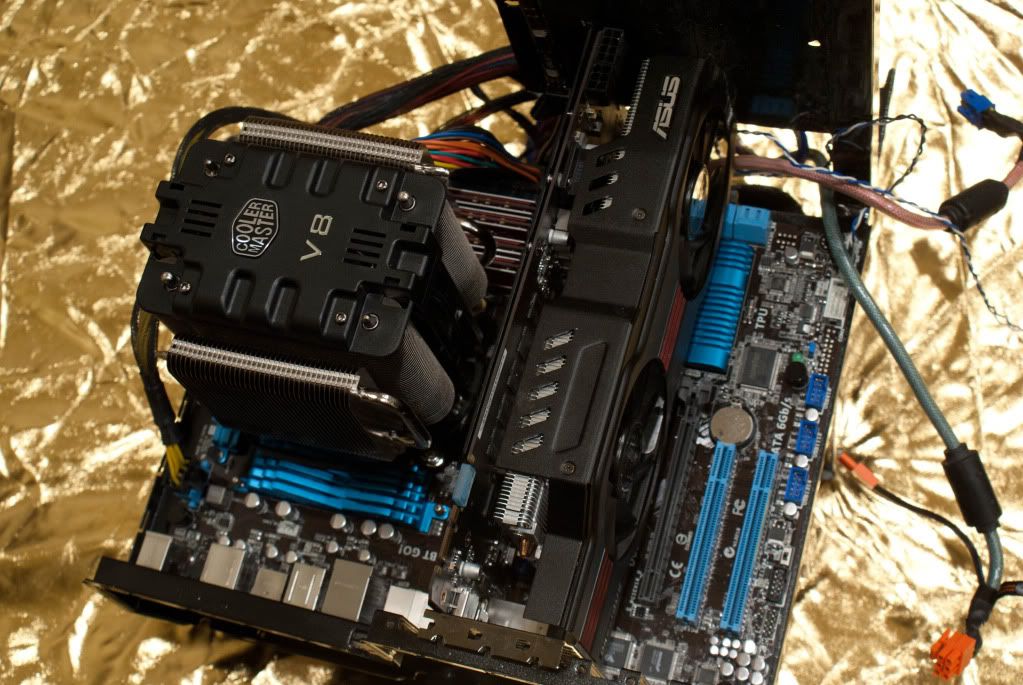
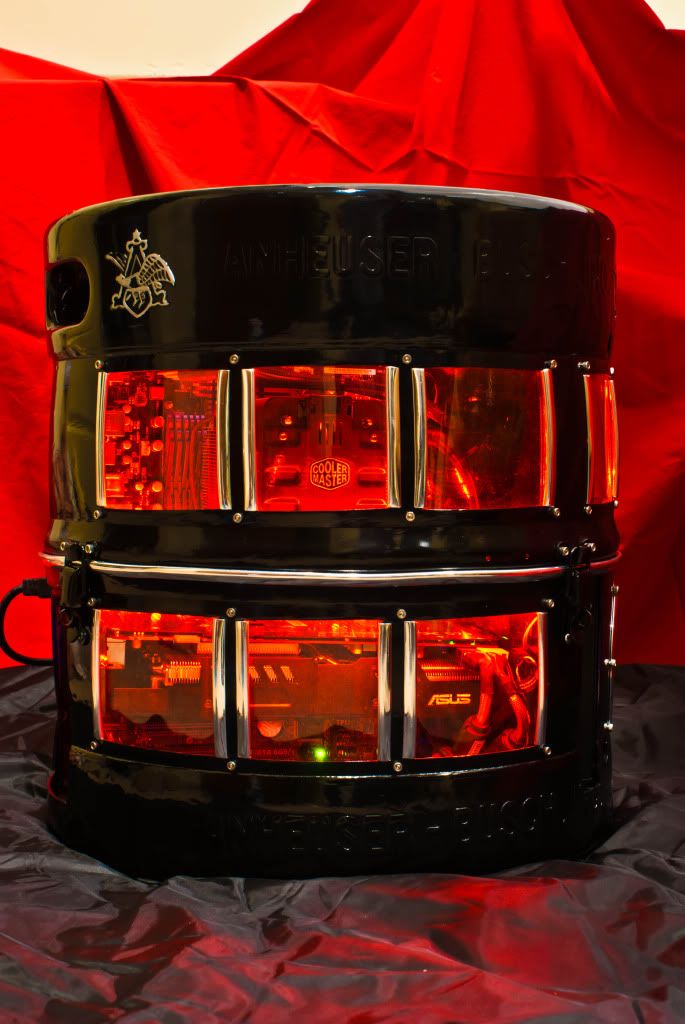
Here is the frame with the mobo and other parts installed; I'm using a ASUS P67 board and the 570 for this build... they do look really sexy.
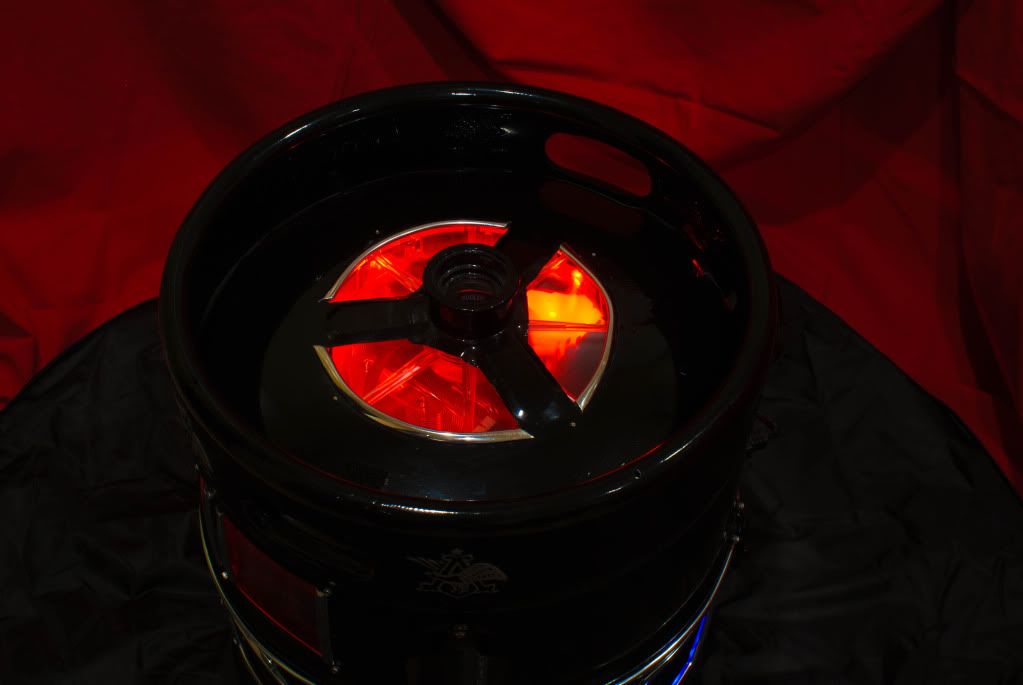
Top view with the 200mm fan.. it's super quite and move a good amount of air.

The horizontal DVD drive in action, you can also see the drive spin because I installed a plexi window and cut the top of the drive.
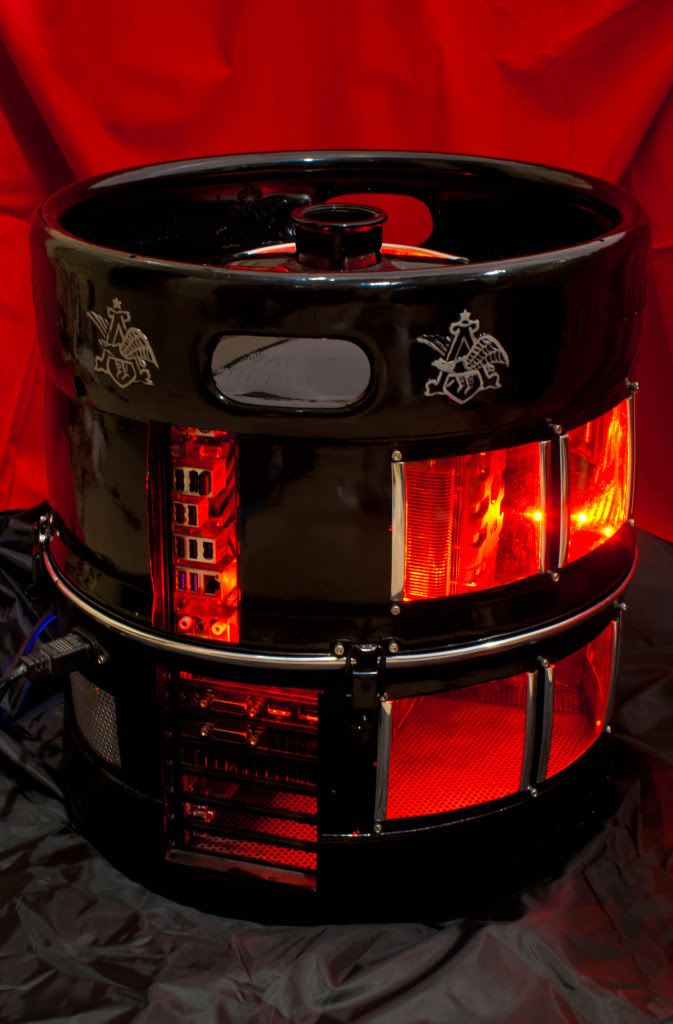
A view from the rear.
So that's pretty much it, the project turned it better then I ever could of expected; and for only about 3 weeks worth of work on the side, the results weren't that bad. This project got me lots of attention and even got me a call from the discovery channel; if you want to check out the video you can watch it here. Nvidia even had me build their own version of the computer which turned out to be amazing.
Discovery Channel Video HERE
Thanks for you time and I hope you appreciate my work 🙂
My name is Ben Lzicar, aka Bennyboy; I've been modding since I learned to build computers, which was about 8 years ago. Modding for me has always been a labor of love, I really do see it as a type of art. Like most art forms some people just don't understand why you would do it, but once they see the final product and their jaw drops... it's a universal appeal that anyone can understand.
I've always prided myself with my MODs being built from scratch; It's my philosophy that a computer case only confines your creativity to a standard, that's why you'll never see me MOD a case unless by someone elseses request. My pieces are always made out of heavy duty steel, which more then often requires lots of grinder cutting and welding, the Kegputer is no exception. I like to raise the standards of computer MODs by bringing in another criteria to the art, and that's durability; if you have a MOD that can't survive being toated around to LAN parties then what's the point of it. I want my computer to be able to banged around a bit without breaking anything, and that's something universal you will see with all my builds.
The Kegputer arose from a dream of mine, I've always seen beer kegs and really wanted to throw a computer into it; well I finally acquired a keg and just started moving the pieces around in my head, then using google sketchup to make sure everything would fit.
The idea was to build a PC inside of a stainless steel 15.5gal keg, eventually I realize that was way more room then I needed, so I decided to cut the middle section out of the keg to shrink it down.
Cut view from the side, I'm designing the case so it the upper half can just pop off for easy access of internals.
The general layout of compenents, the whole Idea of using sketchup for me is to make sure there is enough room to fit everything I need, otherwise I prefer to design my cases as I go.
The keg as I bought it, only 20$, which is a steal!!! A brand new keg will cost you about 120$.
Pretty cool Busch Eagle emblems.
MACRO!!! Obviously I will need to do alot of polishing/sanding.
After I cut the middle section out.
So I decided to cut the bottom of the case out and just put a mesh bottom to allow maxiumum airflow; this also gives me more space for the frame and components.
Skipped a head a little bit, this is the starting of the frame and Optical mount already implace.
Back side shot of the frame, you can see where the PSU is going to fit, also I made a very simple but economical hardrive rack for my backup HDs; I plan on just velcro taping my SSD primary somewhere in the front 🙂
The frame, yes my welding is really crappy, but for this application is doesn't need to be professionally quality; and I would like to see anyone do a much better job using a large industrial stick welder with 1/8 rods 😉
Closer look at my hadrive rack, it put a few test HDs in it, and is suprsing holds them in very tight, and looks really sexy with the offset!!!! This design is so simple idk why I didn't think of it years ago.
Bottom half with the frame in it.
These clasps are going to be what holds the top half of the case to the bottom.
So I forgot to take pictures for while, so sorry for the gap; but this is what the exterior looks like after I was finished cutting all the window holes, fan holes, PCI/mobo ports, and other holes for screws; and a 80 grit rough polish.
Side view of the Optical drive, and yes that's a big hole over where the optical will be, I plan on having a window over the top my drive so you can see the DVDs as they spin around inside the drive.
The big 200mm fan I plan in the top of the case to pull air up and out.
This is where the 200mm will be mounted, hopefully this is enough room for decent CFM.
Ghetto stove I got for 30$.... perfect for powder coating 🙂
Frame in the oven
Mobo Tray after heat treatment and coating
Powder Coat Gun
Tap I hope to mount on the top at some point.
Bottom half with powder coat, ready to be put in oven.
Acrylic Windows
Bottom half with the perforated steel bottom, and chrome trim.
That's it for now, I decided to powder coat the exterior because it require much less effort on my part, and will also provide a durable tarnish resistant coating.
I still have alot of trim work to do, power relay to PSU, and some mesh screening.
The powder coat finish truned out really great, not to mention it's super durable and scratch resistant.
Added some chrome trimming, and hand painted the eagle emblems, for the most part they turned out pretty good; there are a few minor imperfections, but if I ever want to later I can just take some paint thiner and start all over again lol
The Beautiful ASUS 570, really got to love the heatsink on this; I did notice the shield was slightly too big to fit in the case, so I had to trim a bit off, but no worries.
After the trimming, didn't realize the shield was aluminum, you usually don't find quality like this in heatsink shields.
Here is the frame with the mobo and other parts installed; I'm using a ASUS P67 board and the 570 for this build... they do look really sexy.
Top view with the 200mm fan.. it's super quite and move a good amount of air.
The horizontal DVD drive in action, you can also see the drive spin because I installed a plexi window and cut the top of the drive.
A view from the rear.
So that's pretty much it, the project turned it better then I ever could of expected; and for only about 3 weeks worth of work on the side, the results weren't that bad. This project got me lots of attention and even got me a call from the discovery channel; if you want to check out the video you can watch it here. Nvidia even had me build their own version of the computer which turned out to be amazing.
Discovery Channel Video HERE
Thanks for you time and I hope you appreciate my work 🙂
15,601 Views
12 REPLIES 12
Options
- Mark as New
- Bookmark
- Subscribe
- Mute
- Subscribe to RSS Feed
- Permalink
06-15-2011 07:03 AM
Excellent work!
"I would rather be gaming!" Grunts-clan.com
[SIGPIC][/SIGPIC]
http://Pcjunkiemods.com
http://c2cmods.com
[SIGPIC][/SIGPIC]
http://Pcjunkiemods.com
http://c2cmods.com
Retired
Not applicable
Options
- Mark as New
- Bookmark
- Subscribe
- Mute
- Subscribe to RSS Feed
- Permalink
06-15-2011 10:52 AM
this is great except for the fact that it is Bud... lol
Options
- Mark as New
- Bookmark
- Subscribe
- Mute
- Subscribe to RSS Feed
- Permalink
06-16-2011 06:07 PM
Six Foot Ginger wrote:
this is great except for the fact that it is Bud... lol
You try to find a spare keg laying around, they're extremely hard to come by; I am personally no fan of bud either but after a year looking for a used keg I was happy to get one no matter what brand it was; do note I didn't highlight the AnheserBusch... I only highlighted the eagle because I think it looks cool.
Options
- Mark as New
- Bookmark
- Subscribe
- Mute
- Subscribe to RSS Feed
- Permalink
01-30-2012 01:02 AM
Bennyboy wrote:Amen tot that:cool:! This one is realy cool & i love the bear tap & i'm not even drink that much bear XD!
You try to find a spare keg laying around, they're extremely hard to come by; I am personally no fan of bud either but after a year looking for a used keg I was happy to get one no matter what brand it was; do note I didn't highlight the AnheserBusch... I only highlighted the eagle because I think it looks cool.

Retired
Not applicable
Options
- Mark as New
- Bookmark
- Subscribe
- Mute
- Subscribe to RSS Feed
- Permalink
06-16-2011 07:56 PM
i just got rid of two pony and one full size coors light Keg. wish I would have known sooner.
I had a buddy of mine that used to work at BJs down here.
Hey still have a tap though if that helps...
I had a buddy of mine that used to work at BJs down here.
Hey still have a tap though if that helps...
Options
- Mark as New
- Bookmark
- Subscribe
- Mute
- Subscribe to RSS Feed
- Permalink
06-16-2011 09:49 PM
This mod led to the NVIDIA Kegputer which was the most publicized mod in history.
Options
- Mark as New
- Bookmark
- Subscribe
- Mute
- Subscribe to RSS Feed
- Permalink
06-16-2011 10:03 PM
DarthBeavis wrote:
This mod led to the NVIDIA Kegputer which was the most publicized mod in history.
So far!! 🙂
"I would rather be gaming!" Grunts-clan.com
[SIGPIC][/SIGPIC]
http://Pcjunkiemods.com
http://c2cmods.com
[SIGPIC][/SIGPIC]
http://Pcjunkiemods.com
http://c2cmods.com
Options
- Mark as New
- Bookmark
- Subscribe
- Mute
- Subscribe to RSS Feed
- Permalink
08-19-2011 08:43 AM
WOW....
6'G,,,,emptying and getting rid of are two different things...hahahaa
Whats next..a GENE in an old mail box...Amazing.
6'G,,,,emptying and getting rid of are two different things...hahahaa
Whats next..a GENE in an old mail box...Amazing.
Related Content
- Troubleshooting GPU upgrade in Hardware & Build Advice
- Motherboard turns on, but not BIOS in Hardware & Build Advice
- On Becoming a Technician. in Hardware & Build Advice
- ROG Hyperion GR701 ARGB and Fan hub question about proper connection in Hardware & Build Advice
- Using Asus Mini PC to develop a End Product and sell in Hardware & Build Advice
