Turn on suggestions
Auto-suggest helps you quickly narrow down your search results by suggesting possible matches as you type.
Showing results for
- Republic of Gamers Forum
- Discussions
- Case Mods & PC Builds
- Project Log: Hail to the King
Options
- Subscribe to RSS Feed
- Mark Topic as New
- Mark Topic as Read
- Float this Topic for Current User
- Bookmark
- Subscribe
- Mute
- Printer Friendly Page
Project Log: Hail to the King
Options
- Mark as New
- Bookmark
- Subscribe
- Mute
- Subscribe to RSS Feed
- Permalink
06-15-2011
10:20 AM
- last edited on
03-05-2024
08:16 PM
by
![]() ROGBot
ROGBot
This project was commissioned by NVIDIA as a gift to Gearbox for the launch of Duke Nukem Forever. Partners in this project include:
NVIDIA - Financed the project, project manager was Kris Rey, Community Manager from NVIDIA. Special thanks also go out to Eric Liu, Leslie Pirritano, and Mike DeNeffe (all NVIDIANS) for making this project happen. Sean Wix and Tim Springer from NVIDIA were patient enough to let us use their lab space and provide trouble-shooting to get some insane dual-screen 3d action going.
EVGA - supplied Classified 3 motherboard and two Hydrocopper 2 580s
Danger Den - Laser cutting services and all water-cooling at a nice discount
Crucial - killer Ballistix Smart Tracer ram and two SSDS
East Bridge Manufacturing - Discounted metal fabrication services - hub and mini gun came out beautiful!
BoxGods - insane design that make the project so much easier
ASUS - two 23" 3d monitors
Frozen CPU - nice discounts on various parts especially the UV Green wire for the PSUs
Silverstone - 1500 watt PSU
Fernando from Painters Supply in Salem Oregon - busted his tail to help get skin painted in time
The guys at Mid Valley Metal works for the use of their HUGE powder coating oven for bending the skins
My wife Delia who helped me heat bend the pod skins and who put up with the mess in our great room while I built this puppy
and my best friend (next to the wife) Chris Fletcher who gave up his time to travel with me to NVIDIA to complete the build
Gearbox and 2k for making the game and supporting this project!!!
I will not reproduce everything in the Geforce.com article found here http://www.geforce.com/#/News/articles/nvidia-presents-the-duke-nukem-forever-pc-mod but will instead add to it to provide more details and allow you to give feedback. Geno and I feel we want to not only produce worklogs to publicize the project but also to make the worklog a learning experience and to give back to the community. This worklog will be spread out over a a week or so - please keep checking for updates.
As stated in the article, we had several concepts for this project which were considered before arriving at one which everyone liked. My first submission was a school-girl themed design. I will not go into too much detail on this one but you can figure it out if you look at some Duke artwork. The second concept was the single Duke logo with buildings on each side.

If we used this concept, I would have included some pretty insane miniature buildings.
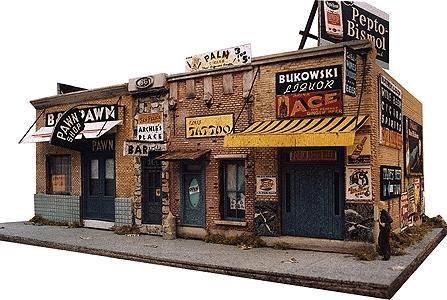
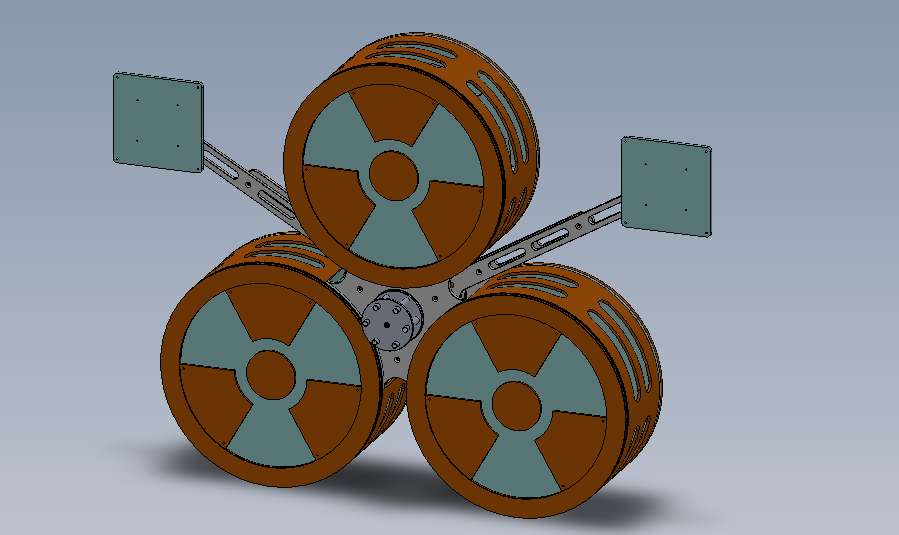
Geno, true to form, came up with a few twists "just in case" we wanted to go in a different direction. This was his just for giggles concept:
NVIDIA - Financed the project, project manager was Kris Rey, Community Manager from NVIDIA. Special thanks also go out to Eric Liu, Leslie Pirritano, and Mike DeNeffe (all NVIDIANS) for making this project happen. Sean Wix and Tim Springer from NVIDIA were patient enough to let us use their lab space and provide trouble-shooting to get some insane dual-screen 3d action going.
EVGA - supplied Classified 3 motherboard and two Hydrocopper 2 580s
Danger Den - Laser cutting services and all water-cooling at a nice discount
Crucial - killer Ballistix Smart Tracer ram and two SSDS
East Bridge Manufacturing - Discounted metal fabrication services - hub and mini gun came out beautiful!
BoxGods - insane design that make the project so much easier
ASUS - two 23" 3d monitors
Frozen CPU - nice discounts on various parts especially the UV Green wire for the PSUs
Silverstone - 1500 watt PSU
Fernando from Painters Supply in Salem Oregon - busted his tail to help get skin painted in time
The guys at Mid Valley Metal works for the use of their HUGE powder coating oven for bending the skins
My wife Delia who helped me heat bend the pod skins and who put up with the mess in our great room while I built this puppy
and my best friend (next to the wife) Chris Fletcher who gave up his time to travel with me to NVIDIA to complete the build
Gearbox and 2k for making the game and supporting this project!!!
I will not reproduce everything in the Geforce.com article found here http://www.geforce.com/#/News/articles/nvidia-presents-the-duke-nukem-forever-pc-mod but will instead add to it to provide more details and allow you to give feedback. Geno and I feel we want to not only produce worklogs to publicize the project but also to make the worklog a learning experience and to give back to the community. This worklog will be spread out over a a week or so - please keep checking for updates.
As stated in the article, we had several concepts for this project which were considered before arriving at one which everyone liked. My first submission was a school-girl themed design. I will not go into too much detail on this one but you can figure it out if you look at some Duke artwork. The second concept was the single Duke logo with buildings on each side.
If we used this concept, I would have included some pretty insane miniature buildings.
Geno, true to form, came up with a few twists "just in case" we wanted to go in a different direction. This was his just for giggles concept:
11,936 Views
13 REPLIES 13
Retired
Not applicable
Options
- Mark as New
- Bookmark
- Subscribe
- Mute
- Subscribe to RSS Feed
- Permalink
06-15-2011 10:51 AM
very cool but so very crazy big!!
Options
- Mark as New
- Bookmark
- Subscribe
- Mute
- Subscribe to RSS Feed
- Permalink
06-15-2011 10:57 AM
Everything Duke is over the top so I think this is perfect 🙂
A bus station is where a bus stops. A train station is where a train stops. On my desk, I have a work station…
Options
- Mark as New
- Bookmark
- Subscribe
- Mute
- Subscribe to RSS Feed
- Permalink
06-15-2011 11:49 AM
Where's the Duke Nukem babes? 😛
Options
- Mark as New
- Bookmark
- Subscribe
- Mute
- Subscribe to RSS Feed
- Permalink
06-15-2011 11:50 AM
Hail to The Kings. Thats what it should be. Darth the master modder and this super crazy big Pc. Great work Darth!! 🙂
"I would rather be gaming!" Grunts-clan.com
[SIGPIC][/SIGPIC]
http://Pcjunkiemods.com
http://c2cmods.com
[SIGPIC][/SIGPIC]
http://Pcjunkiemods.com
http://c2cmods.com
Retired
Not applicable
Options
- Mark as New
- Bookmark
- Subscribe
- Mute
- Subscribe to RSS Feed
- Permalink
06-15-2011 01:11 PM
the Babes where at E3, sitting with me lol
Options
- Mark as New
- Bookmark
- Subscribe
- Mute
- Subscribe to RSS Feed
- Permalink
06-16-2011 09:52 AM
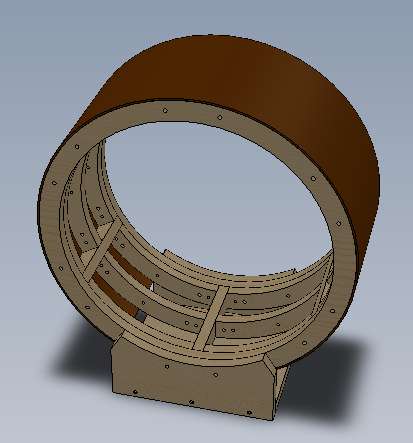
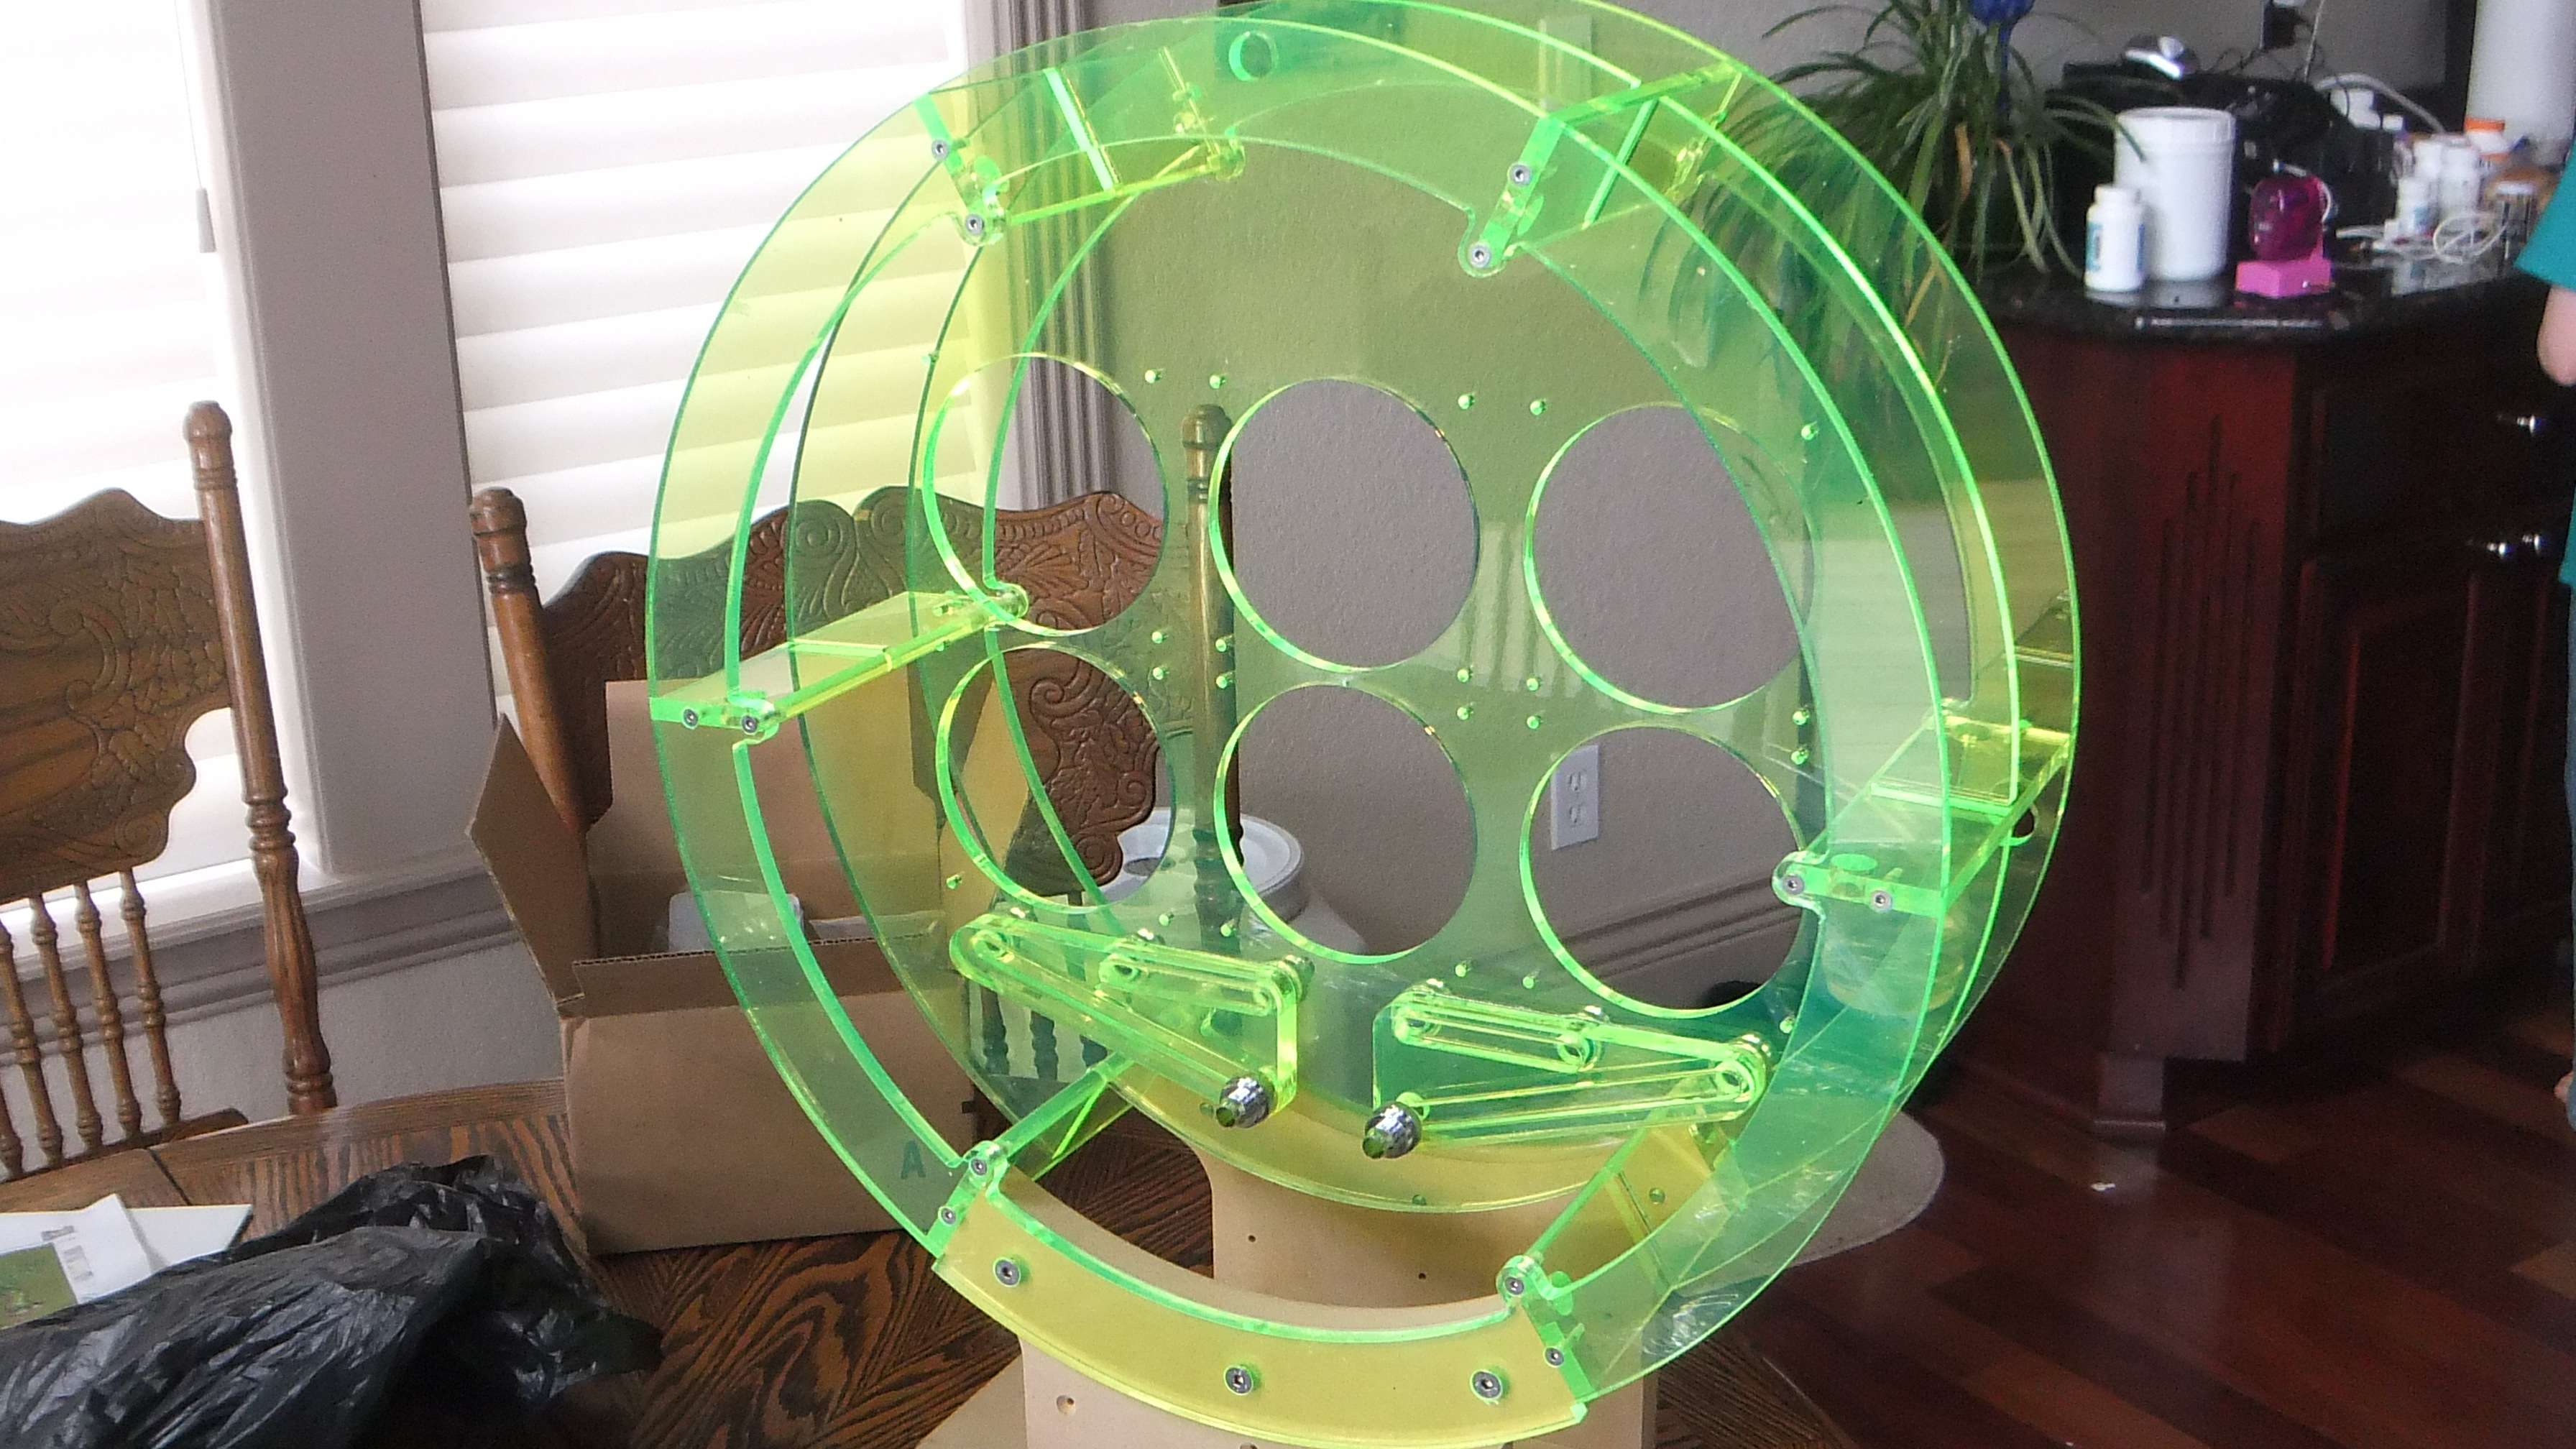
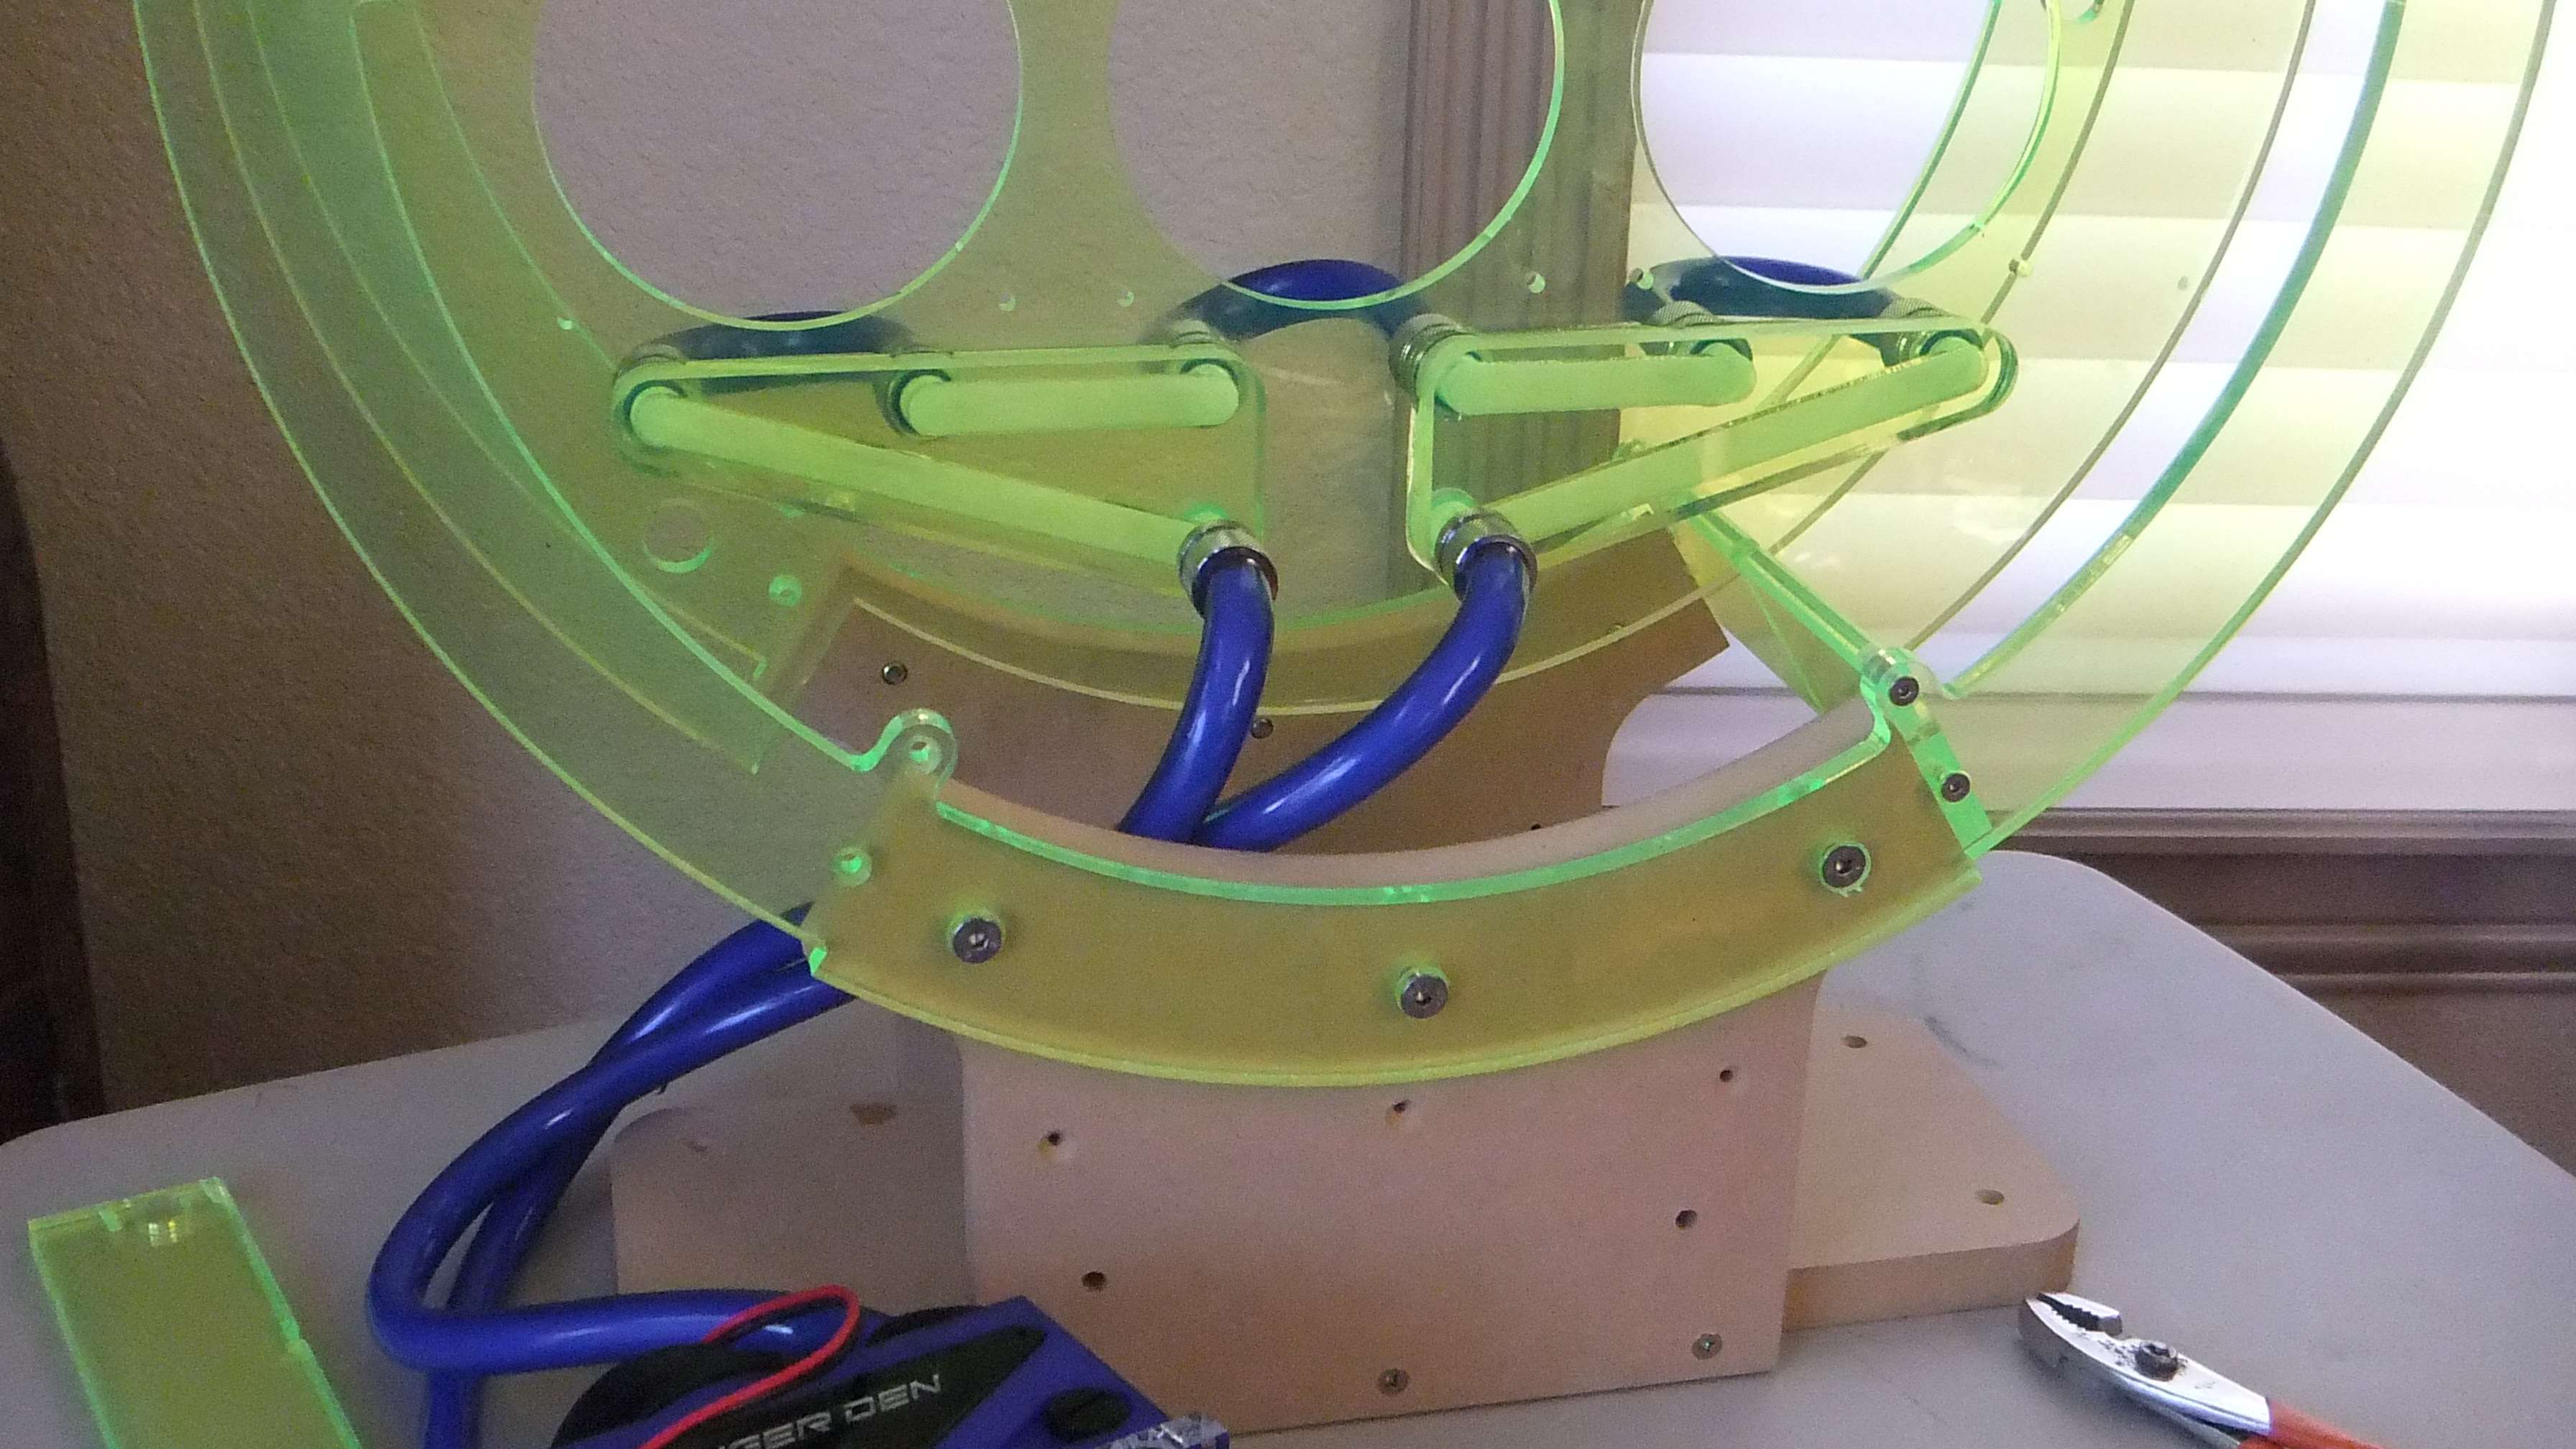
Once Geno had the Solidworks drawing done, Danger Den set to work cutting the acrylic. Here you see some of the pieces from Danger Den
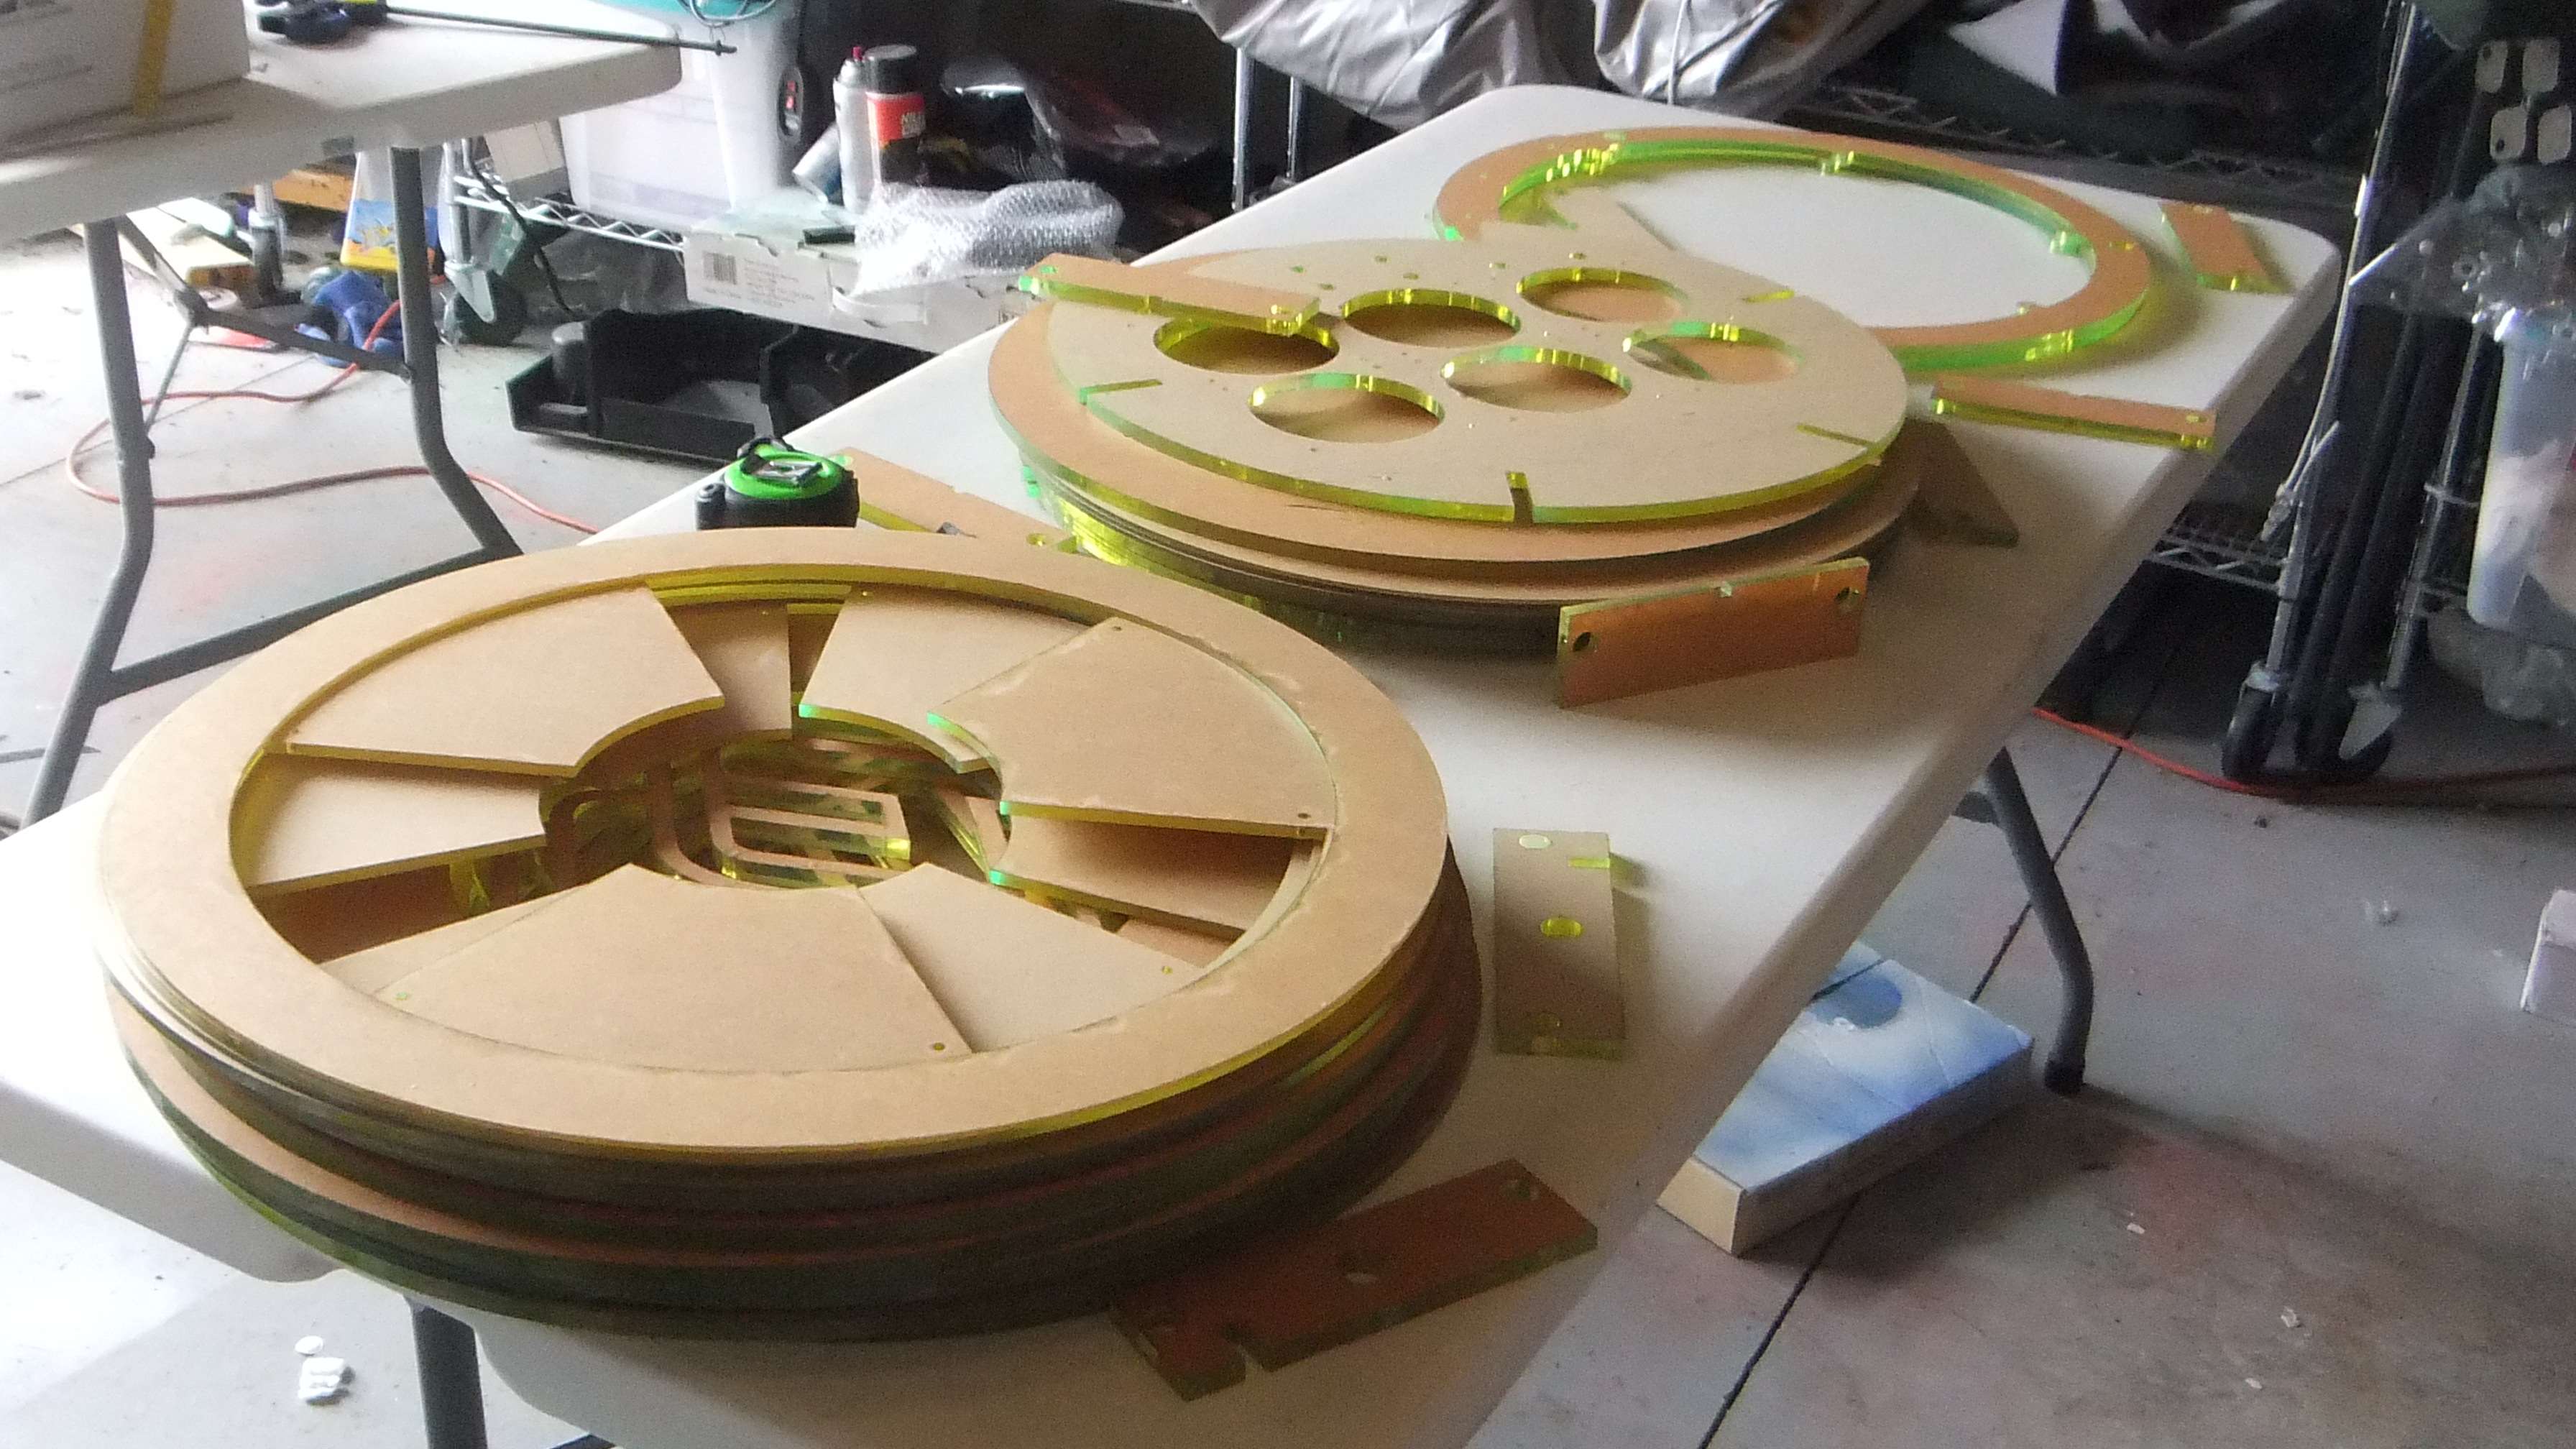
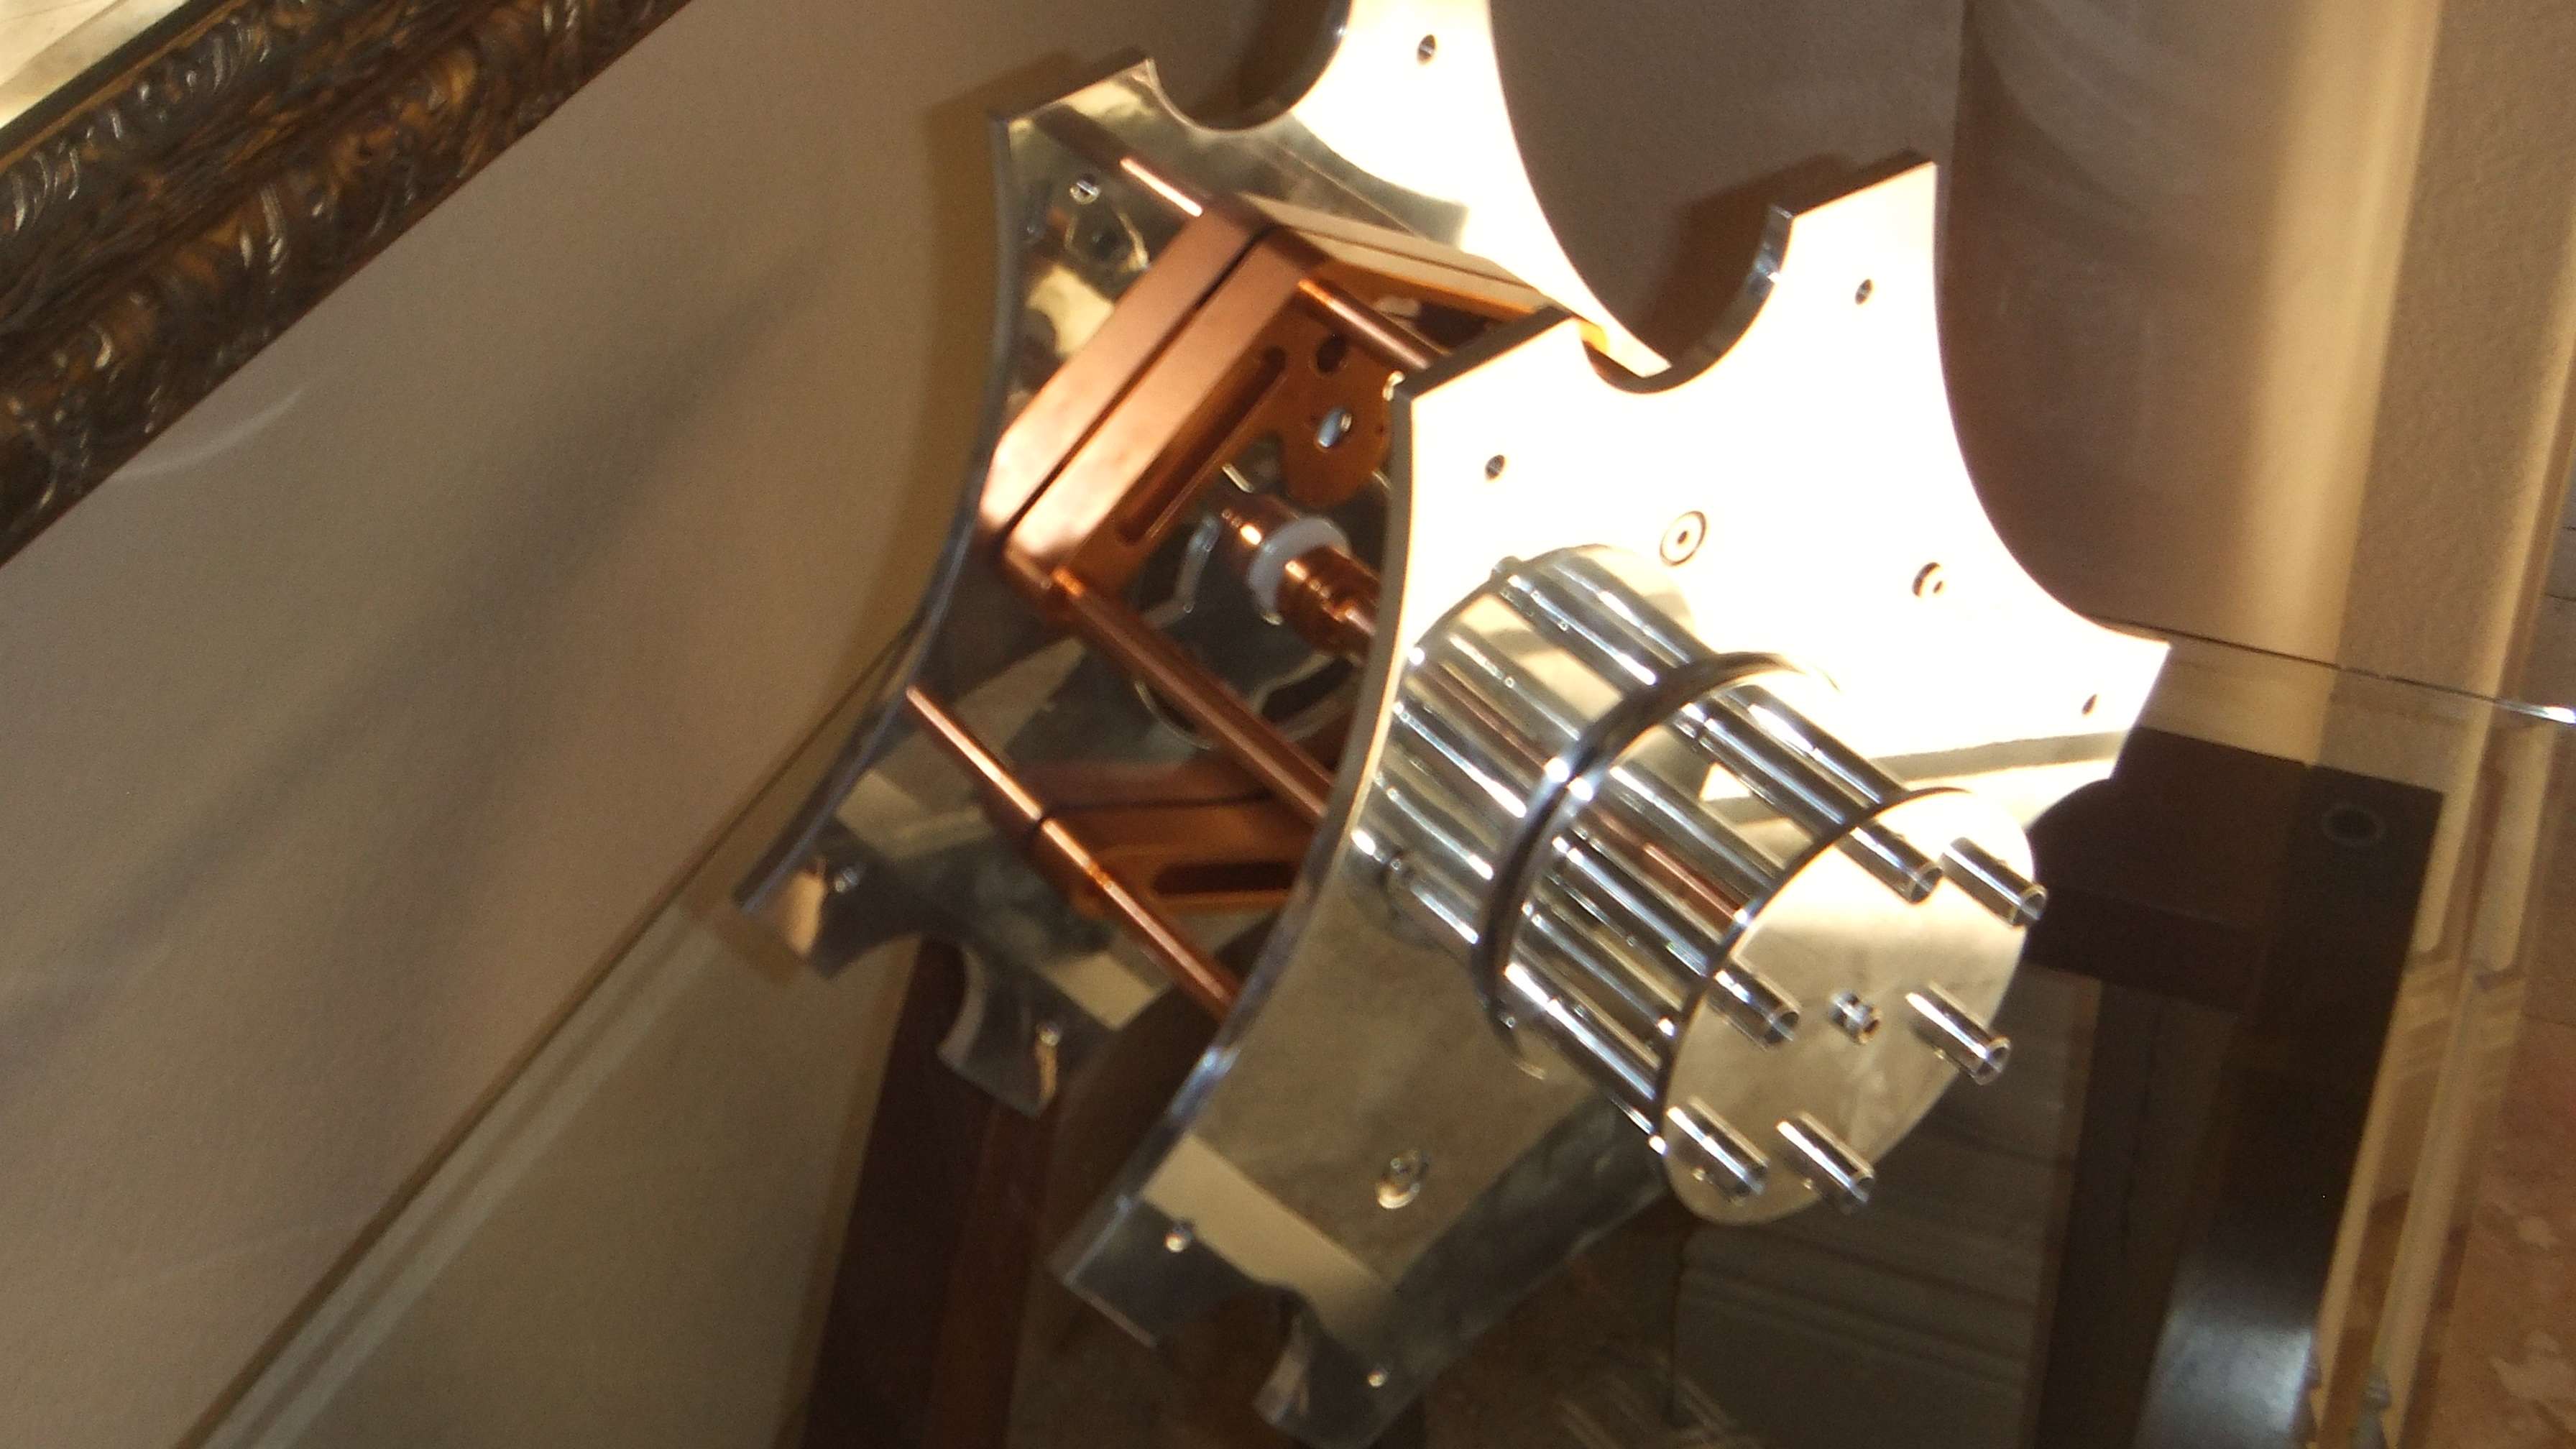
Geno had East Bay Manufacture fabricate the hub and gun
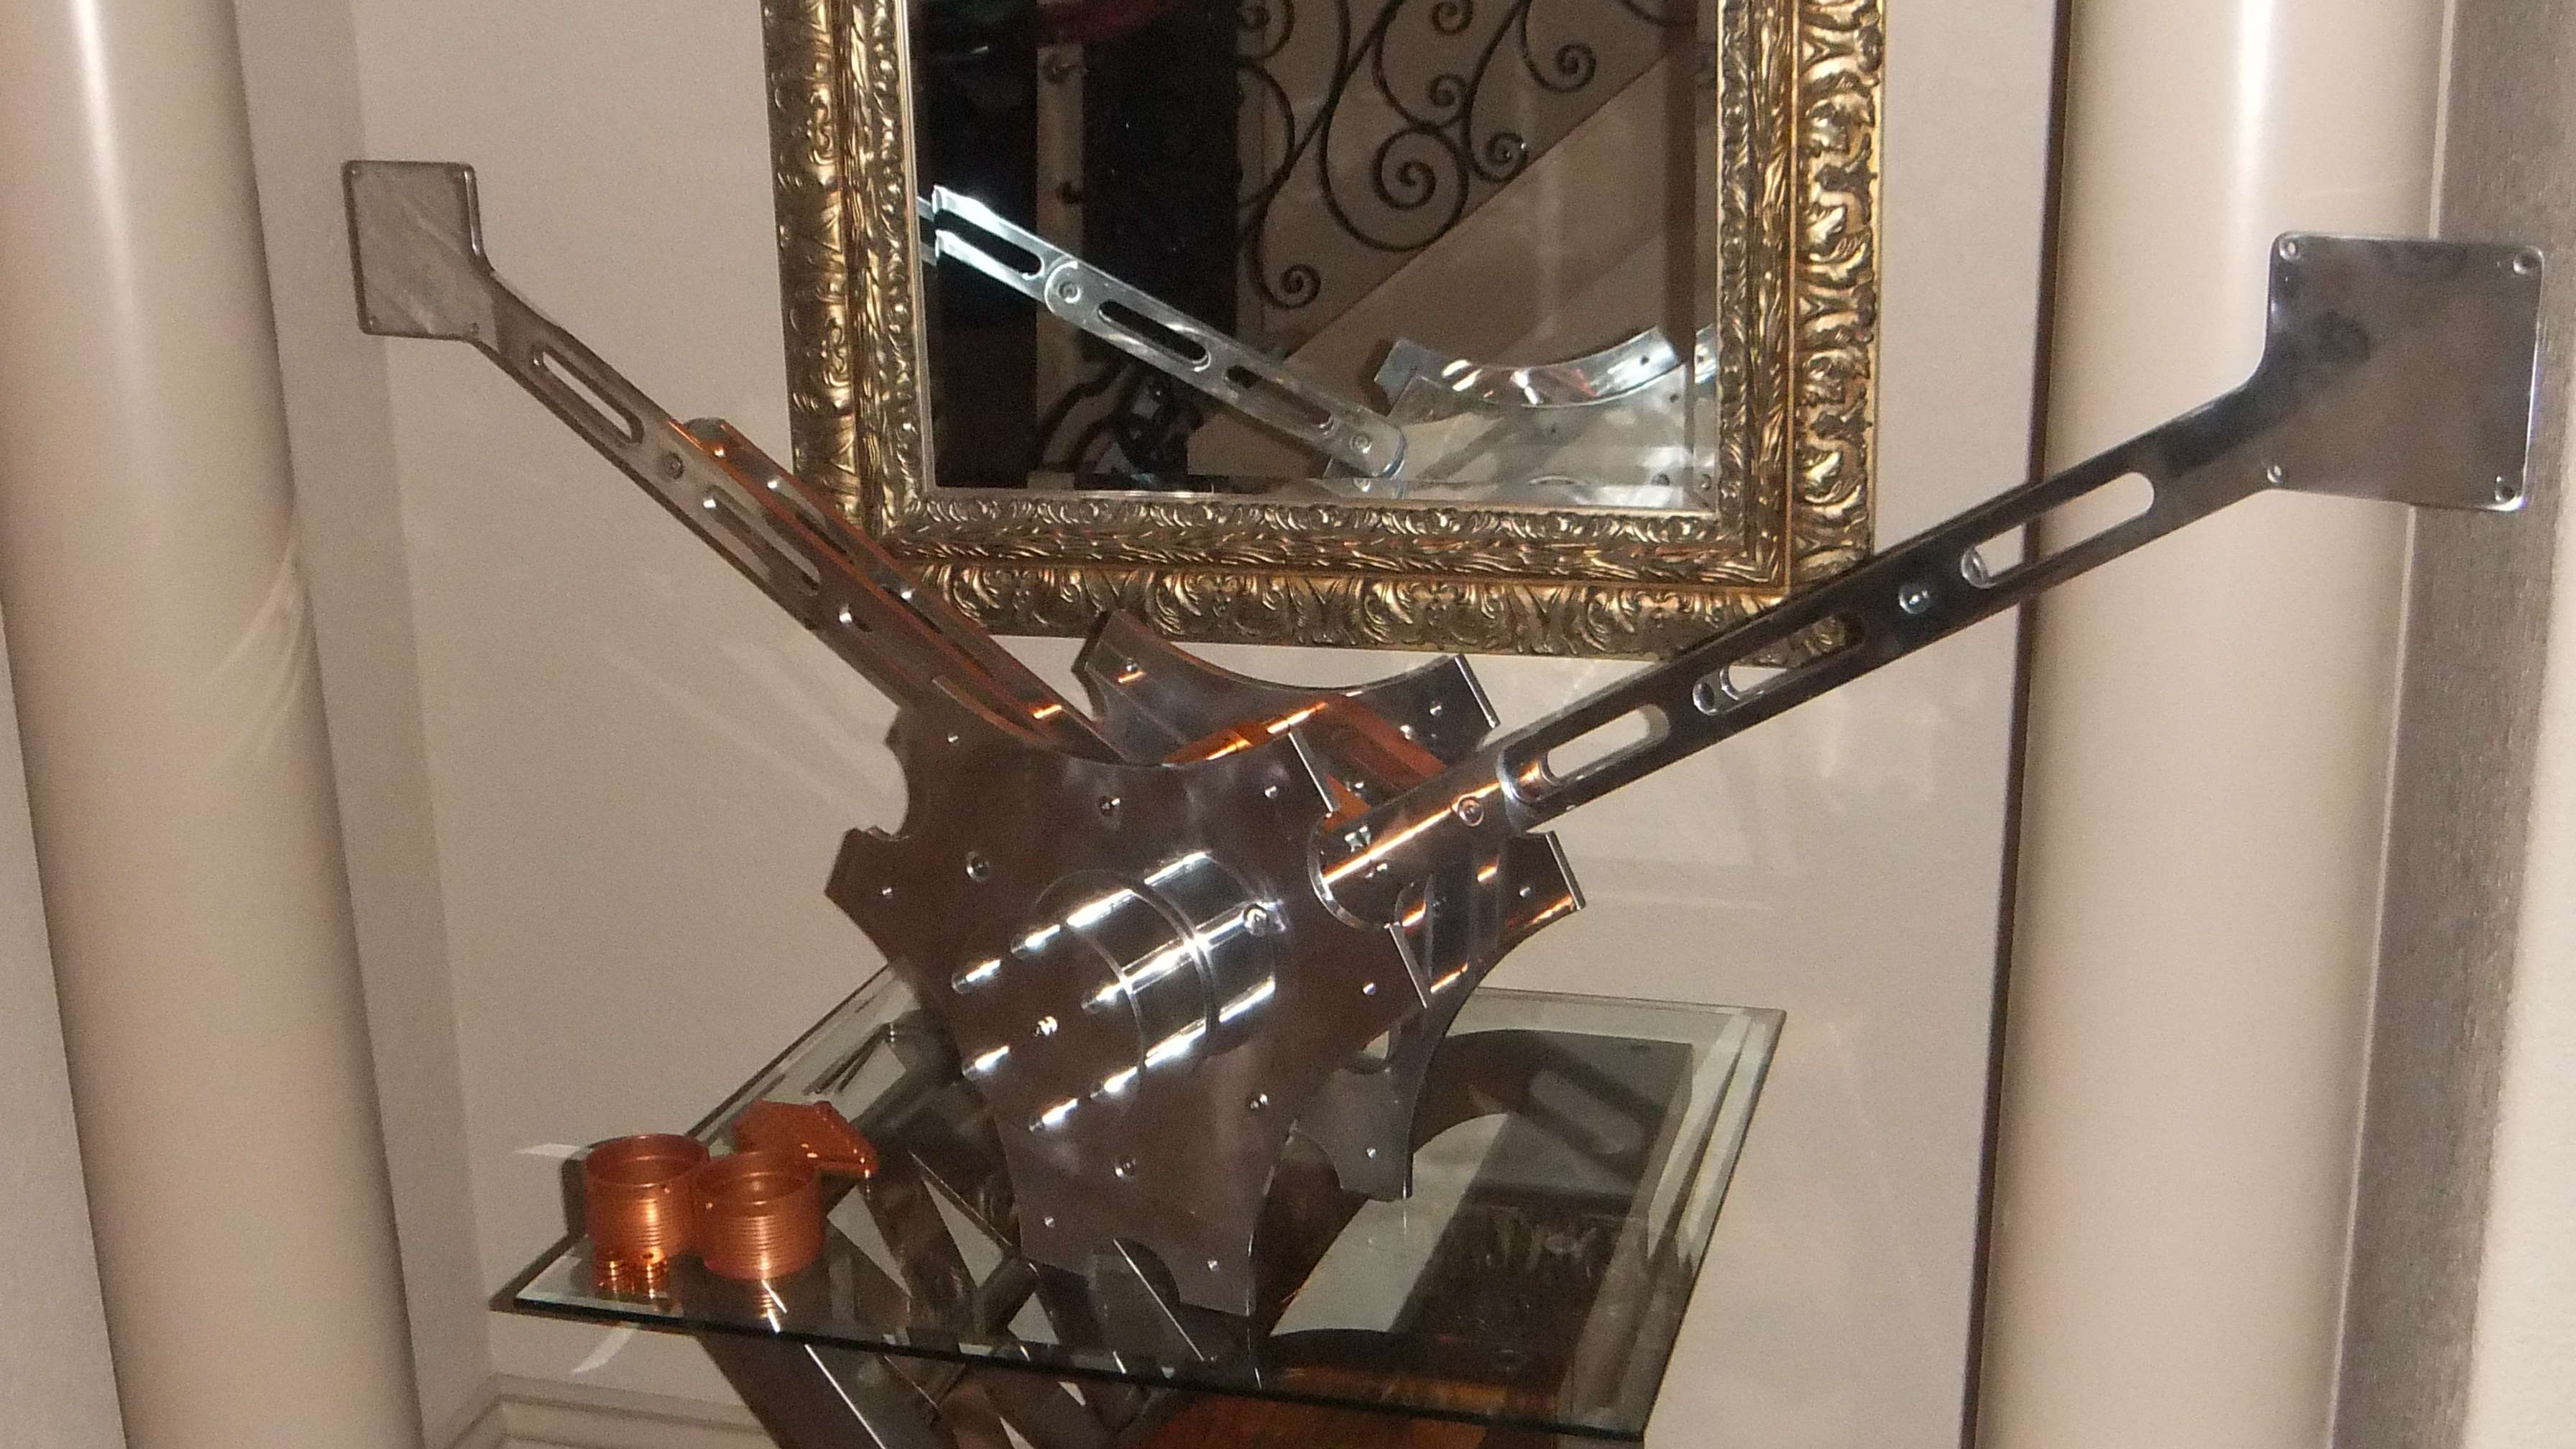
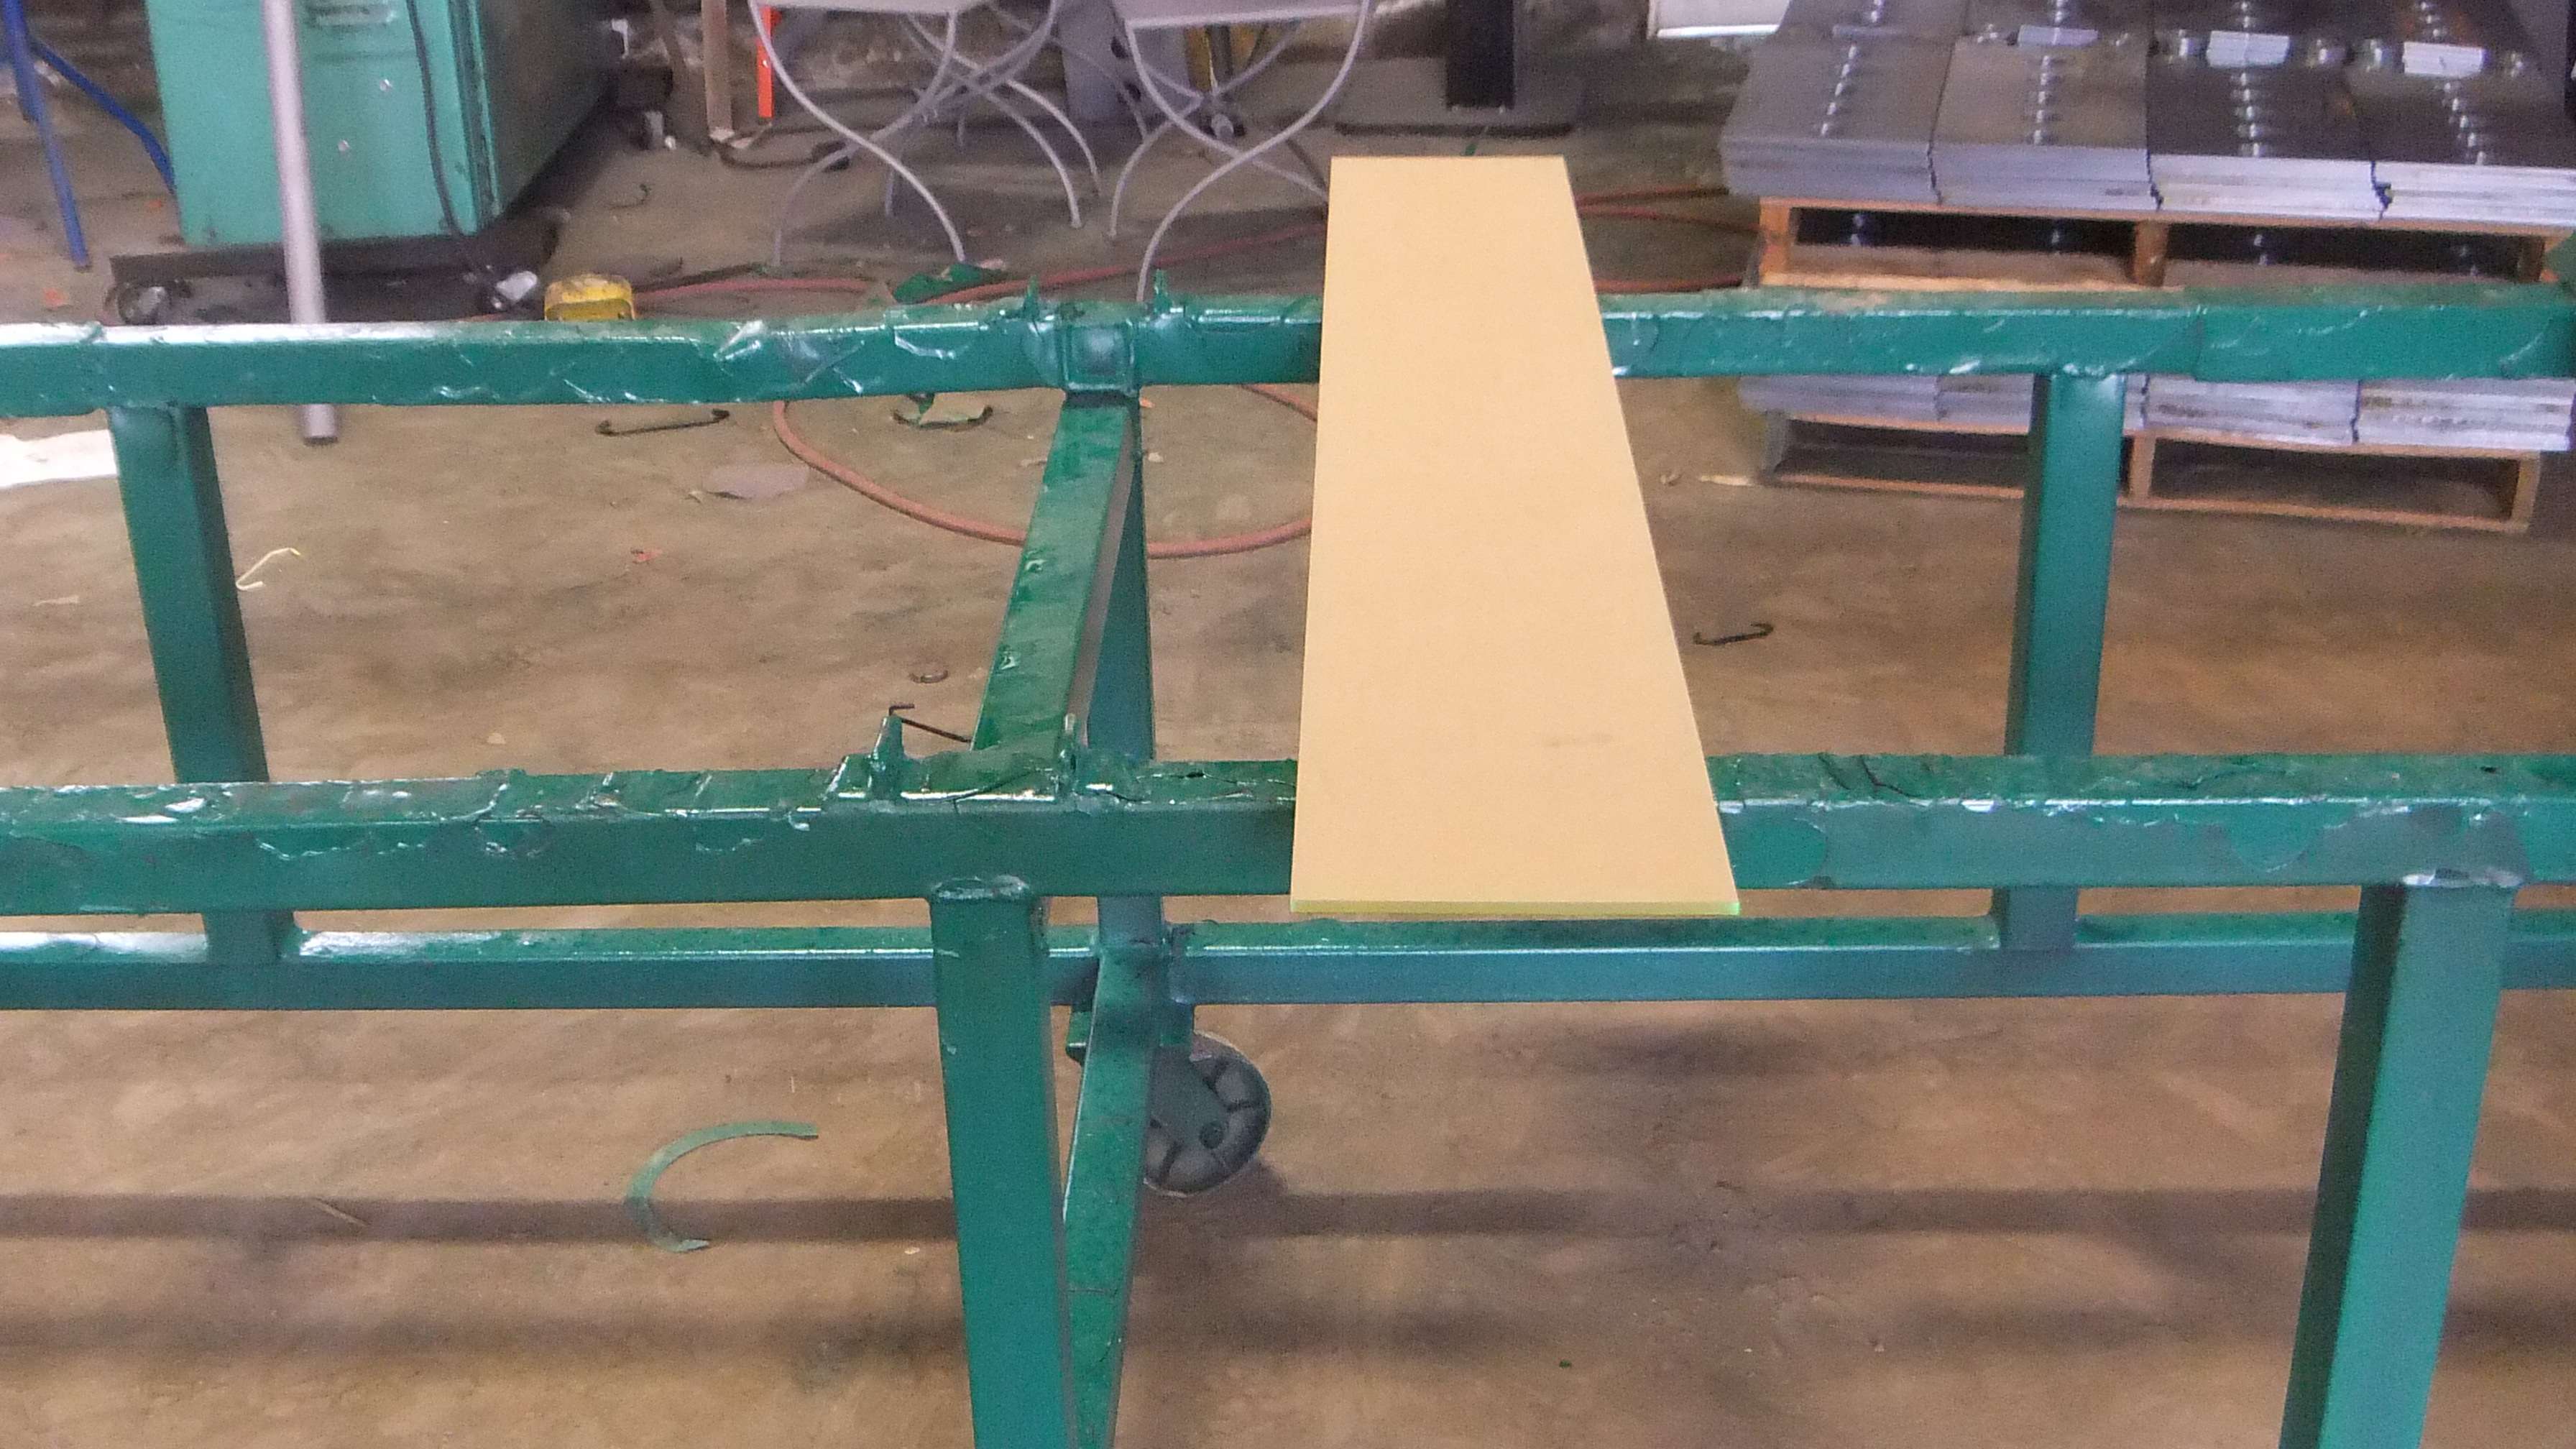
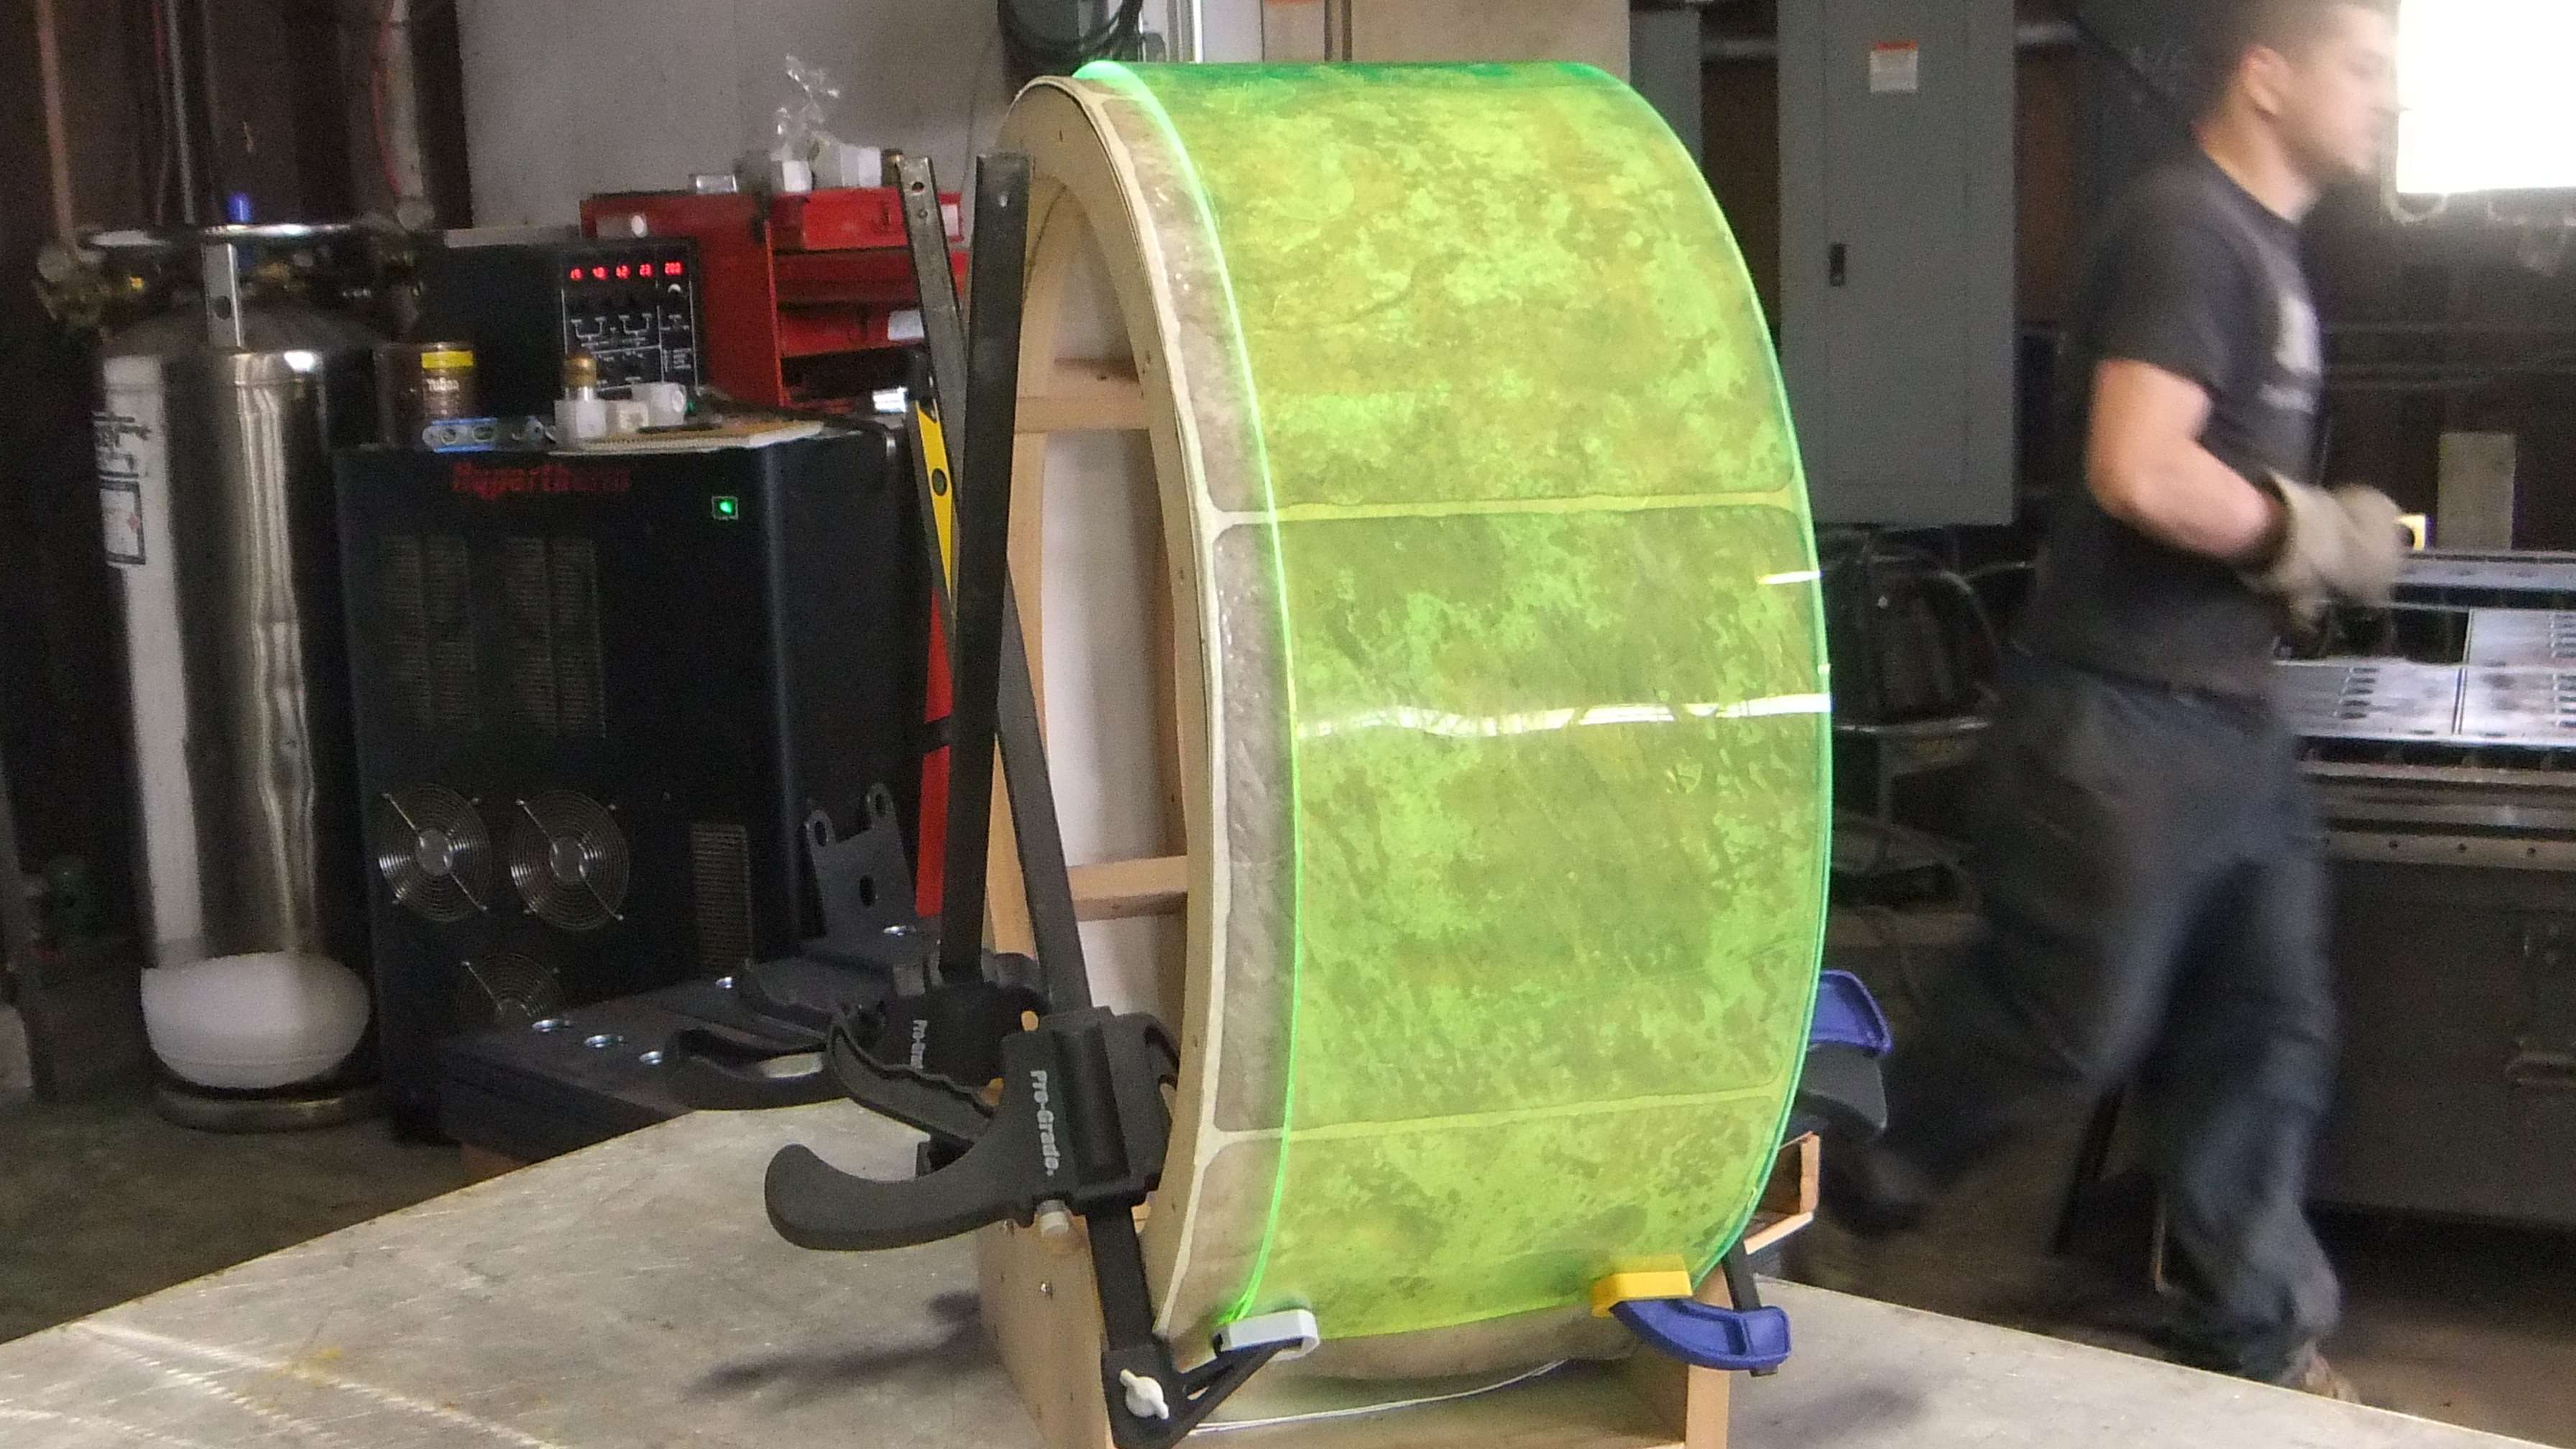
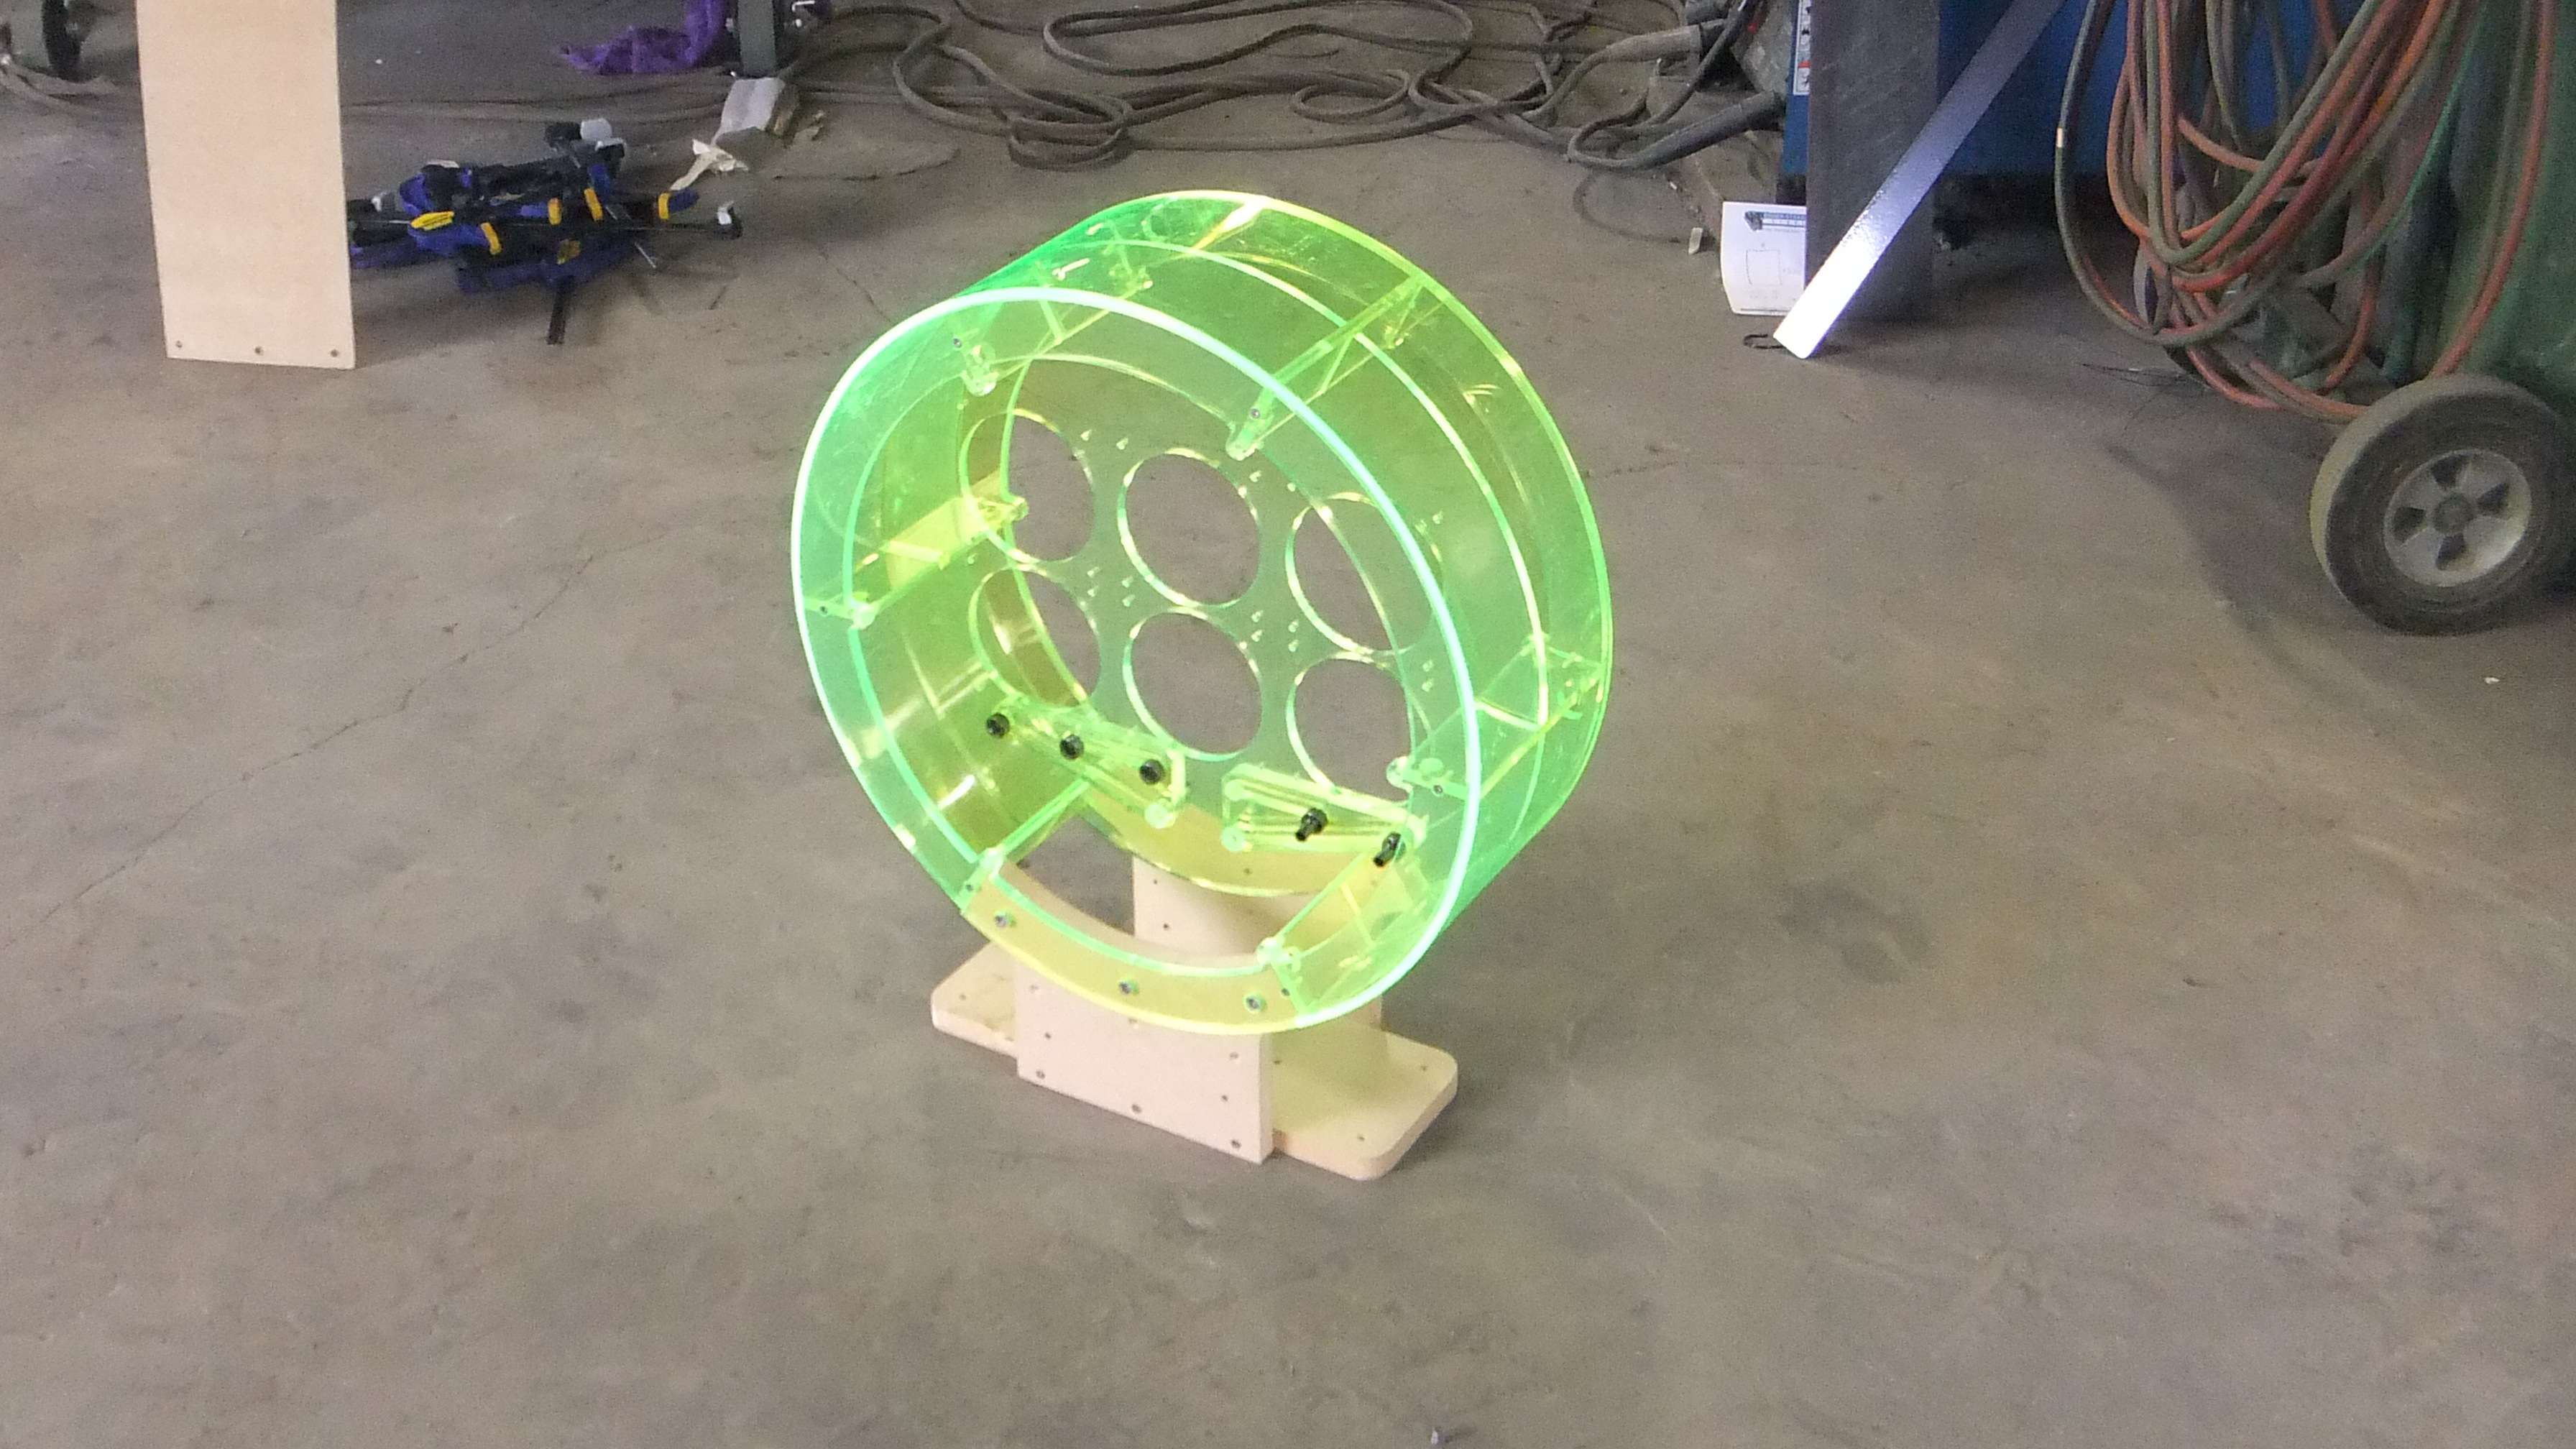
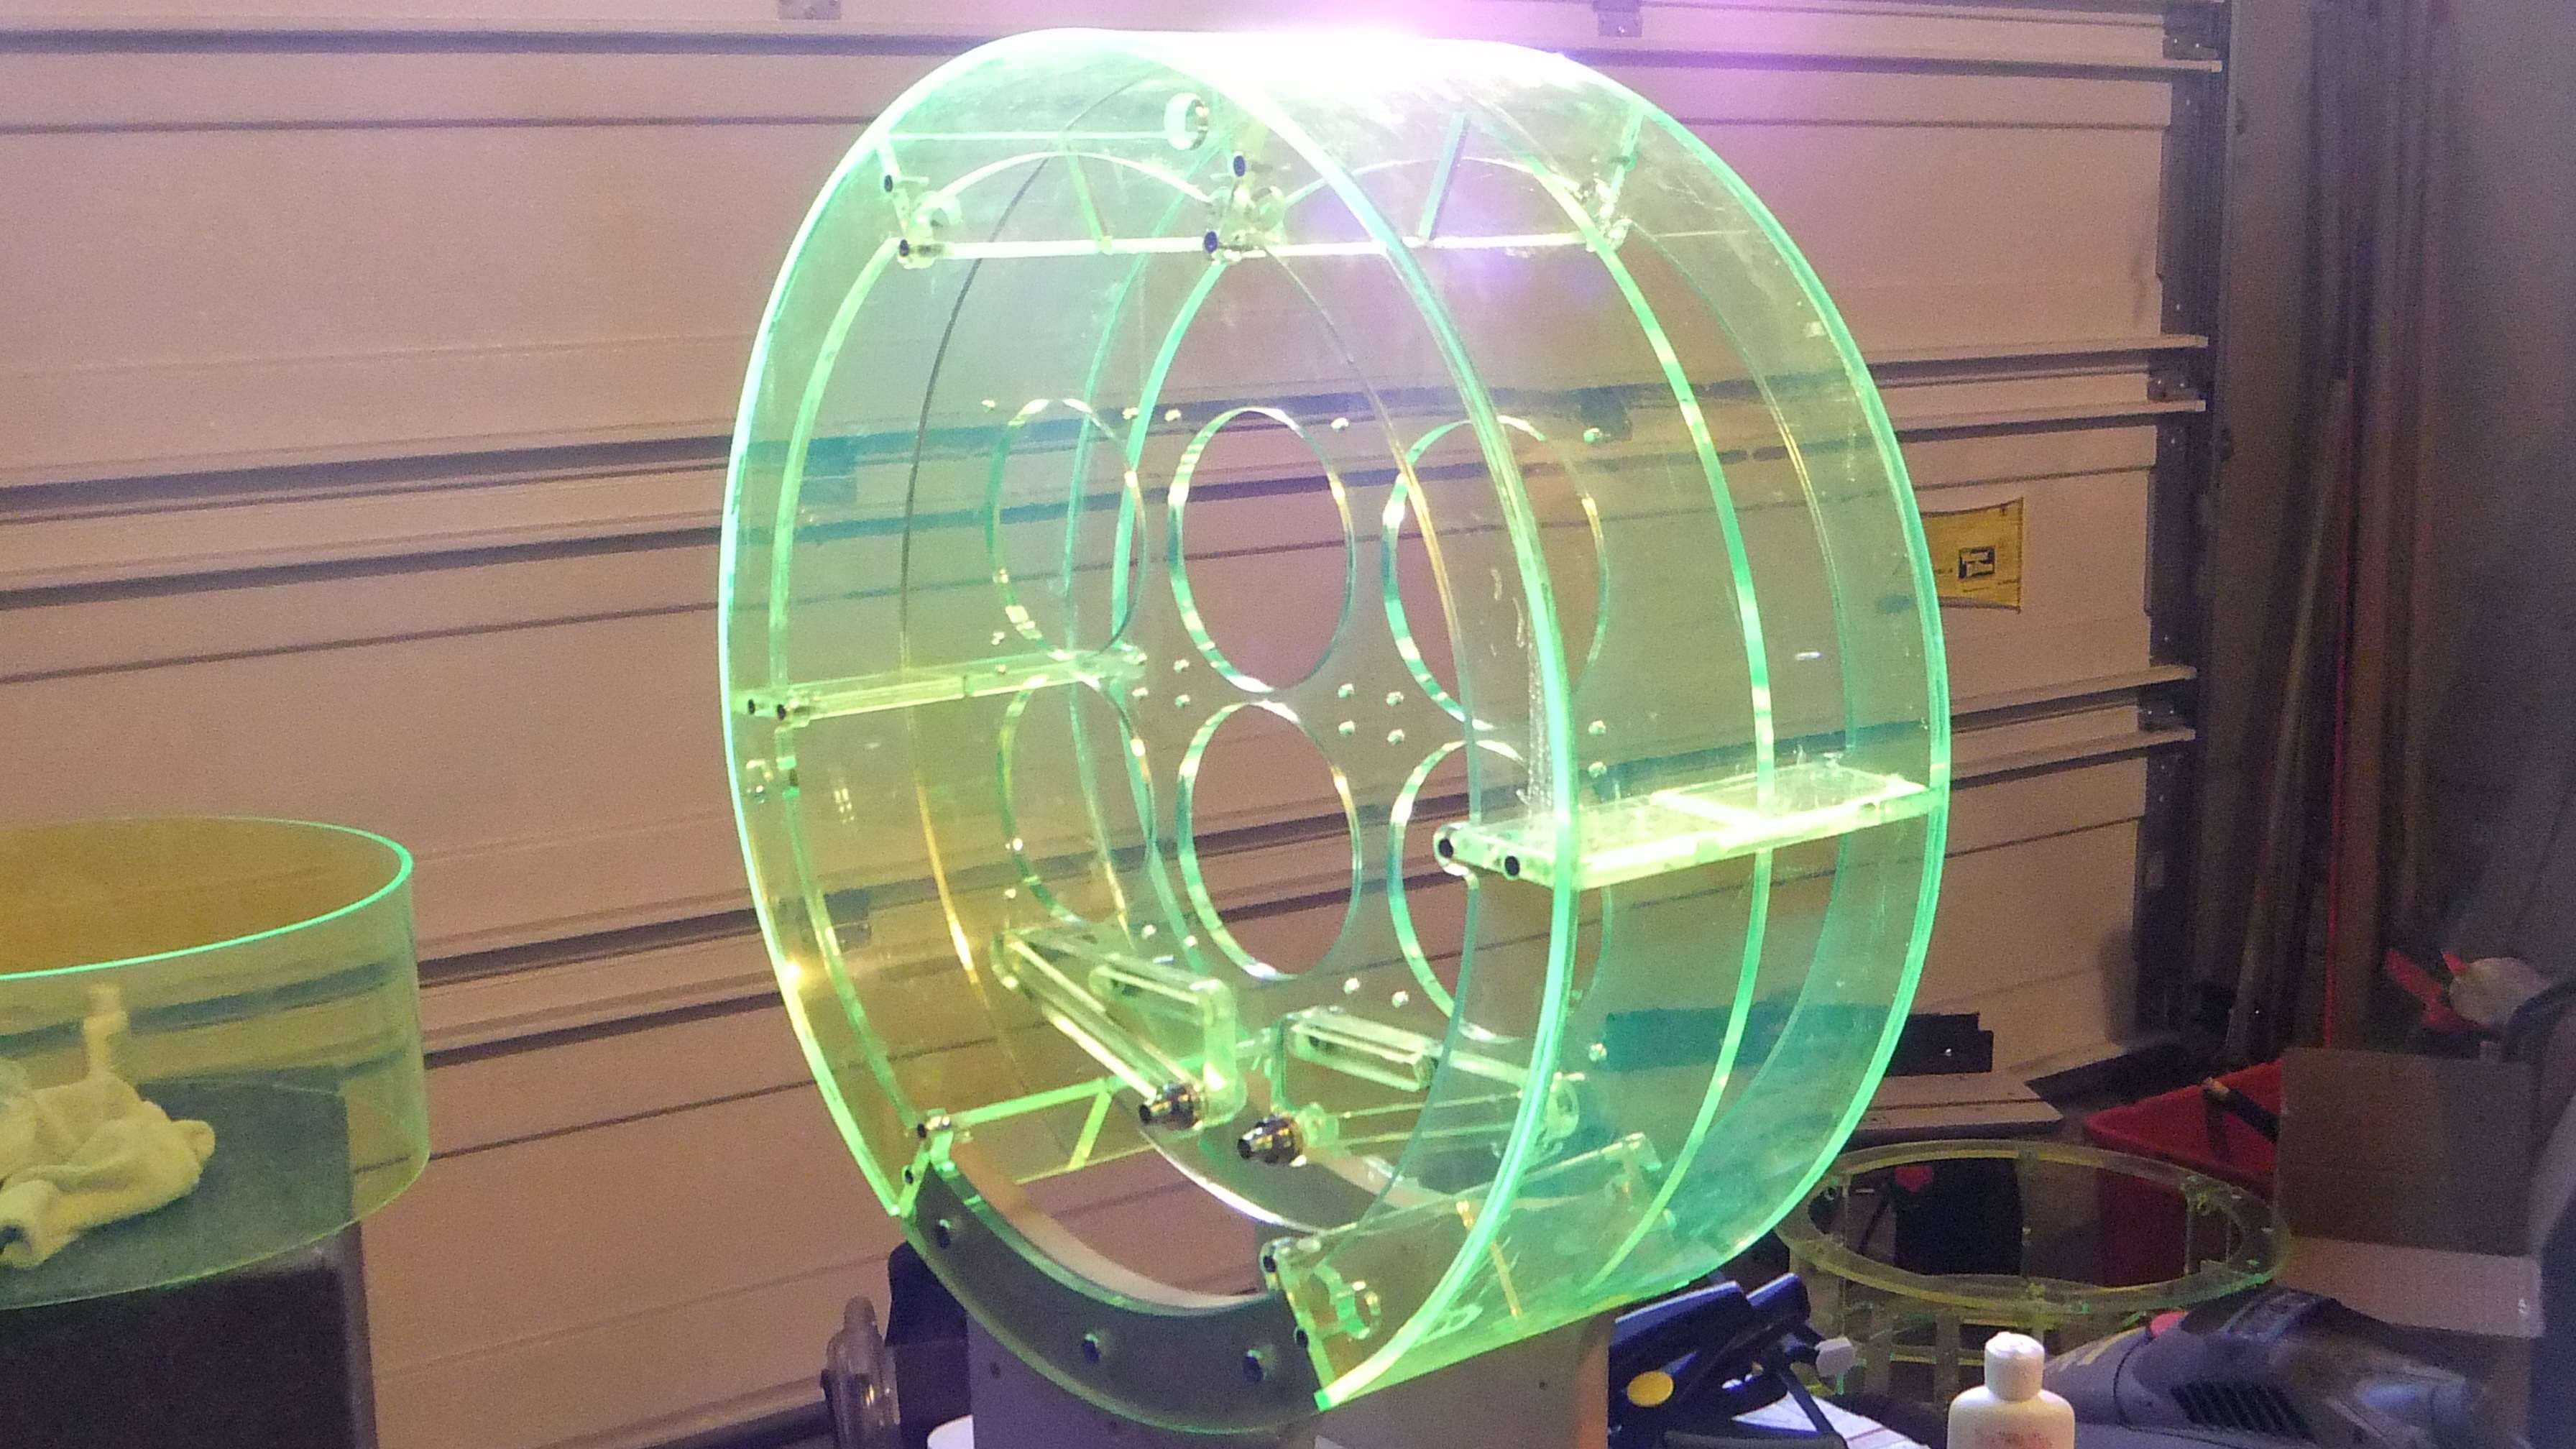
Used a wooden buck to heat bend the acrylic the round shape needed to skin the pods
The first effort bending did not produce a perfect result. Had to reskin the buck as the vinyl flooring did not work well
Before bending:
After first bending
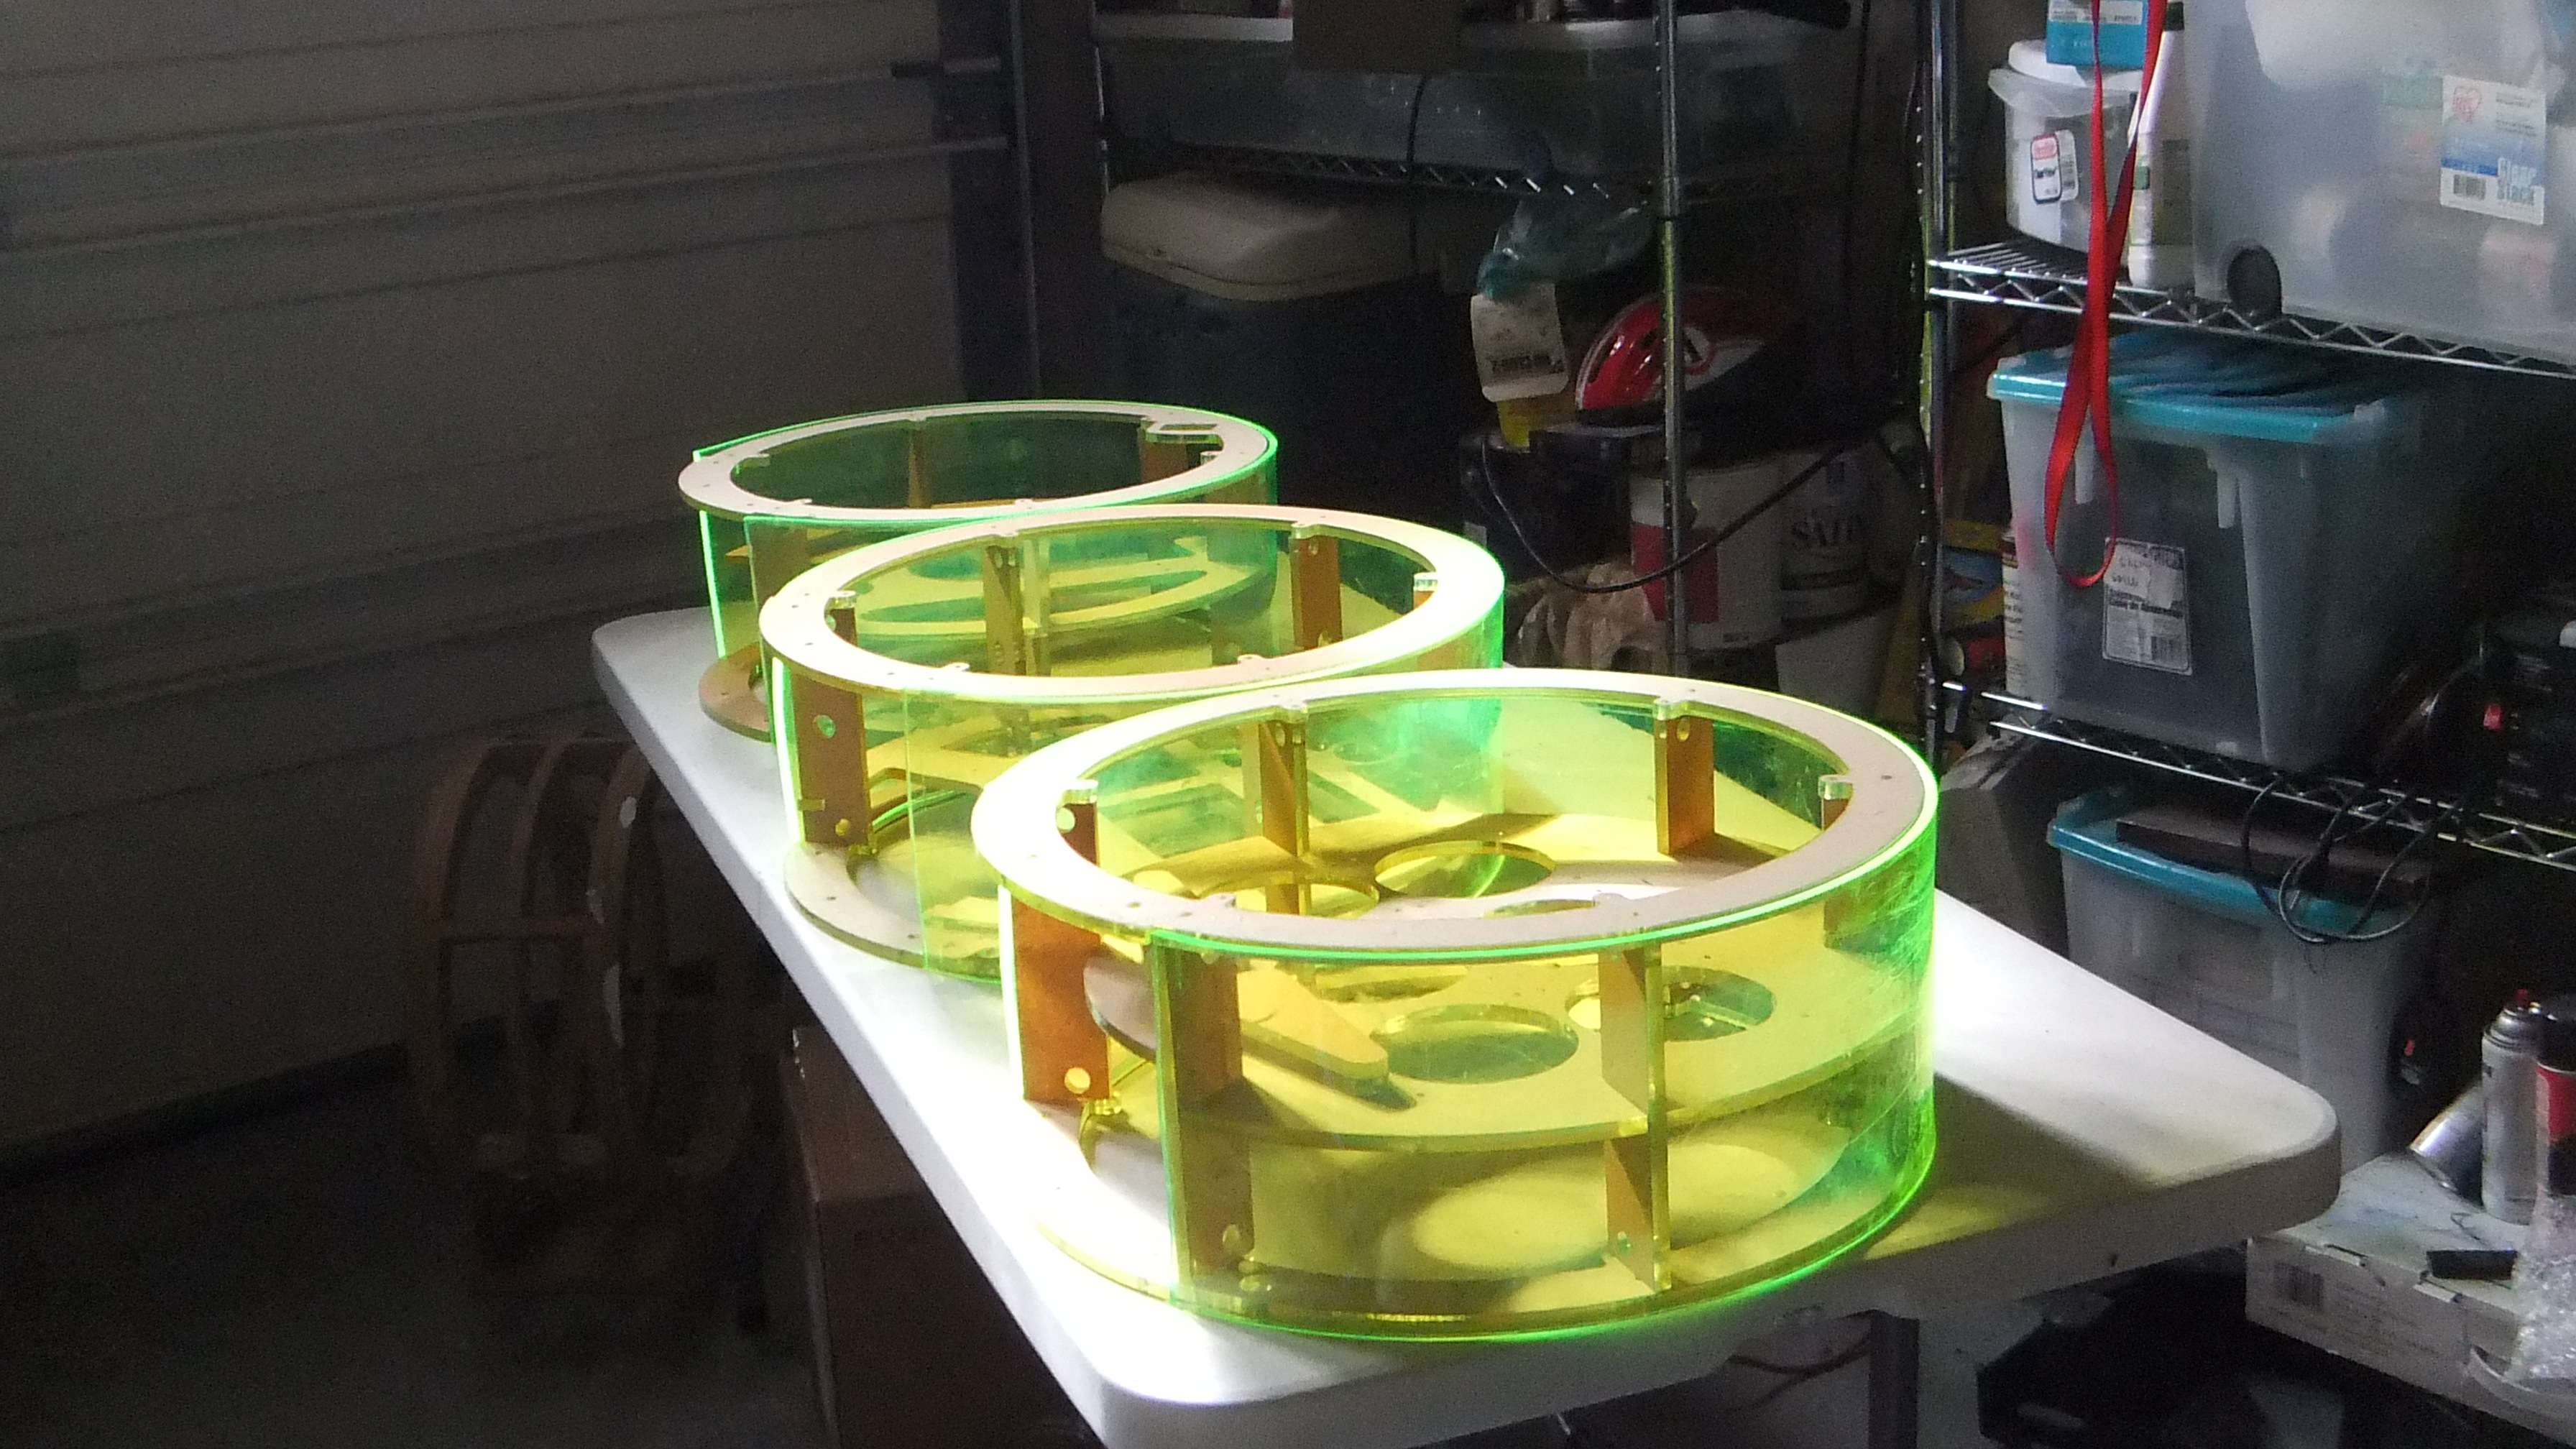
After second bending

Geno had East Bay Manufacture fabricate the hub and gun
Used a wooden buck to heat bend the acrylic the round shape needed to skin the pods
The first effort bending did not produce a perfect result. Had to reskin the buck as the vinyl flooring did not work well
Before bending:
After first bending
After second bending
Options
- Mark as New
- Bookmark
- Subscribe
- Mute
- Subscribe to RSS Feed
- Permalink
06-16-2011 10:42 AM
Options
- Mark as New
- Bookmark
- Subscribe
- Mute
- Subscribe to RSS Feed
- Permalink
06-16-2011 12:09 PM
I like how that bending worked out! Might have actually been a bit tall for some cremation ovens although I suppose they must have them for big people as well.
A bus station is where a bus stops. A train station is where a train stops. On my desk, I have a work station…
Options
- Mark as New
- Bookmark
- Subscribe
- Mute
- Subscribe to RSS Feed
- Permalink
06-17-2011 10:11 AM
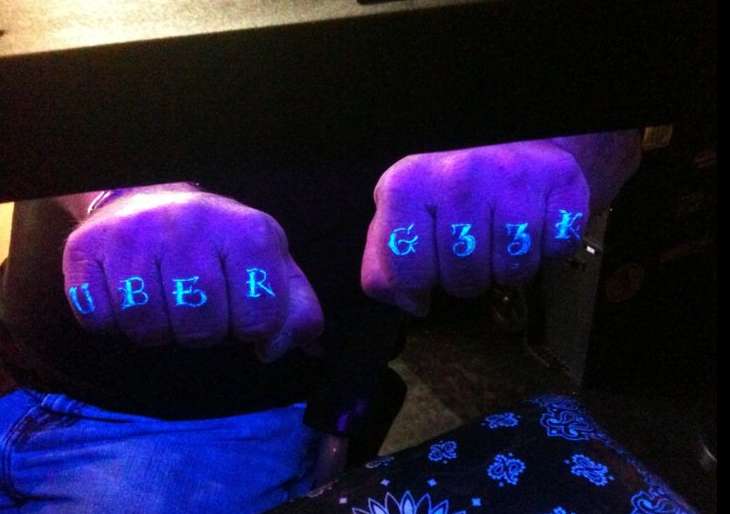
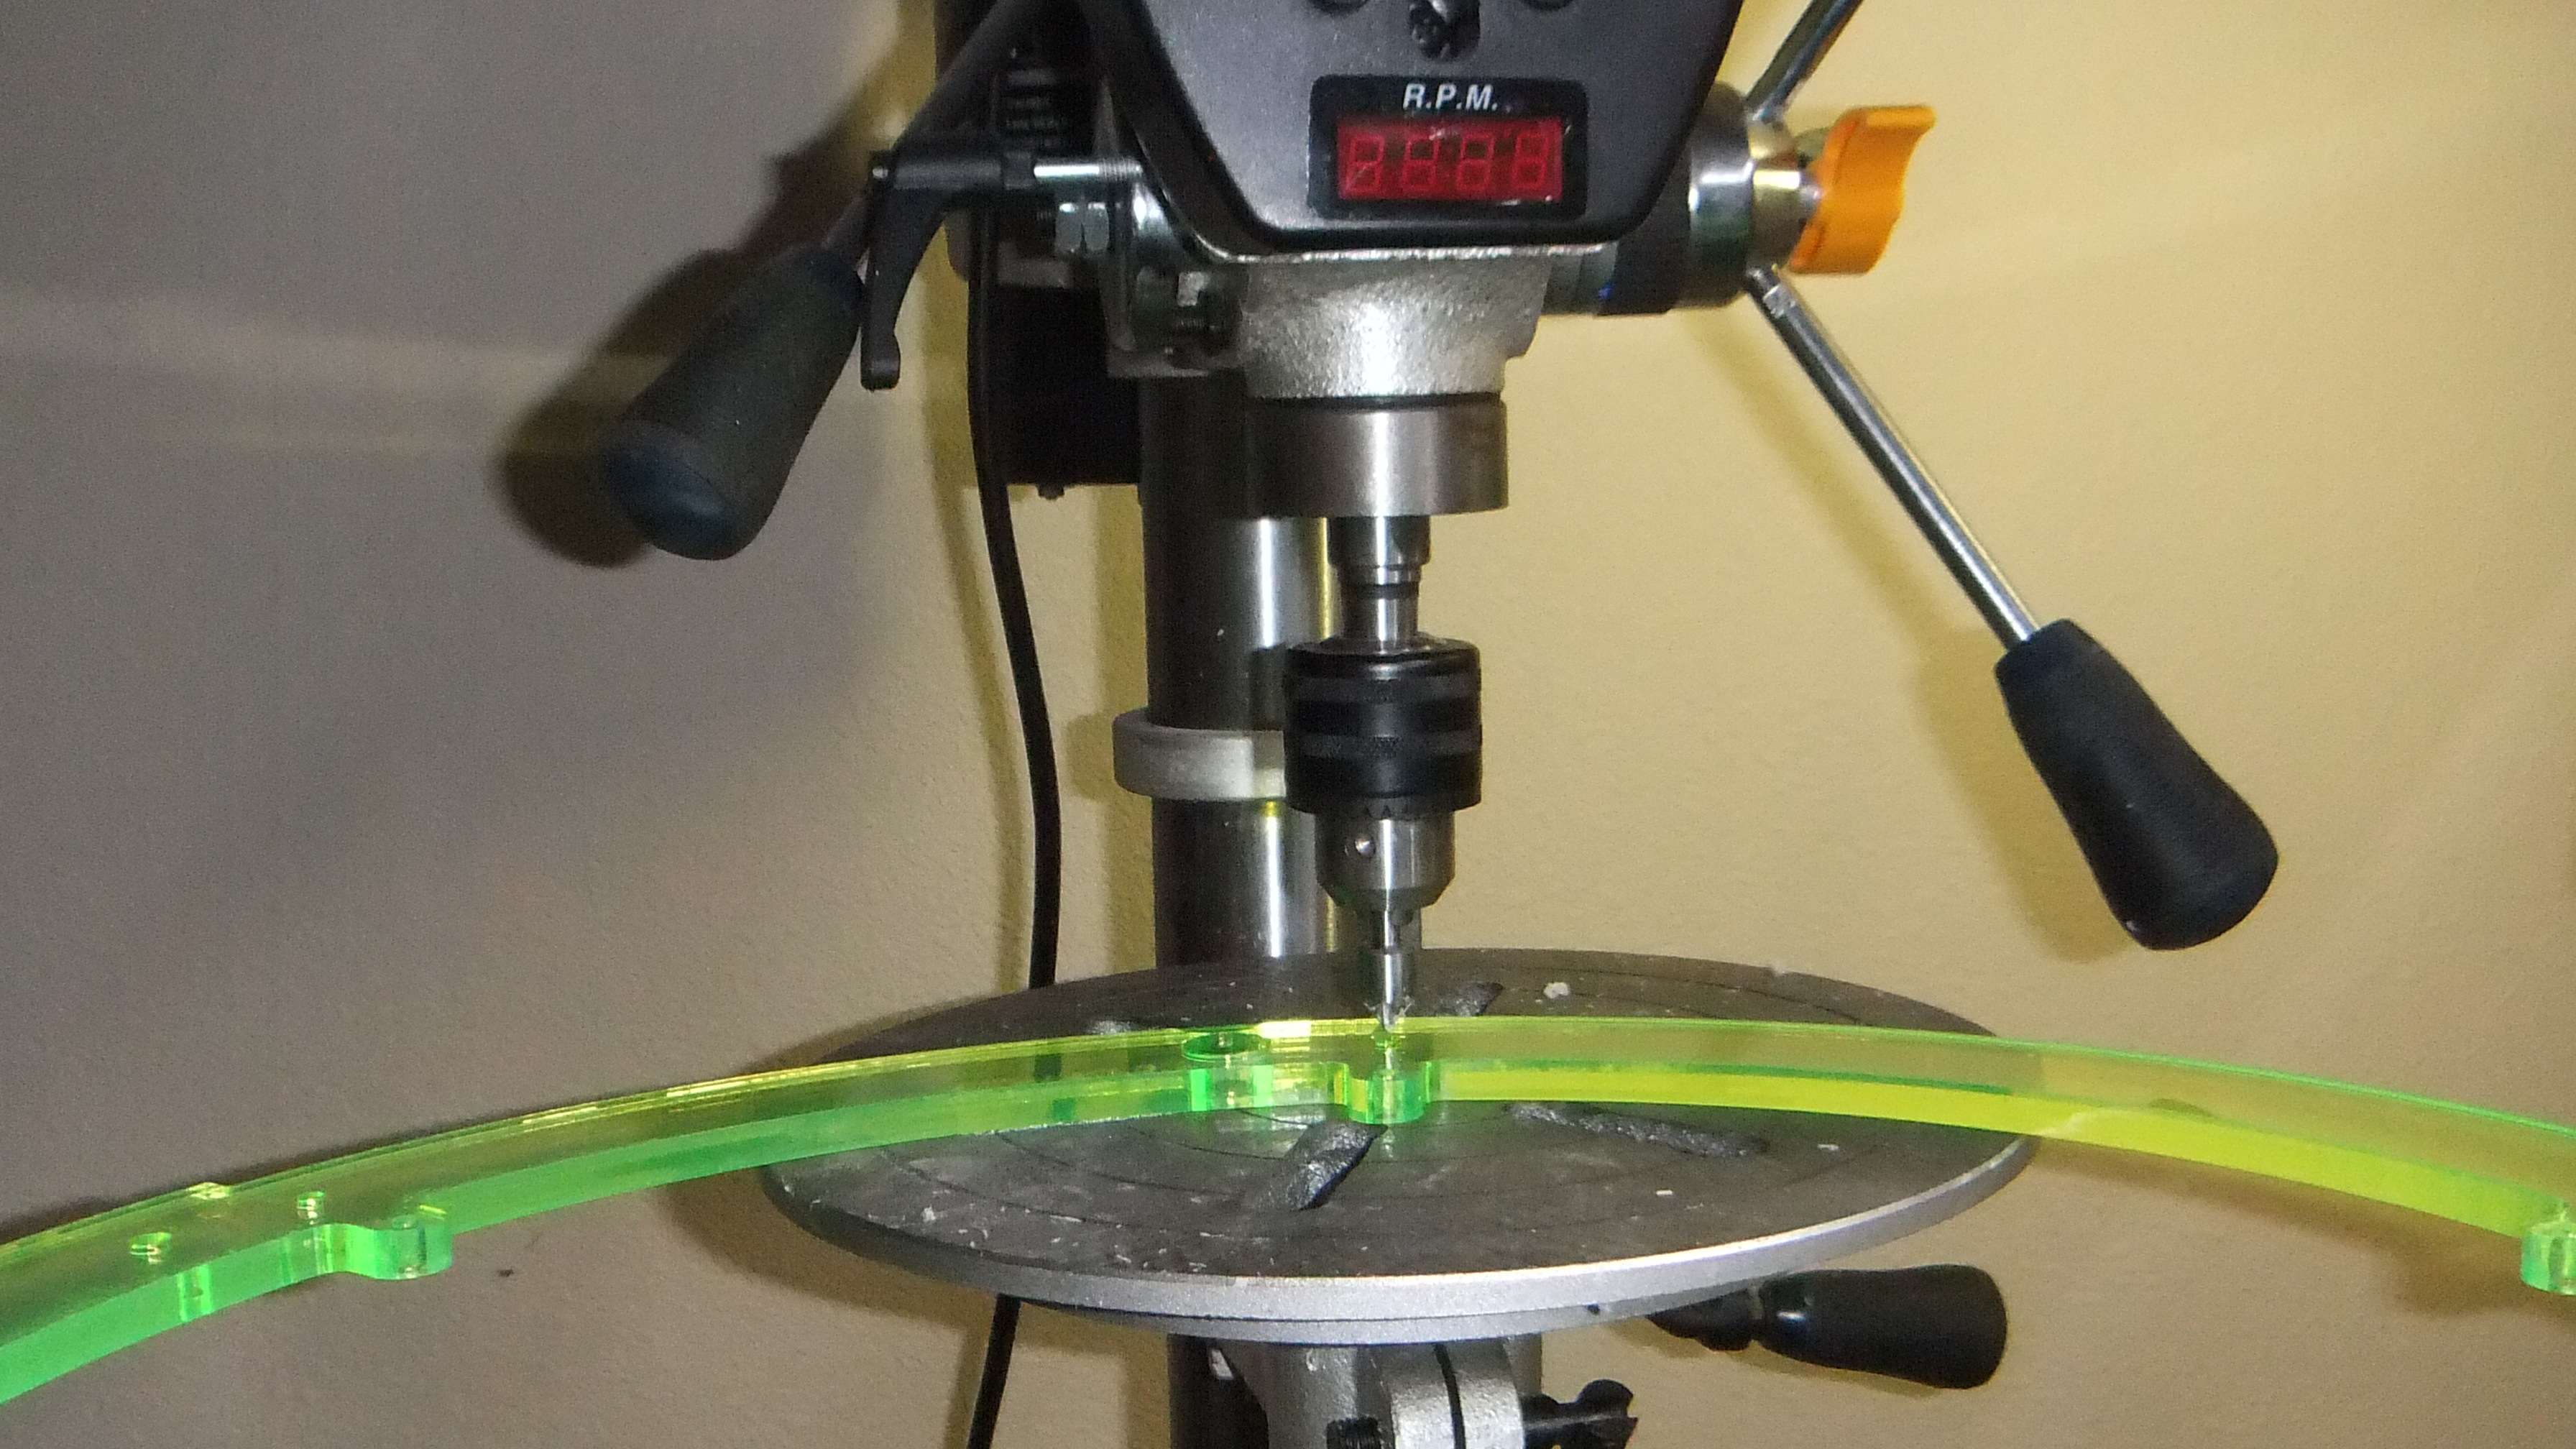
Needed my Wonder-Twin g33k powers to complete this project:
Jig for drilling and tapping holes in end of rib sections:
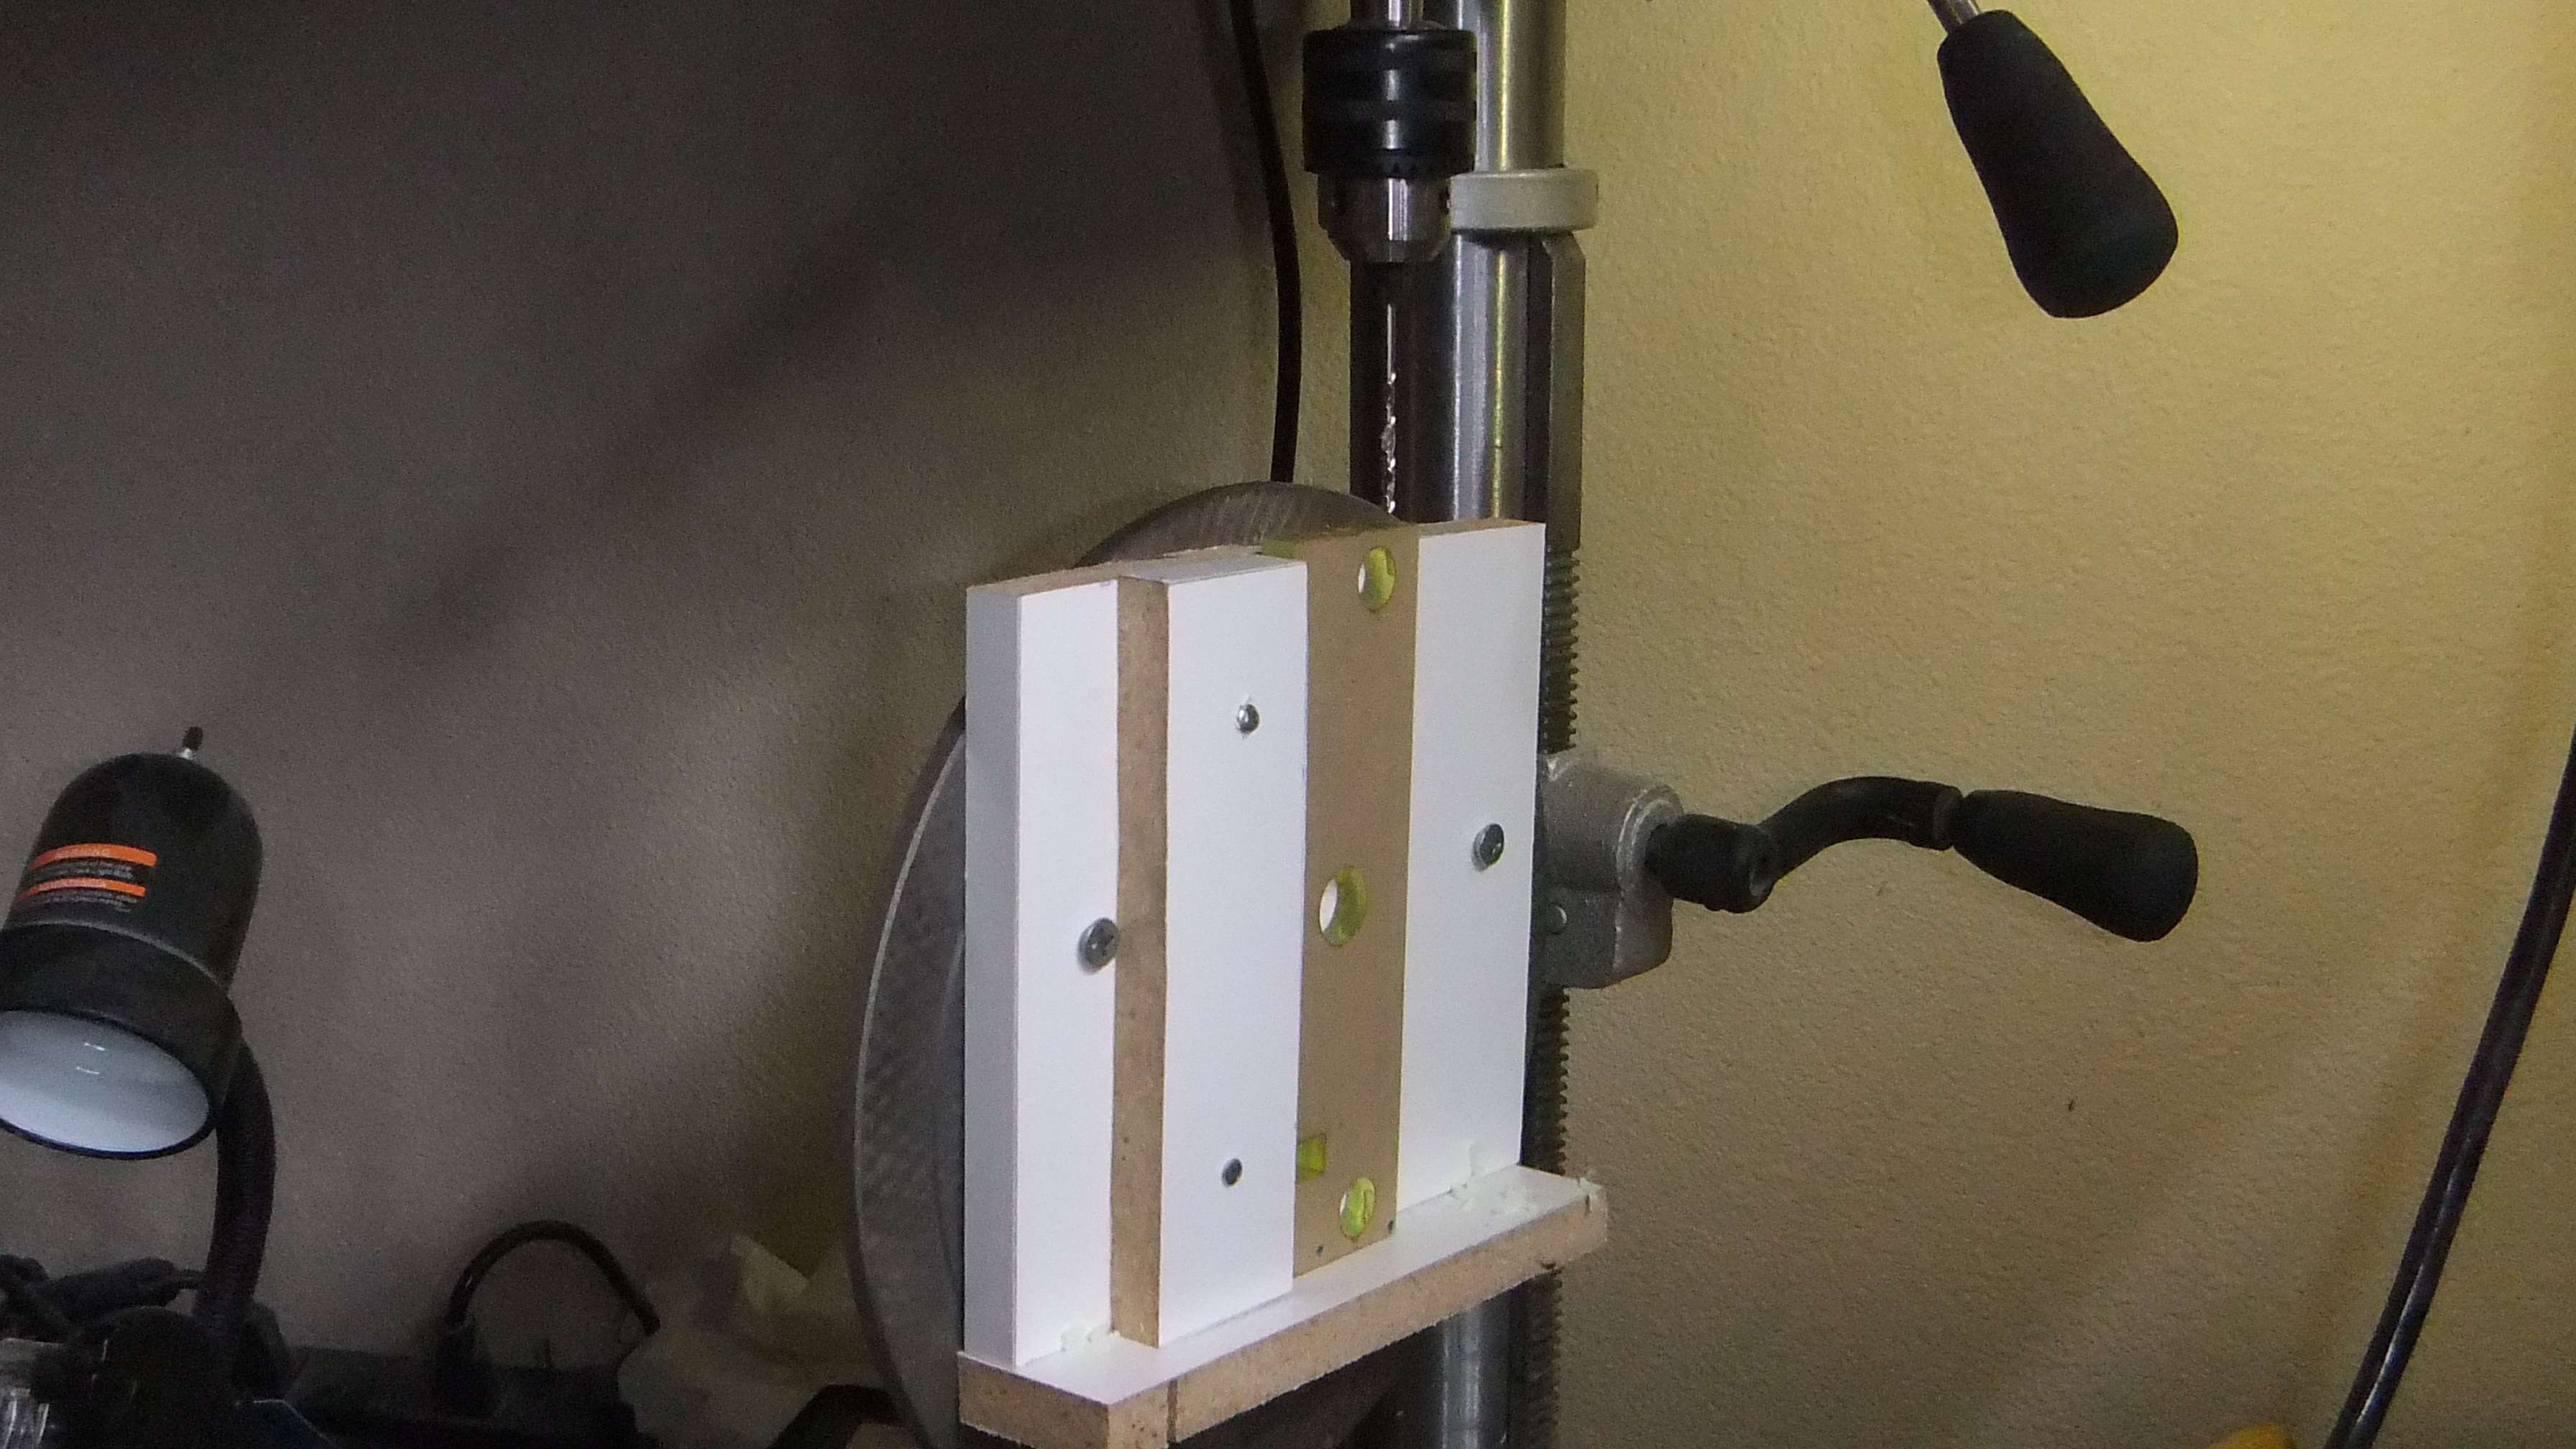
Counter-sinking holes
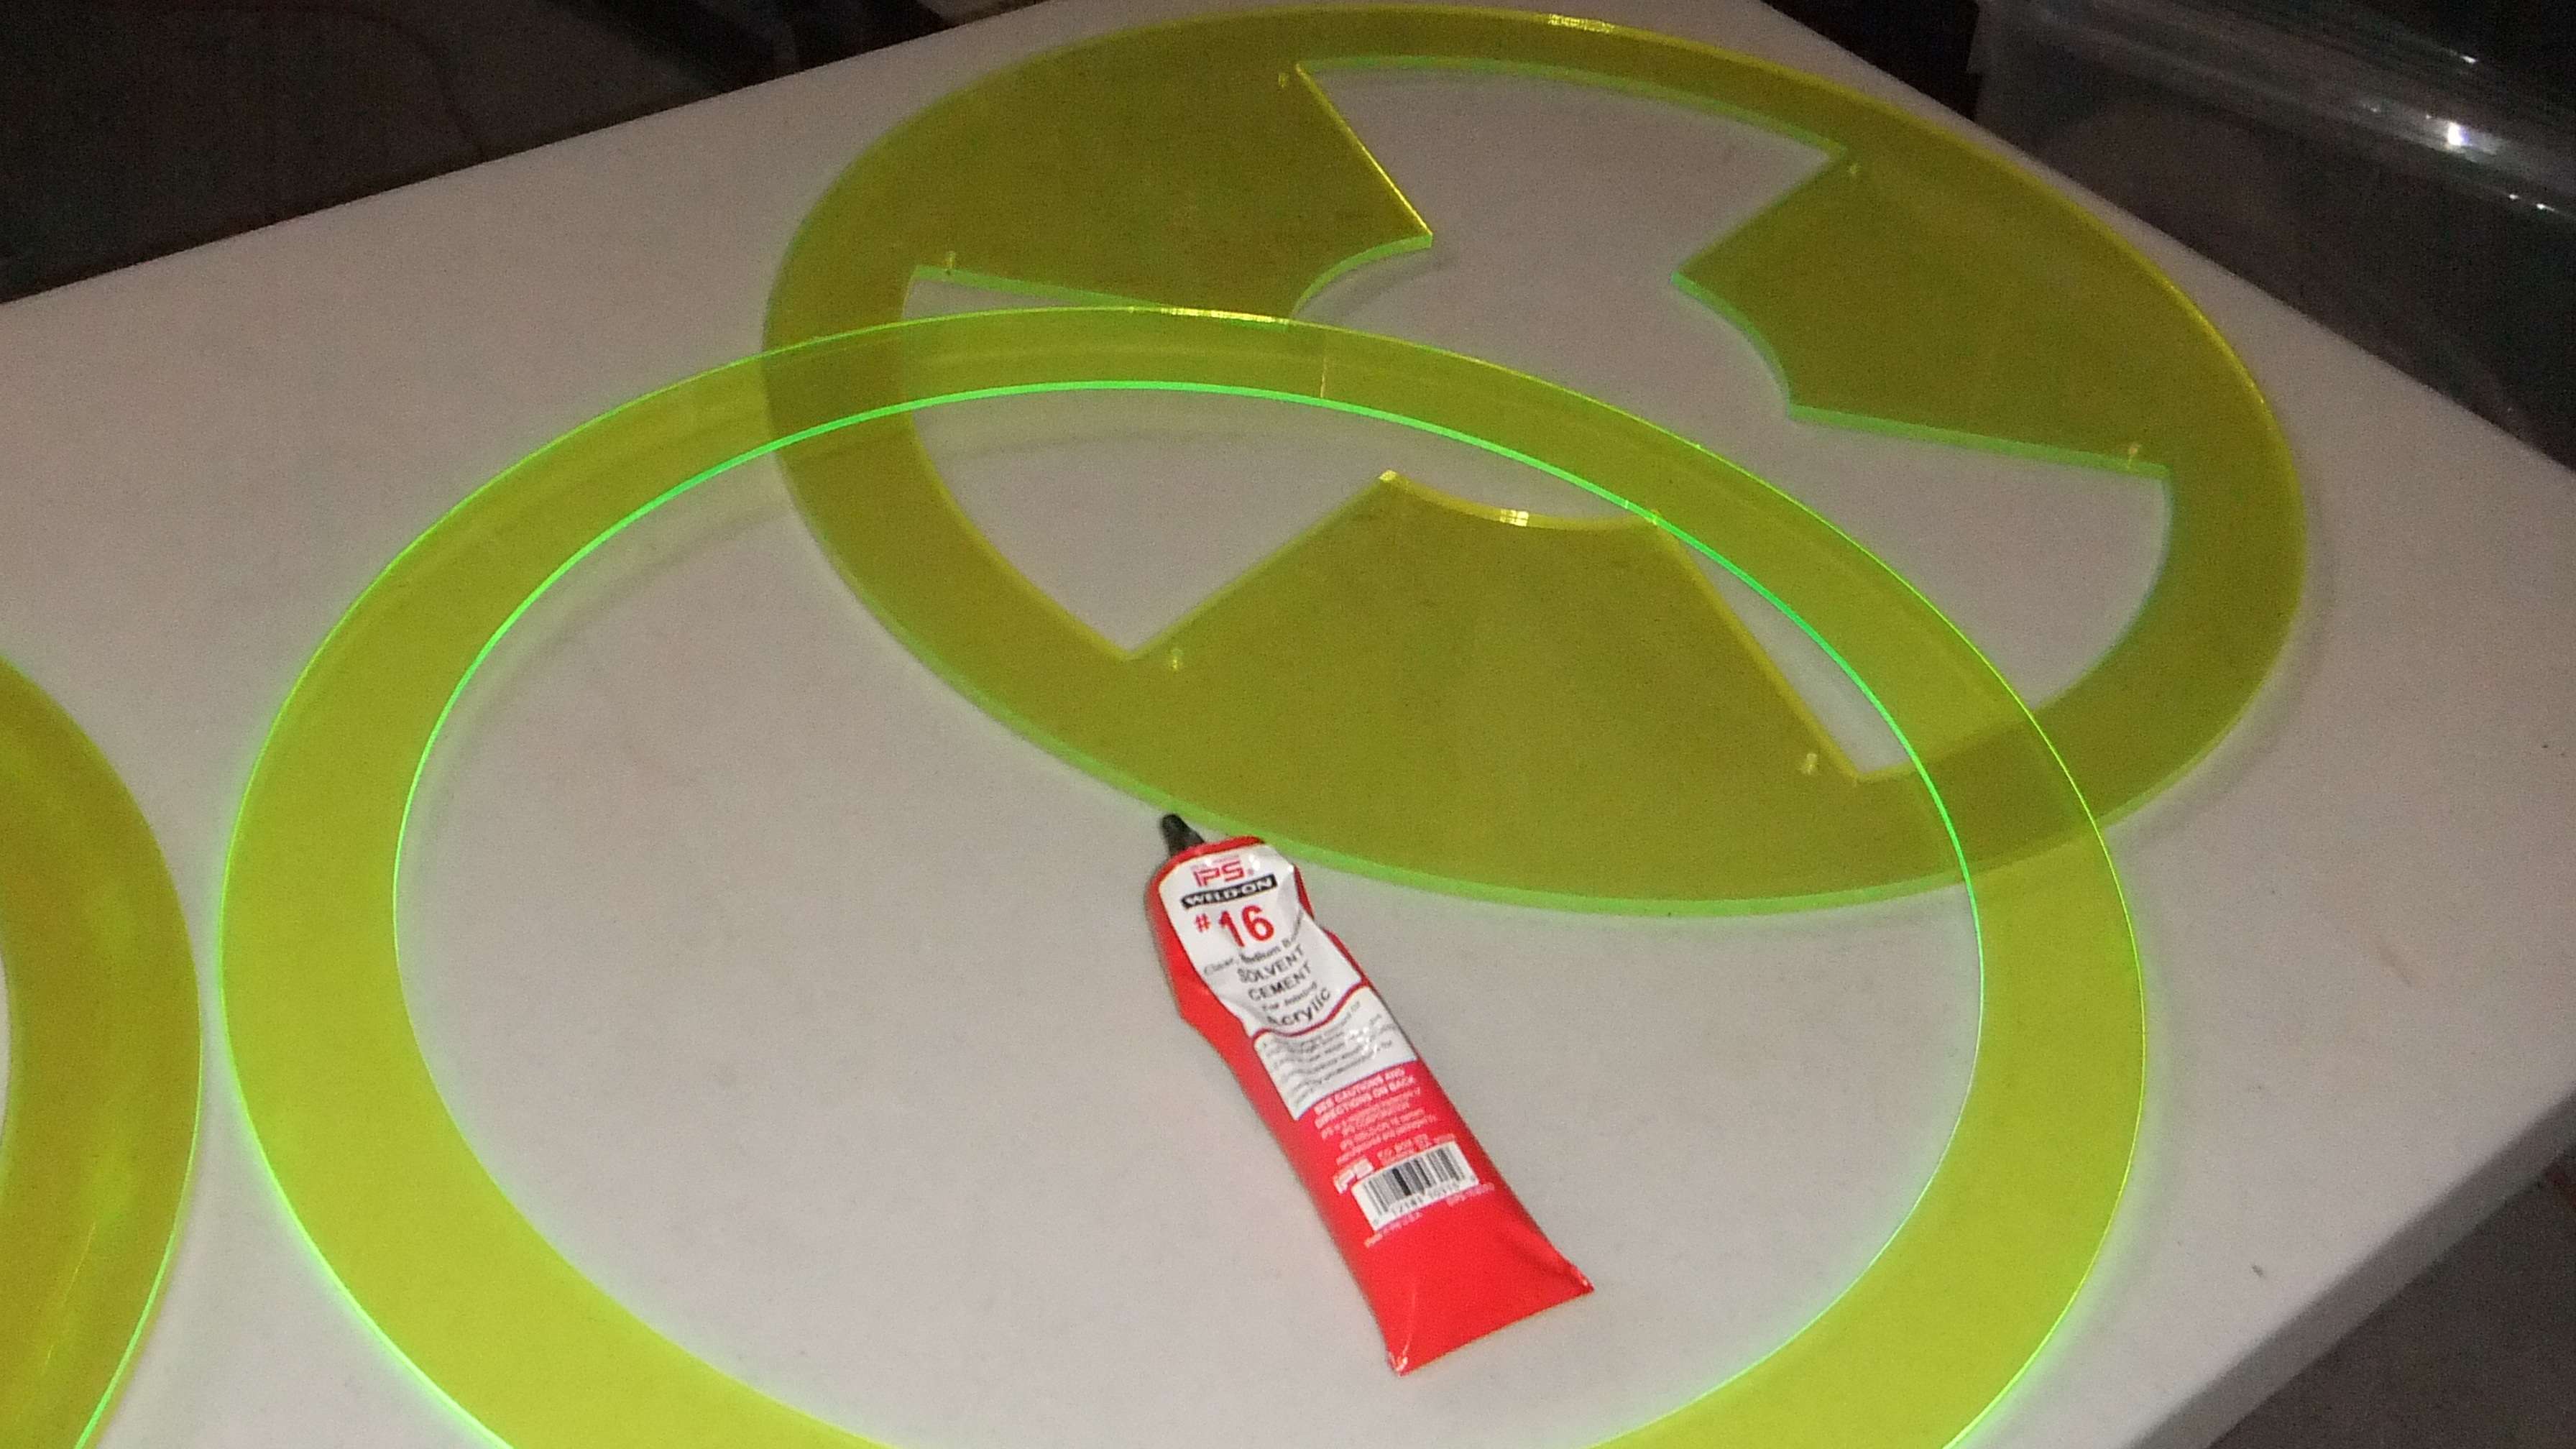
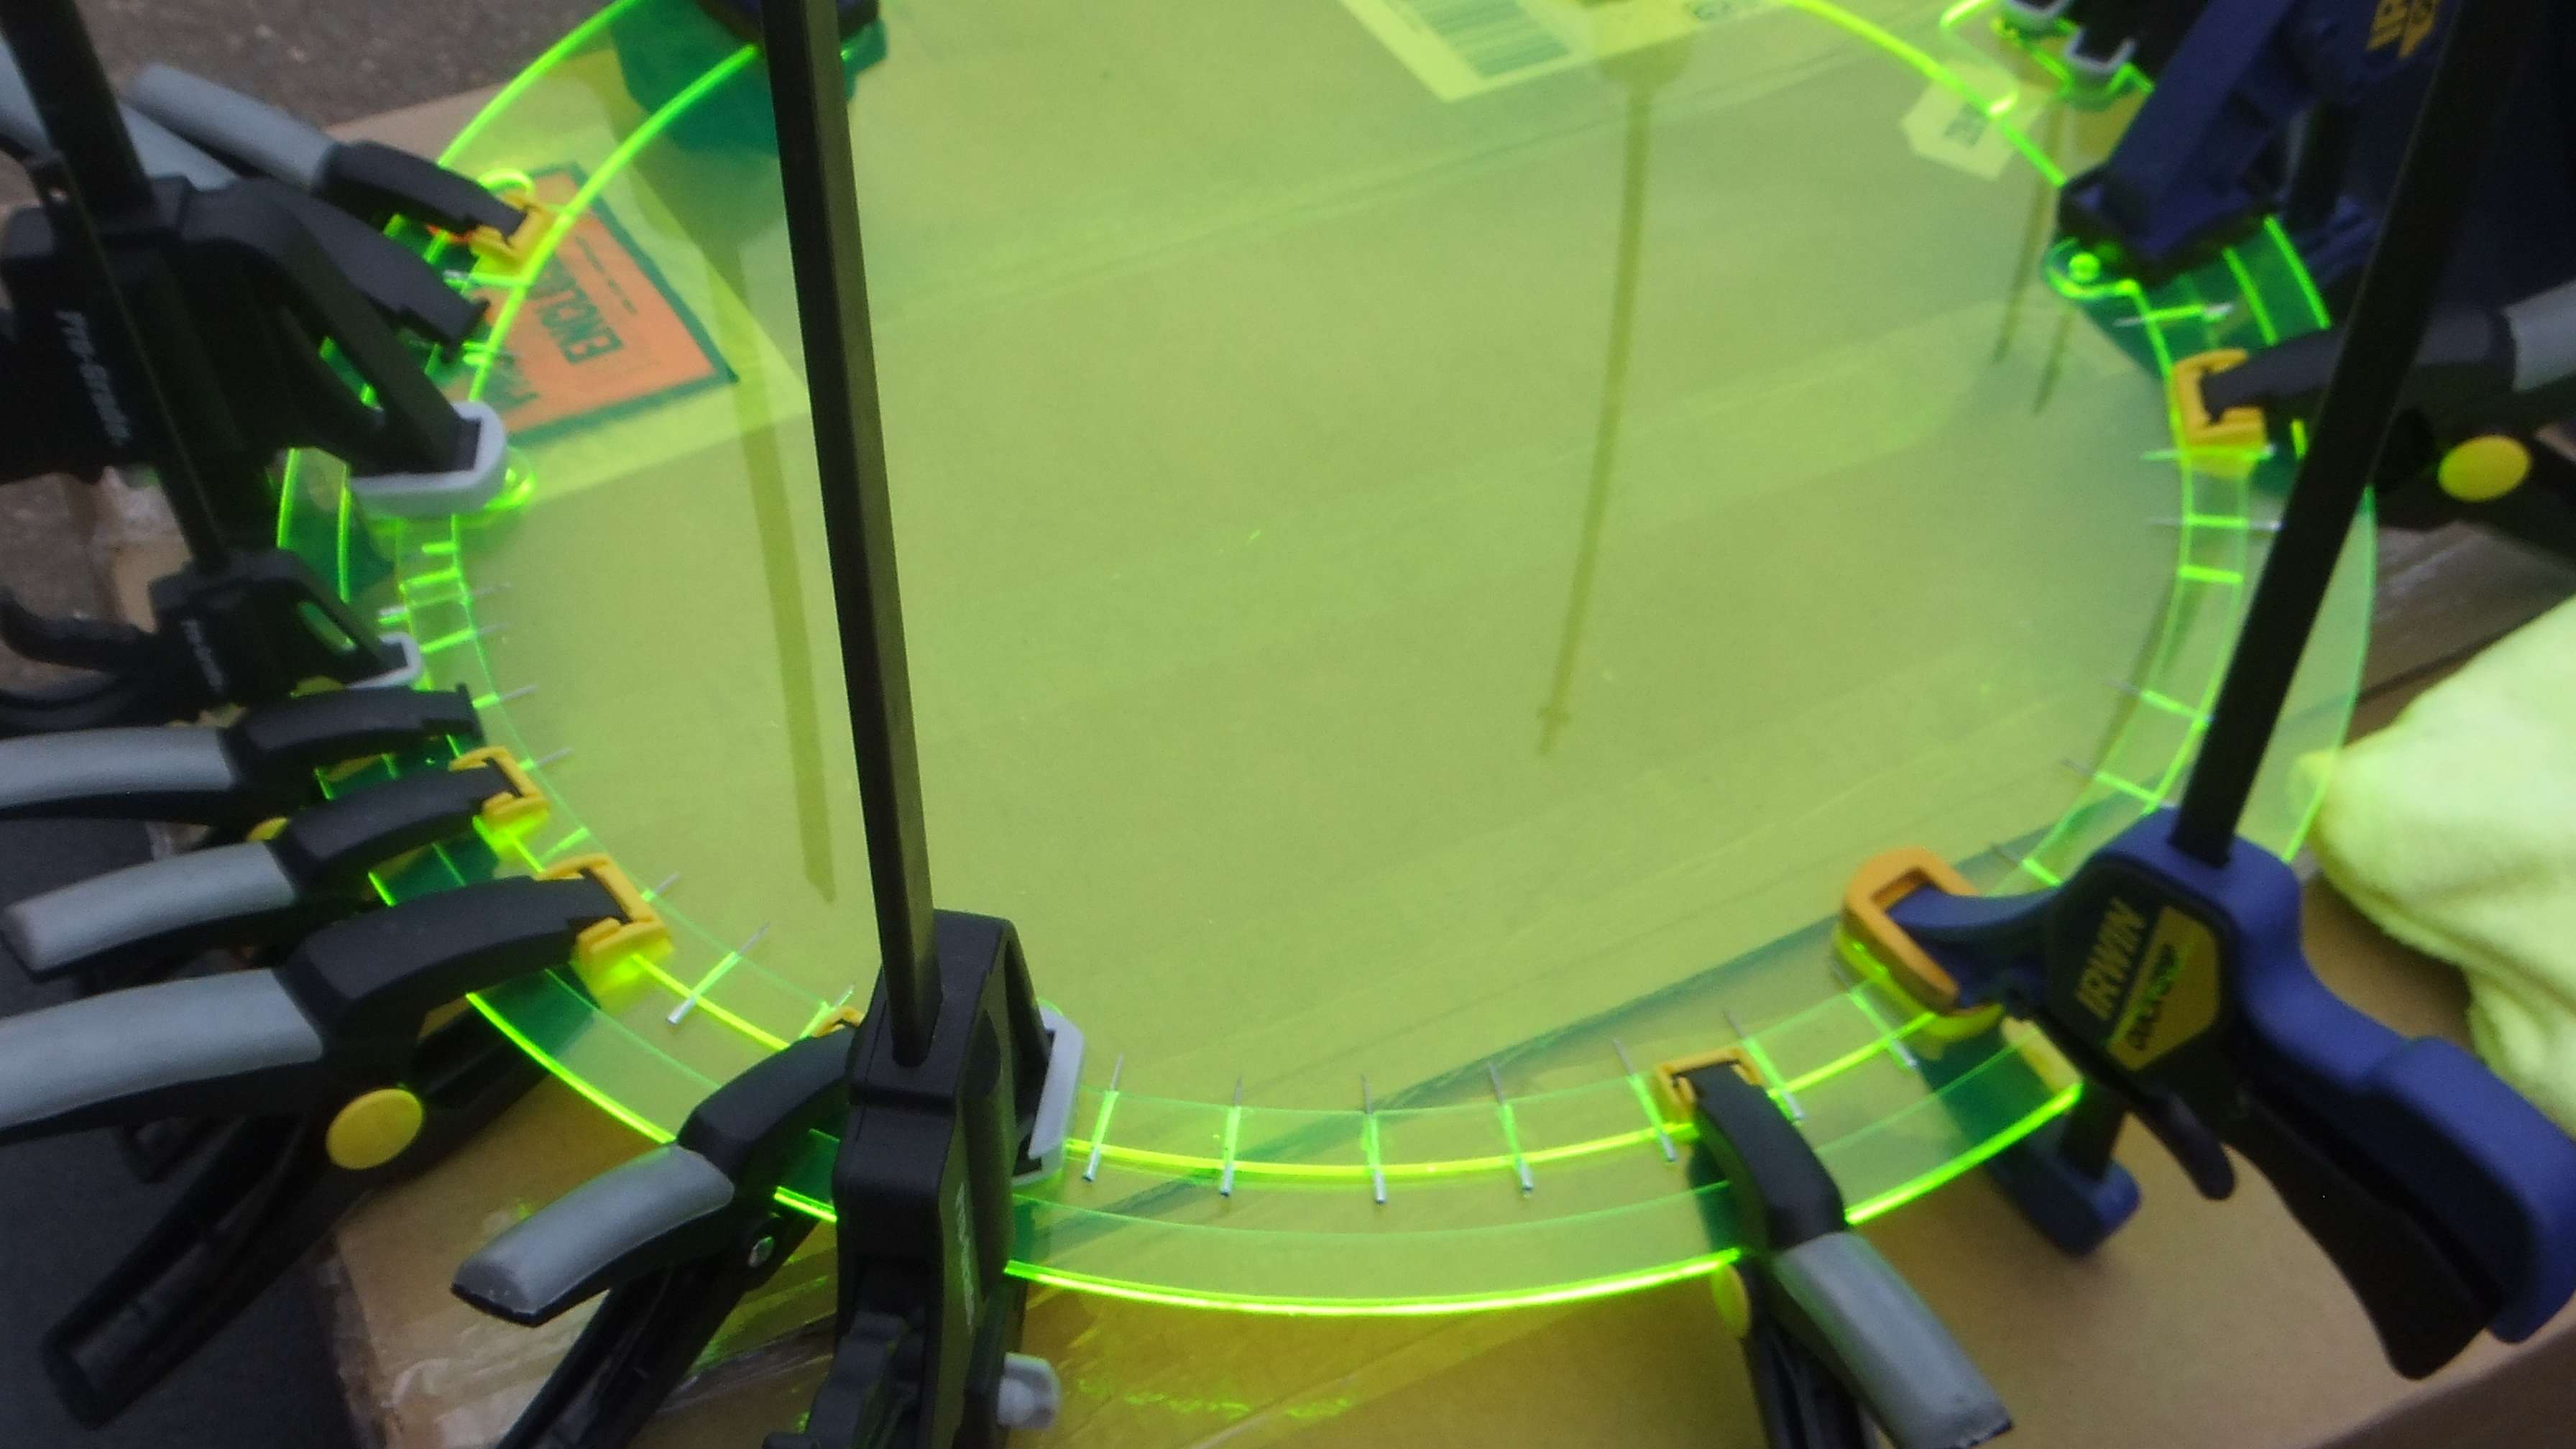
Gluing the pod covers to get them ready to paint:
Tapping the manifold:
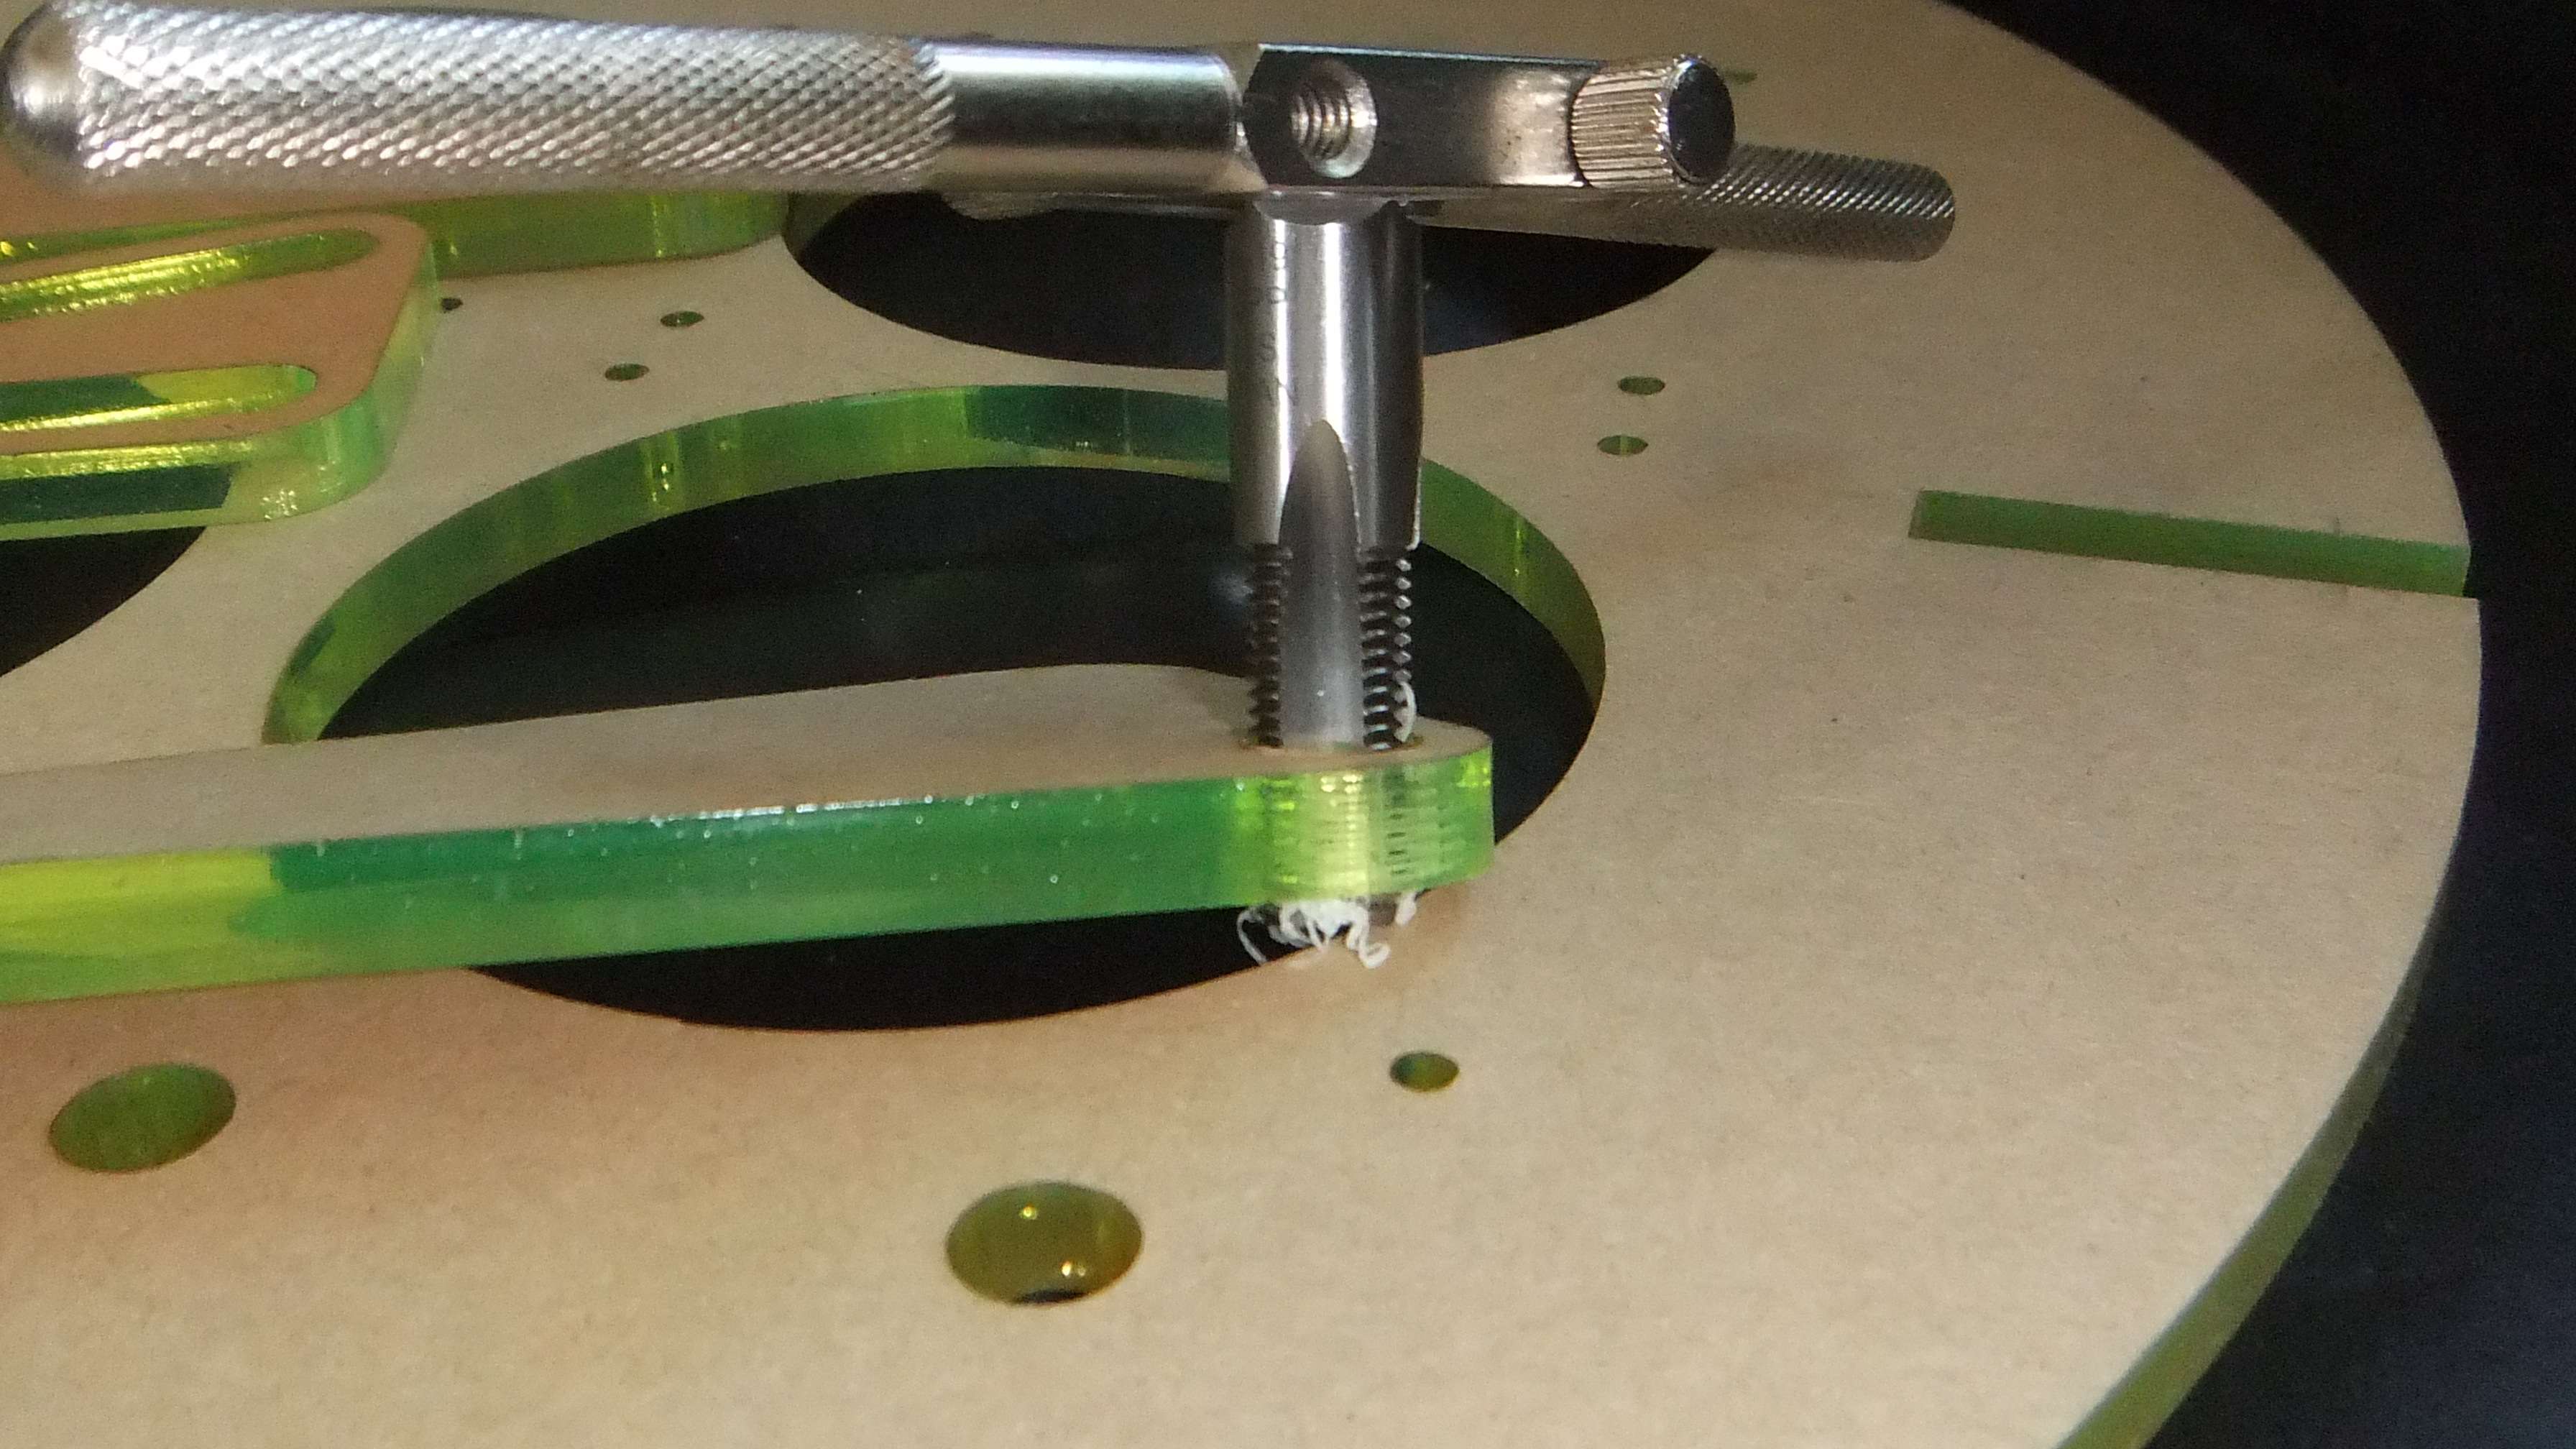
Getting ready to leak test the manifold:
Duke Manifold Leak Test
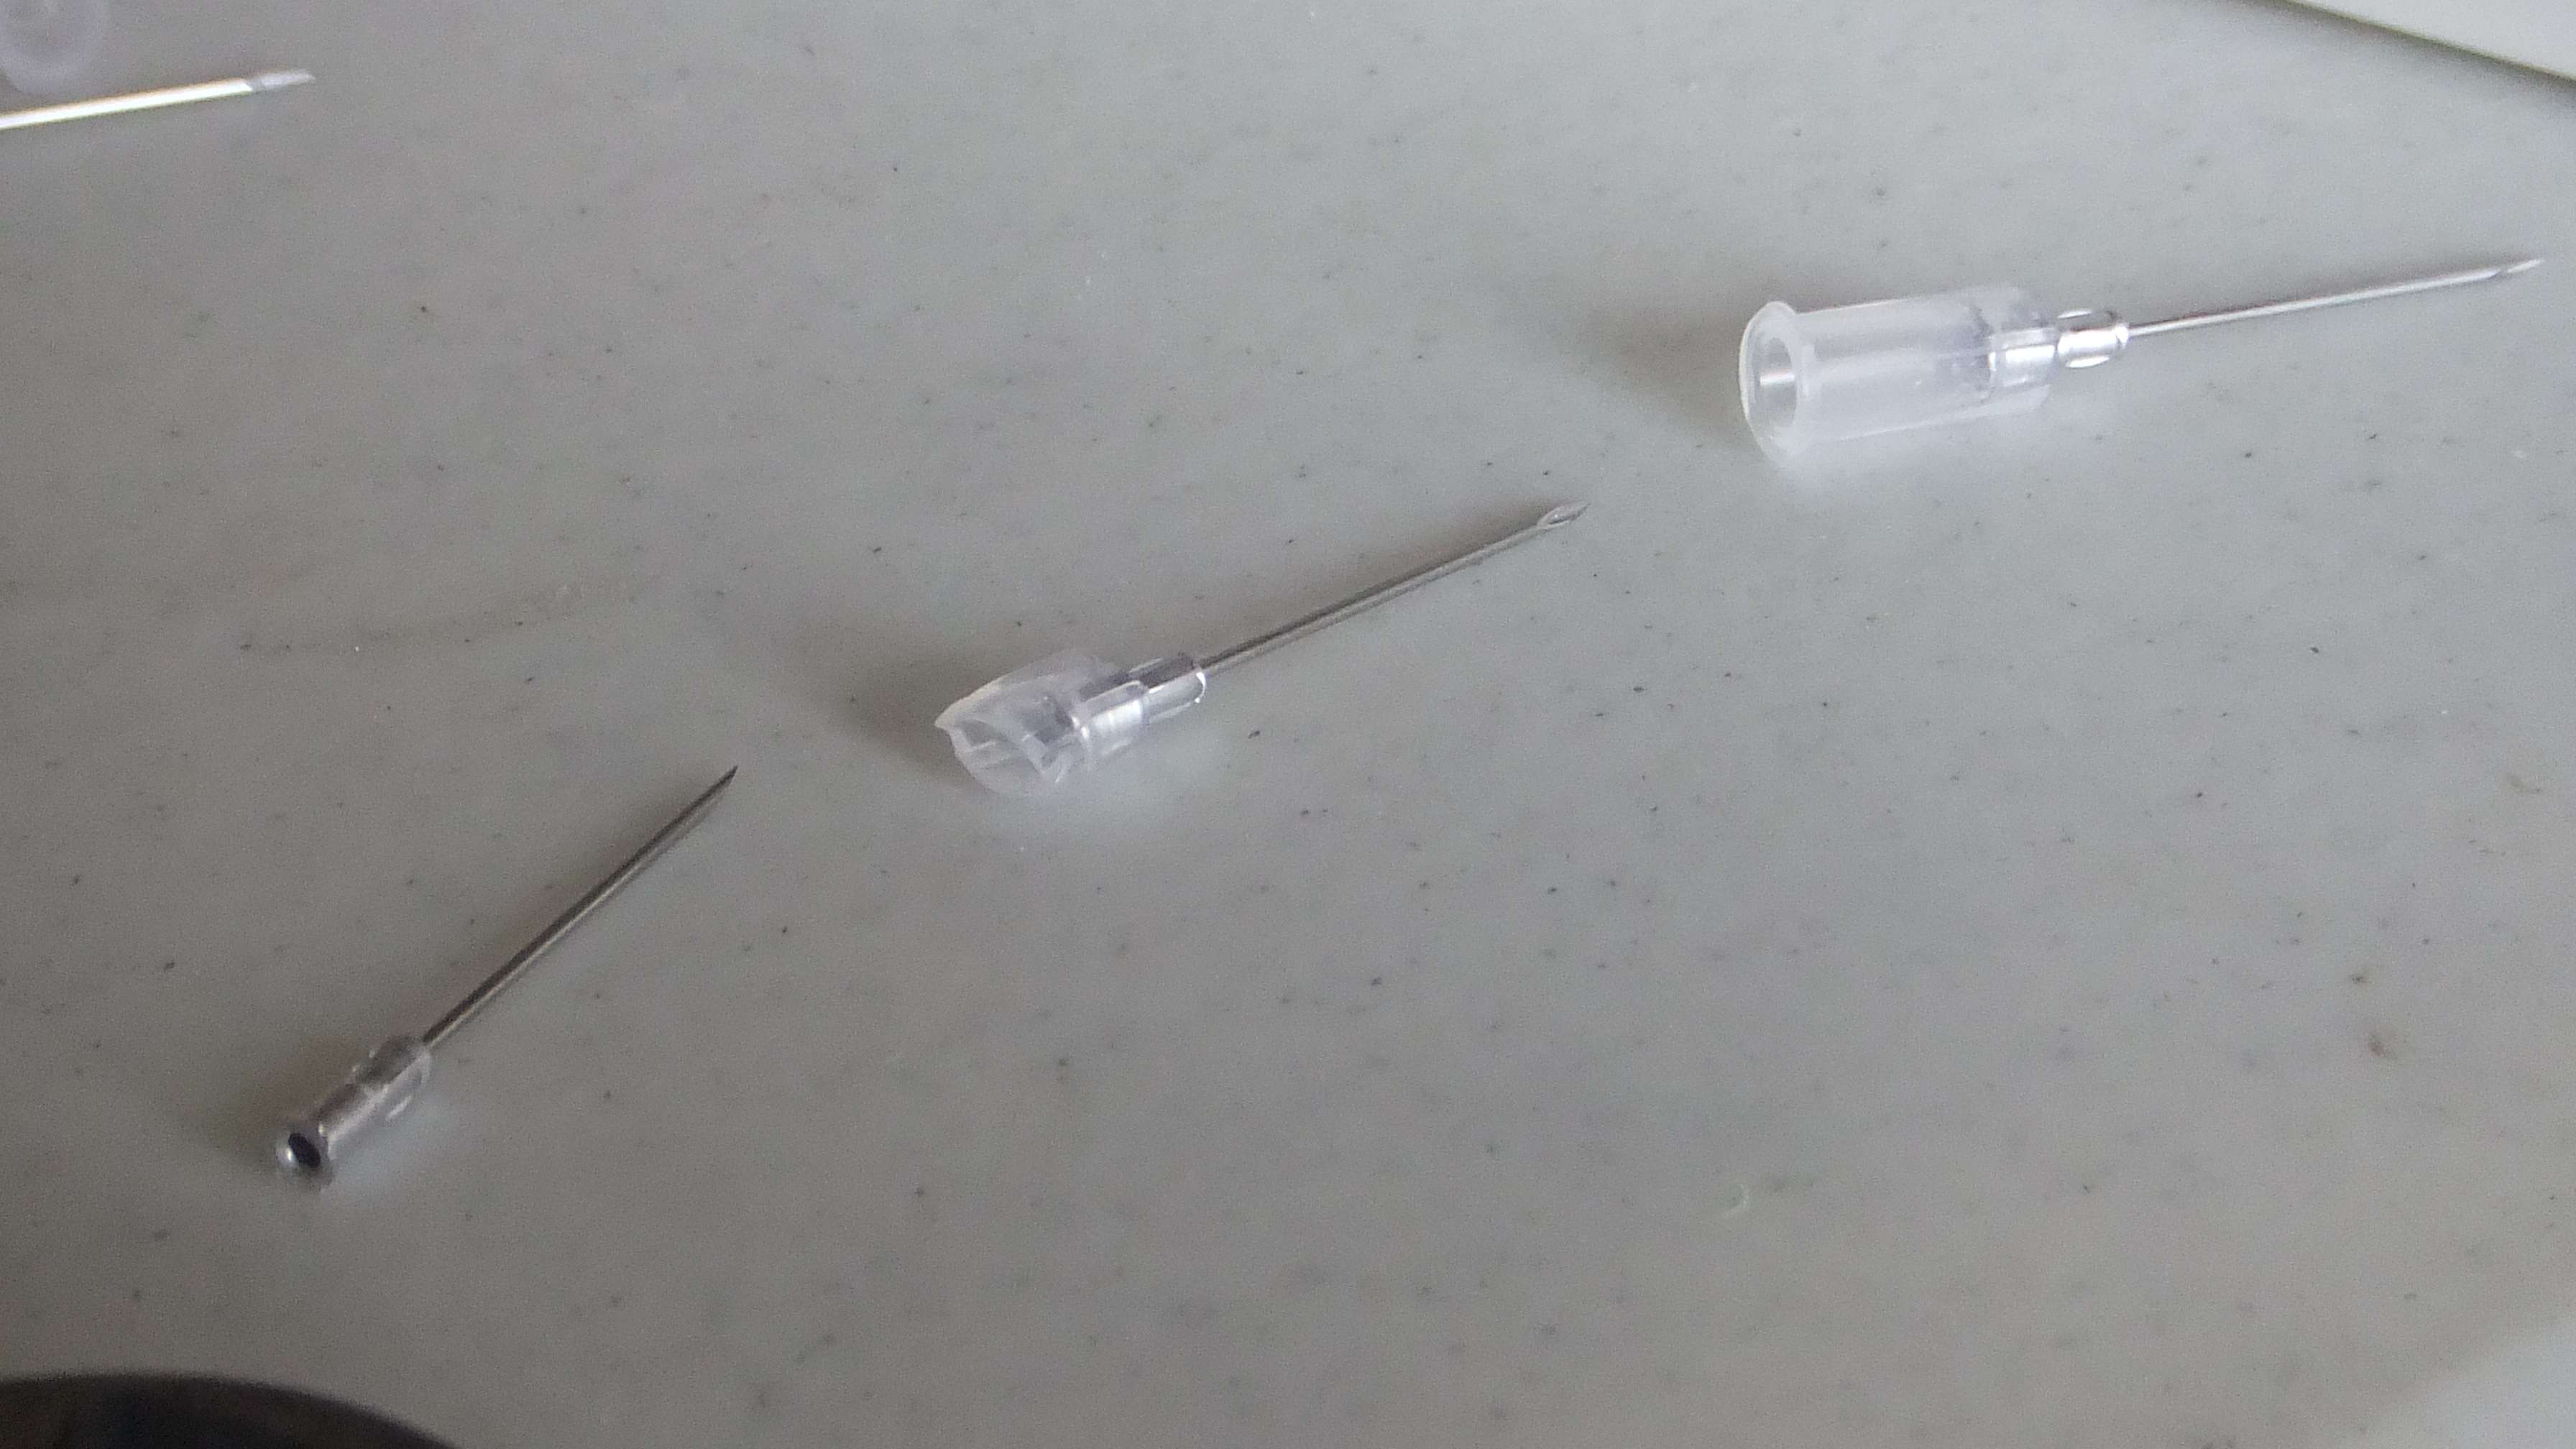
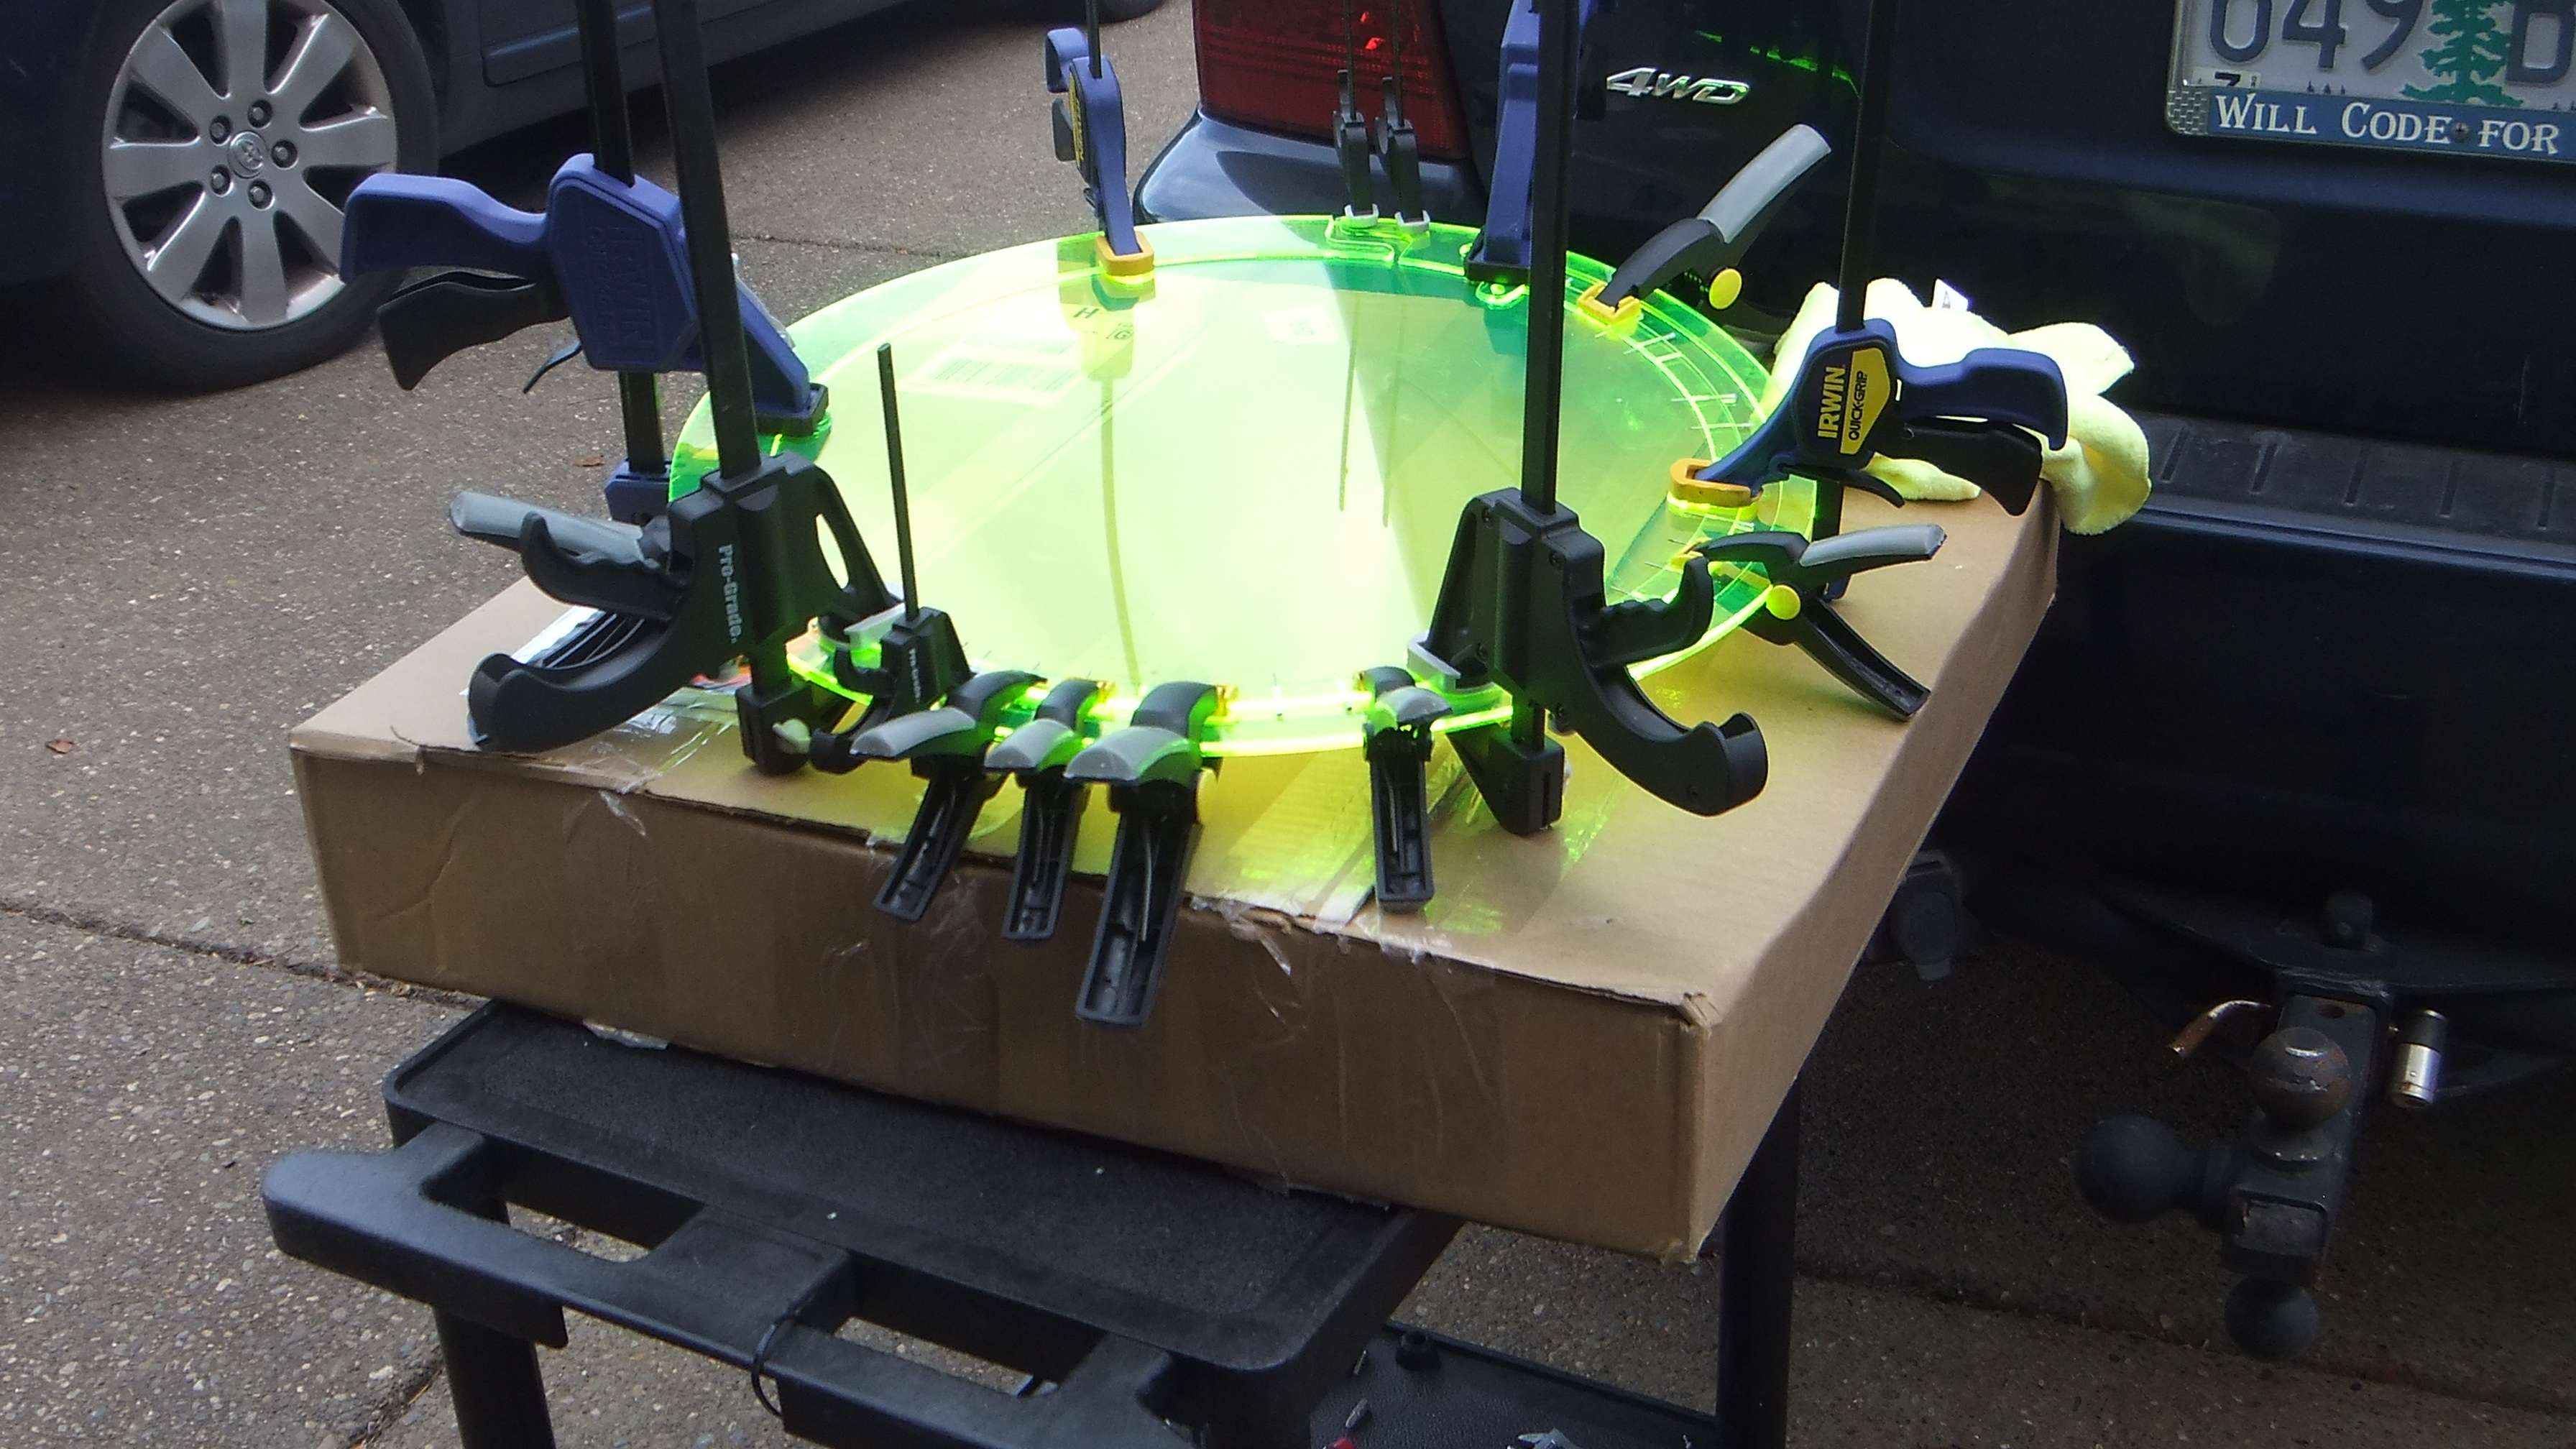
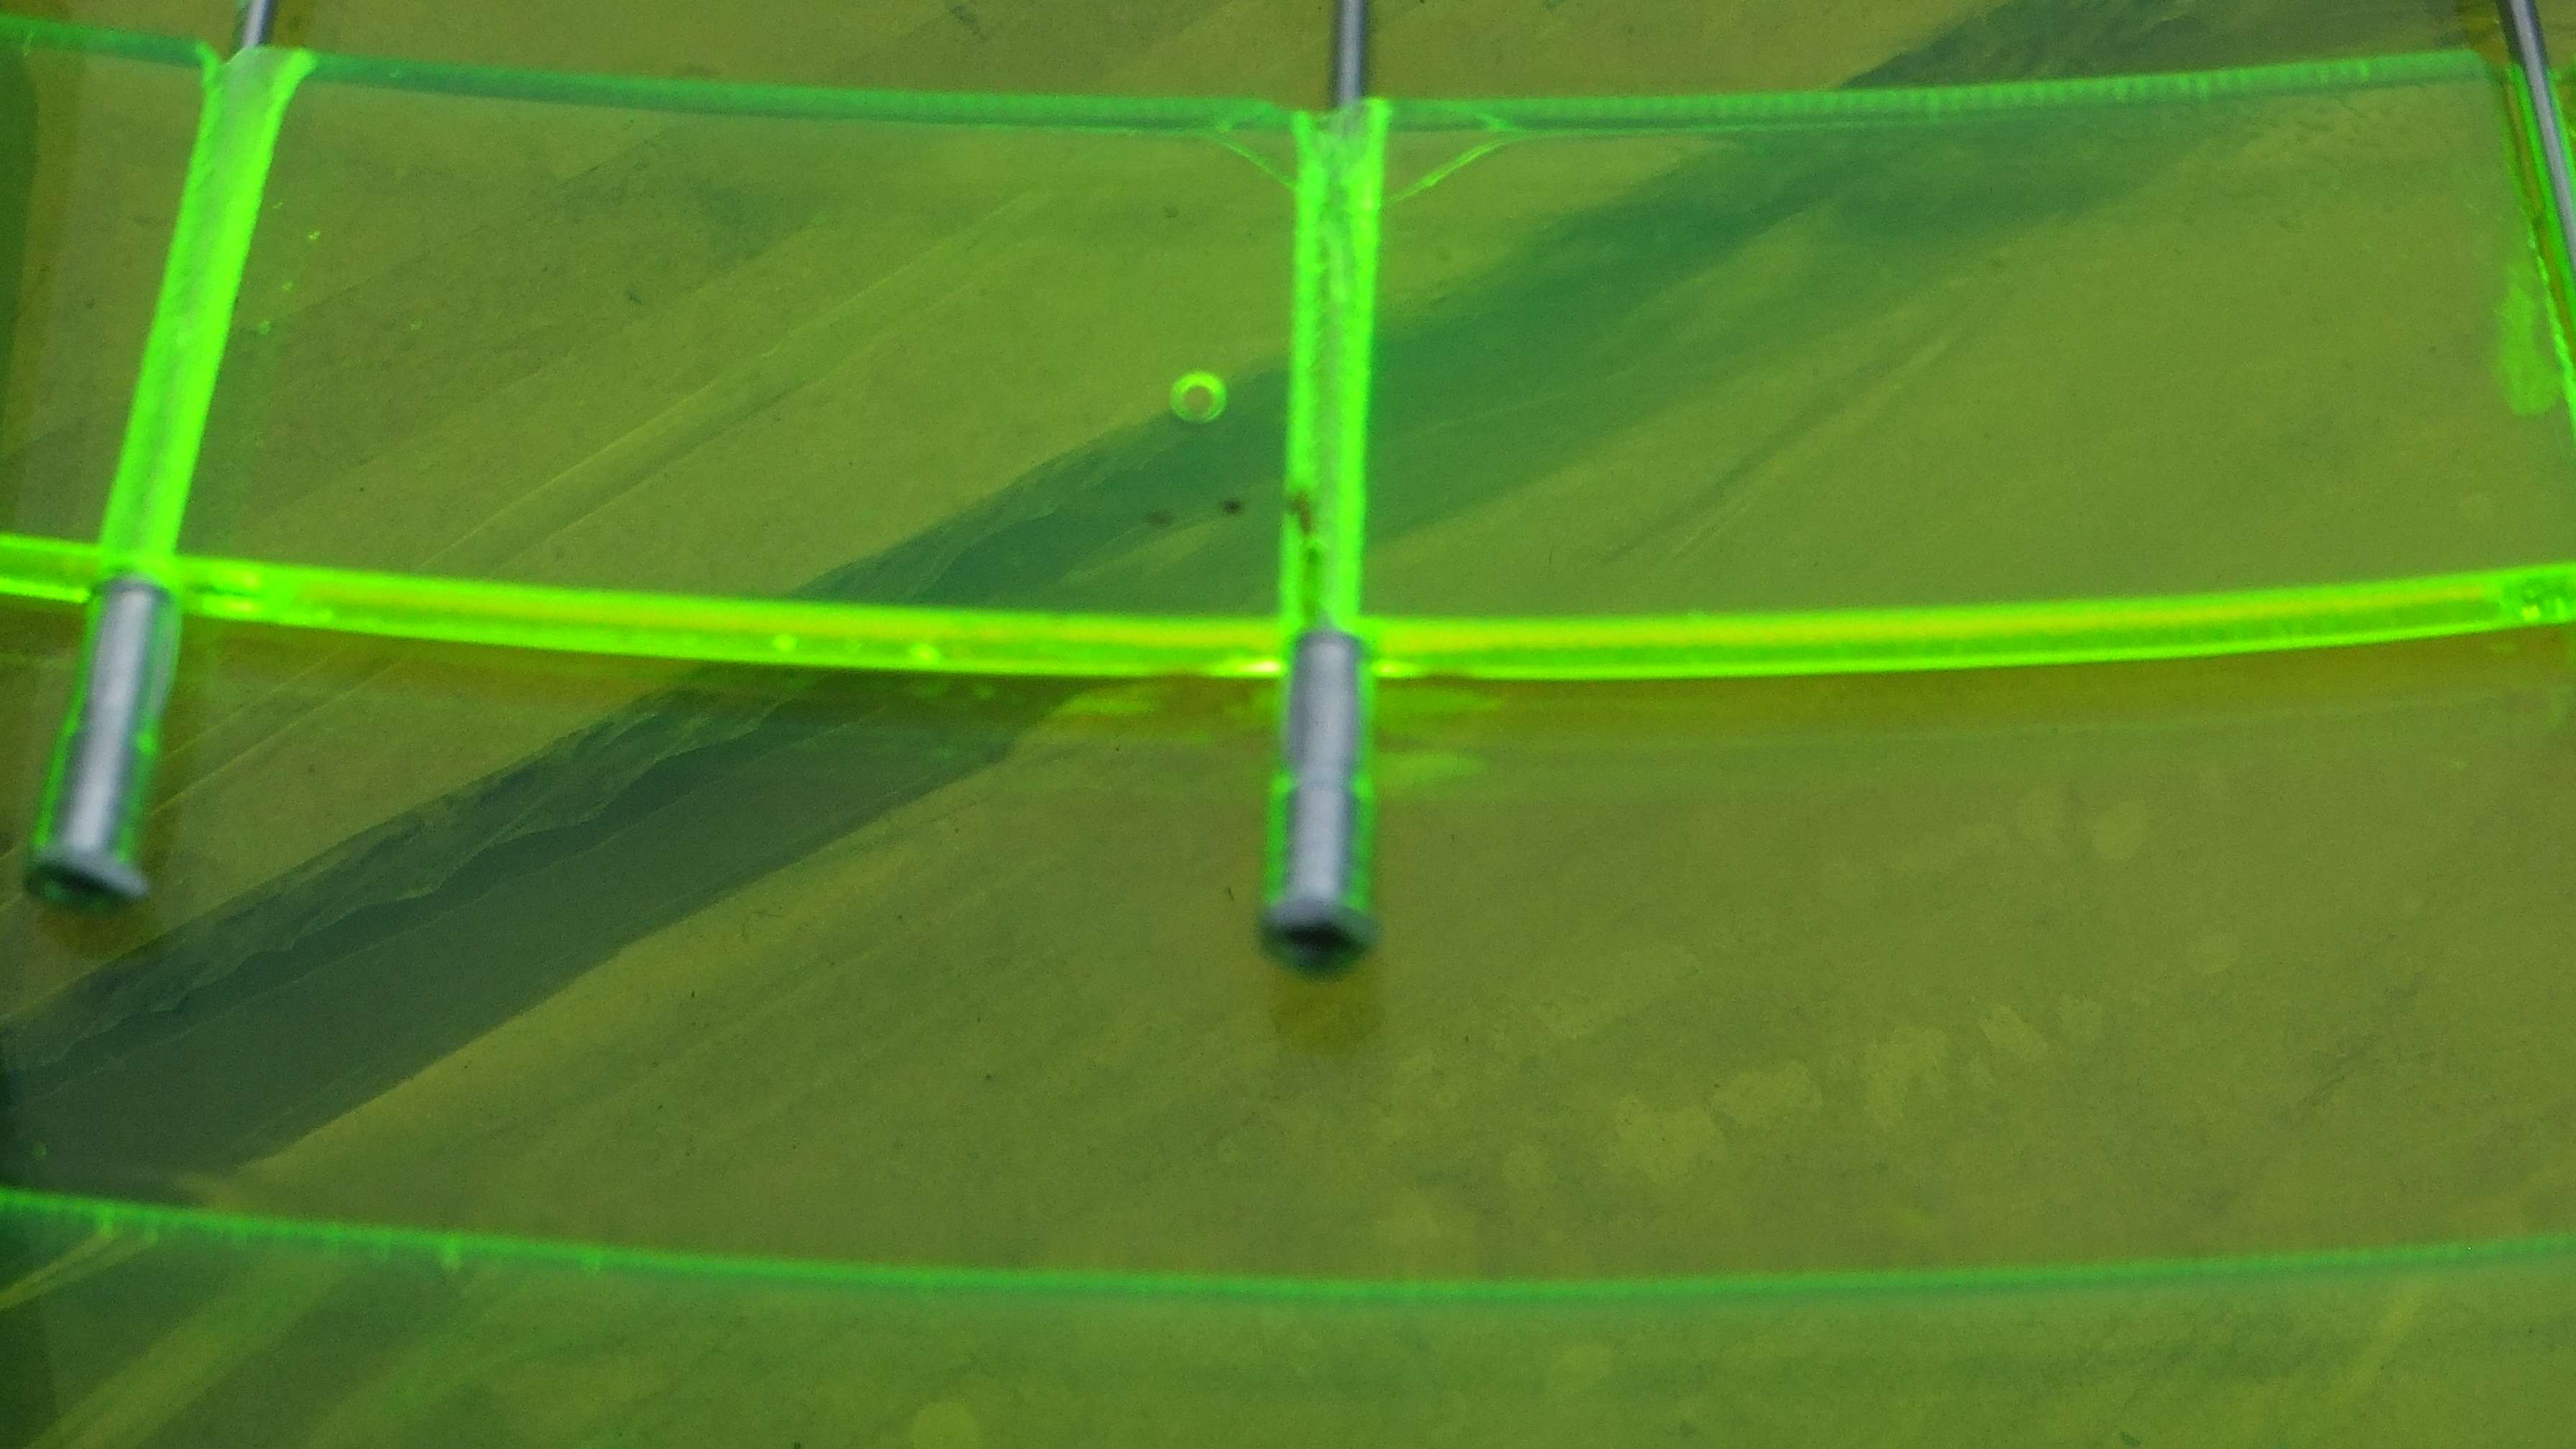
The next step was to glue the skins onto the pods. I used Weld-On 3 - a thin glue which uses capillary action. You apply it to the seems with a syringe.
Making the window bubblers. Layered 1/8 UV green acrylic . . .stripped down hypodermic needles so air could pass thru them at a reasonable rate
The Reservoir
Jig for drilling and tapping holes in end of rib sections:
Counter-sinking holes
Gluing the pod covers to get them ready to paint:
Tapping the manifold:
Getting ready to leak test the manifold:
Duke Manifold Leak Test
The next step was to glue the skins onto the pods. I used Weld-On 3 - a thin glue which uses capillary action. You apply it to the seems with a syringe.
Making the window bubblers. Layered 1/8 UV green acrylic . . .stripped down hypodermic needles so air could pass thru them at a reasonable rate
The Reservoir
