Turn on suggestions
Auto-suggest helps you quickly narrow down your search results by suggesting possible matches as you type.
Showing results for
- Republic of Gamers Forum
- Discussions
- Case Mods & PC Builds
- DarthBeavis Project: Trek
Options
- Subscribe to RSS Feed
- Mark Topic as New
- Mark Topic as Read
- Float this Topic for Current User
- Bookmark
- Subscribe
- Mute
- Printer Friendly Page
DarthBeavis Project: Trek
Options
- Mark as New
- Bookmark
- Subscribe
- Mute
- Subscribe to RSS Feed
- Permalink
06-15-2010
07:22 PM
- last edited on
03-05-2024
06:47 PM
by
![]() ROGBot
ROGBot
This project started LAST year . . .PAX mentioned was PAX Prime 2009
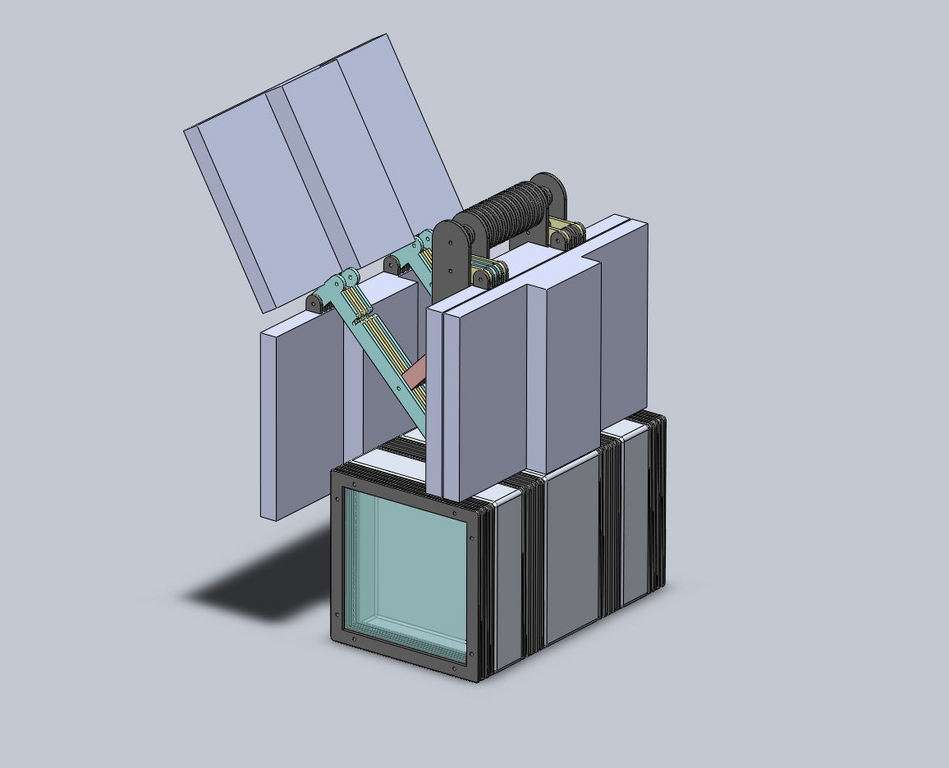
This project will be themed on the utility case a Star Trek Engineering away team might take on a mission. Technology featured in this build will include Nvidia's 3d Stereo graphics for the most immerse gaming short of a holodeck. The build will contain two mini-itx based systems for true head-to-head gaming. The project is a join venture between BoxGods (a.k.a. Geno) and Out of the Box Mods (a.k.a. me). Our goal is to have it premier at QuakeCon (Nvidia has booth space reserved for it) then next travel to PAX.
Sponsors:
- Nvidia (3d monitors, glasses)
- Danger Den (CNC, laser, design services, I think I bought all the water-cooling parts retail for this project except GPU blocks)
- Crucial (Ballistix Tracer ram and SSD hard drives)
- Performance PCs (tons of stuff)
- Mountain Mods (thanks for helping get materials on short notice Ben!!!)
- BoxGods (aluminum boxes and tons of design services)
- Asus (motherboards? and GPUS)
- I wanted to fit FrozenQ reservoirs in but the space is so small he would have to make really small ones. I do not know if he will have time. Anyway, he still deserves a shout out.
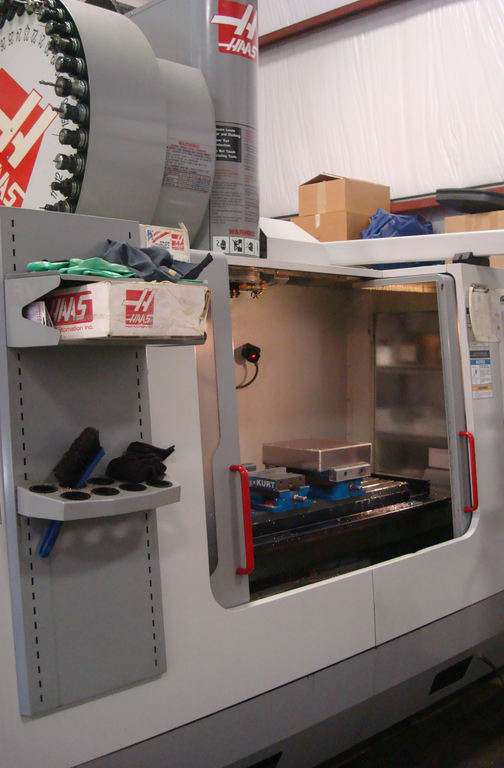
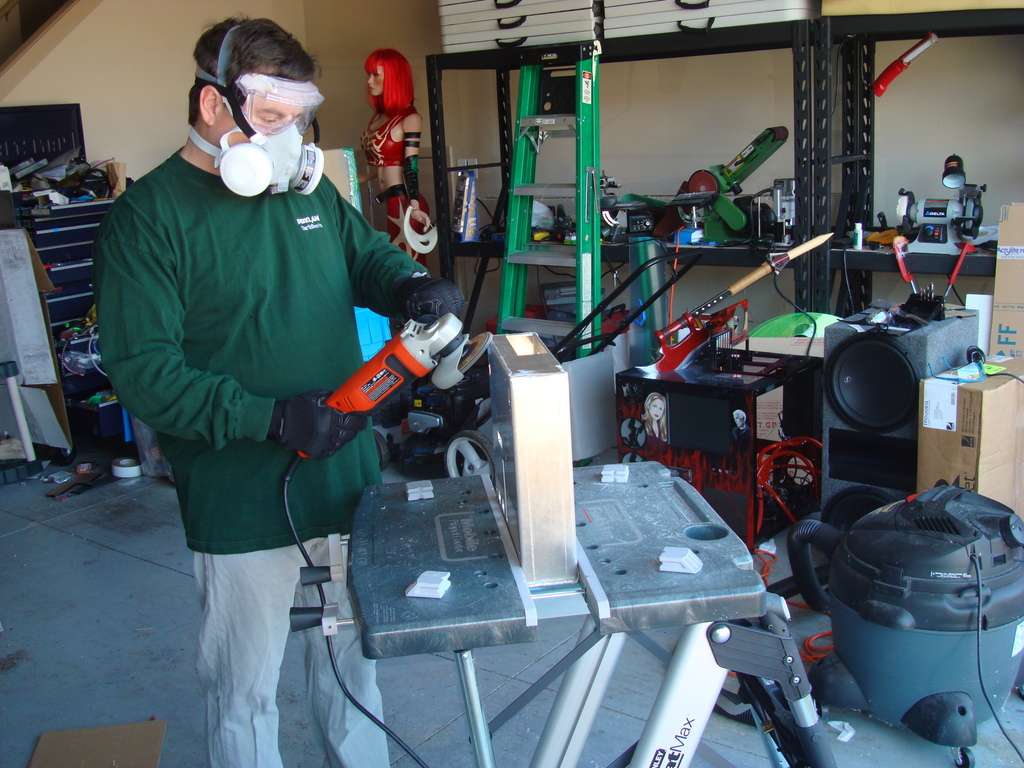
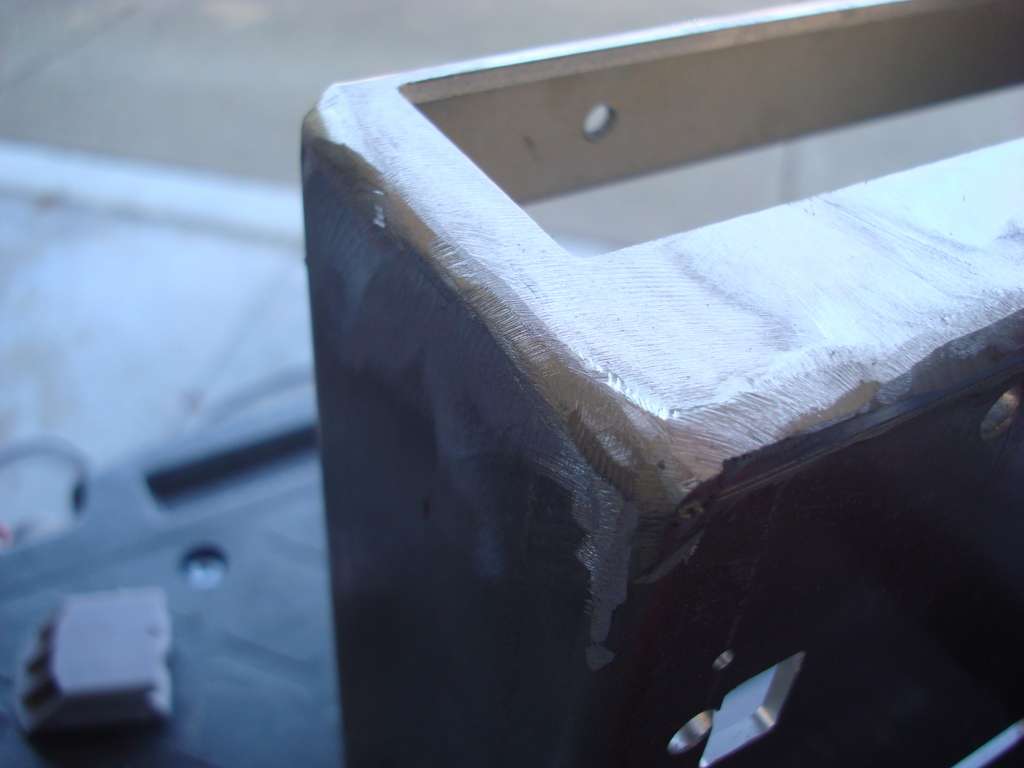
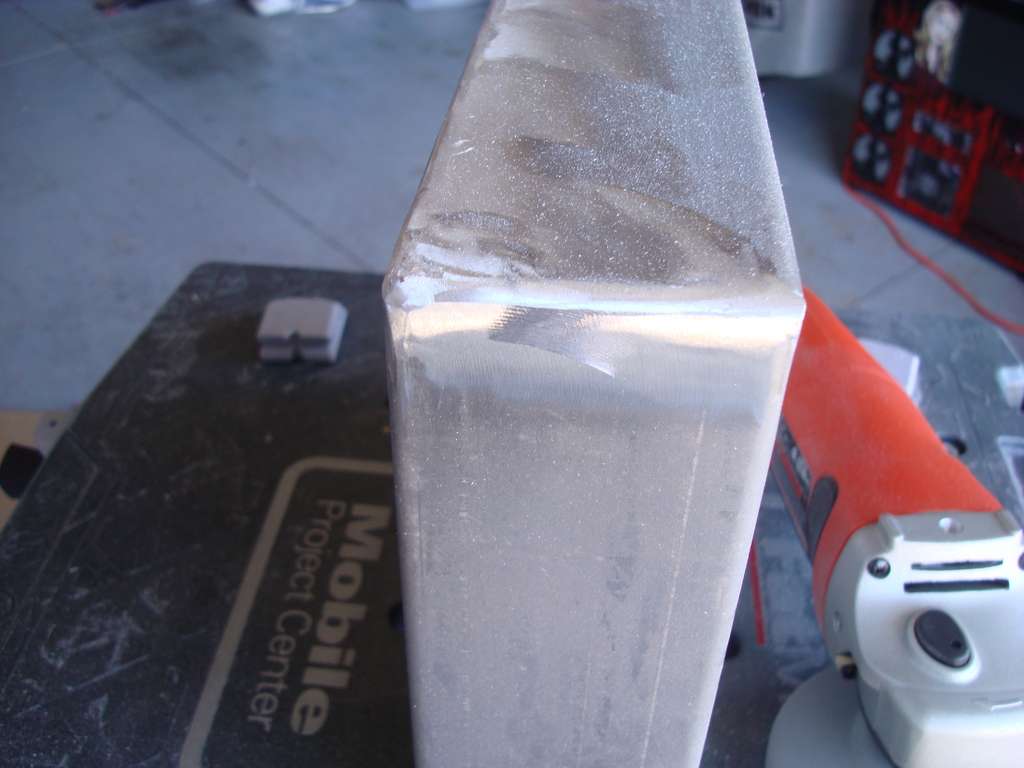
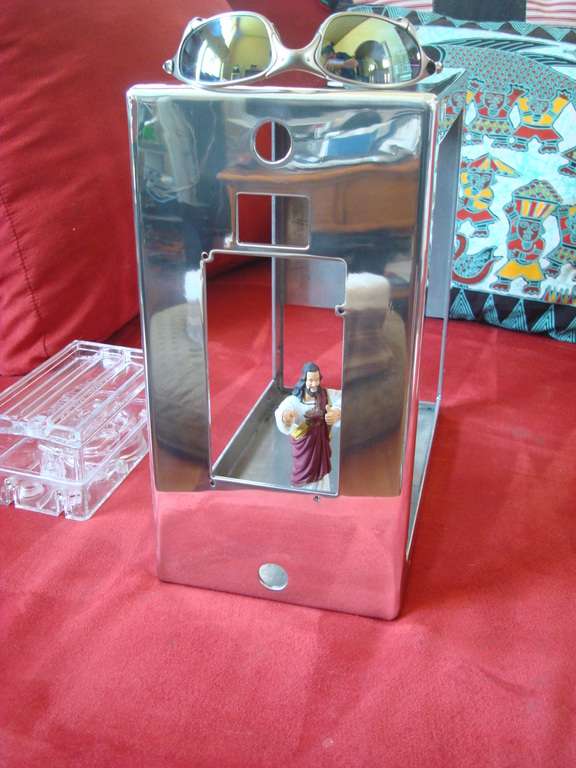
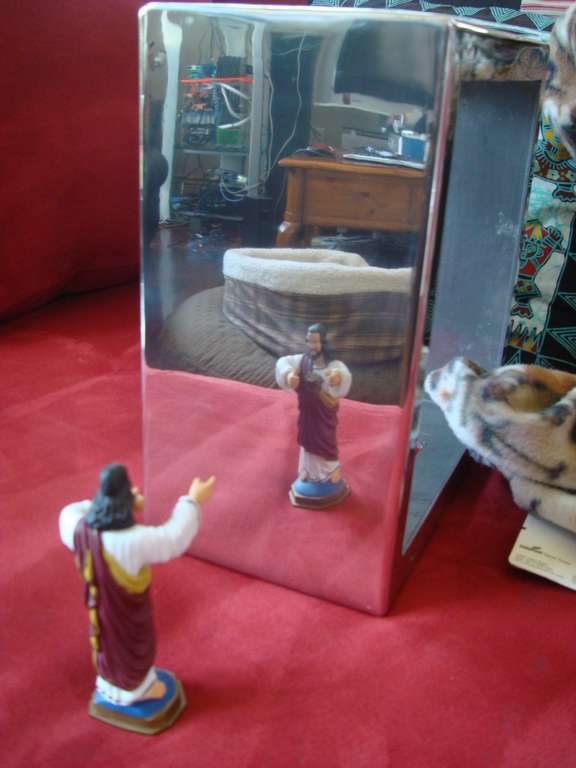
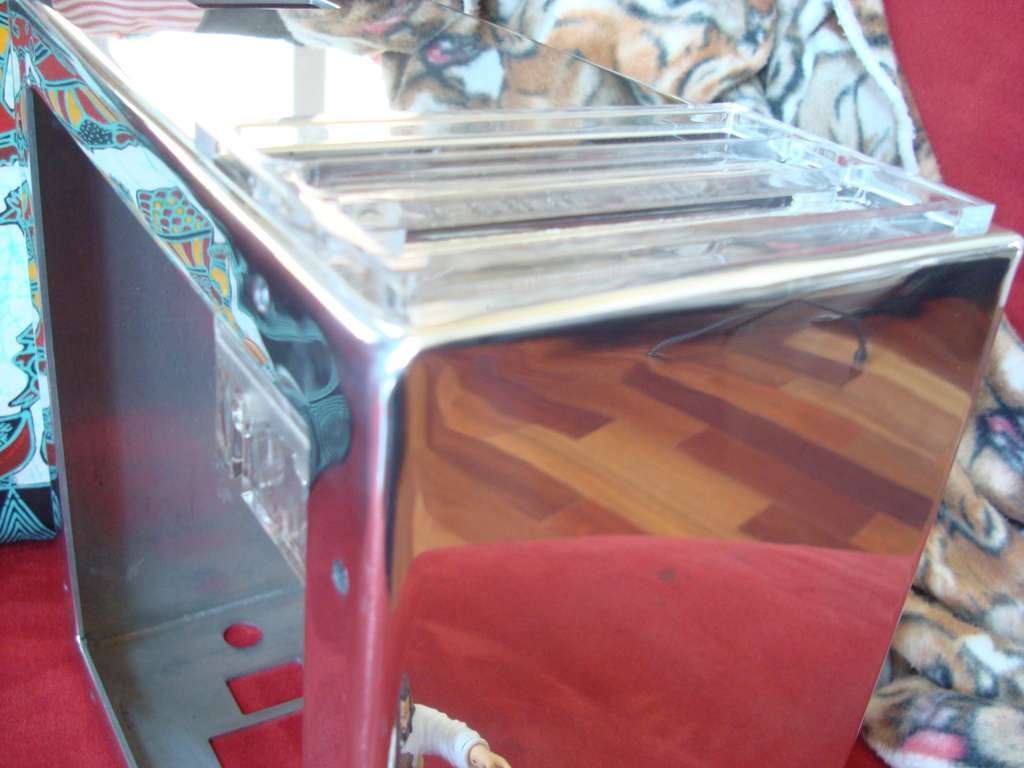
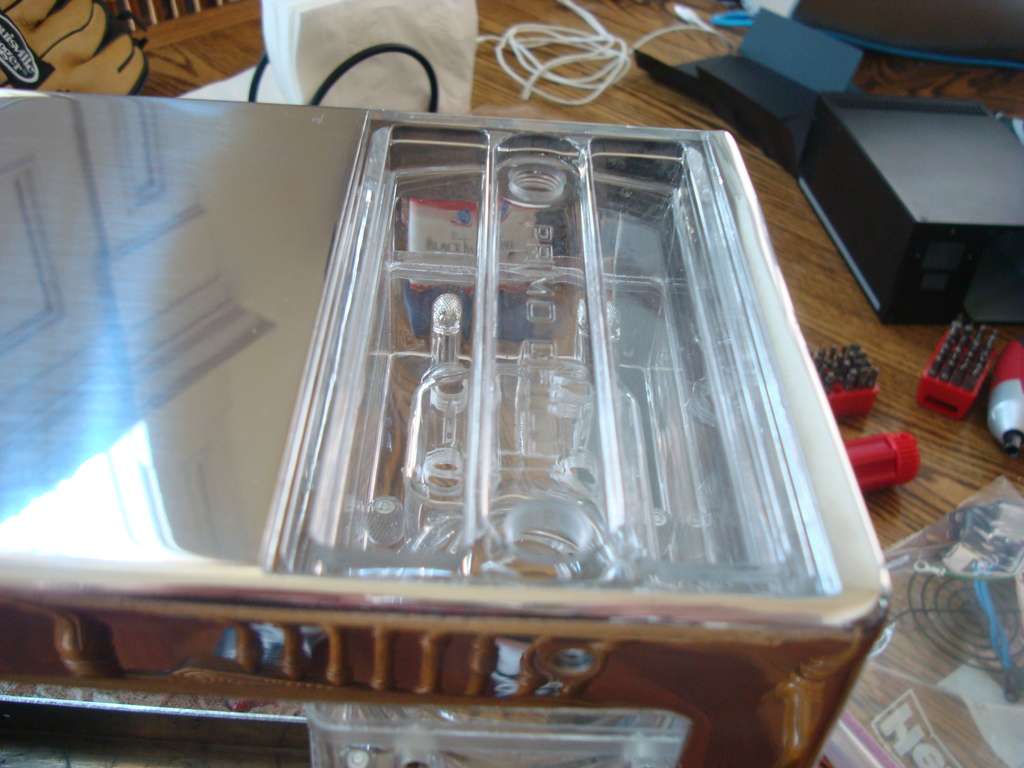
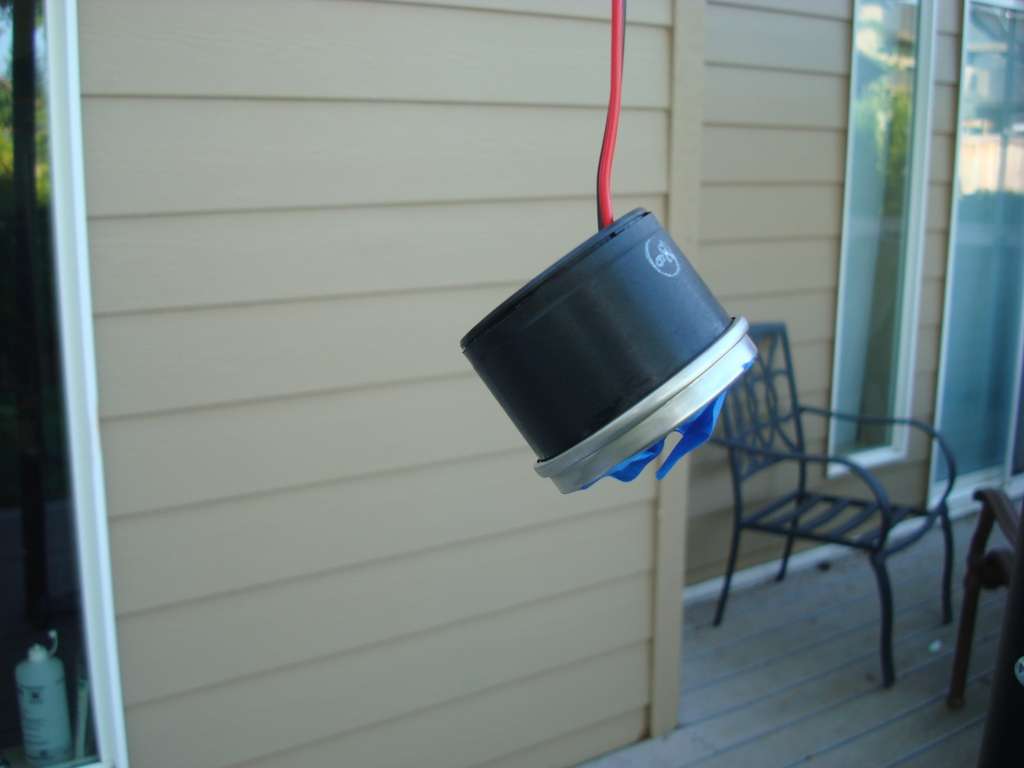
Geno, after months of work and more than one sleepless night and shower less day has the drawings finished. I received the aluminum boxes Friday, then traveled to Danger Den Saturday. Jeremy, the CEO of DD, was kind enough to give up his entire day to draw the holes for the case where I needed them and then use one of their CNC mills to cut the holes. This week they will laser cut the acrylic parts as well. Today I ground the slag off the boxes and radiused the edges (Geno already has some of it done so I would know what result to shoot for). This is my FIRST time working with metal so please keep that in mind when commenting. I still have to do use the Scotch Bright finishing sander attachment (this round was with a number 80 flap attachment). Tomorrow I will start the polishing . . .w00t
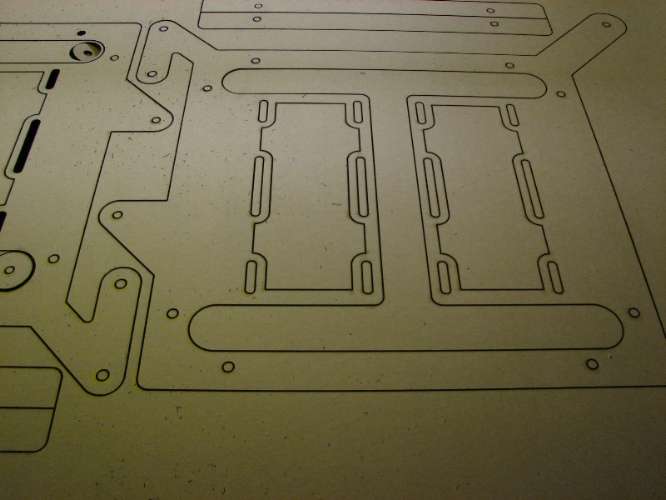
Drawing (not complete):
CNC Mill:
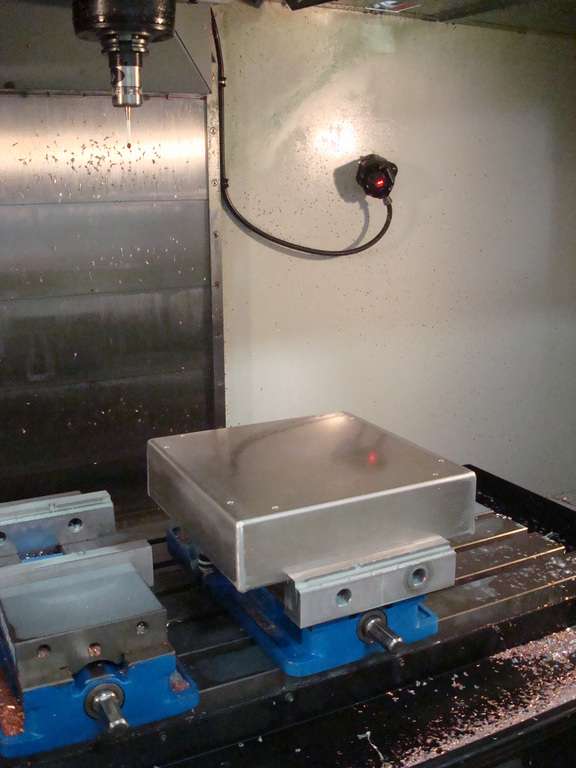
After mill:
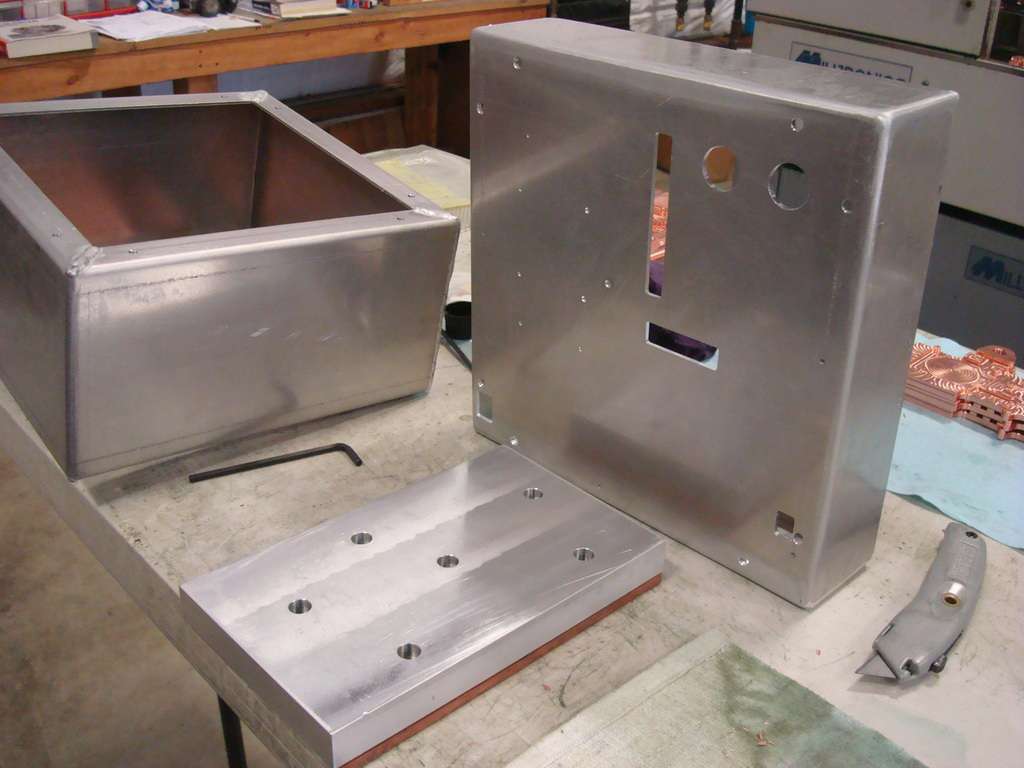

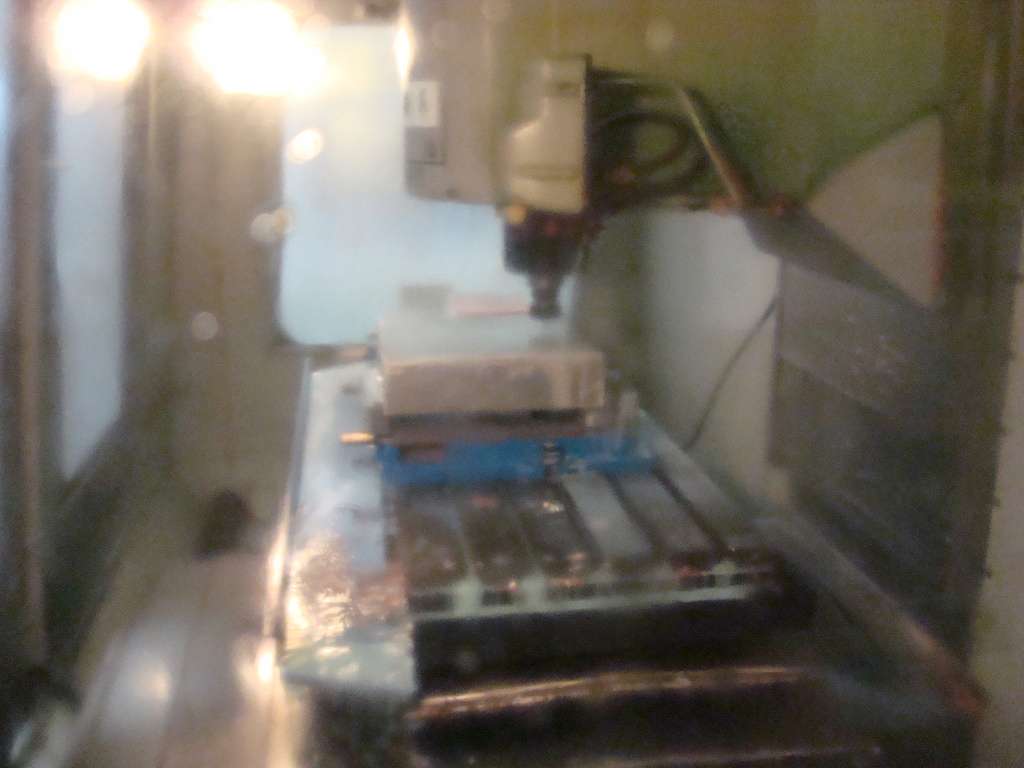
Grinding (Geno I do listen to your safety nagging):

Guess I have a date with a file and sandpaper tomorrow as well . . . .maybe polishing on Tuesday?
This project will be themed on the utility case a Star Trek Engineering away team might take on a mission. Technology featured in this build will include Nvidia's 3d Stereo graphics for the most immerse gaming short of a holodeck. The build will contain two mini-itx based systems for true head-to-head gaming. The project is a join venture between BoxGods (a.k.a. Geno) and Out of the Box Mods (a.k.a. me). Our goal is to have it premier at QuakeCon (Nvidia has booth space reserved for it) then next travel to PAX.
Sponsors:
- Nvidia (3d monitors, glasses)
- Danger Den (CNC, laser, design services, I think I bought all the water-cooling parts retail for this project except GPU blocks)
- Crucial (Ballistix Tracer ram and SSD hard drives)
- Performance PCs (tons of stuff)
- Mountain Mods (thanks for helping get materials on short notice Ben!!!)
- BoxGods (aluminum boxes and tons of design services)
- Asus (motherboards? and GPUS)
- I wanted to fit FrozenQ reservoirs in but the space is so small he would have to make really small ones. I do not know if he will have time. Anyway, he still deserves a shout out.
Geno, after months of work and more than one sleepless night and shower less day has the drawings finished. I received the aluminum boxes Friday, then traveled to Danger Den Saturday. Jeremy, the CEO of DD, was kind enough to give up his entire day to draw the holes for the case where I needed them and then use one of their CNC mills to cut the holes. This week they will laser cut the acrylic parts as well. Today I ground the slag off the boxes and radiused the edges (Geno already has some of it done so I would know what result to shoot for). This is my FIRST time working with metal so please keep that in mind when commenting. I still have to do use the Scotch Bright finishing sander attachment (this round was with a number 80 flap attachment). Tomorrow I will start the polishing . . .w00t
Drawing (not complete):
CNC Mill:
After mill:
Grinding (Geno I do listen to your safety nagging):
Guess I have a date with a file and sandpaper tomorrow as well . . . .maybe polishing on Tuesday?
18,500 Views
16 REPLIES 16
Options
- Mark as New
- Bookmark
- Subscribe
- Mute
- Subscribe to RSS Feed
- Permalink
06-15-2010 07:23 PM
Here is a different perspective with more details drawn in:

Options
- Mark as New
- Bookmark
- Subscribe
- Mute
- Subscribe to RSS Feed
- Permalink
06-15-2010 07:23 PM
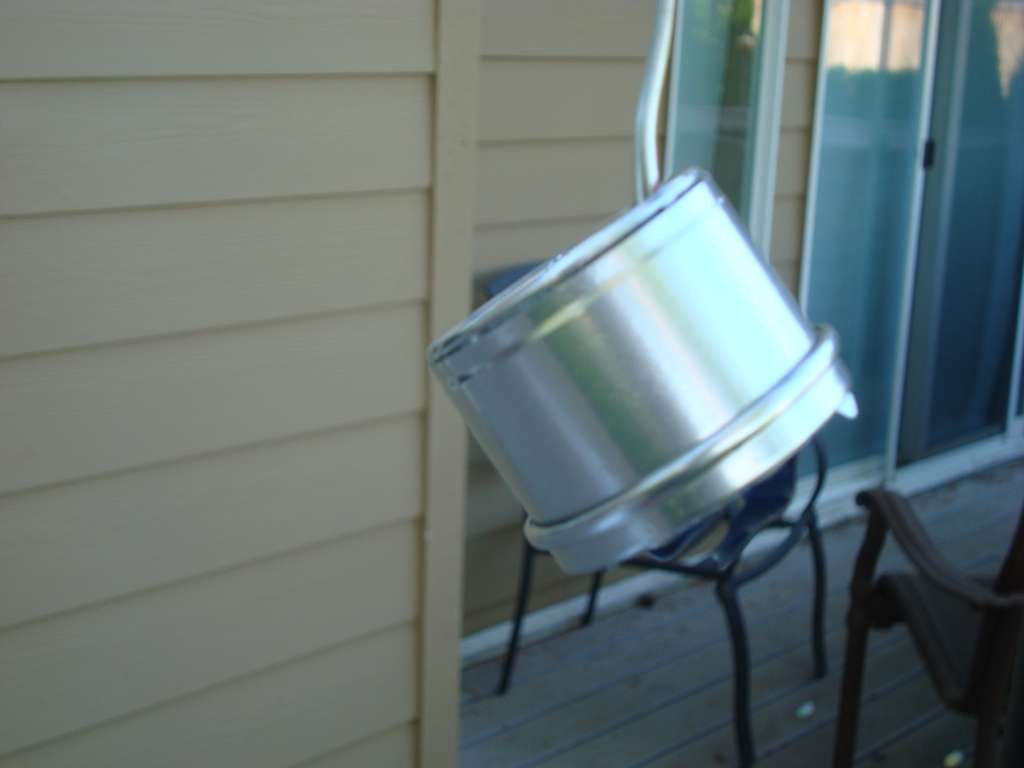
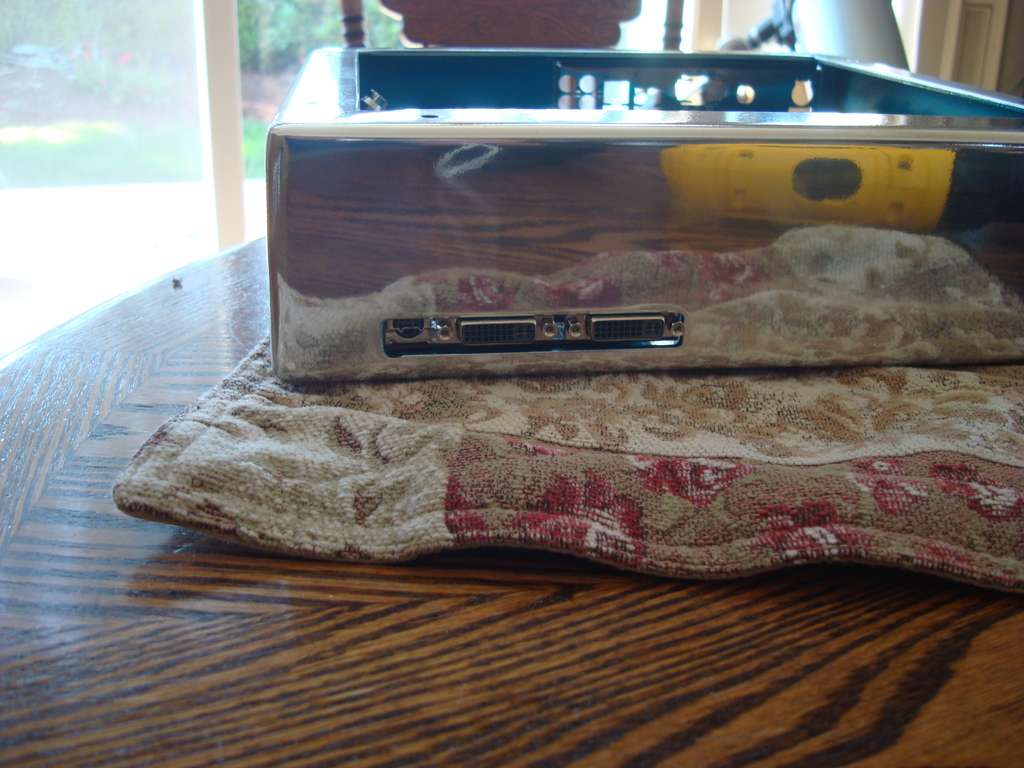
Did what I could metal-working on teh boxes, but got some pros to help get it rightly polished up. here is the center box. The other two are already at the painter who will paint the inside metallic teal then clearcoat the inside and outside of the boxes. I might also have them paint the PSU 😉

Options
- Mark as New
- Bookmark
- Subscribe
- Mute
- Subscribe to RSS Feed
- Permalink
06-15-2010 07:24 PM
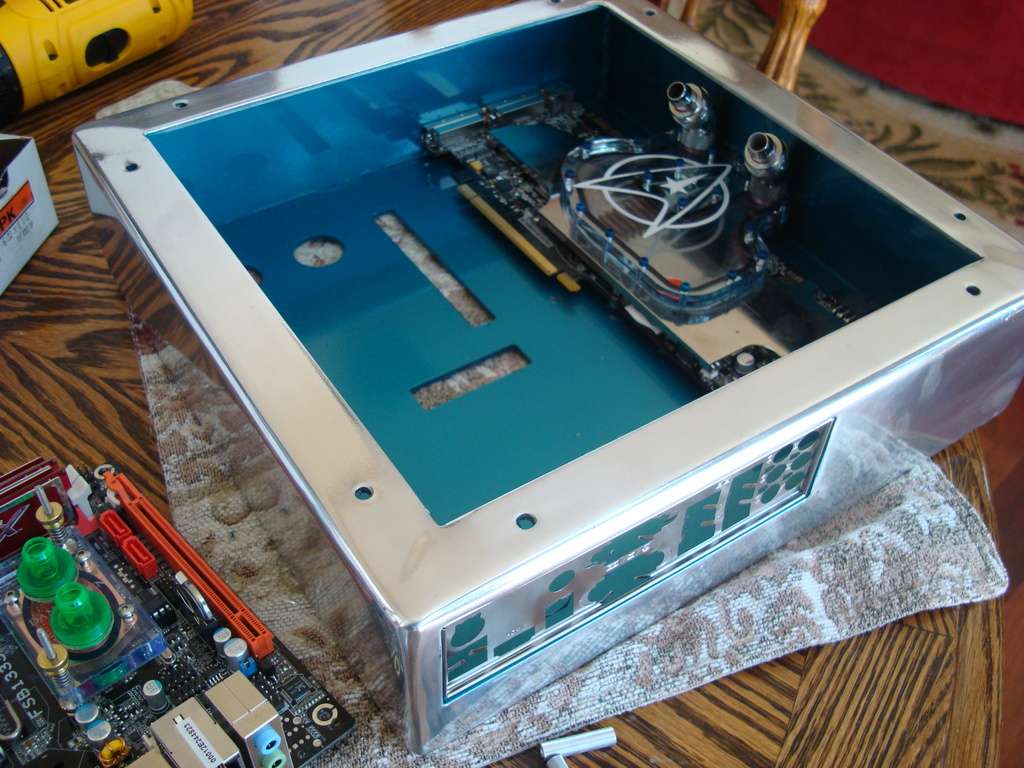
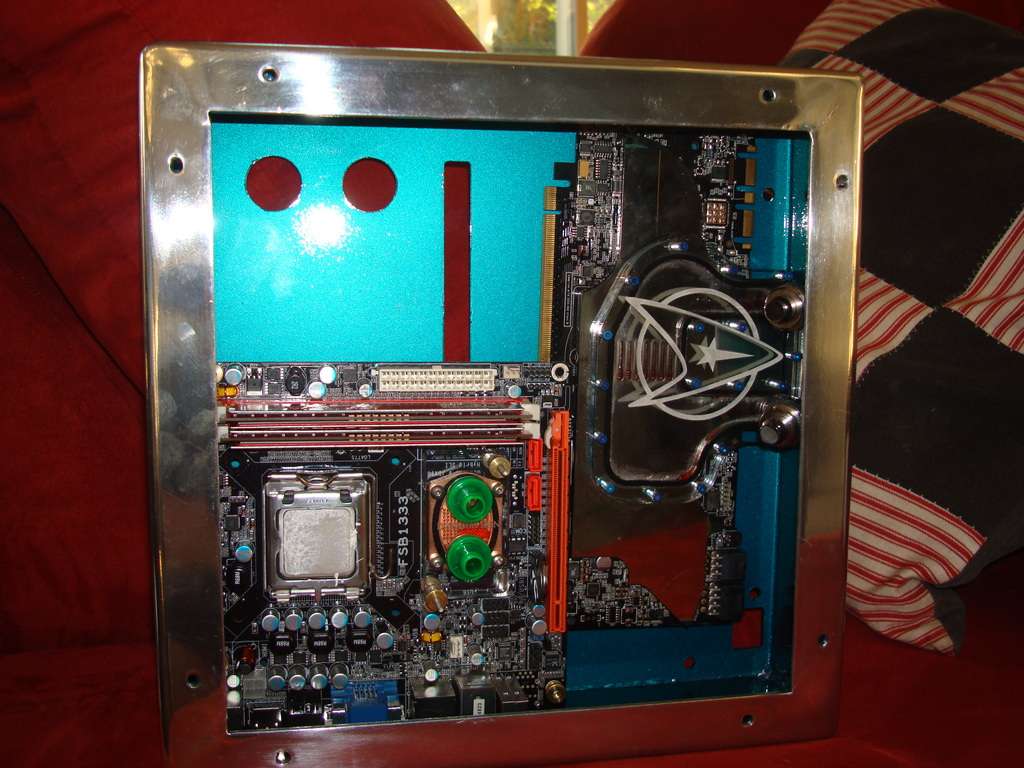
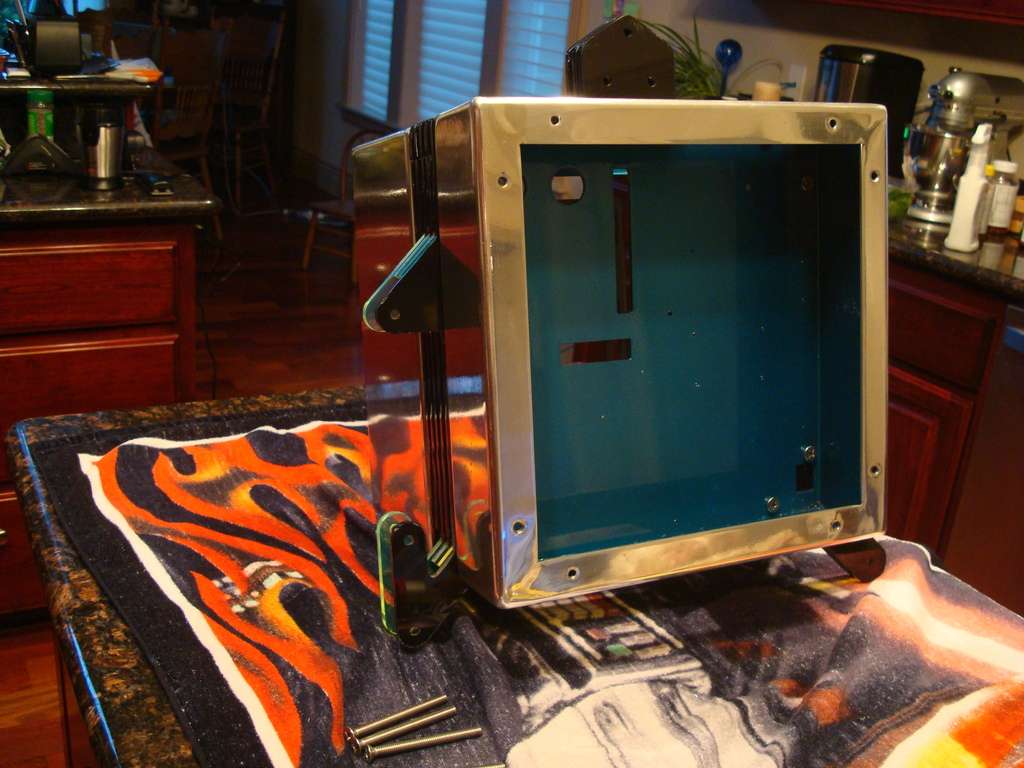
Moar Shiney . . .also filed the corners of the reservoir hole so it will sit flush. It will have one of the new billeted aluminum face plates polished to match the case


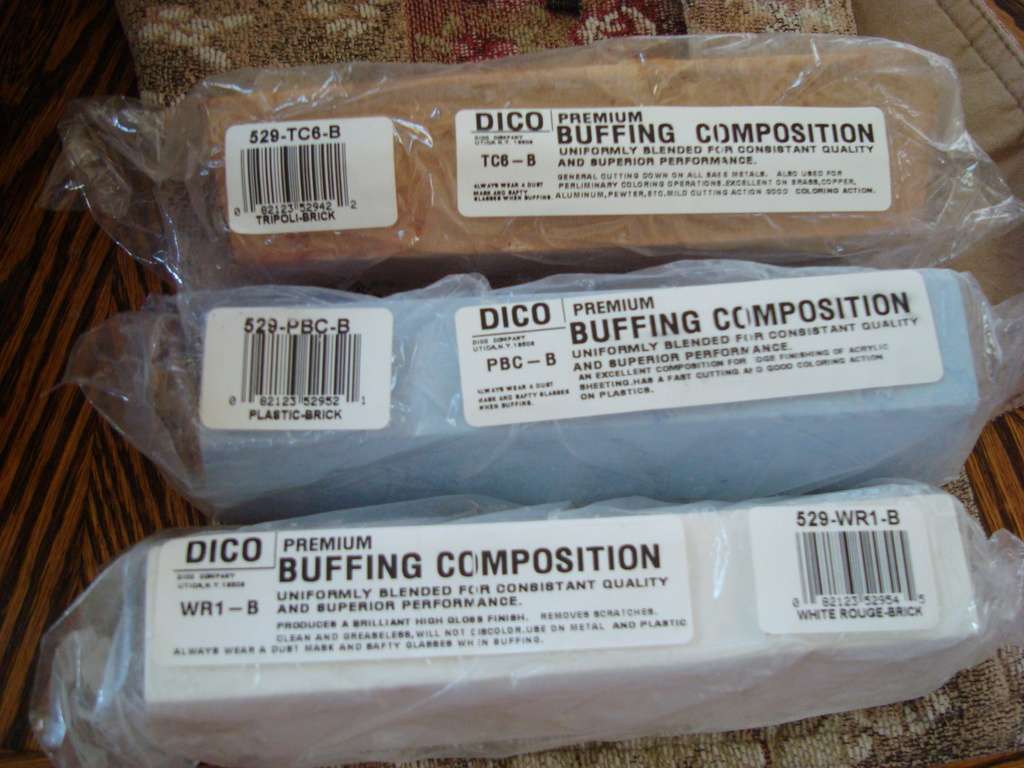
Thanks to Asus and Crucial for sponsoring hardware:
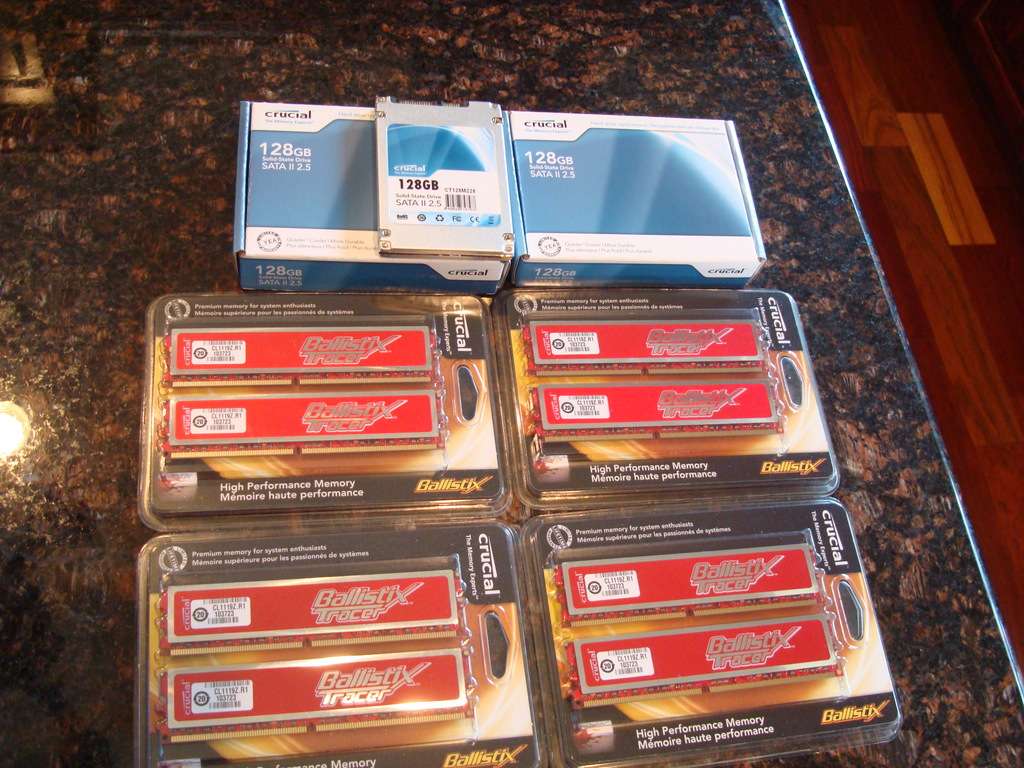
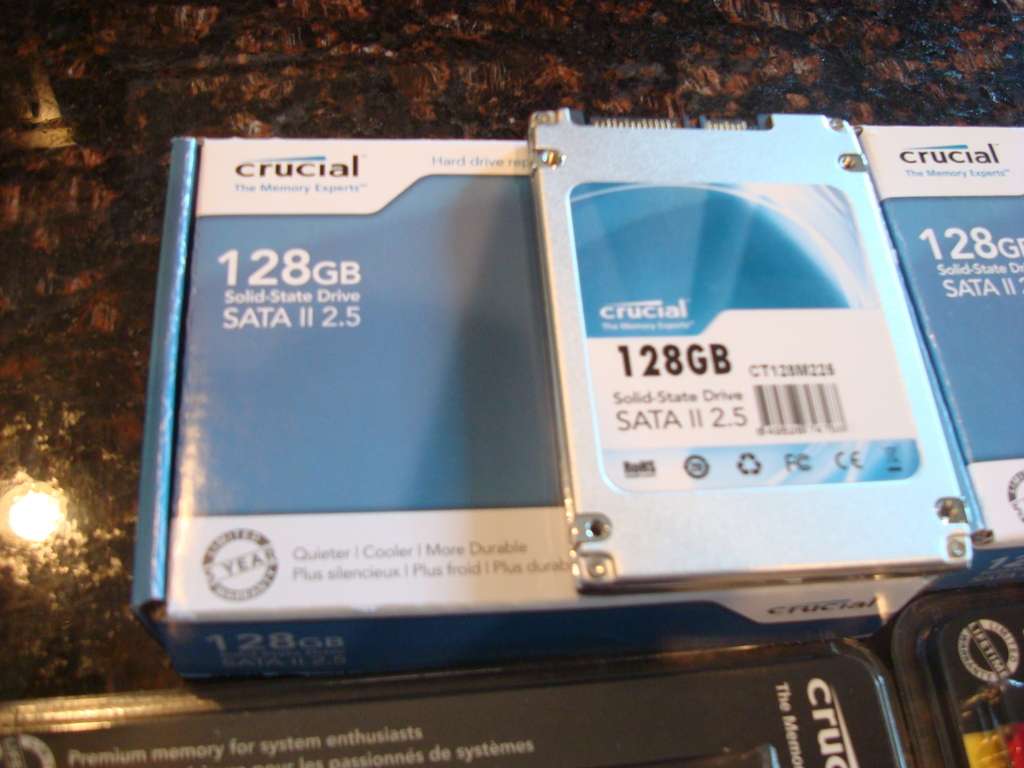
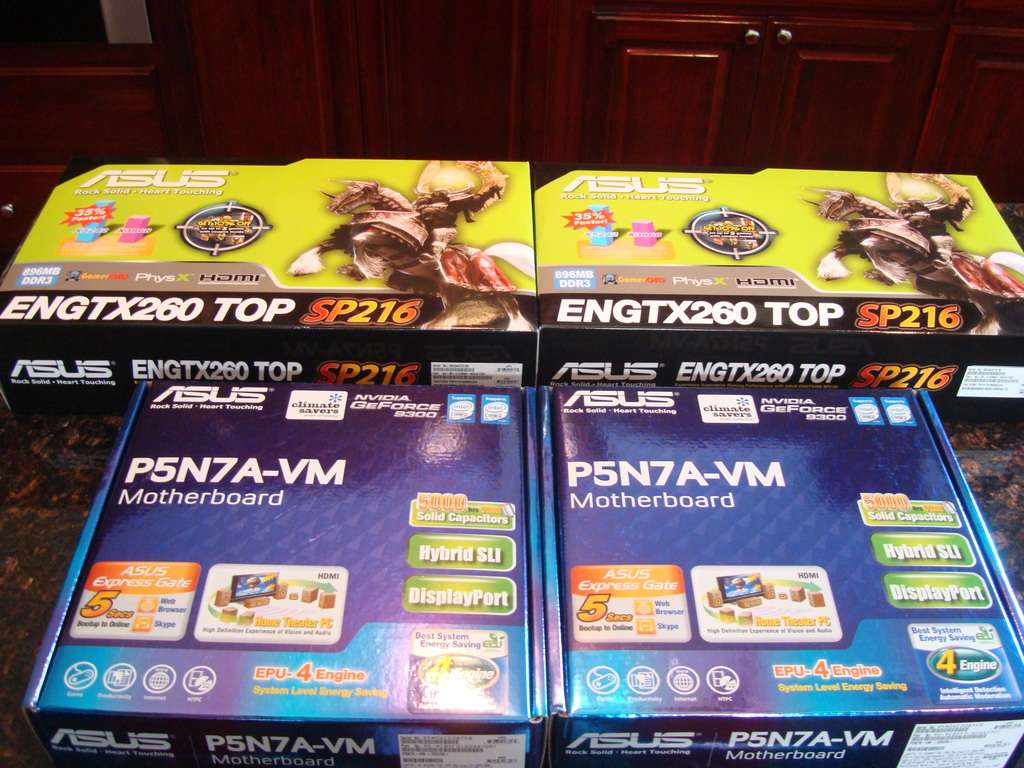
Thanks to Asus and Crucial for sponsoring hardware:
Options
- Mark as New
- Bookmark
- Subscribe
- Mute
- Subscribe to RSS Feed
- Permalink
06-15-2010 07:24 PM
Decided to get some painting done. The pump and rads really will not be visible but I wanted to at least have them reflect some light to maybe help light up the 'nacelles' or laminated acrylic layers between the boxes
Geno says I will have some sanding and polishing of the edges of the acrylic pieces when they get here so I stocked up on compounds (also need to polish the knobs . . .errr, that did not sound right . . .uh handles for adjusting the monitors)
Geno says I will have some sanding and polishing of the edges of the acrylic pieces when they get here so I stocked up on compounds (also need to polish the knobs . . .errr, that did not sound right . . .uh handles for adjusting the monitors)
Options
- Mark as New
- Bookmark
- Subscribe
- Mute
- Subscribe to RSS Feed
- Permalink
06-15-2010 07:25 PM
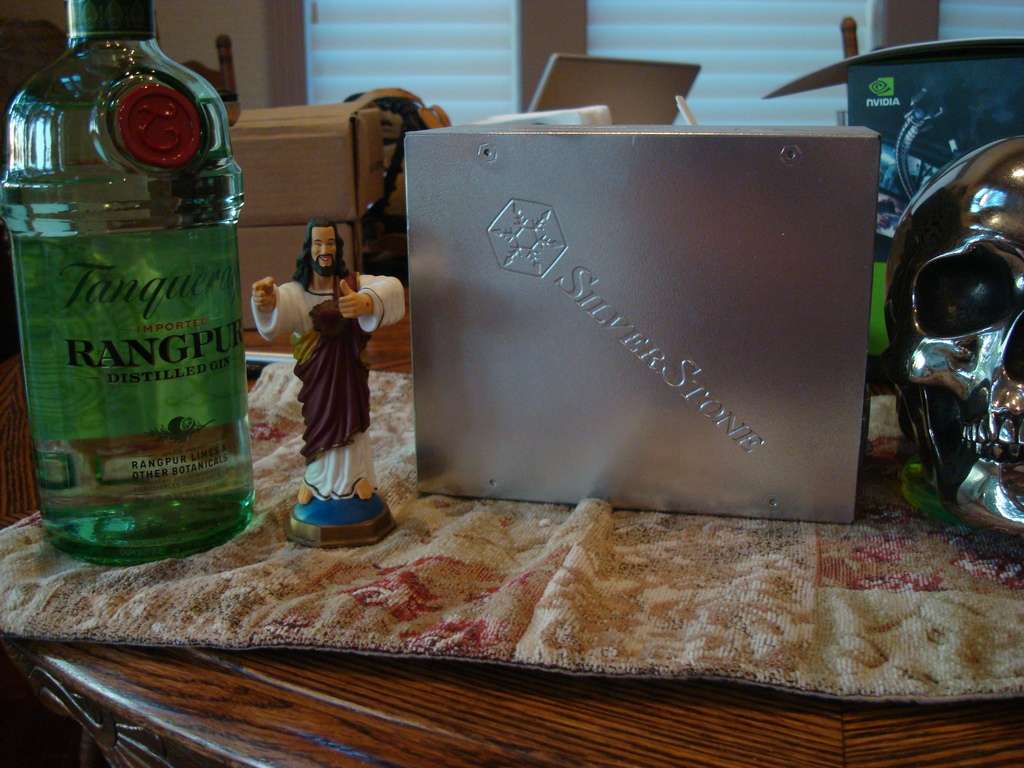
Got the PSU put together after painting (finally a silver Silverstone) . . .then started violating my diet by consuming a steady stream of gin and tonics . . .
Got the boxes back from painting:
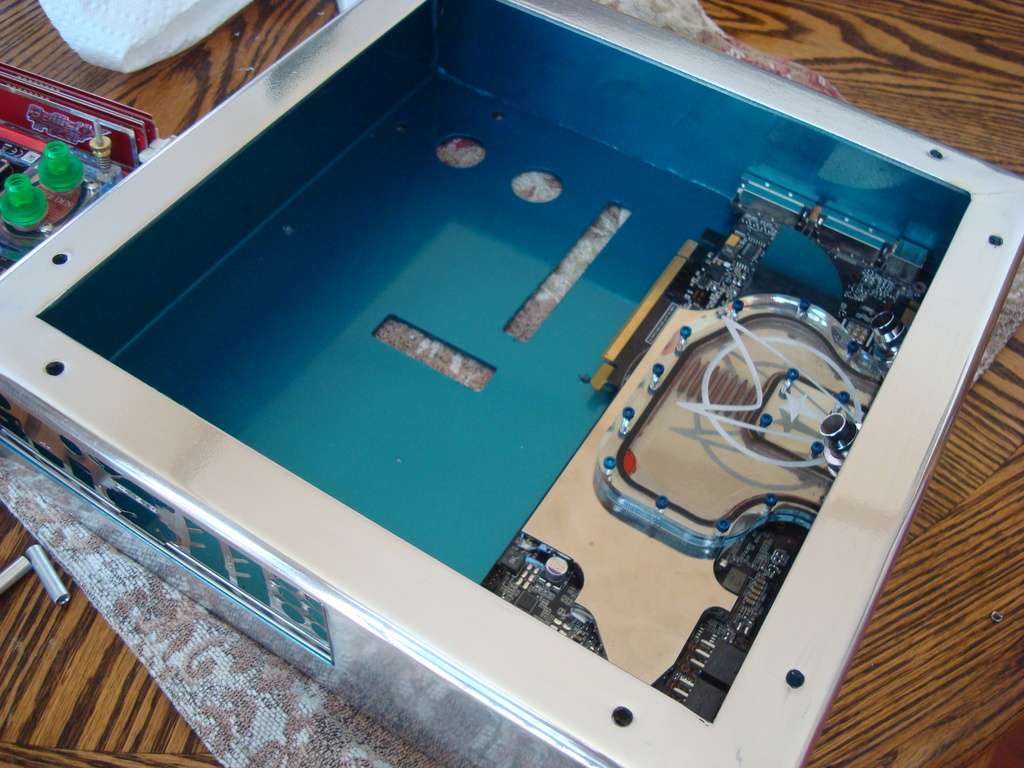
Wish I had the pump painted teal as well:

Got the boxes back from painting:
Wish I had the pump painted teal as well:
Options
- Mark as New
- Bookmark
- Subscribe
- Mute
- Subscribe to RSS Feed
- Permalink
06-15-2010 07:26 PM
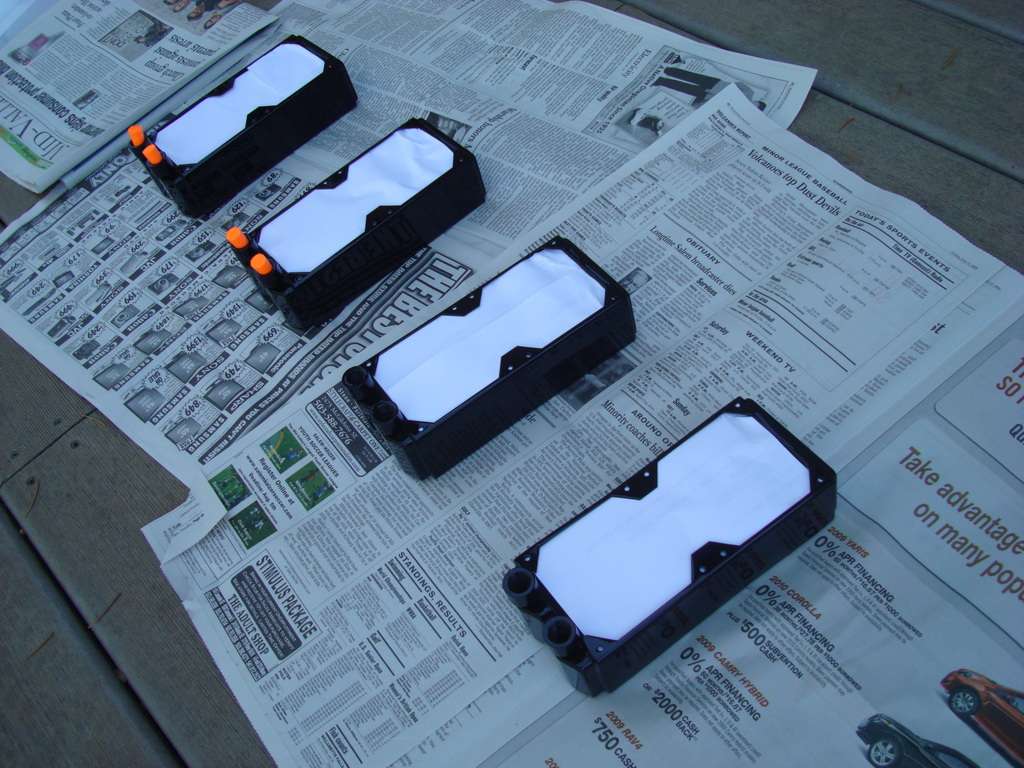
got the acrylic pieces in from Geno . . .first peeling off all the paper. tomorrow starts sanding and polishing.
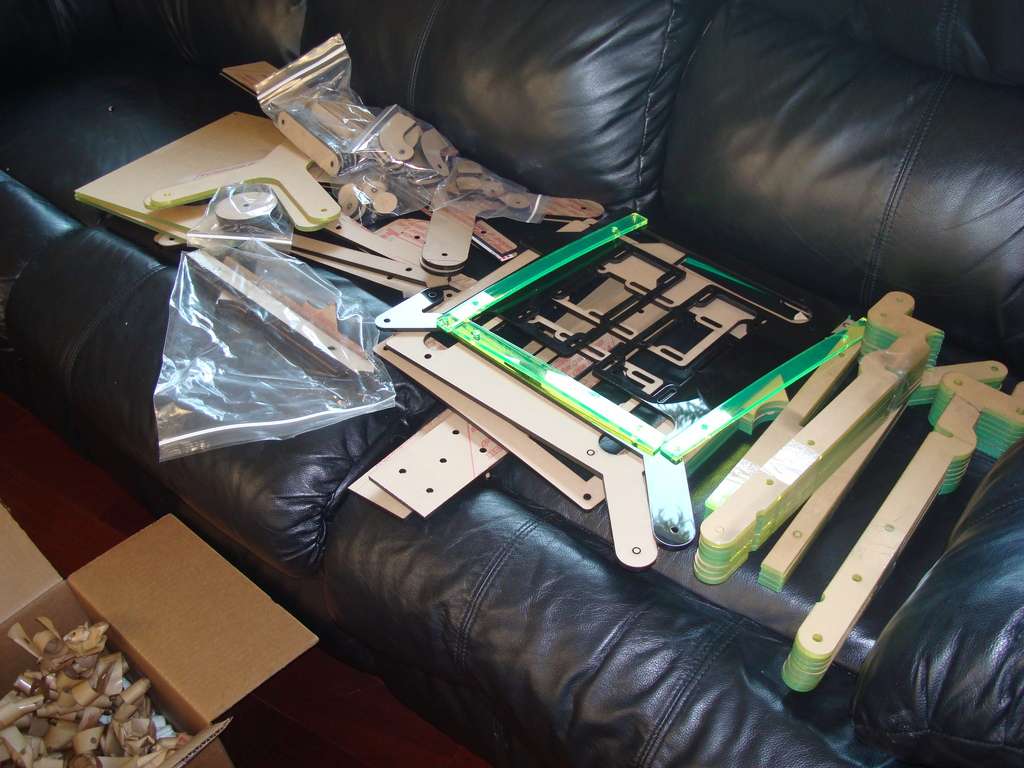
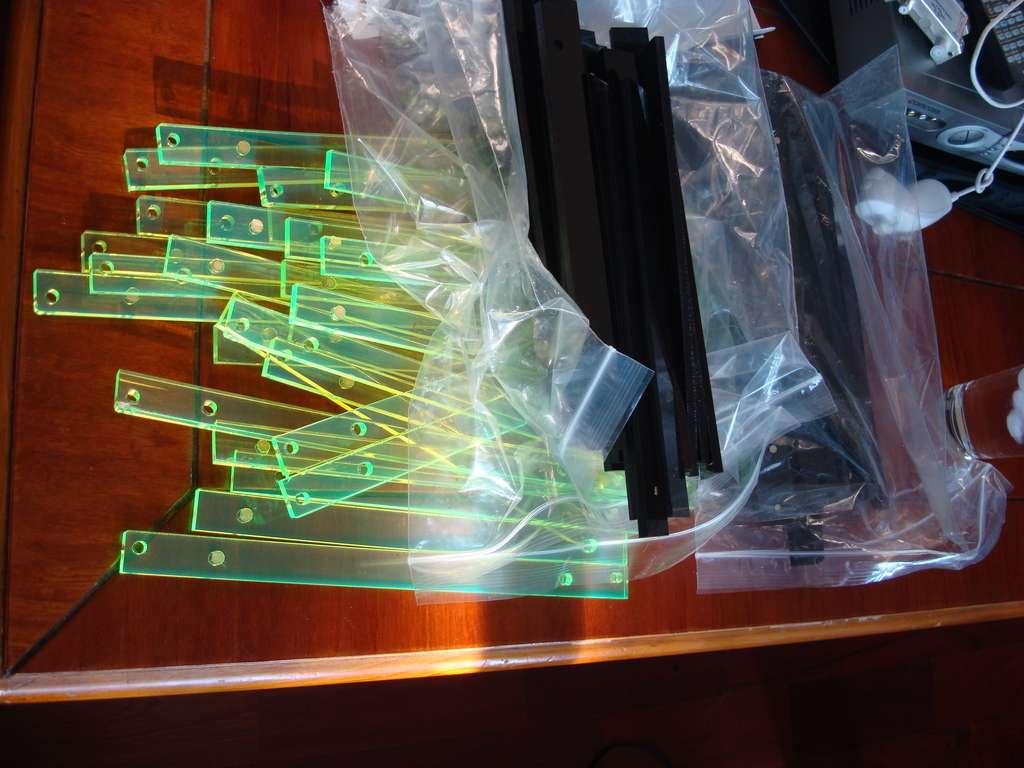
to give you an idea of how many parts:

Options
- Mark as New
- Bookmark
- Subscribe
- Mute
- Subscribe to RSS Feed
- Permalink
06-15-2010 07:27 PM
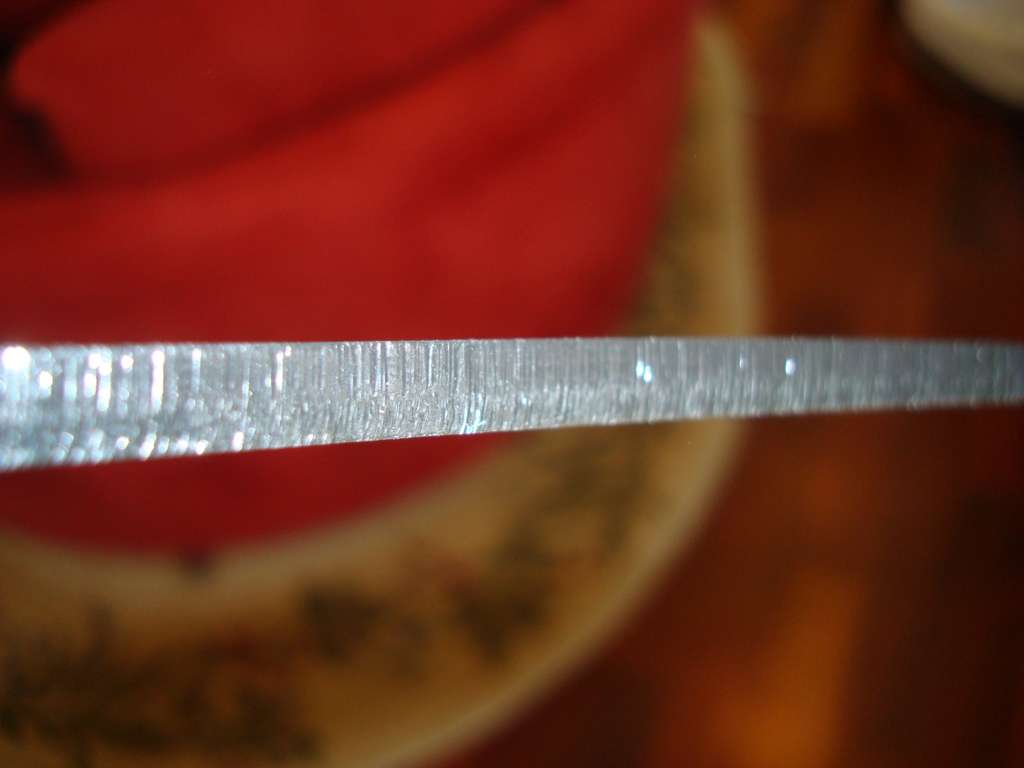
sanding away (batch sand then go back and wet sand with finer grit individually):

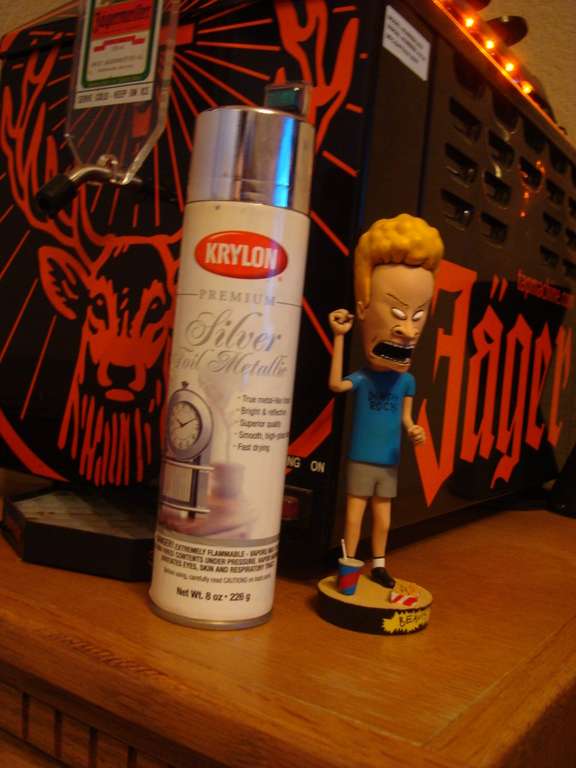
Sniipe look what I have in the backround

Sniipe look what I have in the backround
Options
- Mark as New
- Bookmark
- Subscribe
- Mute
- Subscribe to RSS Feed
- Permalink
06-15-2010 07:27 PM
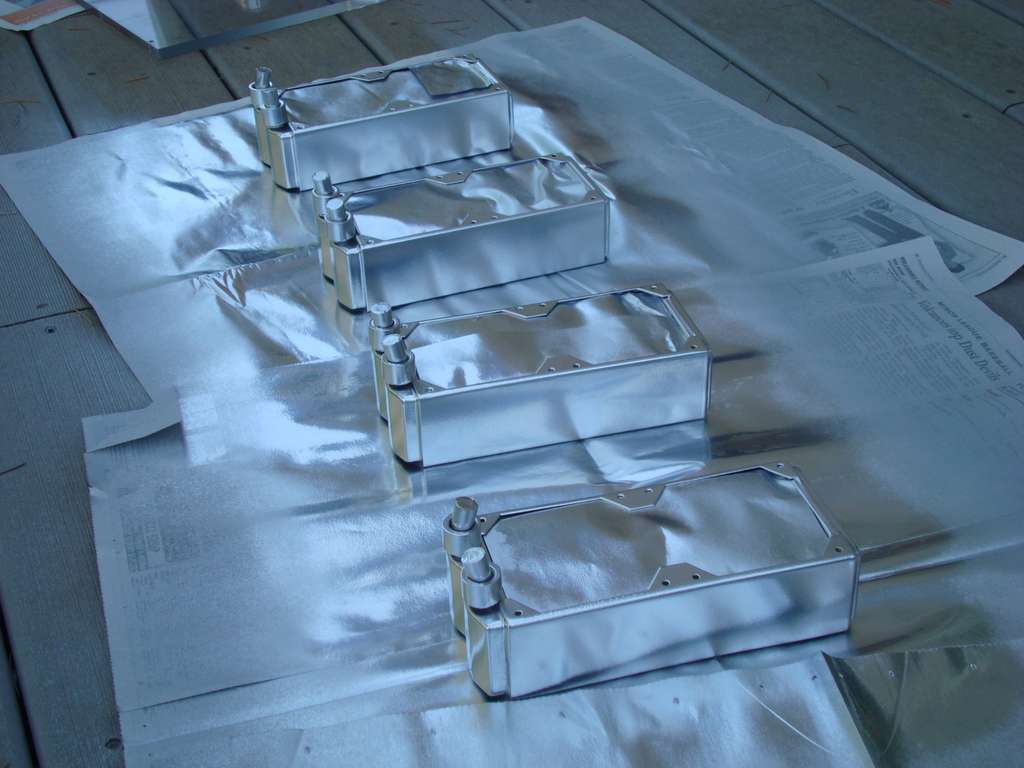
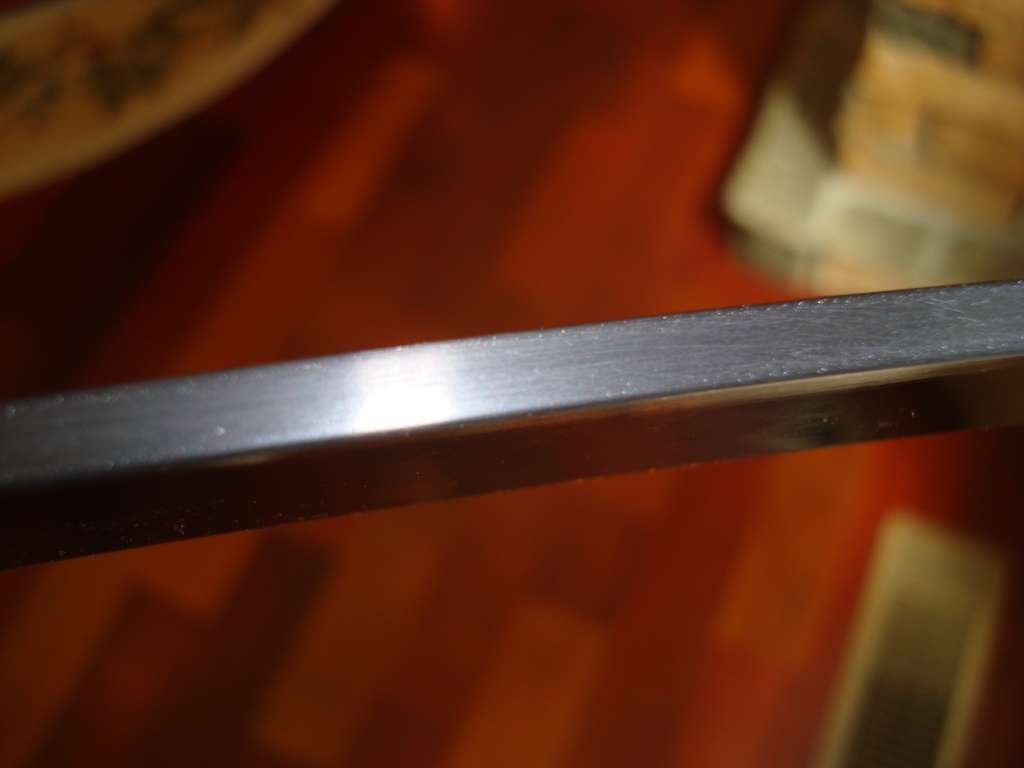
fully polished black piece next to sanded black piece (only 100 or so more to go)
That is on the buffing wheel using blue compound and a five sewn wheel
Polished ALL day long and still went to the gym. Special thanks to my buddy John (SoundEvolution) for spending the last two days sanding with his orbital while I wet sanded and polished. After the project is done I will post some videos of parts of the project.
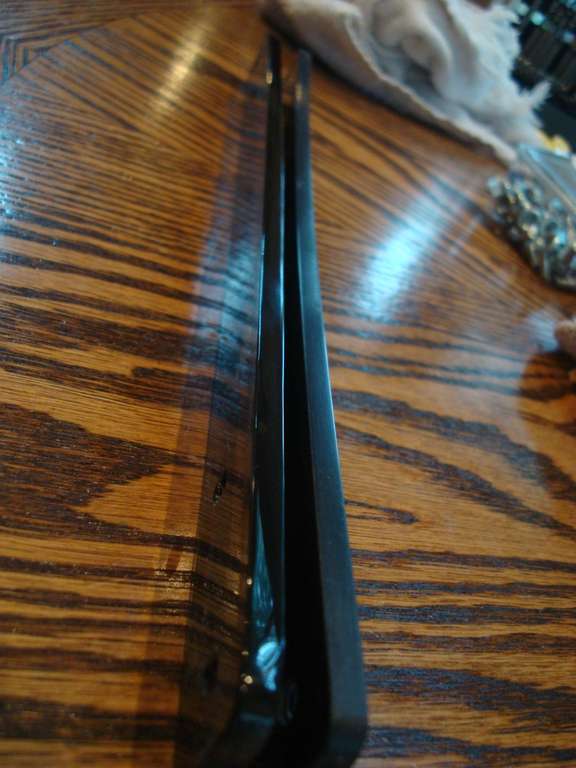
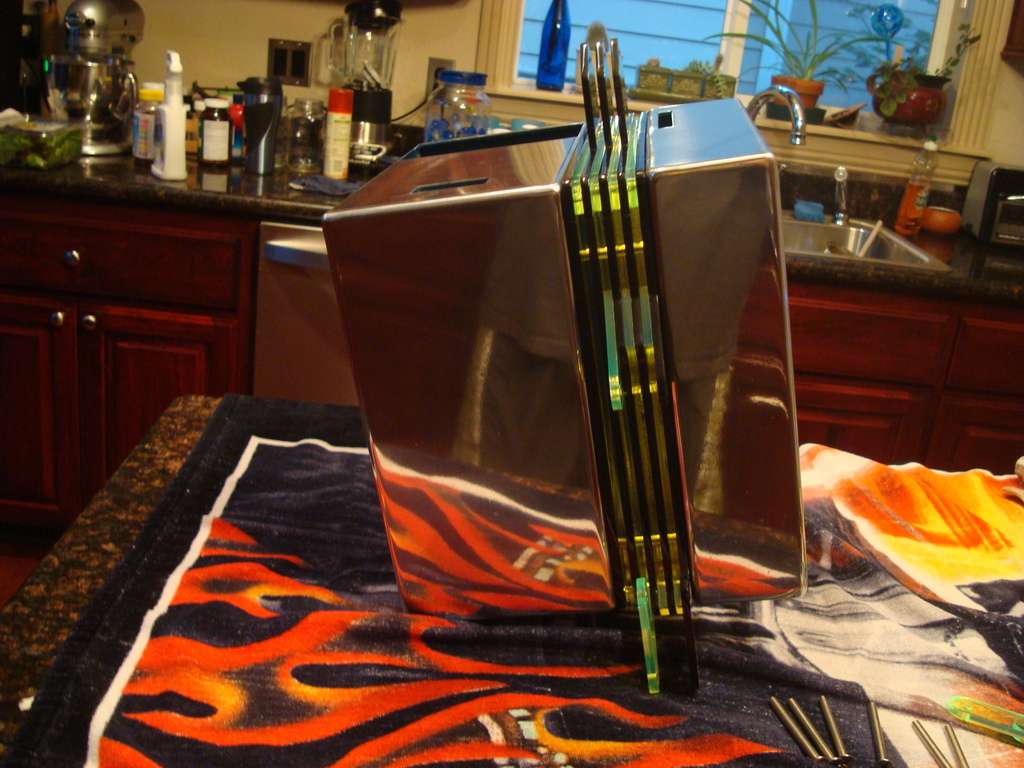
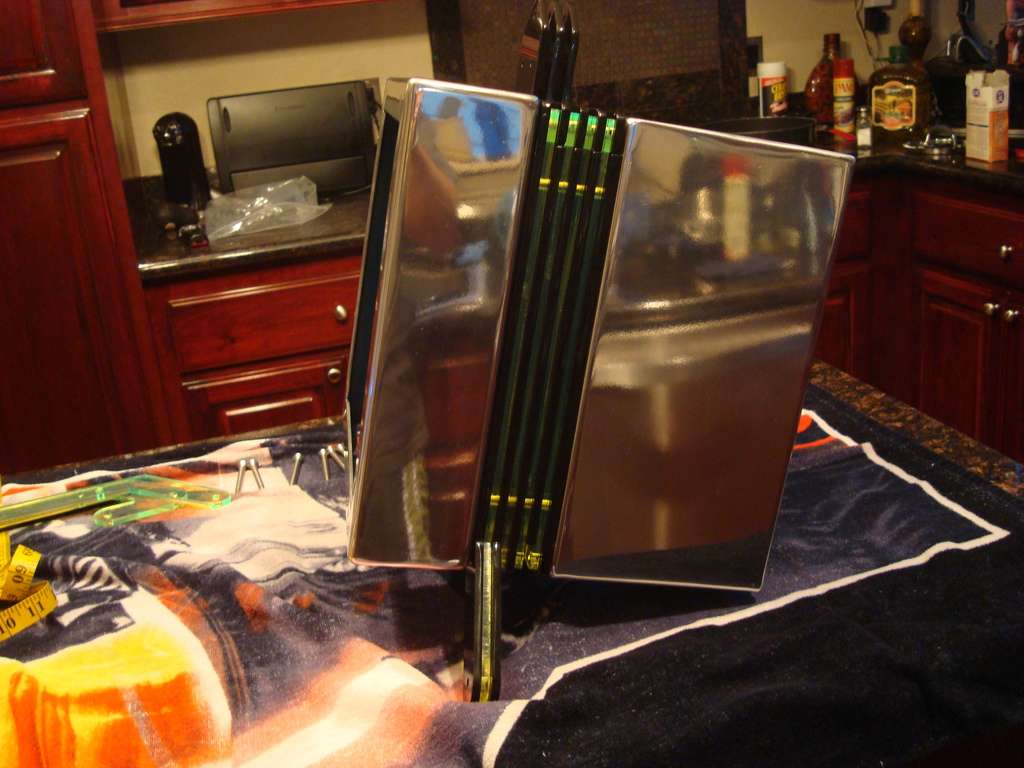
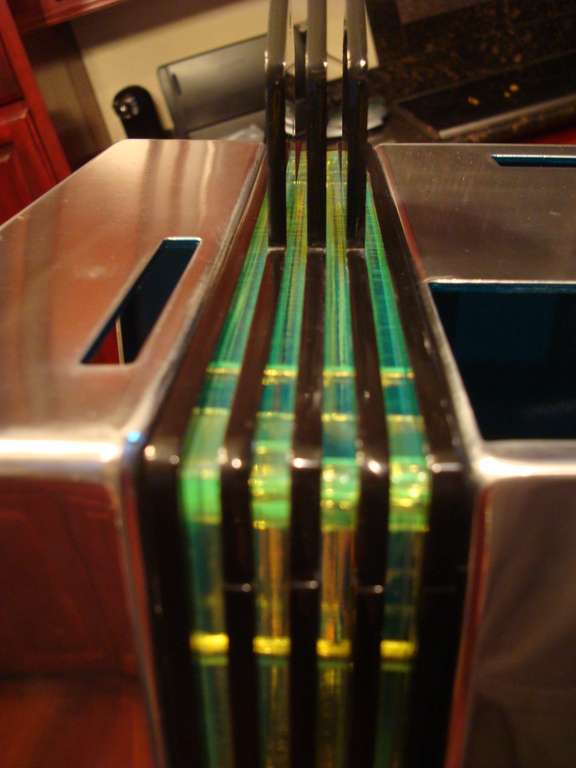
Here is a test assembly of the center box and one of the side boxes. I got the order wrong as the black layer with the radiator mounts goes next to the bigger center box not the outside box. So far, looking good. I will clean the acrylic up well before final assembly.

That is on the buffing wheel using blue compound and a five sewn wheel
Polished ALL day long and still went to the gym. Special thanks to my buddy John (SoundEvolution) for spending the last two days sanding with his orbital while I wet sanded and polished. After the project is done I will post some videos of parts of the project.
Here is a test assembly of the center box and one of the side boxes. I got the order wrong as the black layer with the radiator mounts goes next to the bigger center box not the outside box. So far, looking good. I will clean the acrylic up well before final assembly.
Options
- Mark as New
- Bookmark
- Subscribe
- Mute
- Subscribe to RSS Feed
- Permalink
06-15-2010 07:28 PM
Yes I have some nice 6" UV cathodes and a load of UV LED strips to play with. lights will be remote controlled 😉
Test fitting the wheel assembly (will use different mounting hardware of course
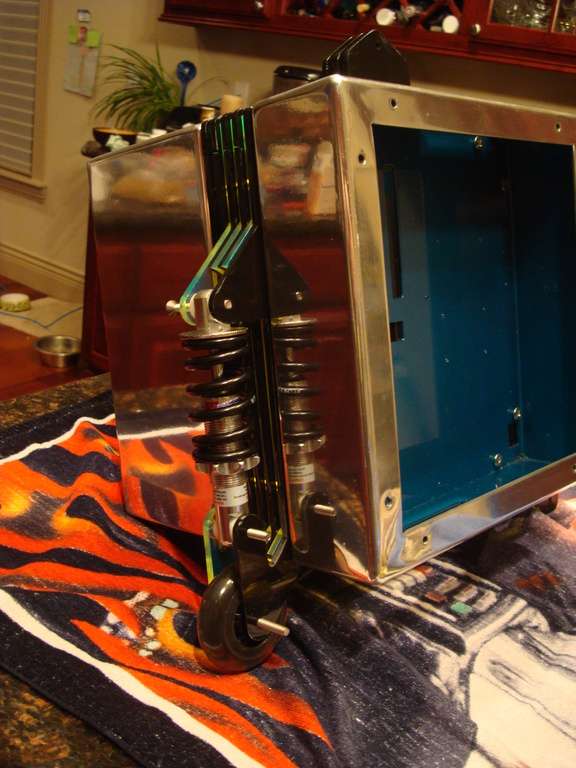
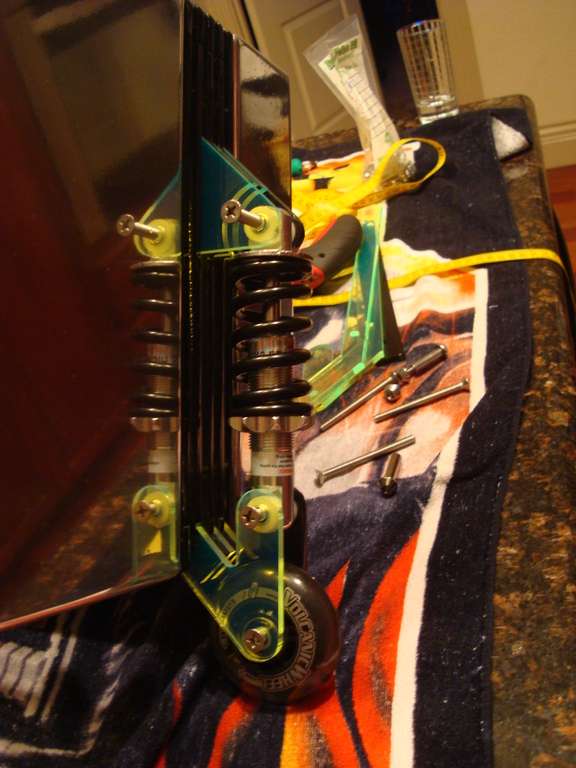
Test fitting the wheel assembly (will use different mounting hardware of course
Related Content
- Official Star Trek PC Build: "TRICORDER CHIC" in Case Mods & PC Builds
- ______RESURREKTION______ in Case Mods & PC Builds
- Nvidia Kegputer [Finished] in Case Mods & PC Builds
- DarthBeavis Project: Dragon Ball Z in Case Mods & PC Builds
- Project: OSIDIAS (Carbon Fiber SFF taken to the extreme) in Case Mods & PC Builds
