Turn on suggestions
Auto-suggest helps you quickly narrow down your search results by suggesting possible matches as you type.
Showing results for
- Republic of Gamers Forum
- Discussions
- Case Mods & PC Builds
- PWC: Project White Craze
Options
- Subscribe to RSS Feed
- Mark Topic as New
- Mark Topic as Read
- Float this Topic for Current User
- Bookmark
- Subscribe
- Mute
- Printer Friendly Page
PWC: Project White Craze
Options
- Mark as New
- Bookmark
- Subscribe
- Mute
- Subscribe to RSS Feed
- Permalink
08-10-2016
08:29 AM
- last edited on
03-05-2024
10:21 PM
by
![]() ROGBot
ROGBot

It's time to do another build log named PWC: Project White Craze. Last year I finished the Project Silicon Talisman and this project will be inheriting a lot of bits and pieces from that. It is more of a refresh than a scratch build.
The key difference, hardware wise, will be upgrade to the x99 platform. I am keeping my gpu's as they are still doing an excellent job for me.
Ofcourse I will be using the hard line tubing and a shift from 'Red-White' to 'White' only theme.
Here is the list of all the components:
CPU: Intel® Core™ i7-5820K
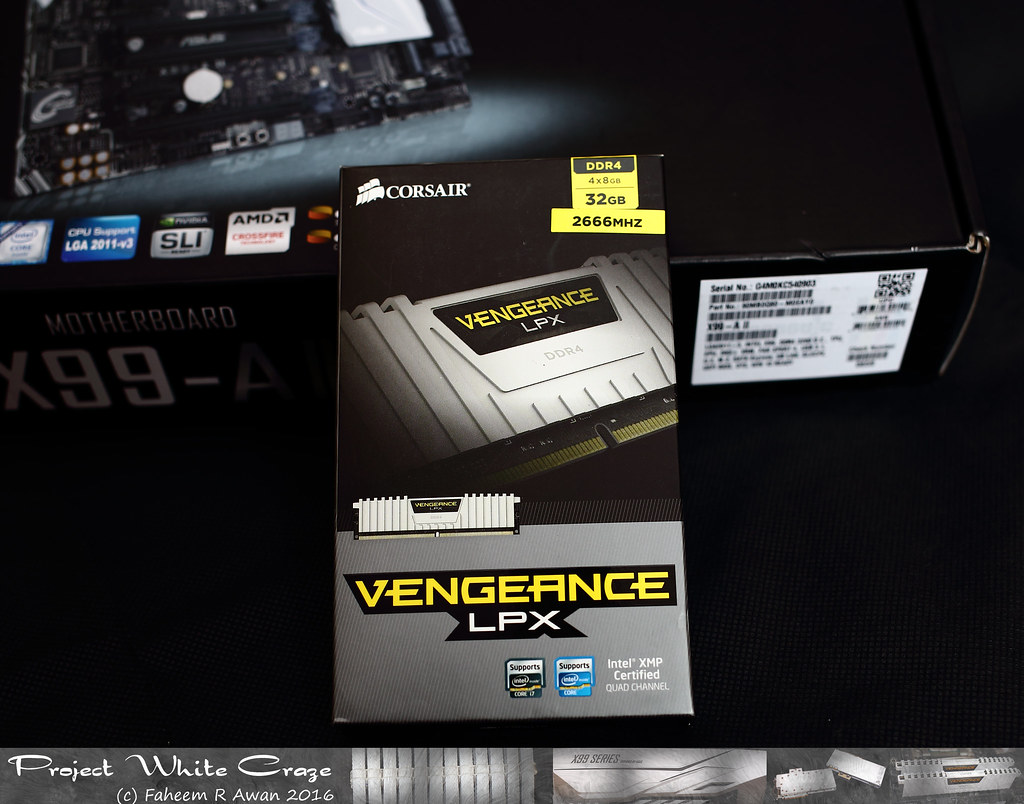
RAM: 32GB Corsair Vengeance 2666MHz DDR4 (4x8gb)
Motherboard: ASUS X99-A II
GPUs: 2x Sli Nvidia Galax/KFA2 GeForce GTX 980 Hall of Fame (HOF)
PSU: SuperFlower Leadex GOLD 1300W Fully Modular "80 Plus Gold" Power Supply
Case: Phanteks Enthoo Luxe Full Tower Case
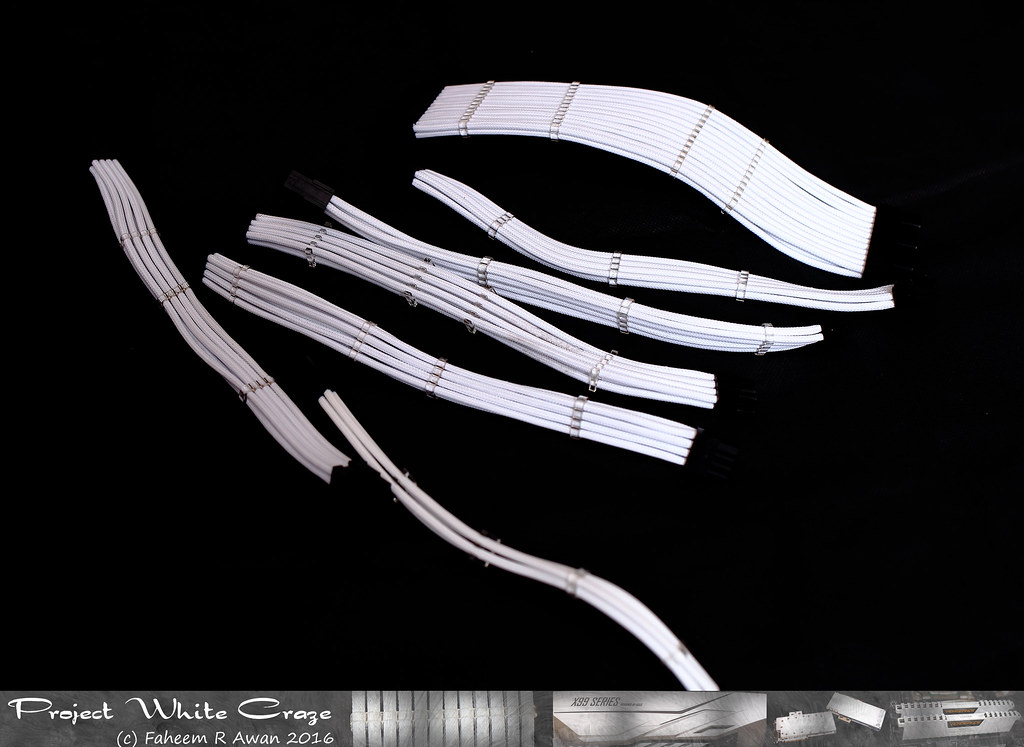
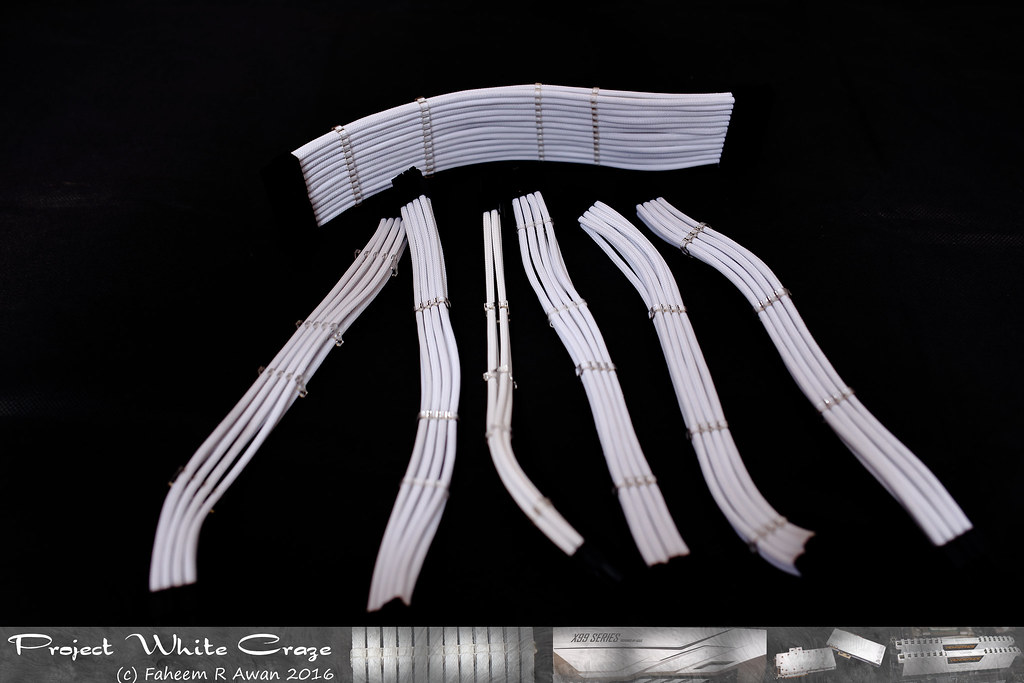
Cabling: White sleeved cables.
Storage: A combination of SSD's and HDD's
Watercooling loop:
Coolant: Mayhems Pastel Ice White
CPU Cooler: EK Water Blocks EK-Supremacy EVO
GPU Blocks by Diamond Cooling - White Acetal
Reservoir: Phobya 150 Balancer
14/10mm Acrylic Tubing
Barrows Black compression fittings
EK angle fittings
420mm Hardware Labs Black ICE Radiator GT Stealth 420
360mm Hardware Labs Black ICE Radiator GTX 360
240mm Phobya G-Changer 240 V.2
Pump 1: Swiftech MCP35X Industrial Pump 12 Volts
Pump 2: Swiftech MCP655-B Water Pump 12 Volts with EK-XTOP D5 Pump Top
2x XSPC Temperature Sensors

14,297 Views
12 REPLIES 12
Options
- Mark as New
- Bookmark
- Subscribe
- Mute
- Subscribe to RSS Feed
- Permalink
08-10-2016 08:30 AM

Options
- Mark as New
- Bookmark
- Subscribe
- Mute
- Subscribe to RSS Feed
- Permalink
08-10-2016 08:30 AM
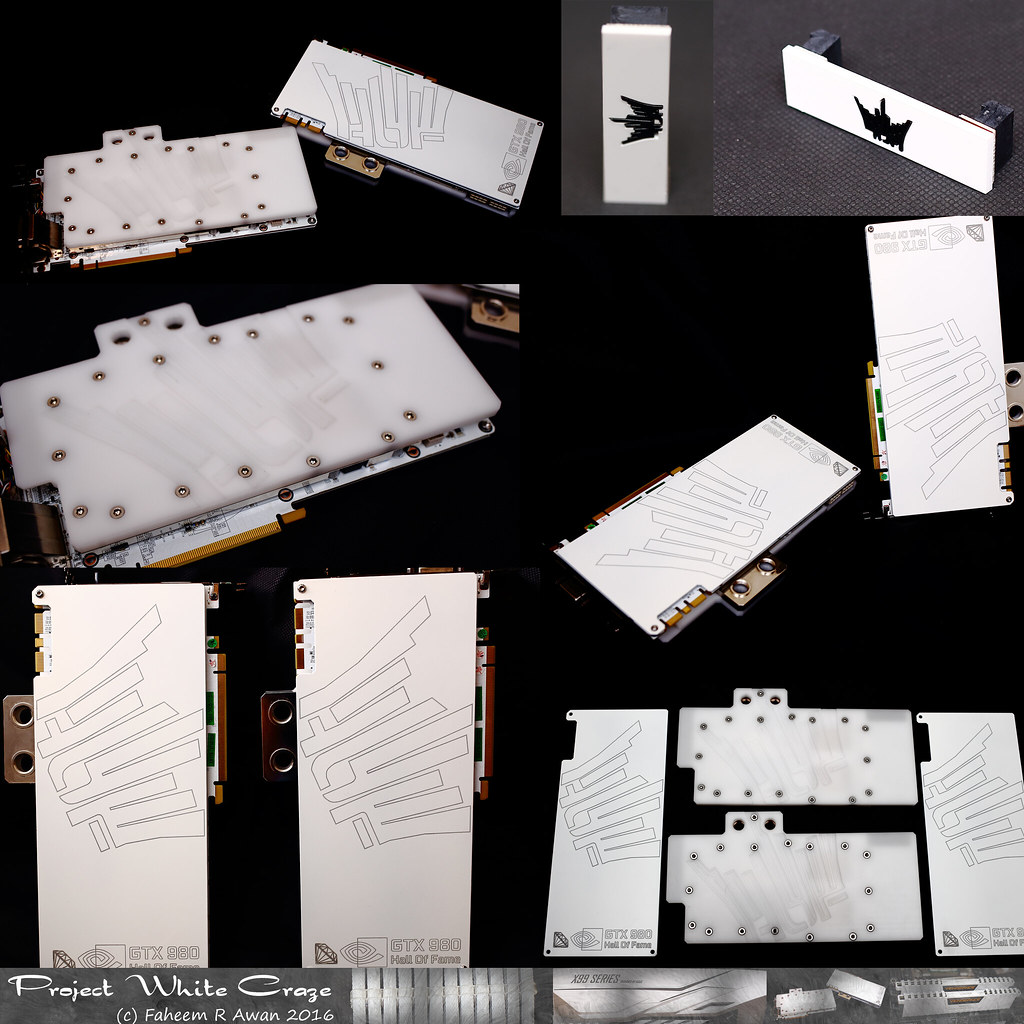
SLI Bridge and GPU's with Diamond Cooling blocks. All coming from my previous build 😉
Options
- Mark as New
- Bookmark
- Subscribe
- Mute
- Subscribe to RSS Feed
- Permalink
08-10-2016 08:53 AM
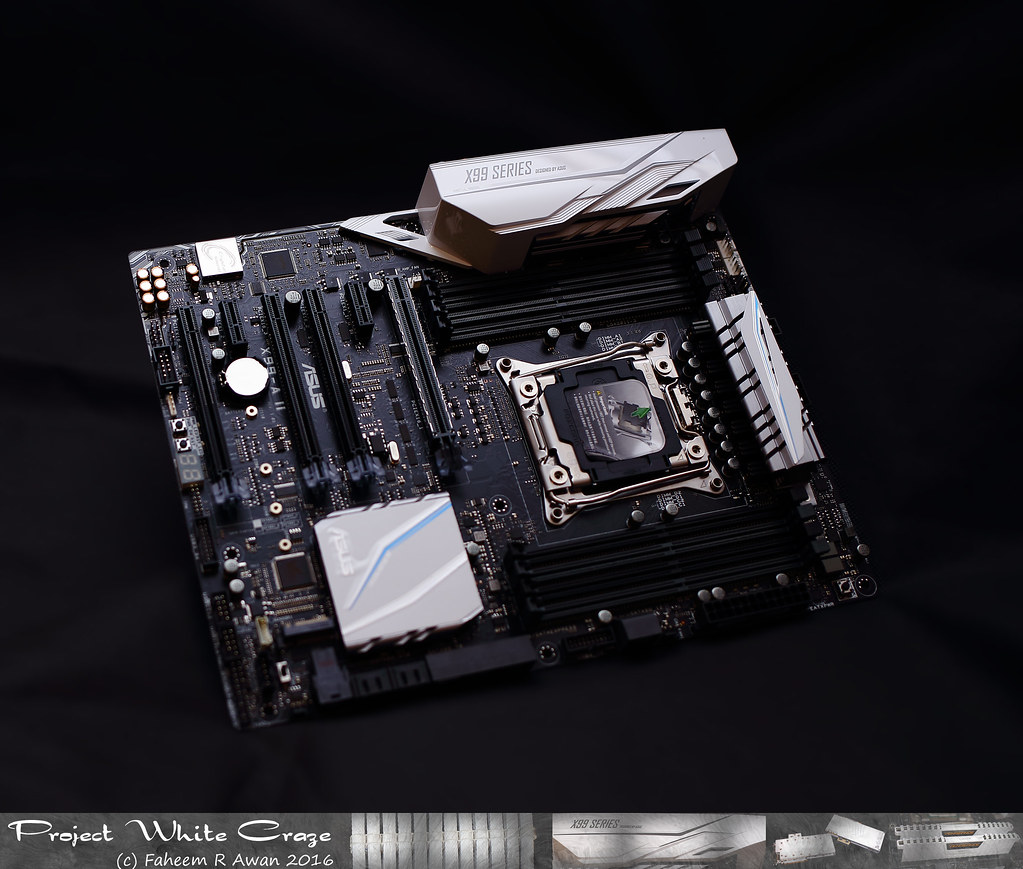
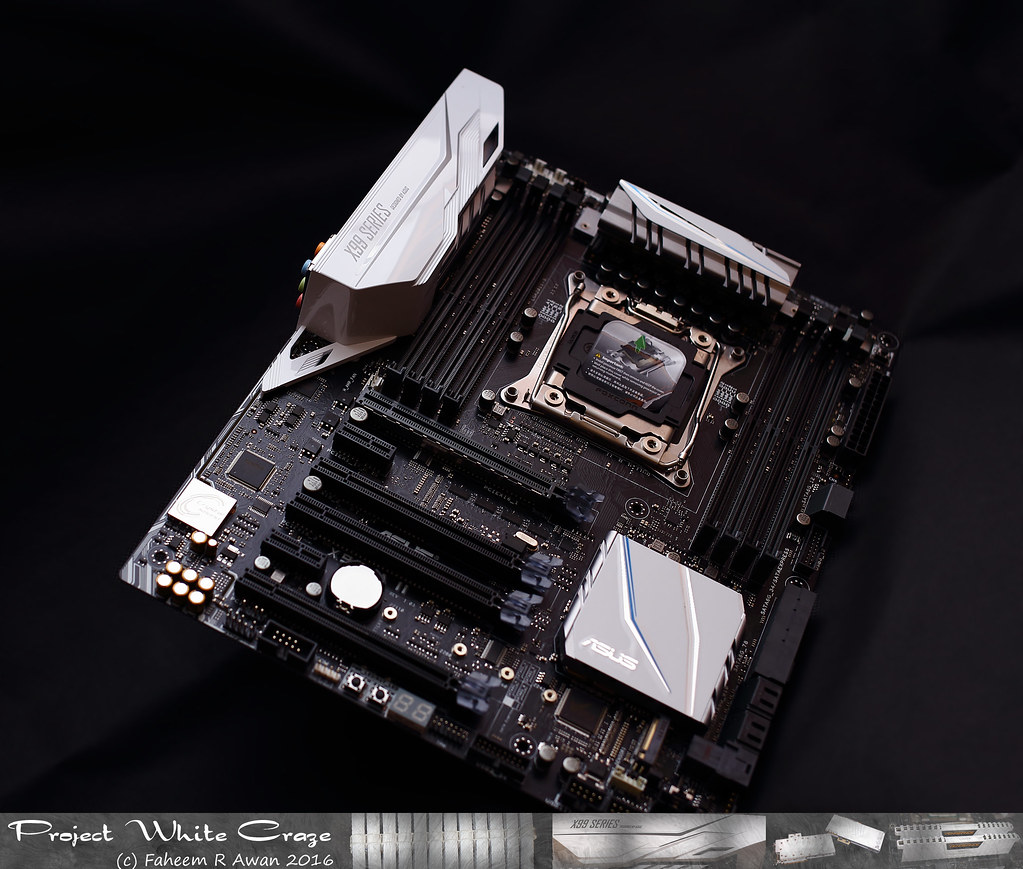
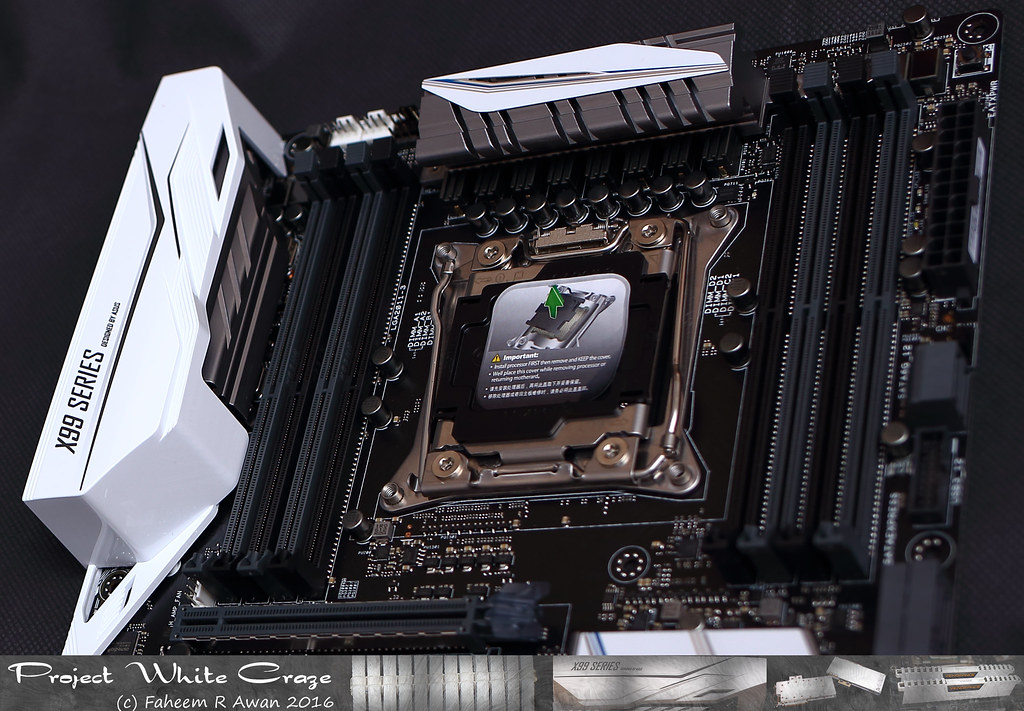
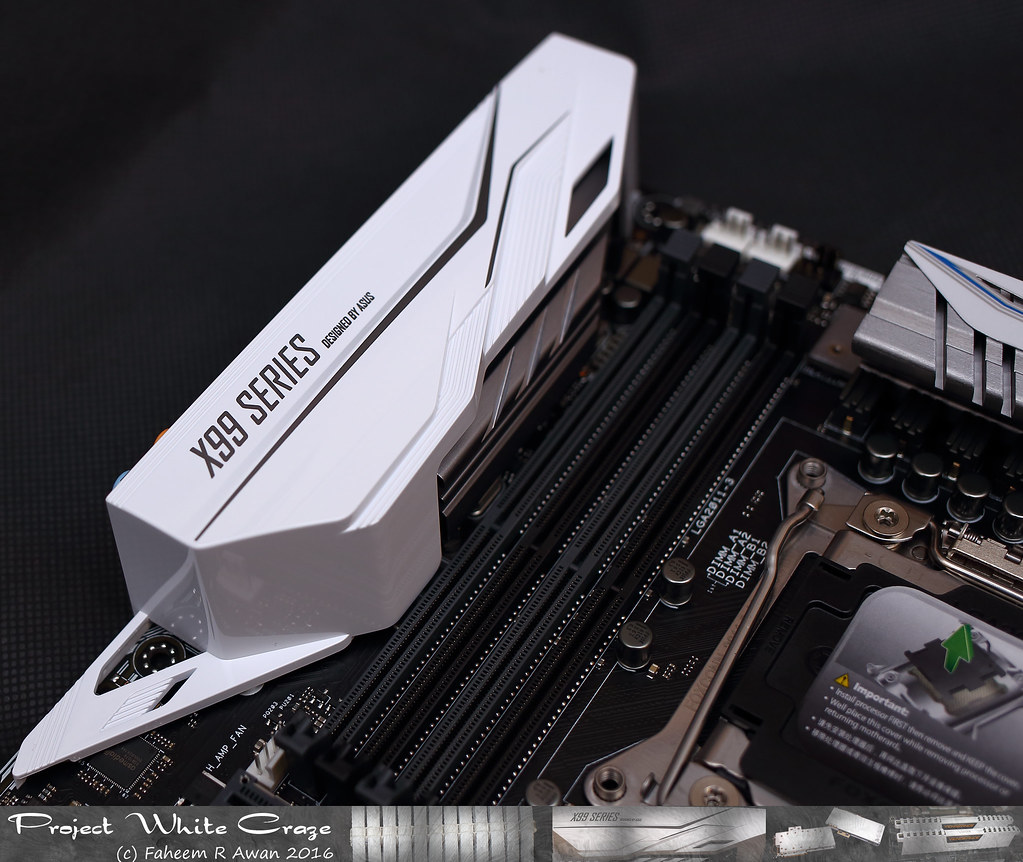
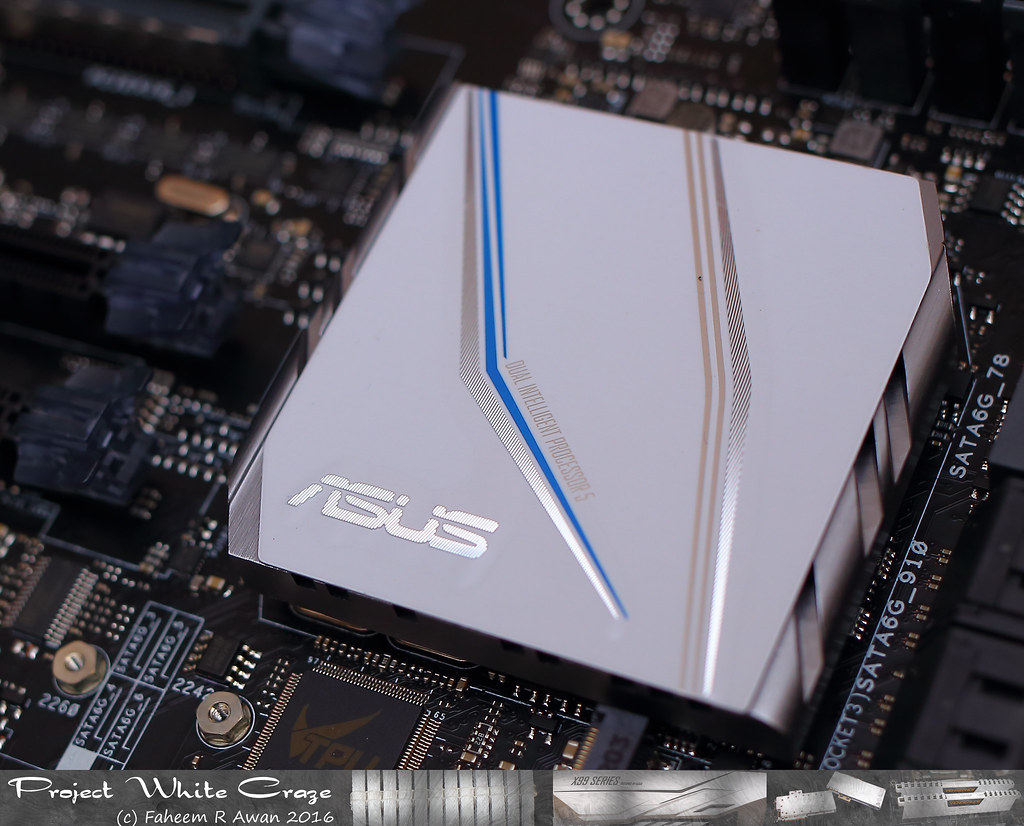
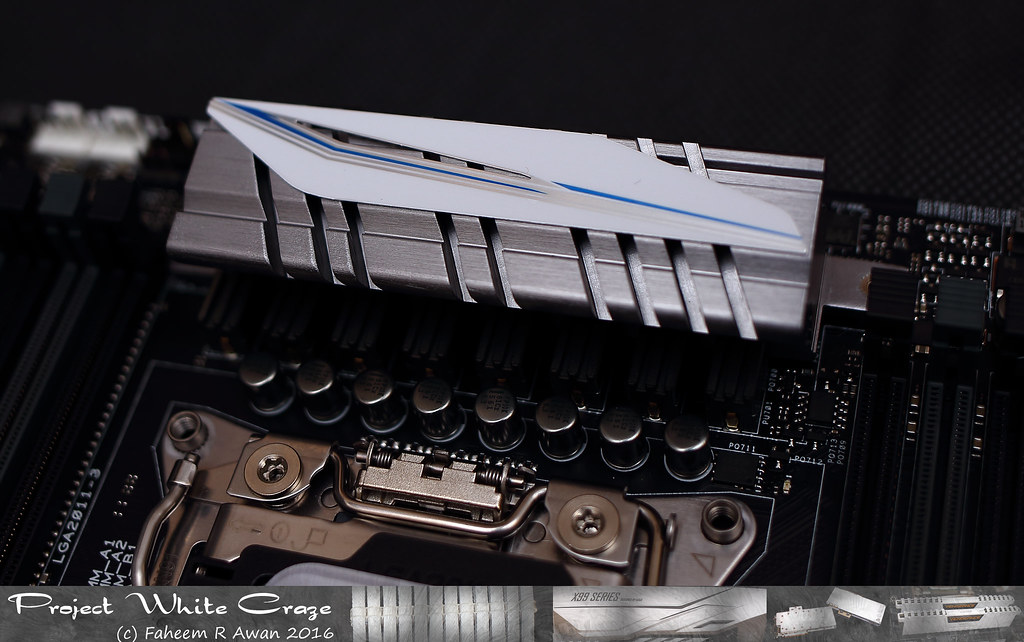
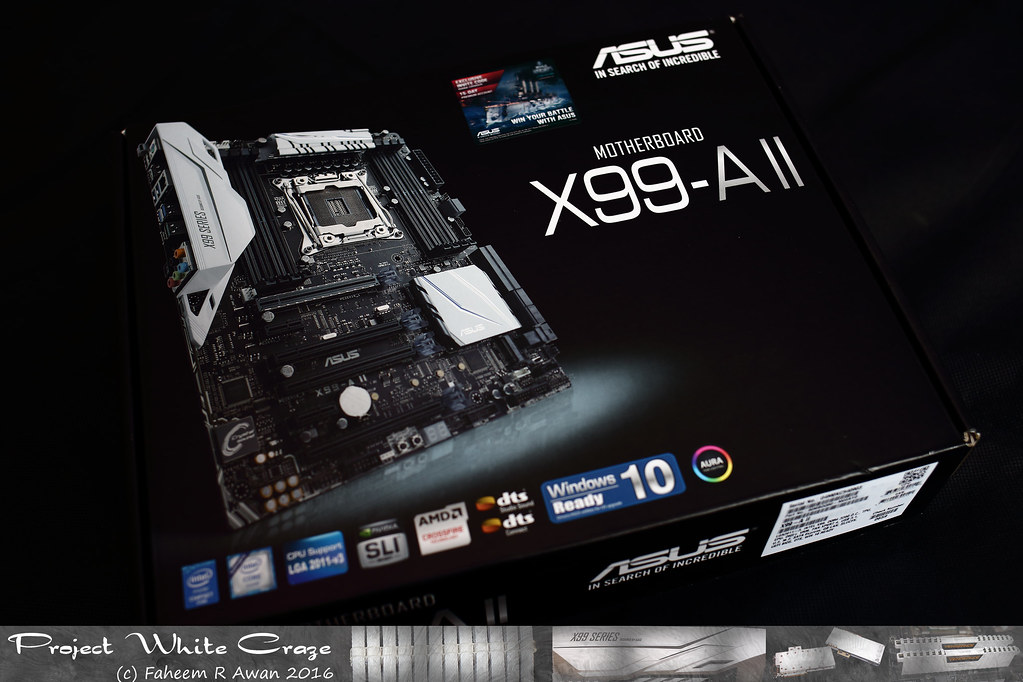
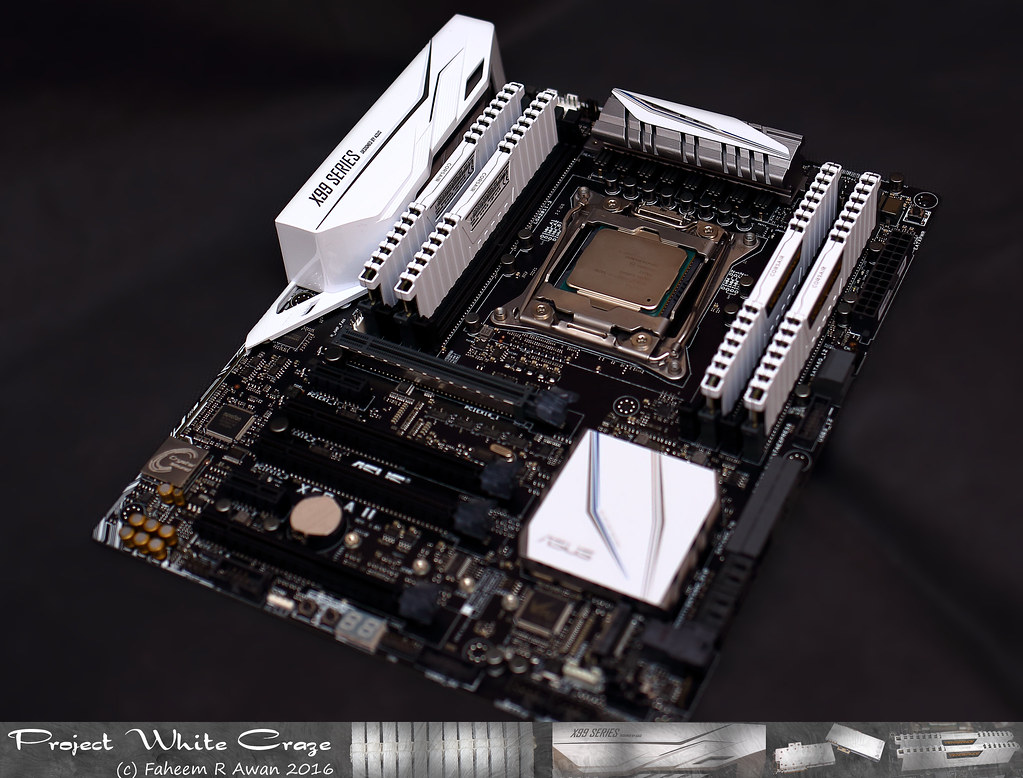
Here is a glimpse of the motherboard. It looks stunning really. 🙂
Options
- Mark as New
- Bookmark
- Subscribe
- Mute
- Subscribe to RSS Feed
- Permalink
08-10-2016 08:52 AM
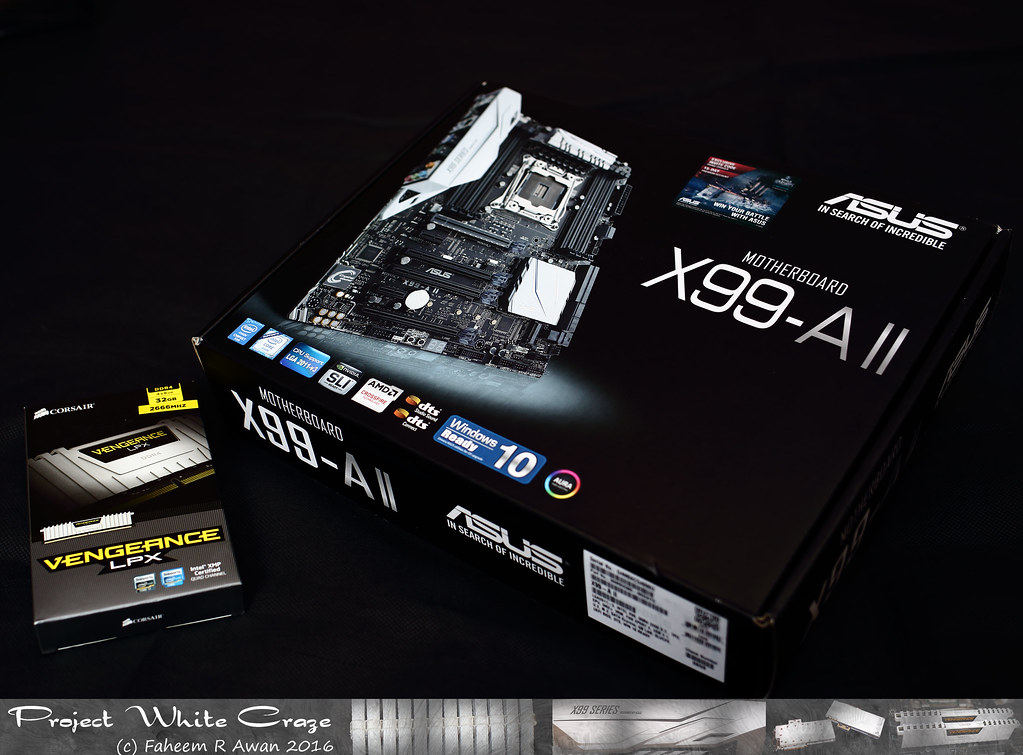
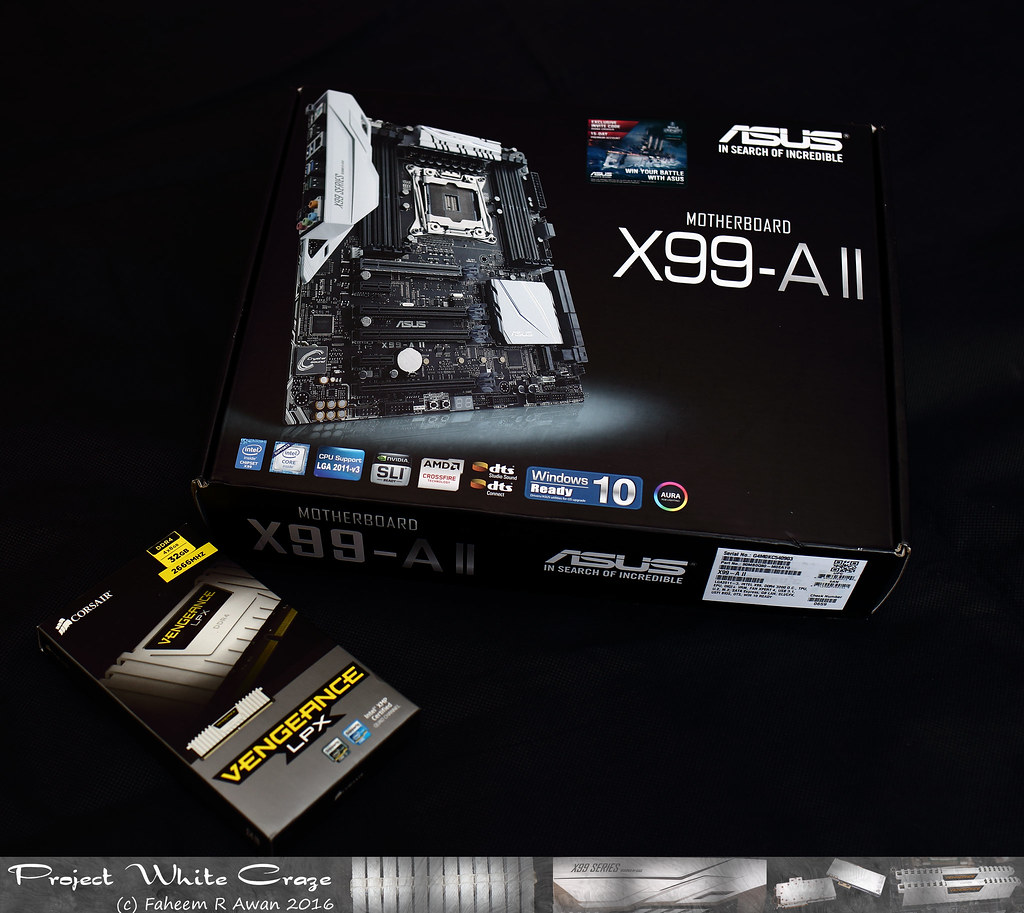
Motherboard and Memory kit arrived. I really cannot wait to put this thing together and test. 😄
Options
- Mark as New
- Bookmark
- Subscribe
- Mute
- Subscribe to RSS Feed
- Permalink
08-11-2016 11:37 AM
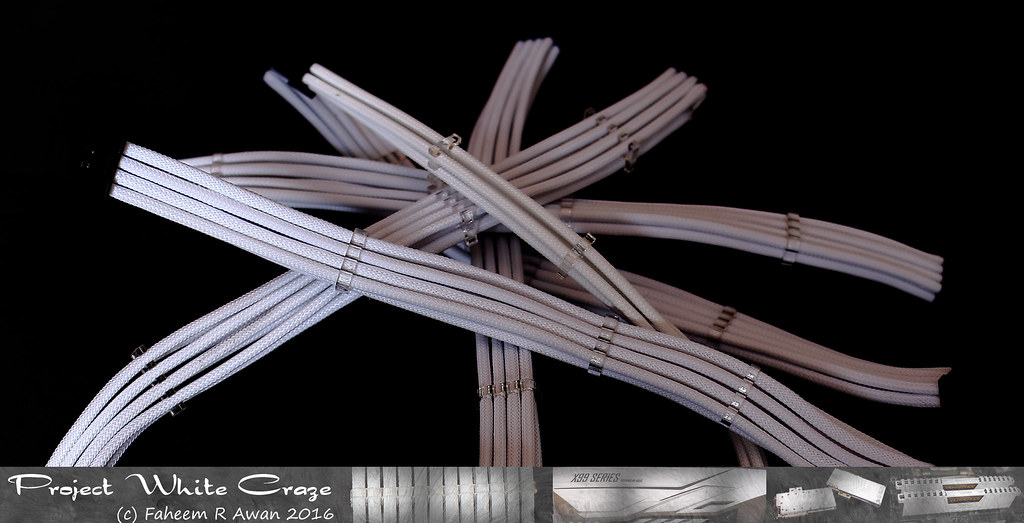
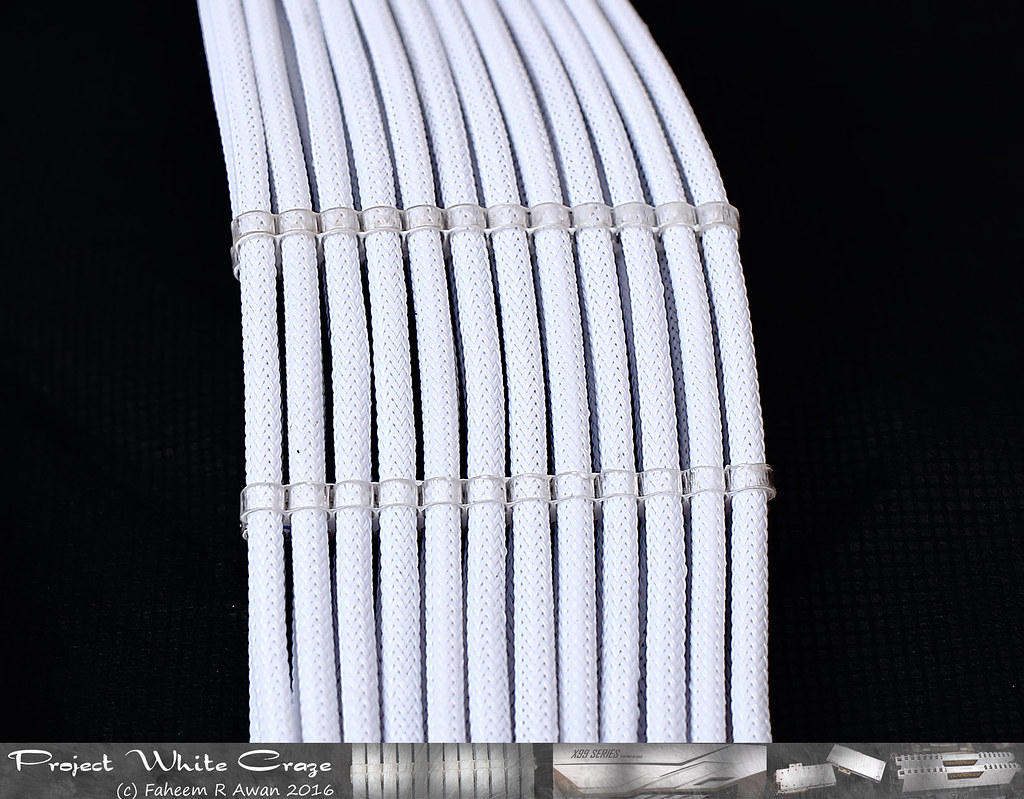
Cable sleeving done. My first time doing sleeving so quite pleased with the result. Now my fingers can rest for a while. Still cables need to be trained to look neat. Will do when connecting them to the components 😄
Options
- Mark as New
- Bookmark
- Subscribe
- Mute
- Subscribe to RSS Feed
- Permalink
08-12-2016 11:39 AM
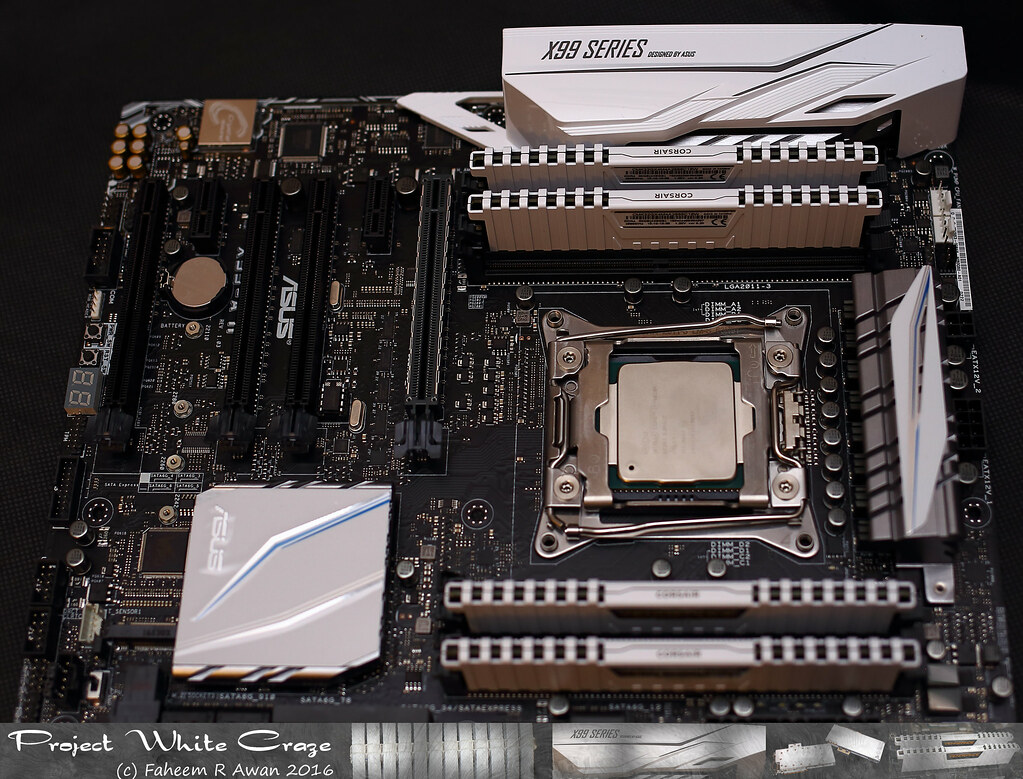
Memory and CPU installed on the board.

Options
- Mark as New
- Bookmark
- Subscribe
- Mute
- Subscribe to RSS Feed
- Permalink
09-22-2016 01:24 AM
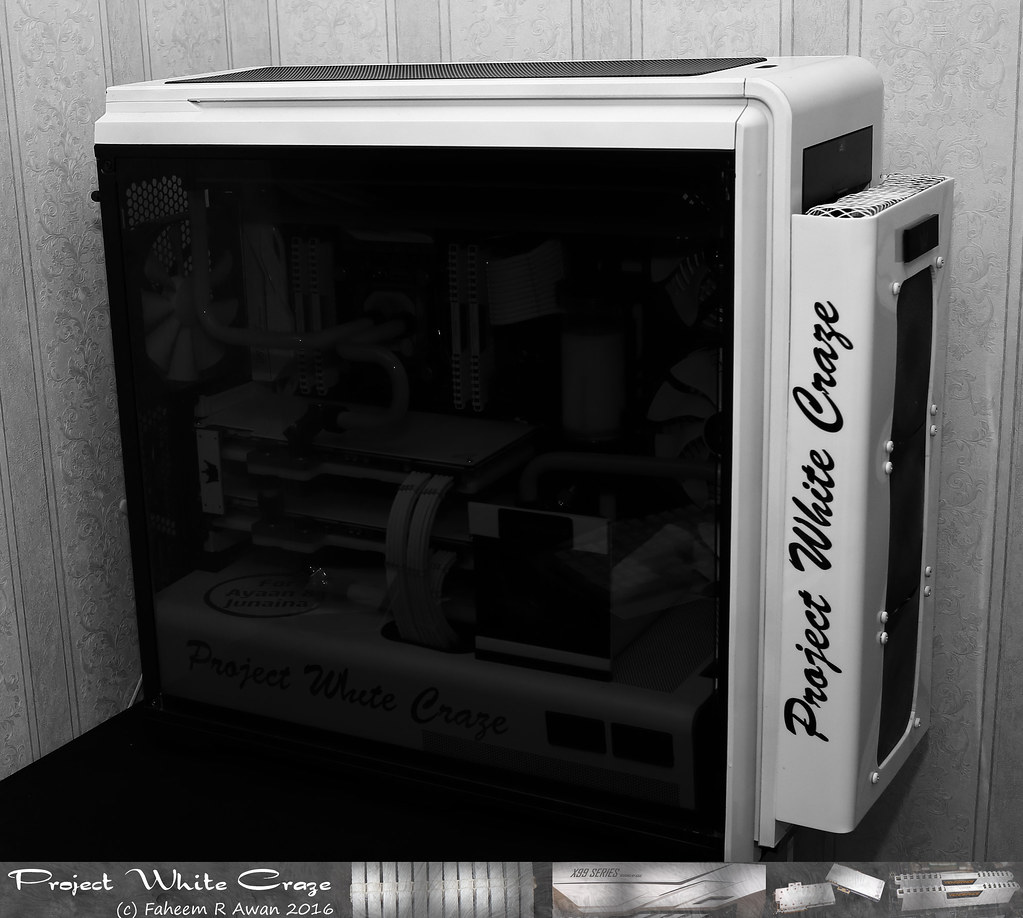
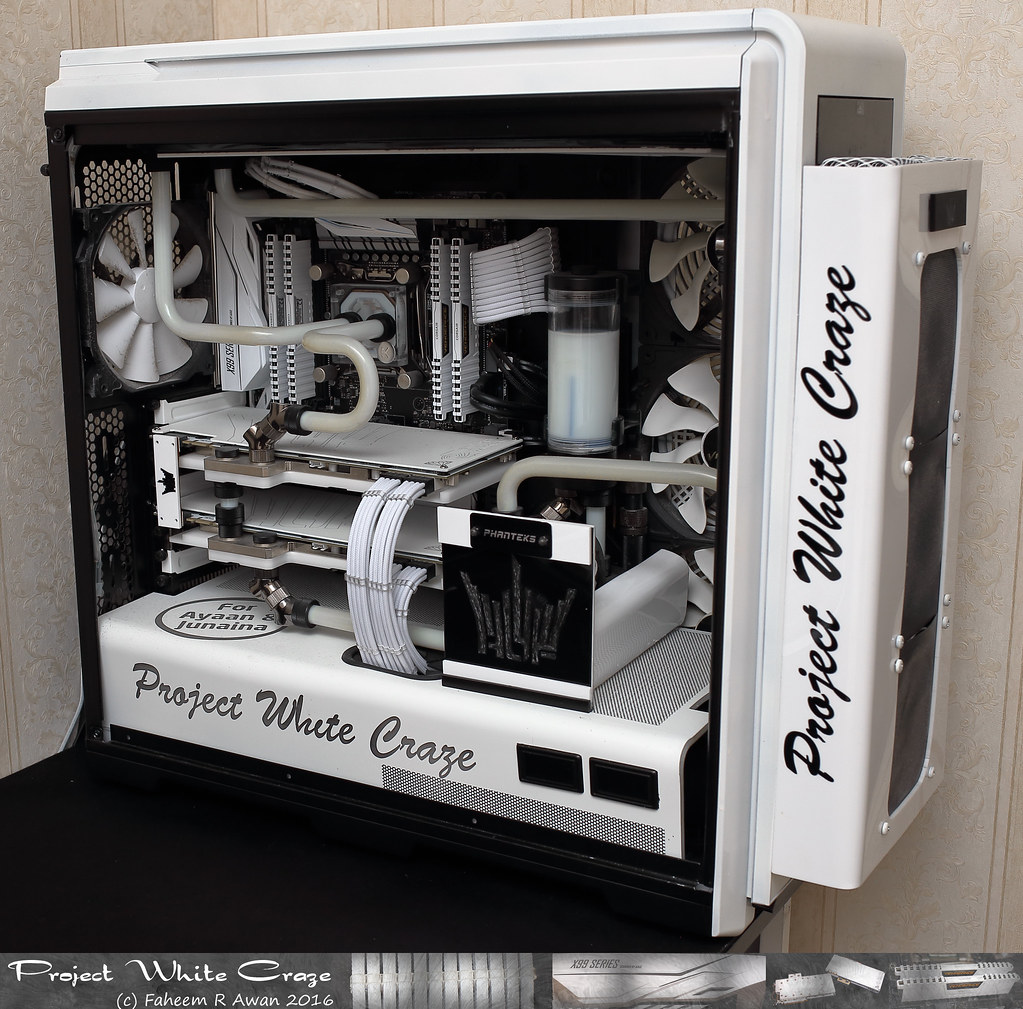
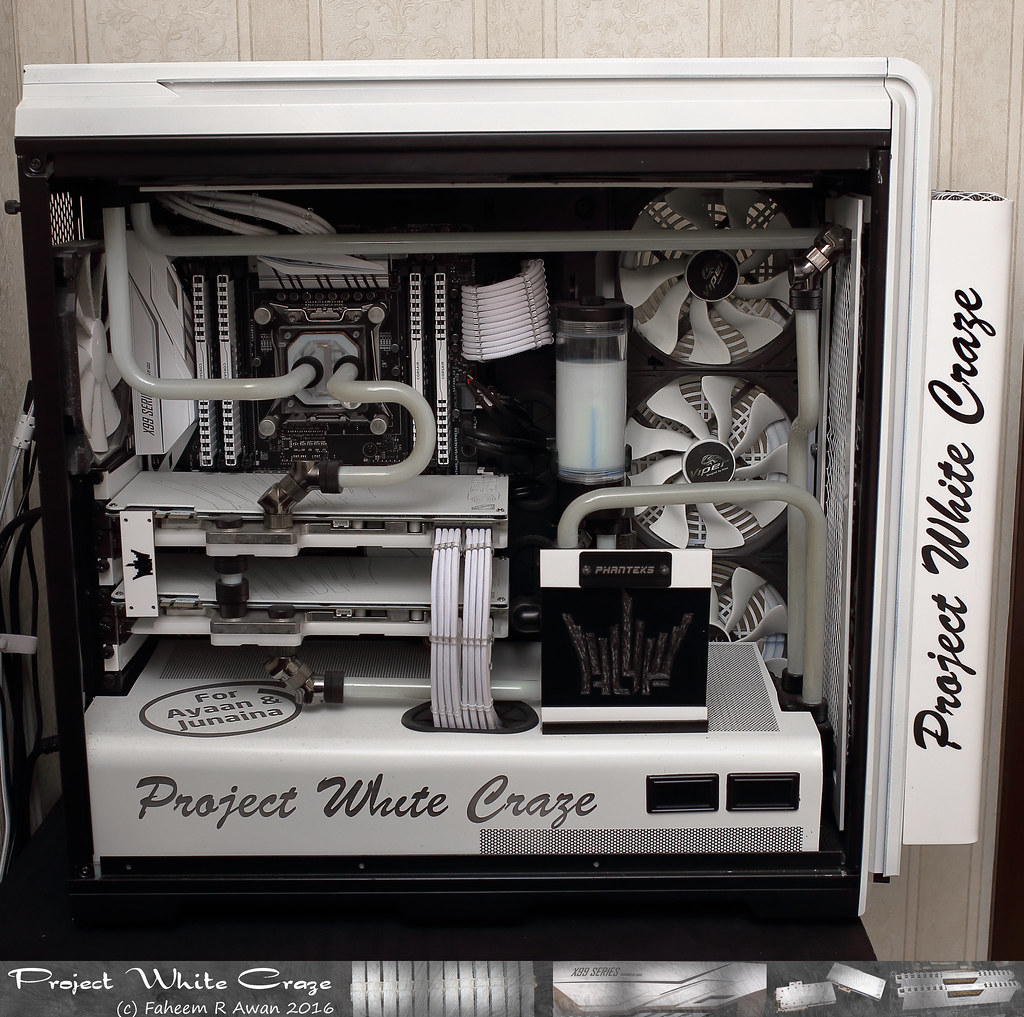
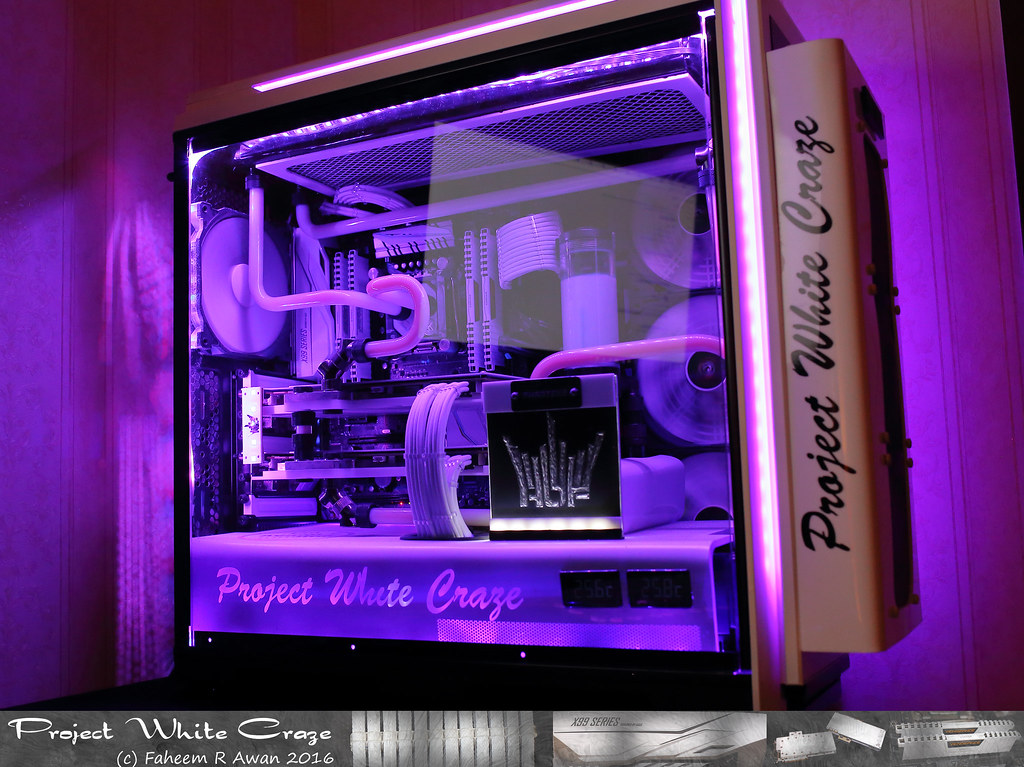
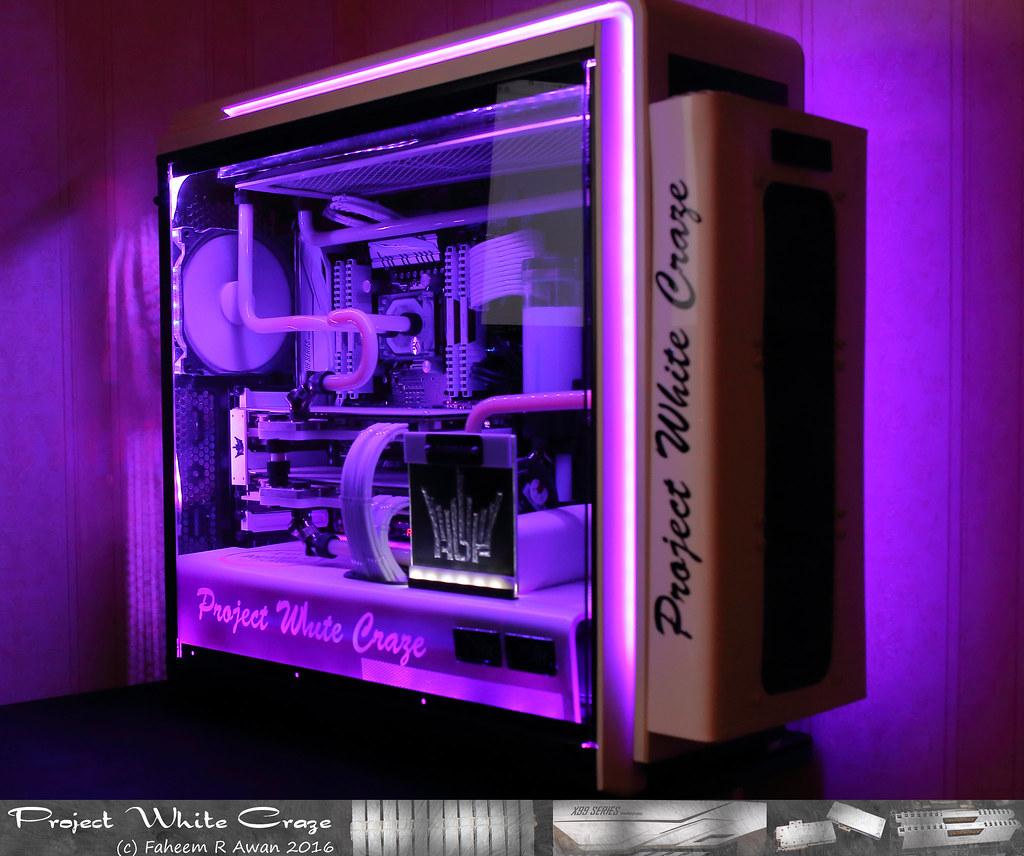
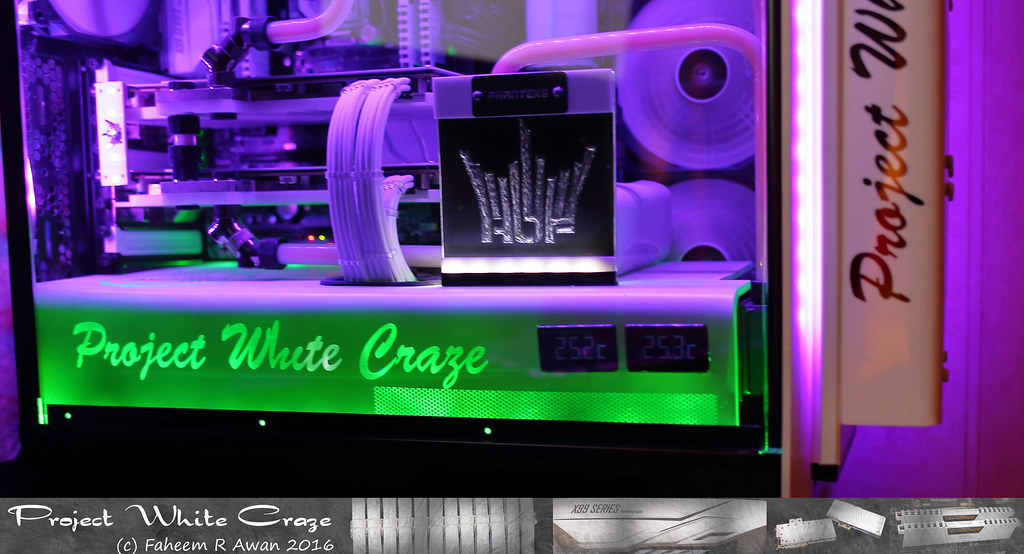
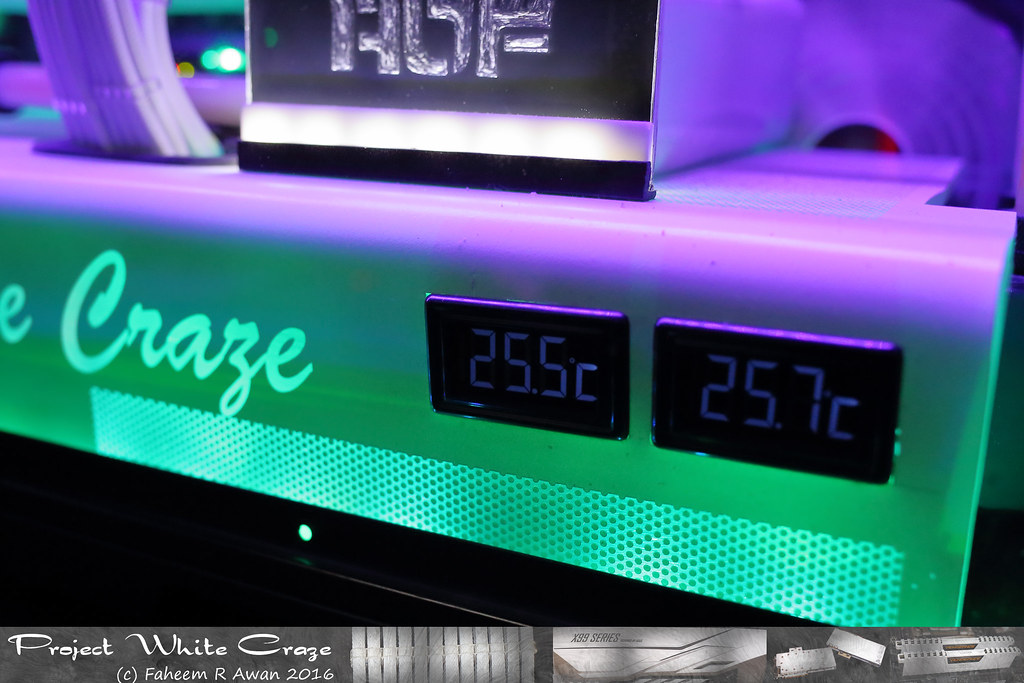
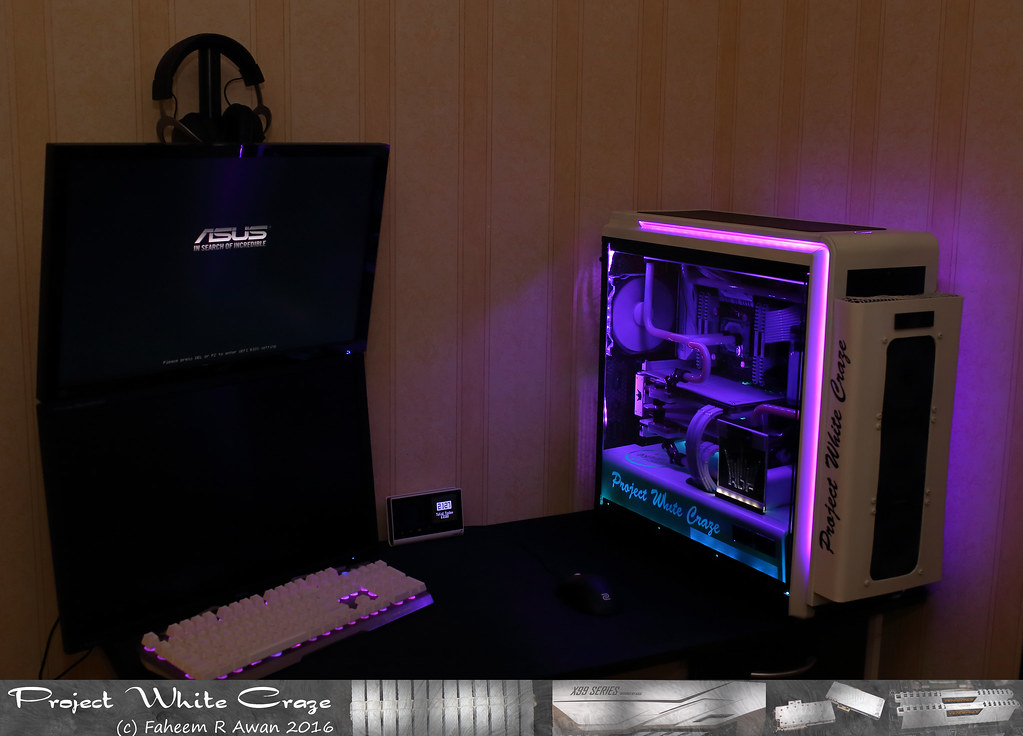
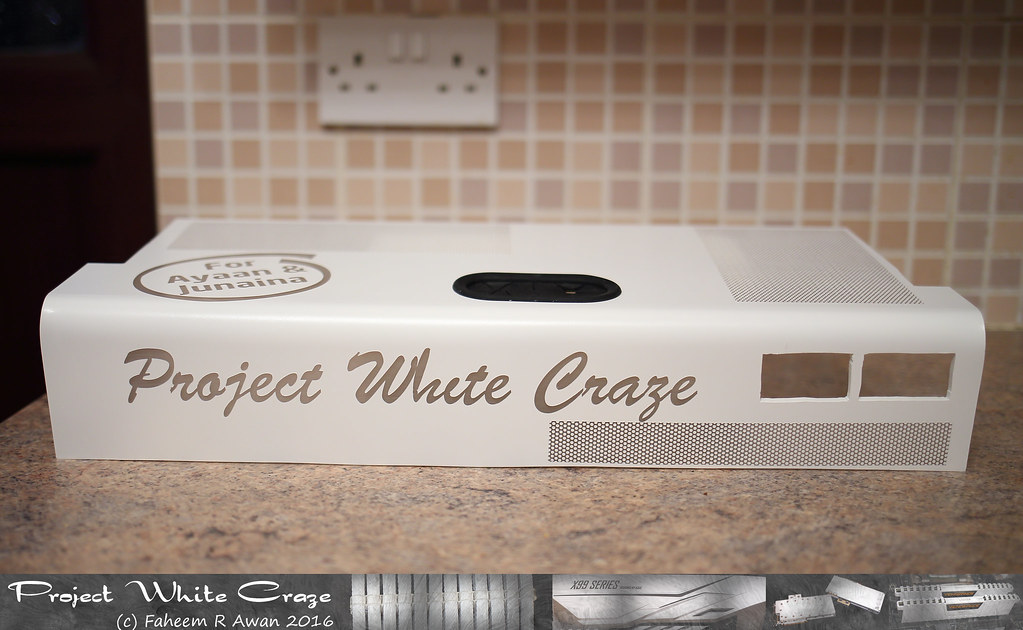
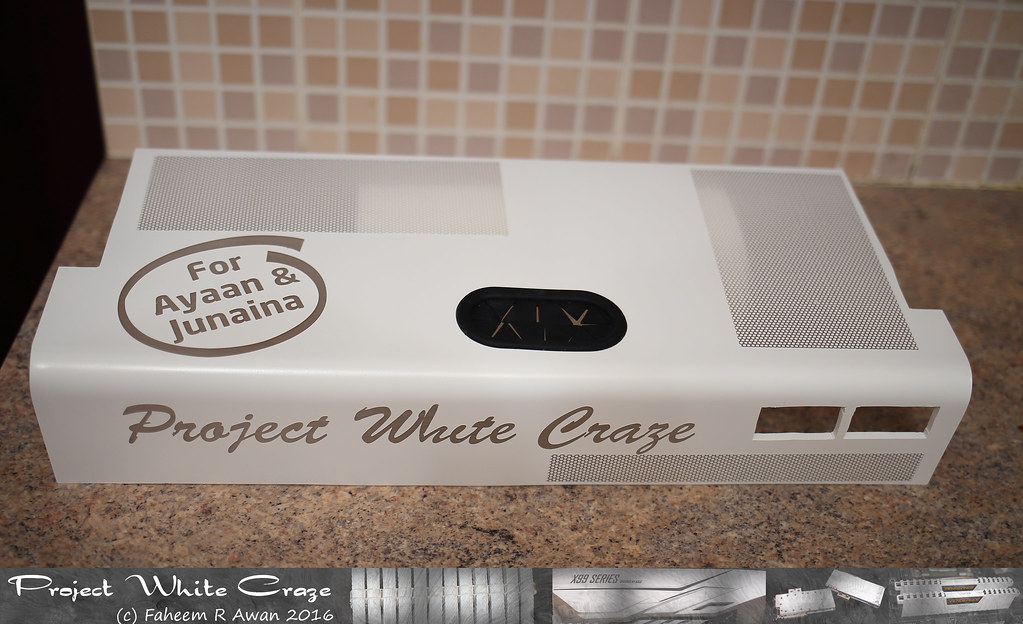
The PSU and bottom radiator cover is ready. I dedicate this build to my lovely children and you can see their names on it. 🙂
The two rectangular cuts in front are for the temperature display. There is an opening for the gpu cables on the top. It is made out of the 5mm thick clear acrylic sheet; which was bent, cut, painted and etched for lighting up the text and the design.
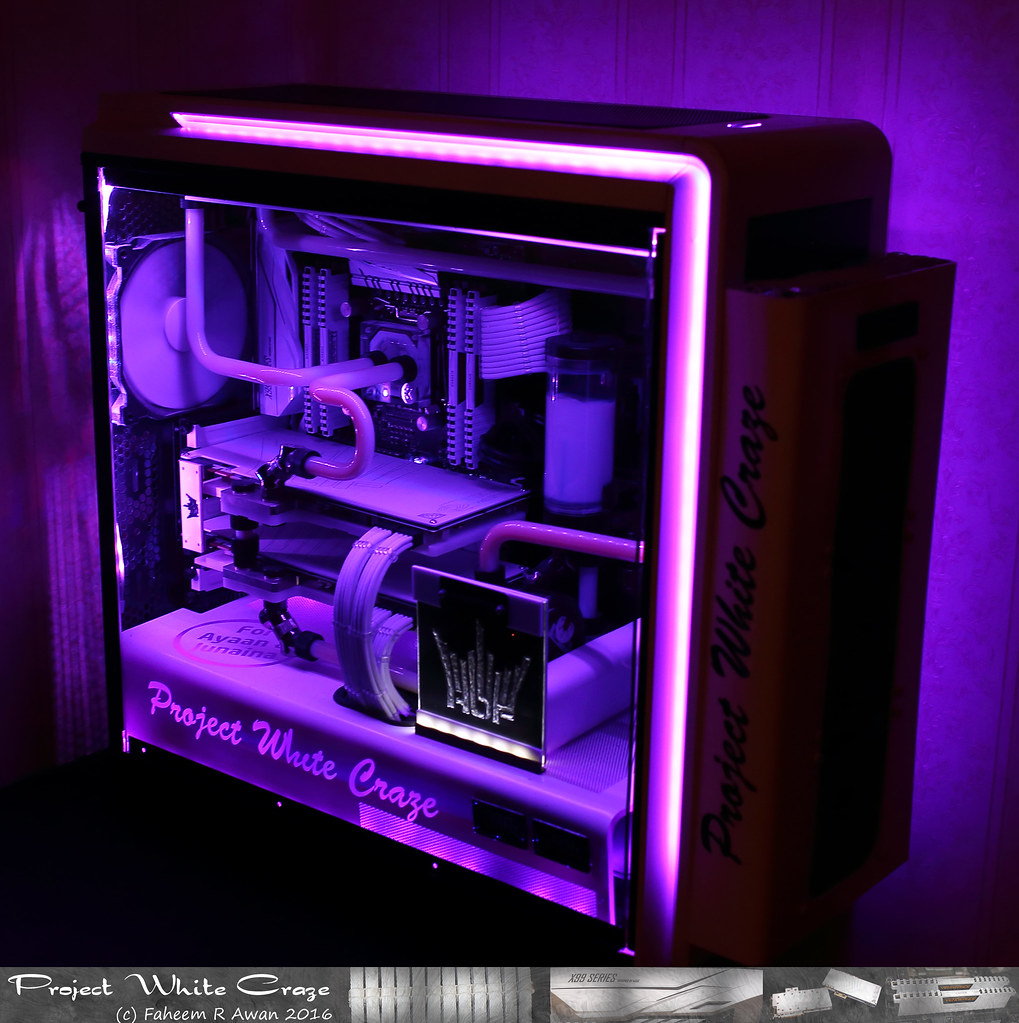
I will be using RGB strip under this and control it by Asus Motherboard RGB header.
The two rectangular cuts in front are for the temperature display. There is an opening for the gpu cables on the top. It is made out of the 5mm thick clear acrylic sheet; which was bent, cut, painted and etched for lighting up the text and the design.
I will be using RGB strip under this and control it by Asus Motherboard RGB header.
Options
- Mark as New
- Bookmark
- Subscribe
- Mute
- Subscribe to RSS Feed
- Permalink
09-25-2016 06:04 AM
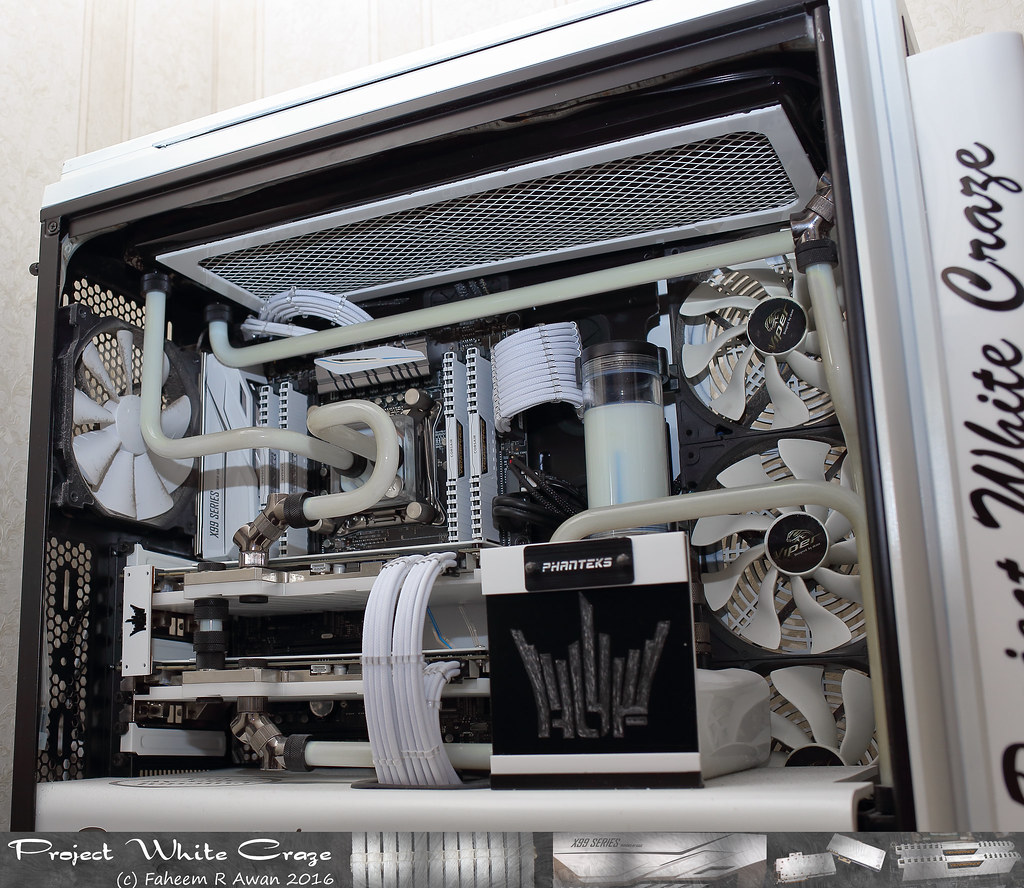
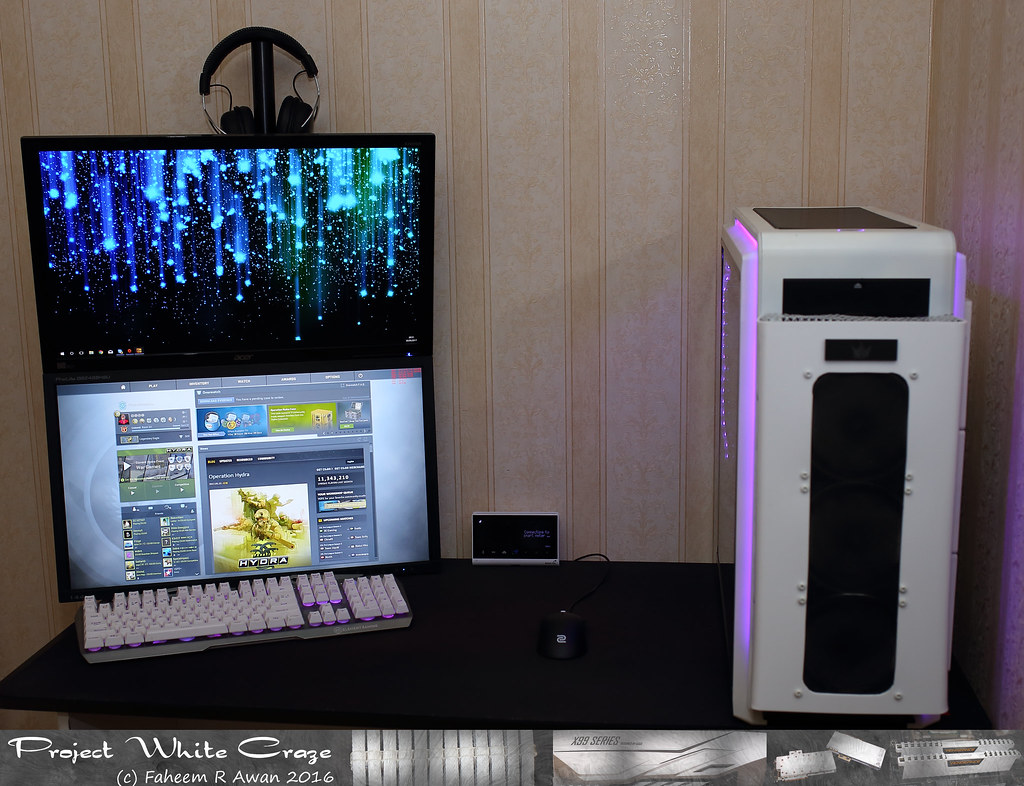
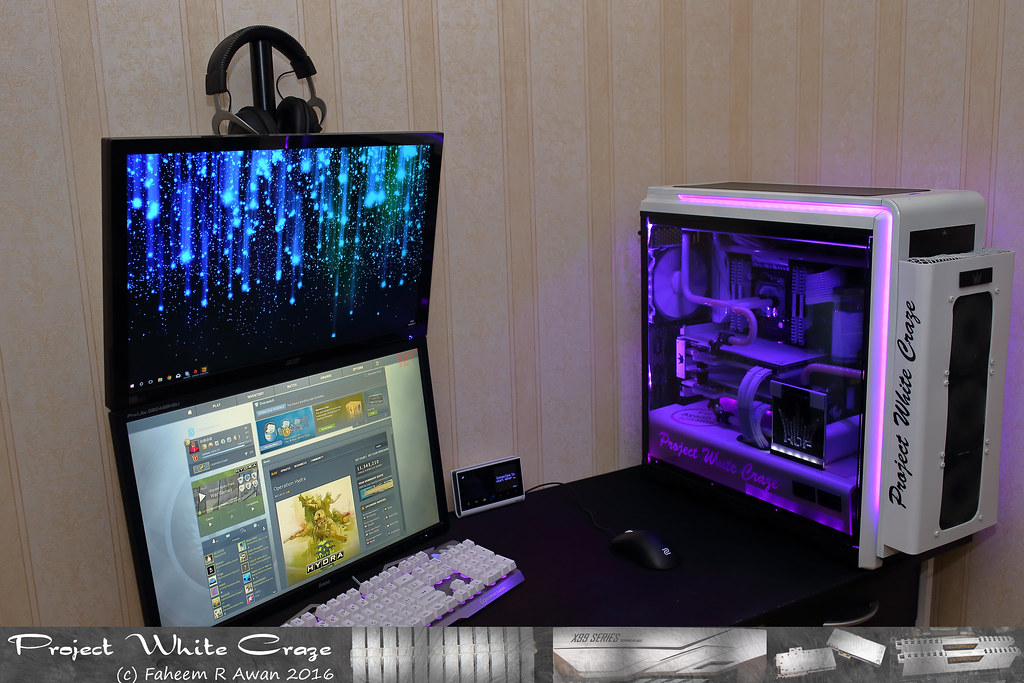
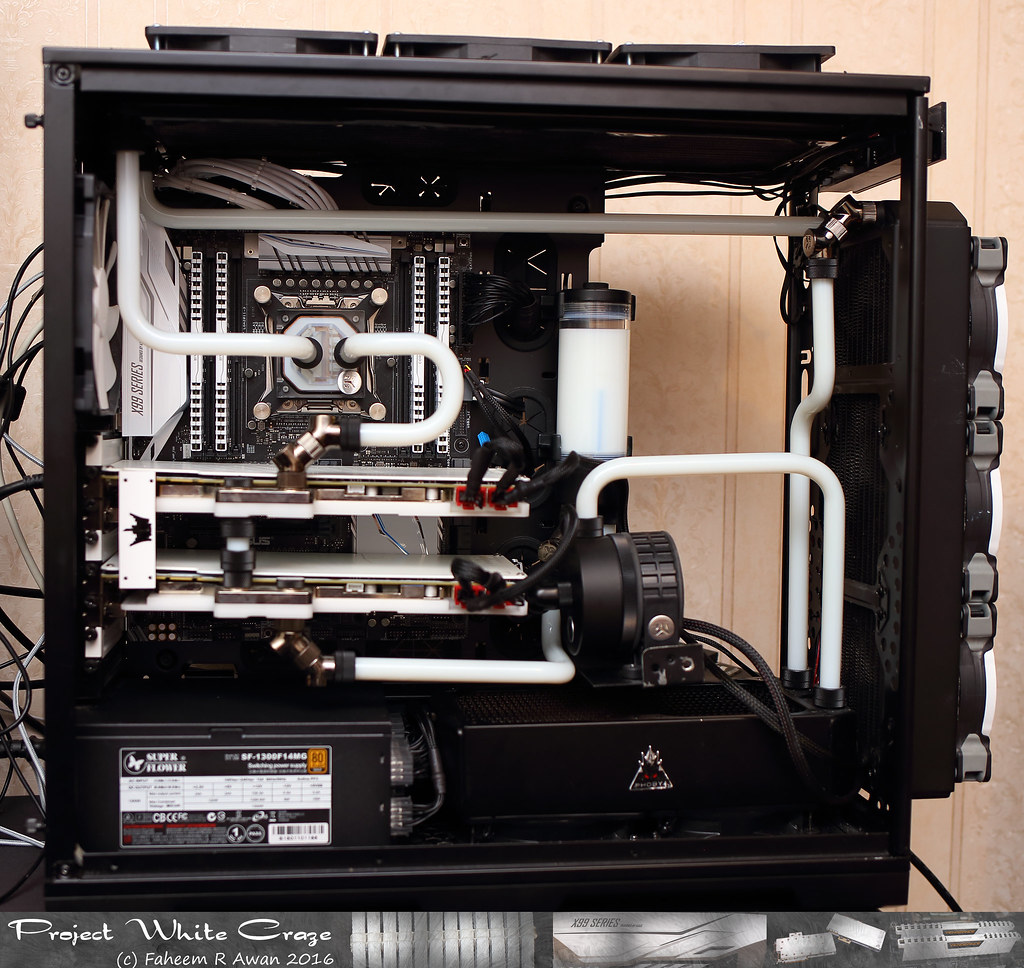
The loop is ready and filled. But rest of the rig is no where close to the finish line.
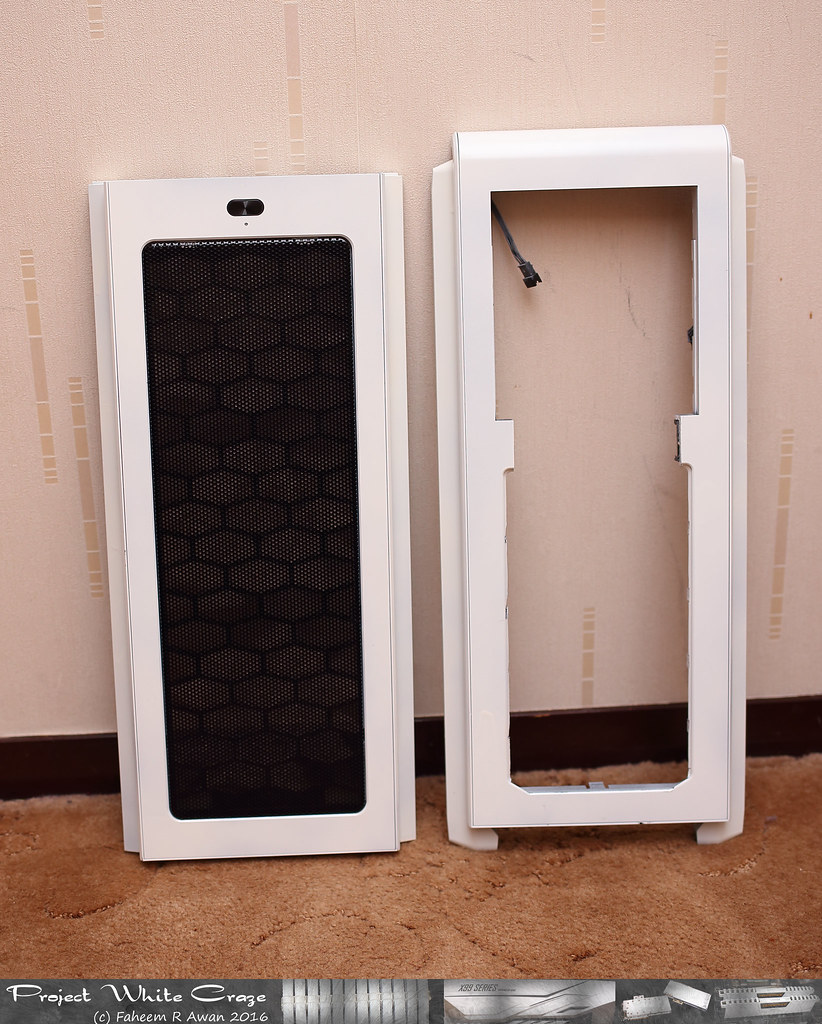
- Top and front covers are off. Both of them will be painted white. Also I need to cut out front cover to make enough space for 360mm radiator, which is mounted towards the outside.
- Making out an extension on the front cover as the original cover is not big enough to hide the thick 360mm rad.
- The PSU and bottom rad shroud is ready. Pics in previous post.
- White mesh to cover inside of top and front rads.
Options
- Mark as New
- Bookmark
- Subscribe
- Mute
- Subscribe to RSS Feed
- Permalink
09-25-2016 03:44 PM
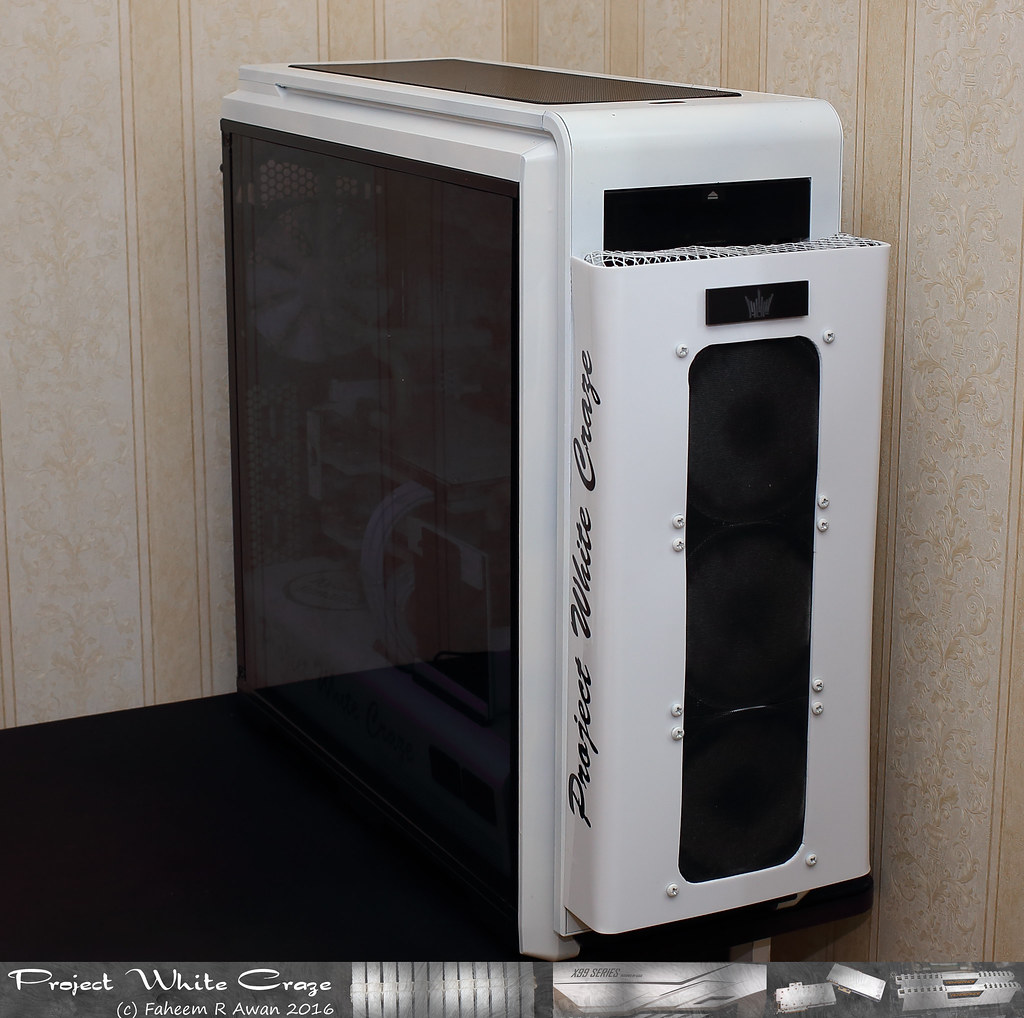
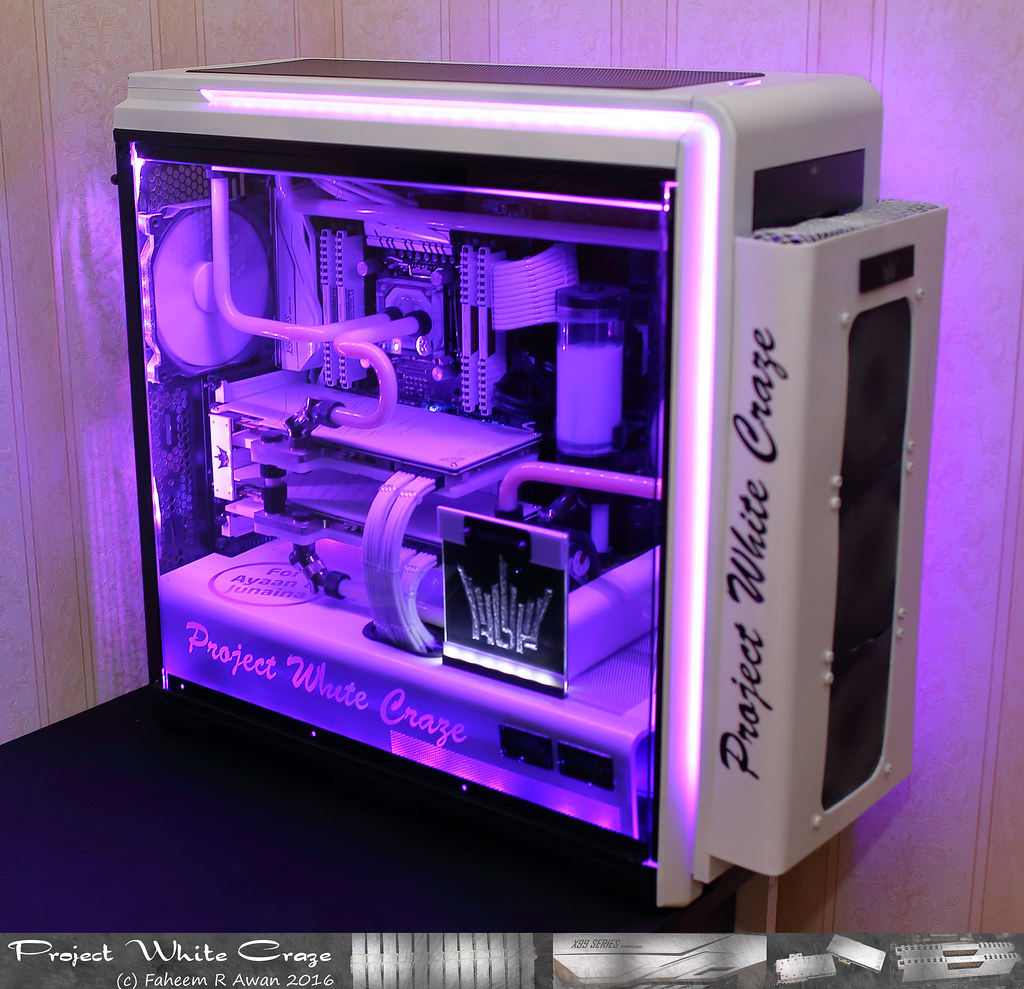
Front and top covers painted