[Phone] Camera Issues and Solutions
Camera Function Abnormalities
1. Restore Camera App to Default Settings: Open the Camera app > Tap the arrow at the top to open the function menu > Tap the Settings icon > Tap Restore Default Settings.
2. Restart Your Phone: Sometimes, a simple restart can resolve temporary software-related issues.
3. Update the Camera App: Go to the Google Play Store and check if there is an update available for the Camera app.
4. Update Firmware to the Latest Version: Tap Settings > System > System Updates > Check Update. Check for Updates to ensure your phone is running the latest firmware.
5. Enter Safe Mode: Press and hold the power button > Press and hold the Power off option > Tap OK to enter Safe Mode. If the camera works normally in Safe Mode, the issue may be caused by a third-party app.
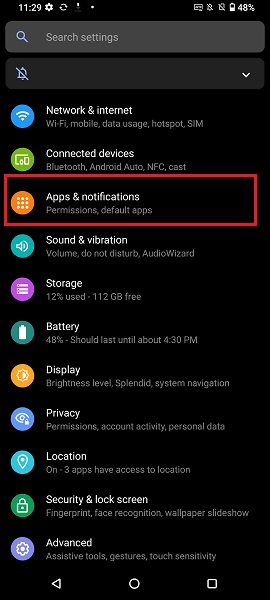
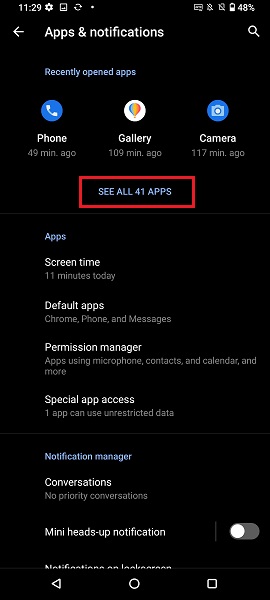
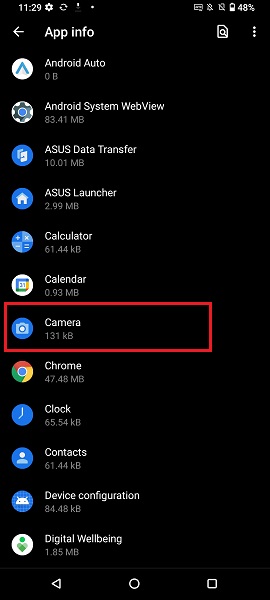
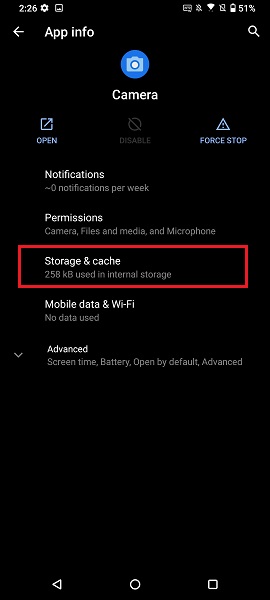
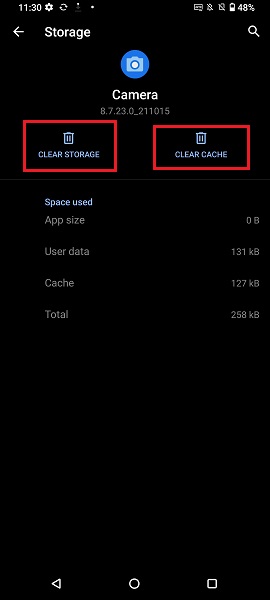
6. Clear Camera Data and Cache: Be sure to back up your photos and videos first. Then, go to Settings > Apps & Notifications > See All Apps > Camera > Storage & Cache, and select CLEAR STORAGE and CLEAR CACHE.
7. Back Up Data and Perform Factory Reset: If the above methods do not resolve the issue, back up all your data and restore your phone to its original factory settings. Tap: Settings > System > Reset Options > Erase all data (factory reset).
Note: Performing Erase all data (factory reset) will delete all data from your phone’s internal storage, including your Google account, system and app data and settings, downloaded apps, music, photos, and other user data.
Will the Camera Image Sensor Be Damaged by Lasers
Do not expose your phone camera lens directly to laser environments. The energy from a laser beam can damage the image sensor, possibly resulting in camera malfunction or abnormal photos.
It is recommended to avoid exposing your phone camera to laser light during events or exhibitions with lasers.
Please note: Whether indoors or outdoors, the risk of direct or indirect (reflected by a surface) laser damage to the camera sensor remains extremely high when lasers are present.
Fogging Inside the Camera Lens
Fogging of the phone camera lens may occur when there is a significant temperature difference between the inside and outside of the lens cover, leading to condensation. This usually disappears after letting the phone sit for a while and is considered normal—please do not worry.
To resolve lens fogging, please follow these steps:
1. Gently wipe the fogged area of the lens in a single direction using a microfiber or soft cloth.
2. If you have a dry cabinet, remove the SIM card tray and place the phone inside the cabinet to remove moisture.
3. If the issue persists, please bring your phone to an ASUS service center for assistance.
Camera Photos Are Blurry
1. Before taking photos, use a soft lens cleaning cloth to remove any dust or smudges from the lens.
2. When taking photos, the camera automatically focuses on the center of the frame. You can tap the desired area on the screen to change and lock the focus on your subject.
3. If your subject is backlit, please enable HDR mode. The camera will automatically detect the shooting environment and remind you to turn on HDR mode when necessary, helping you capture clearer photos.
4. In low-light conditions, a longer exposure time is required. We recommend using a tripod or stabilizing the camera to increase stability and produce sharper images.
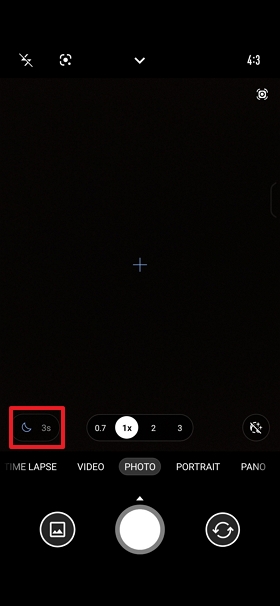
5. The camera will detect the shooting environment. When there is insufficient light, an icon and countdown will appear on the screen, reminding you that a longer exposure time is needed for the photo. (This feature may vary depending on software and firmware versions. Example model: ROG Phone 8)
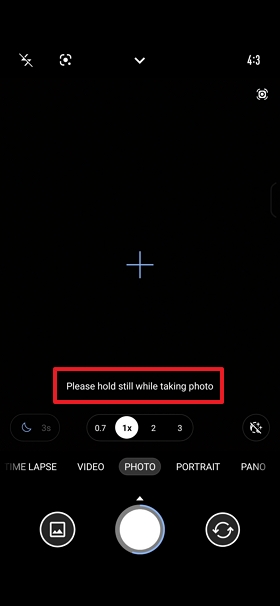
6. When the message Please hold still while taking photo appears on the camera screen, it means the camera is taking a photo. Do not move your phone to meet the exposure time requirements and improve photo quality. (This feature may vary depending on software and firmware versions. Example model: ROG Phone 8)