[Computer Chassis] ROG Hyperion GR701 ROG-Themed Lighting Panel disassembly and assembly precautions
Notice
1. Kindly wear gloves to protect your hands before proceeding with disassembly or assembly. Pay special attention to the corners of the parts to avoid any scratches.
2. When the side panel or front panel is made of glass, please handle it with extreme care during disassembly to avoid any collisions, falls, or undue stress.
3. When disassembling, please lay the casing flat on a stable surface to prevent the side panel from falling during the process.
4. Kindly ensure that the relevant wires are neatly arranged during assembly to prevent any damage to the wires throughout the process.
5. Keep track of all screws and small components during disassembly and assembly to avoid losing any parts.
Tools required
Phillips screwdriver PH2

1. Open side panel form magnetic latch.
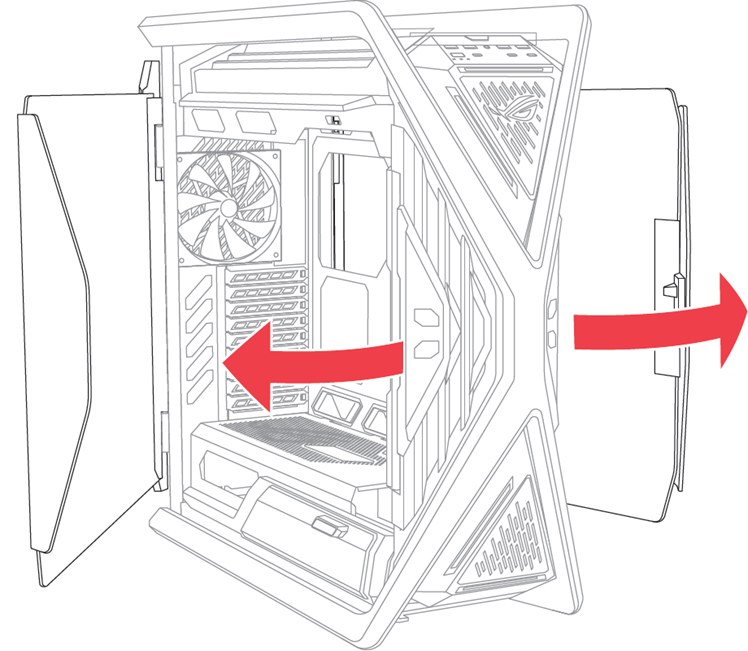
2. Open the cable cover.
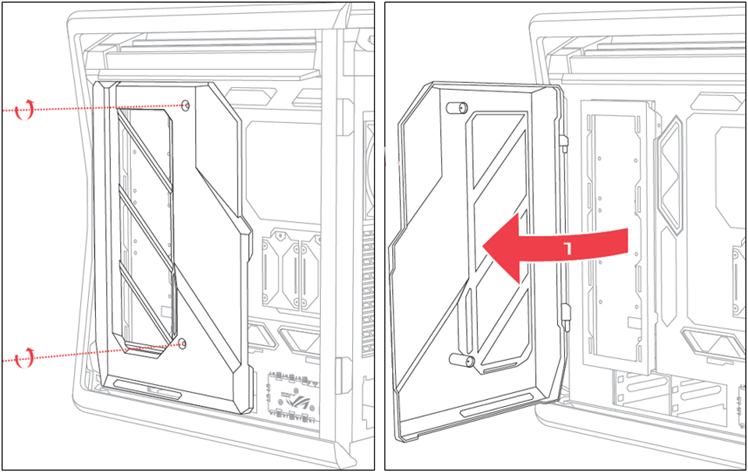
3.Remove 1 fixing screws.

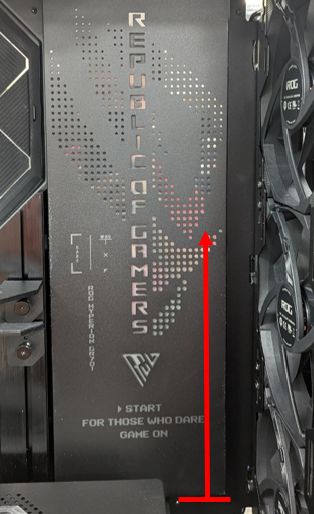
4. Hold the bottom of the light board and push up, removable light board.
5.Remove the ARGB connect to the light board.
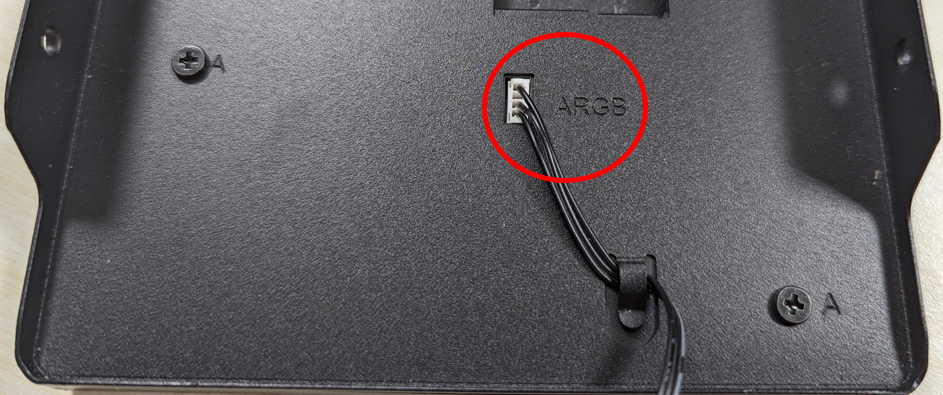
6. Remove the 4 screws marked position A (as shown in the red circle in the picture below).
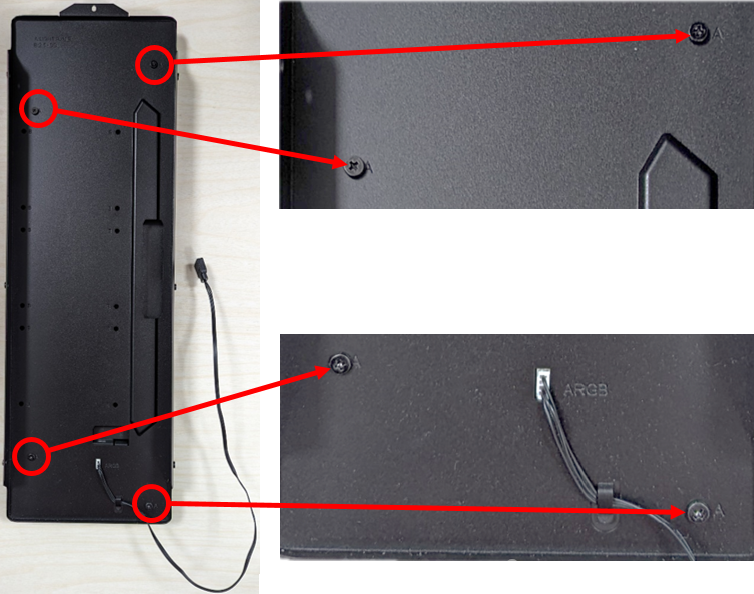
7. Removable ROG Lighting Board.
