[Phone] How do I assemble the ROG Kunai Gamepad onto the ROG Phone II (ROG Kunai bumper + ROG Kunai left controller)?
Assembly steps:
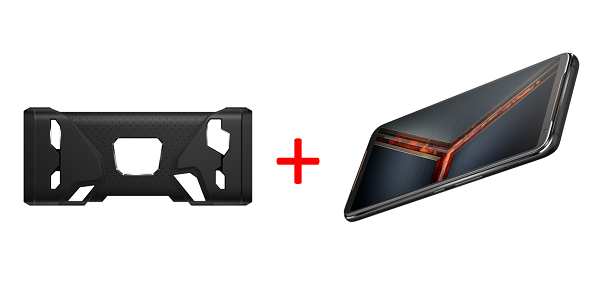
1.Attach the ROG Kunai bumper onto the ROG Phone II. Insert the protruding USB Type-C connector of the bumper into the USB Type-C port at the bottom of the phone.
Note: When detaching, remove the bumper from the top of the phone first and then the bottom.
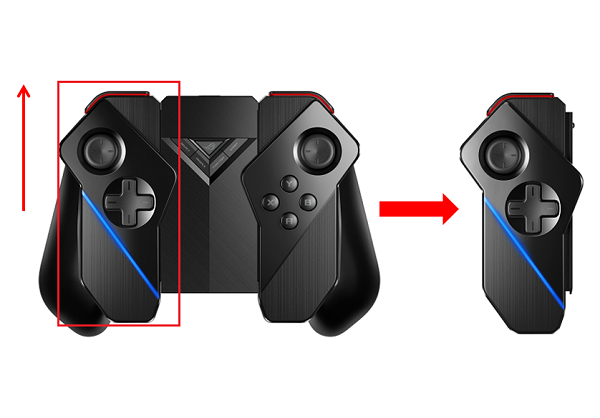
2. Detach the left controller from ROG Kunai holder. Remove it by pushing up (when holding vertically) or pushing forward (when holding horizontally).
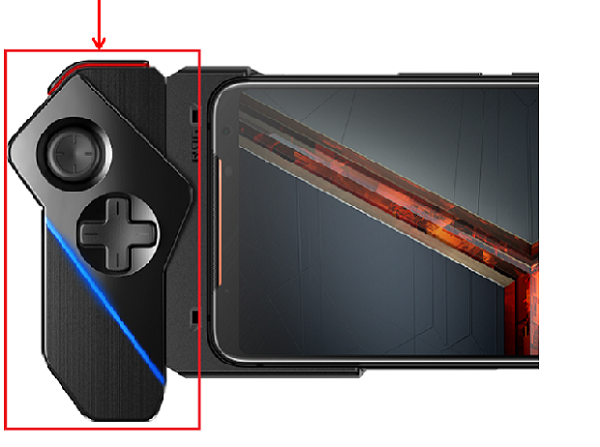
3. Attach the ROG Kunai left controller onto the left side of the phone that has the bumper attached. Hold the phone horizontally (with the power button at the top), slide the controller down until it is locked in.
Note:
1. ROG Kunai Gamepad can be assembled into three operating modules:
— ROG Kunai bumper + ROG Kunai controllers
— ROG Kunai bumper + ROG Kunai left controller (as shown in the example above). For some games, 4 virtual buttons will appear on the right side of screen.
— ROG Kunai holder + ROG Kunai controllers
2. ROG Kunai right controller cannot be used alone
3. ROG Kunai controllers (both left and right) don't have battery