What is ASUS FanConnect on the ROG Strix GTX 1080 and 1070?
What is ASUS FanConnect?
Typically case fans are linked to CPU temperatures, with 4-pin connectors dotted around your motherboard. However modern high-end GPUs typically use 2-3x the power of CPUs, even if the latest Pascal series graphics cards are incredibly efficient, then add to this the increasing use of CPU AIO liquid coolers this has moved their heat direct to a case vent, effectively leaving graphics cards as the primary source of case temp fluctuation.
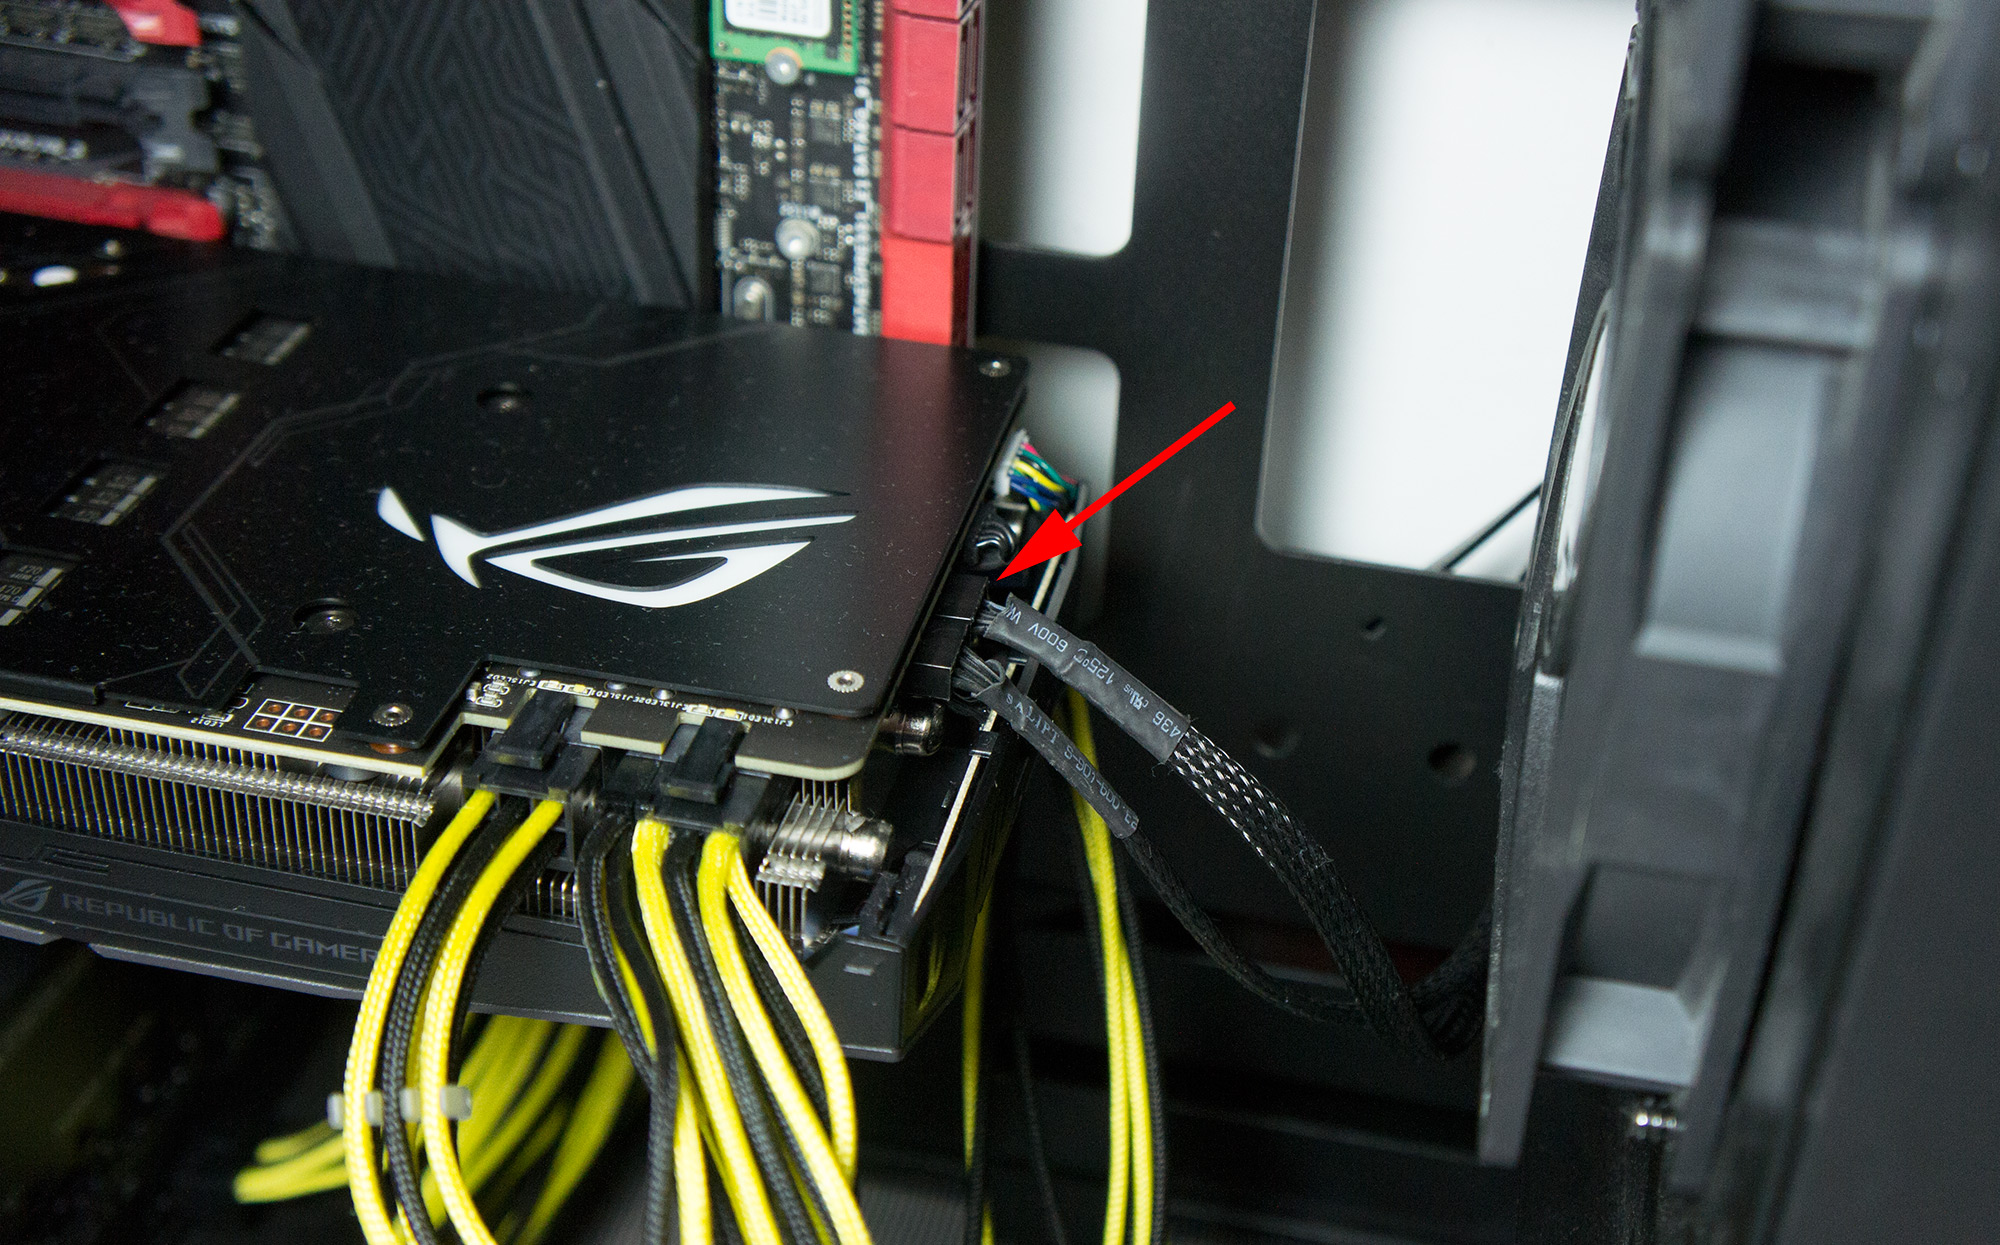
The ROG team noticed this and committed to putting another innovative world-first on the Strix GTX 1080 and 1070: adding two, 4-pin fan connectors to a graphics card. Here's an example:

This allows the user to sync GPU temps, and their fan speed, to chassis fans that are typically in the front, base or side panel. This improves the cooling performance by sucking in cool 'outside' air directly for your graphics card's use. This means when gaming you get better overclocks, sustained boost and more FPS performance, then, when you're not gaming the fans mirror the Strix 0db fan technology and turn off entirely, giving you a truly zero-noise environment.
Ultimately it means your gaming PC can balance the use of GPU-linked case fans (via the bundled GPU Tweak II software) and motherboard-linked case fans (via Fan Xpert III) to optimize your build for best possible cooling : noise : performance ratio, any way you use it.
How to setup custom fan control in GPU Tweak II:
Firstly identify one or two fans in your case that push air directly at your graphics card and plug them into your ROG Strix GTX 1080 or 1070.
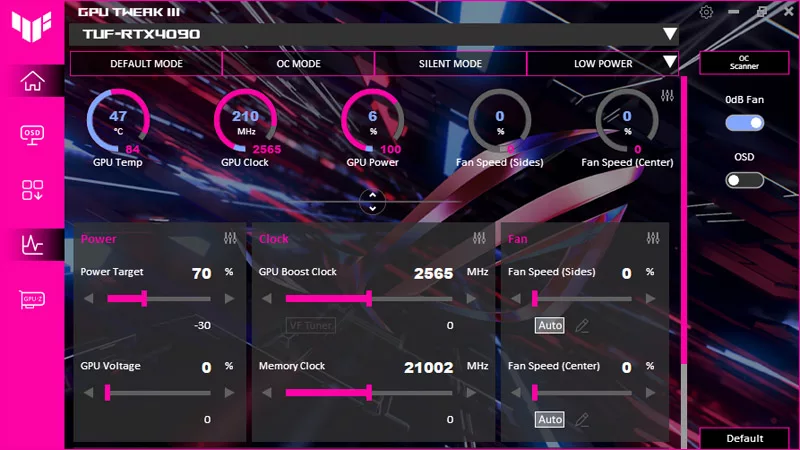
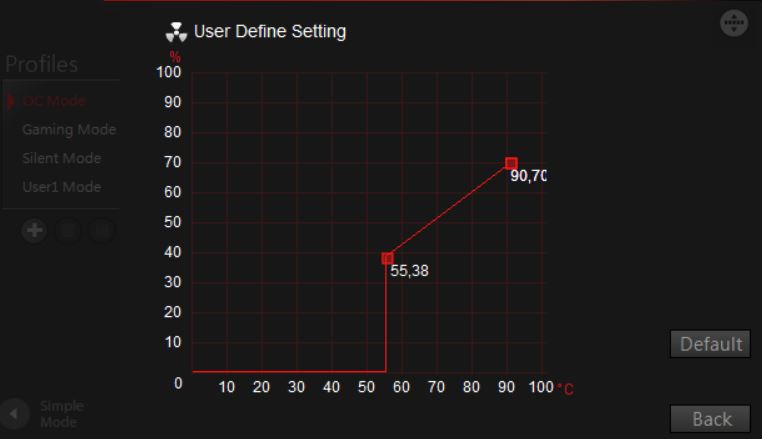
Next, fire up GPU Tweak II then go into professional mode (bottom-right button) where you'll see the Fan Speed (%) option. It'll be set to auto, but you can set a manual fixed frequency or select User Defined to customize the fan curve.
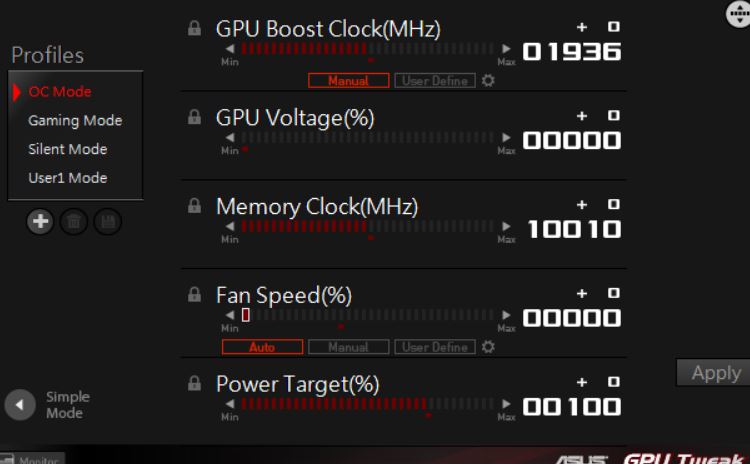
The default User Define Setting is shown below: the fans switch on at 55.38C. We can set the fan curve to turn on earlier or later, bring the high-end max temp limit downward if necessary and set the fan speeds higher to compensate extra voltage and overclocks if we're aiming for over 2GHz.
Hit the back button and your settings are saved.