ASUS GPU Tweak III: The ultimate tool for advanced GPU tuning
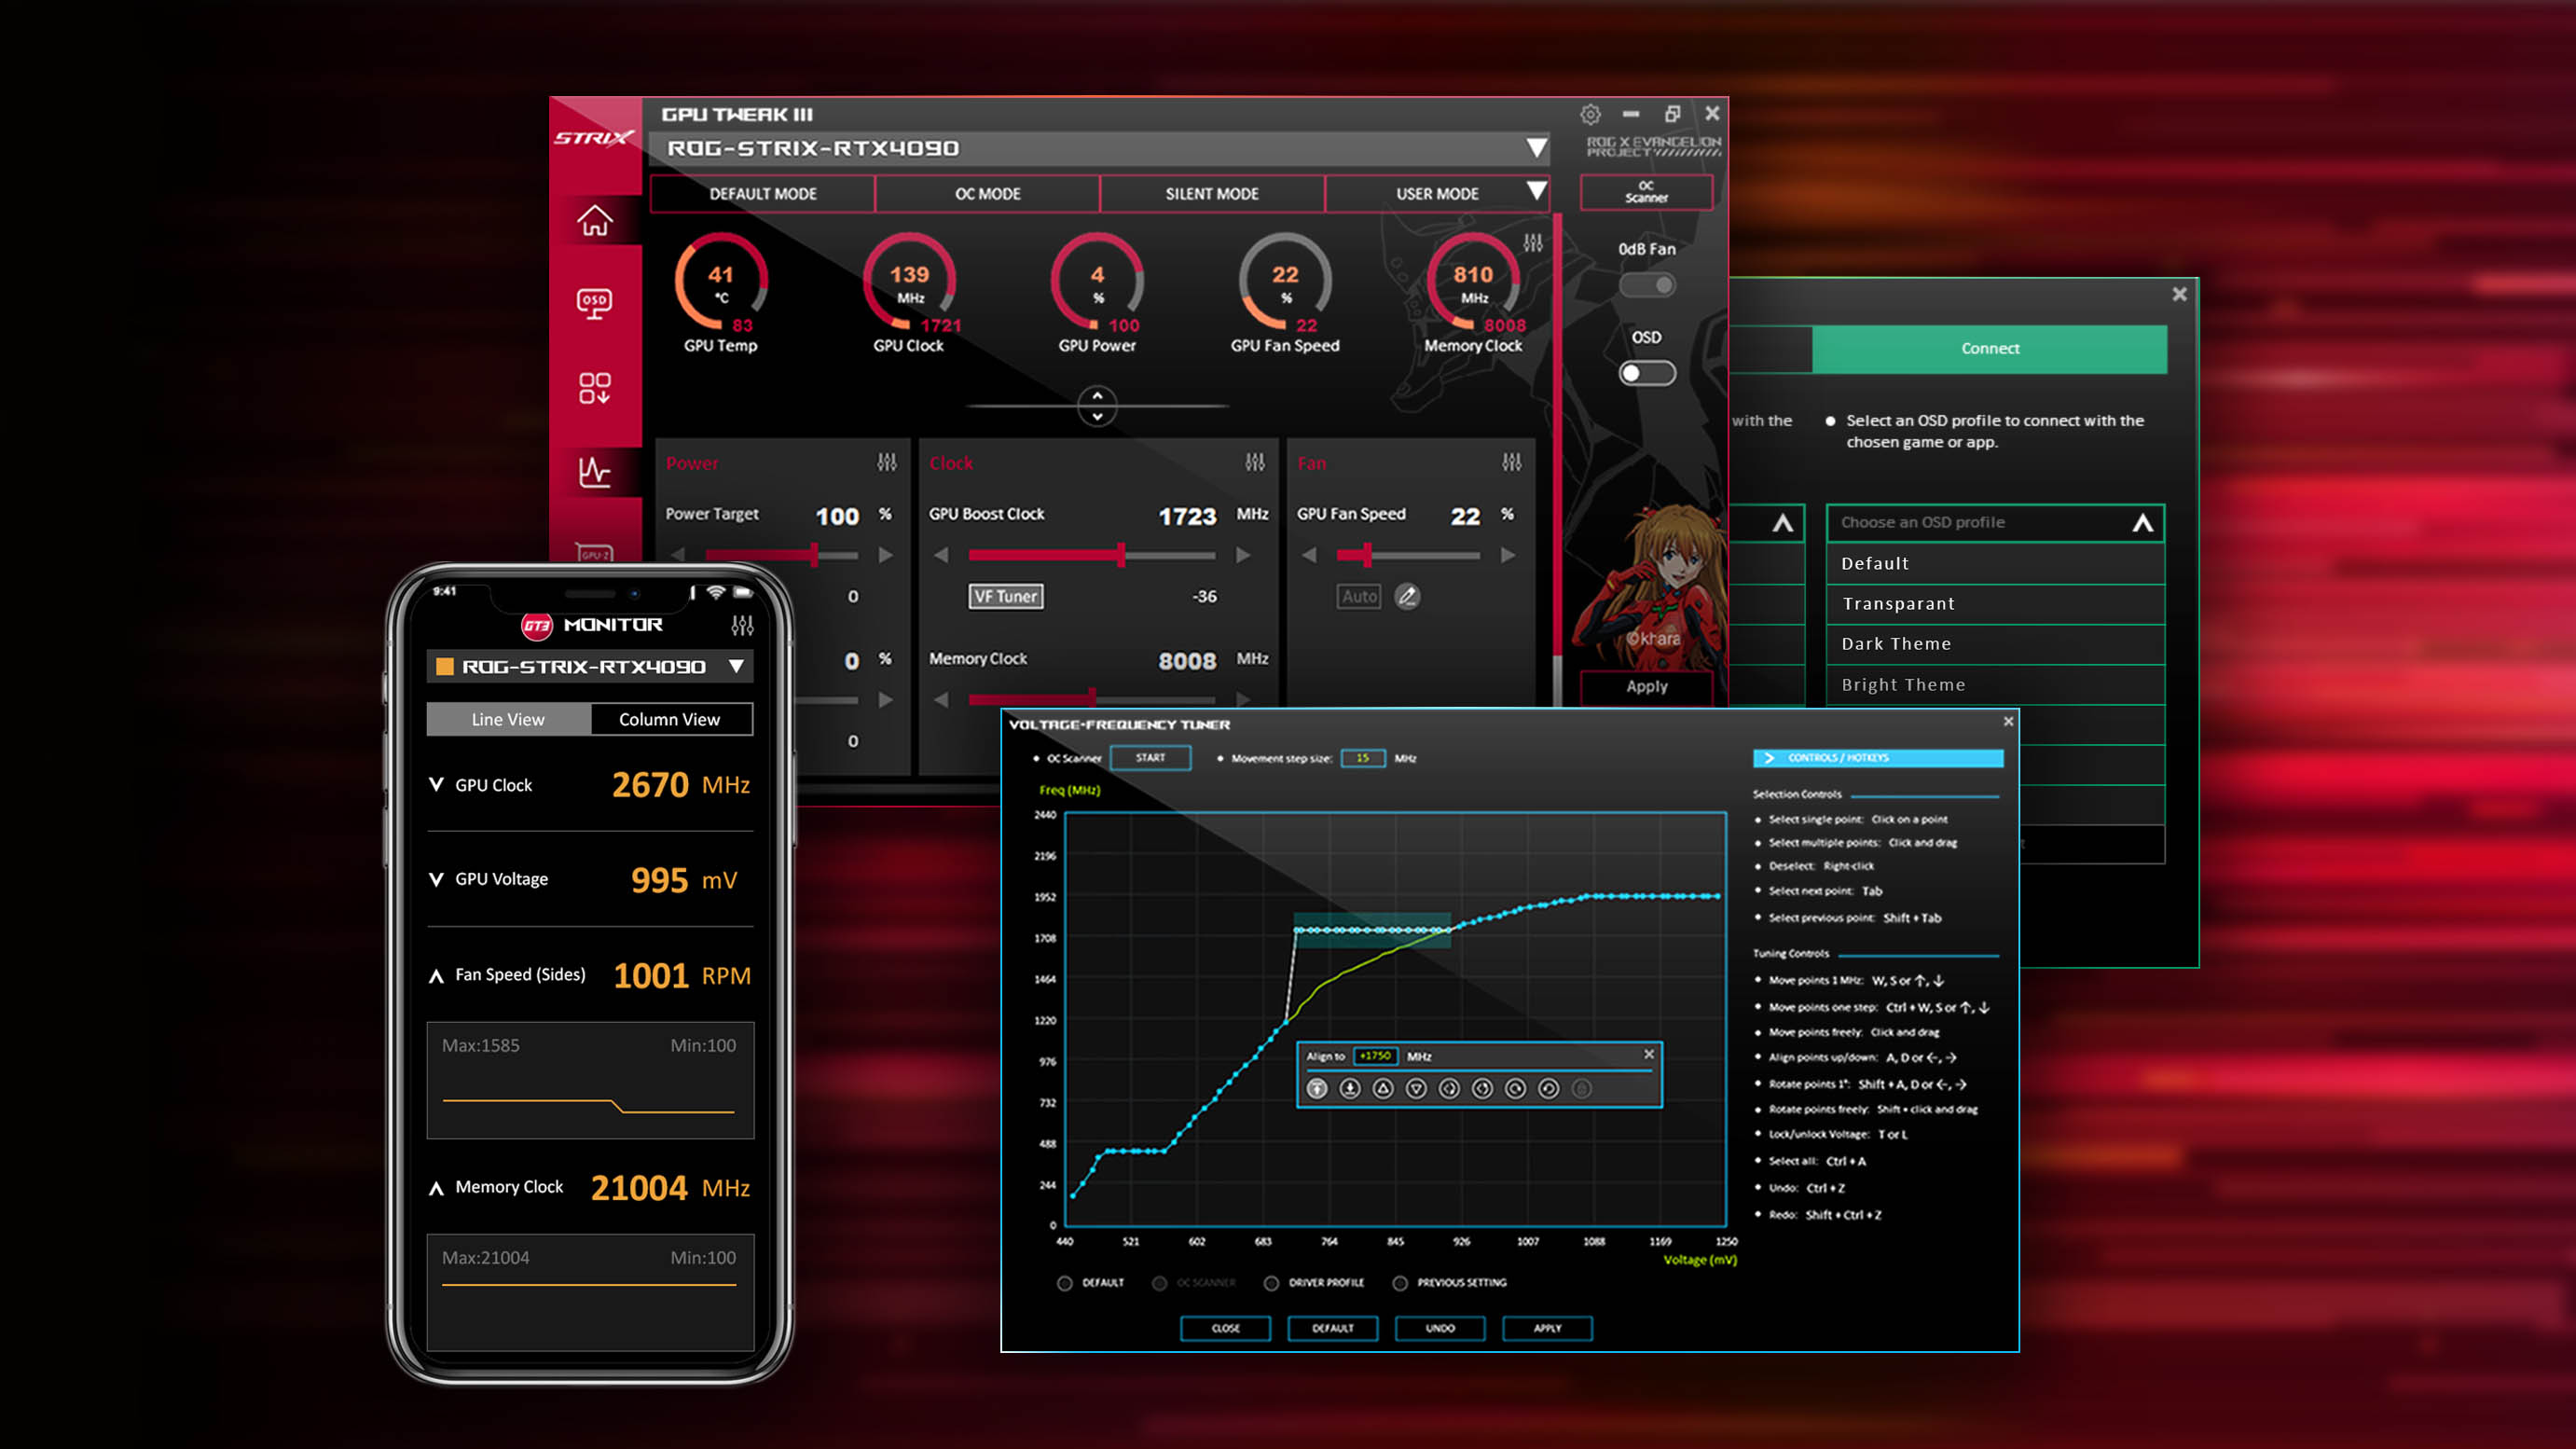
Some people just want to turn their PC on and game — but not you. You’re an optimization maniac, driven to make the absolute most of every piece of hardware in your system. Since your graphics card has the largest effect on gaming performance, it's a prime target for your performance tuning efforts. Our GPU Tweak III software gives you the tools you need to make it happen.
This is just an overview of what GPU Tweak III can do! Click here to see all of our GPU Tweak guides.
Unleash your graphics card's full potential with GPU Tweak III
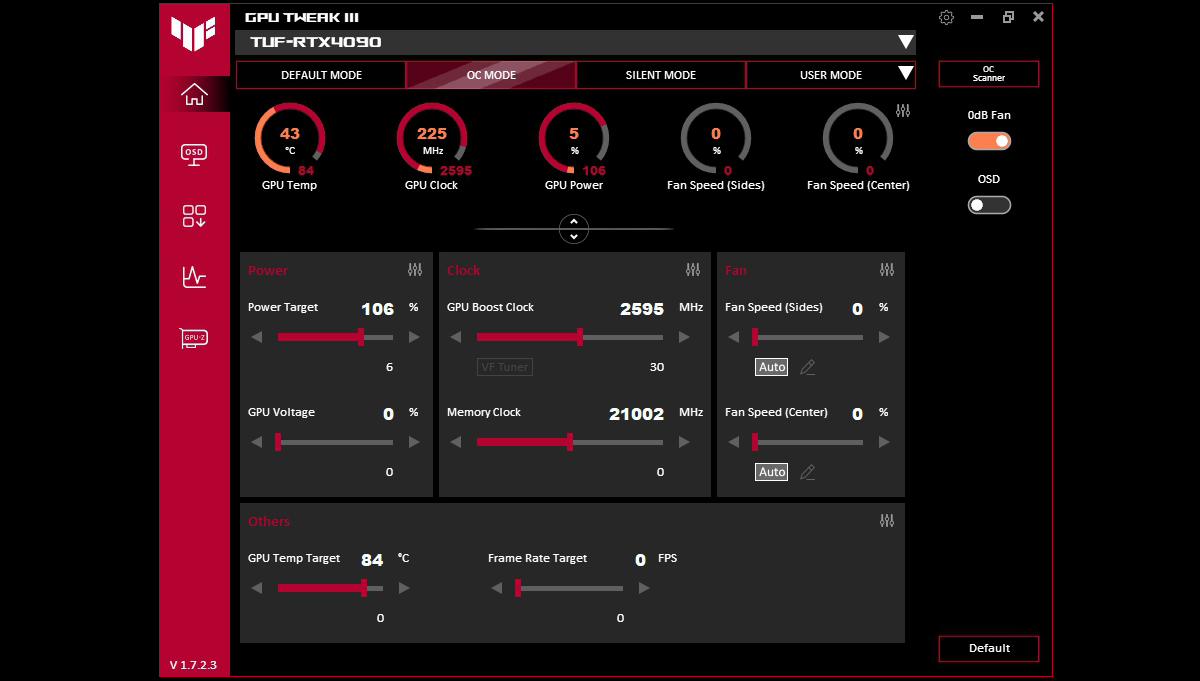
ASUS GPU Tweak III is an all-encompassing GPU overclocking and monitoring software for graphics cards. It works with any brand of card — not just ASUS and ROG — and will help you overclock, undervolt, tweak your fan speeds, and monitor every metric under the sun to ensure no drop of power is wasted. We’ve been collecting feedback on GPU Tweak III since it launched, constantly improving it with new features, more user-friendly settings, and new presets for the latest GeForce RTX 40 SUPER series graphics cards. Utilizing such overclocking tools effectively can unlock potential performance gains, making every gaming session even more thrilling.
With everything we’ve added in the past few months, we’re proud to say that GPU Tweak III is better than it’s ever been. Here are just a few of the new, improved, and exclusive features you’ll find in the latest version.
Exclusive GPU overclocking features you won’t find elsewhere
GPU Tweak III isn’t the only GPU overclocking software out there, but our latest version has a number of features that our competitors don’t.
First and foremost are our one-click ASUS Preset Modes, which allow you to tweak your graphics card with zero fuss. OC Mode gives you a boost in performance (even if your card is already factory overclocked), Silent Mode downlclocks the card and lowers the power target slightly for quiet computing, and User Mode allows you to save your own presets for easy one-click usage later on. These modes even work if you have a non-ASUS card, meaning you can boost performance in literally one click.
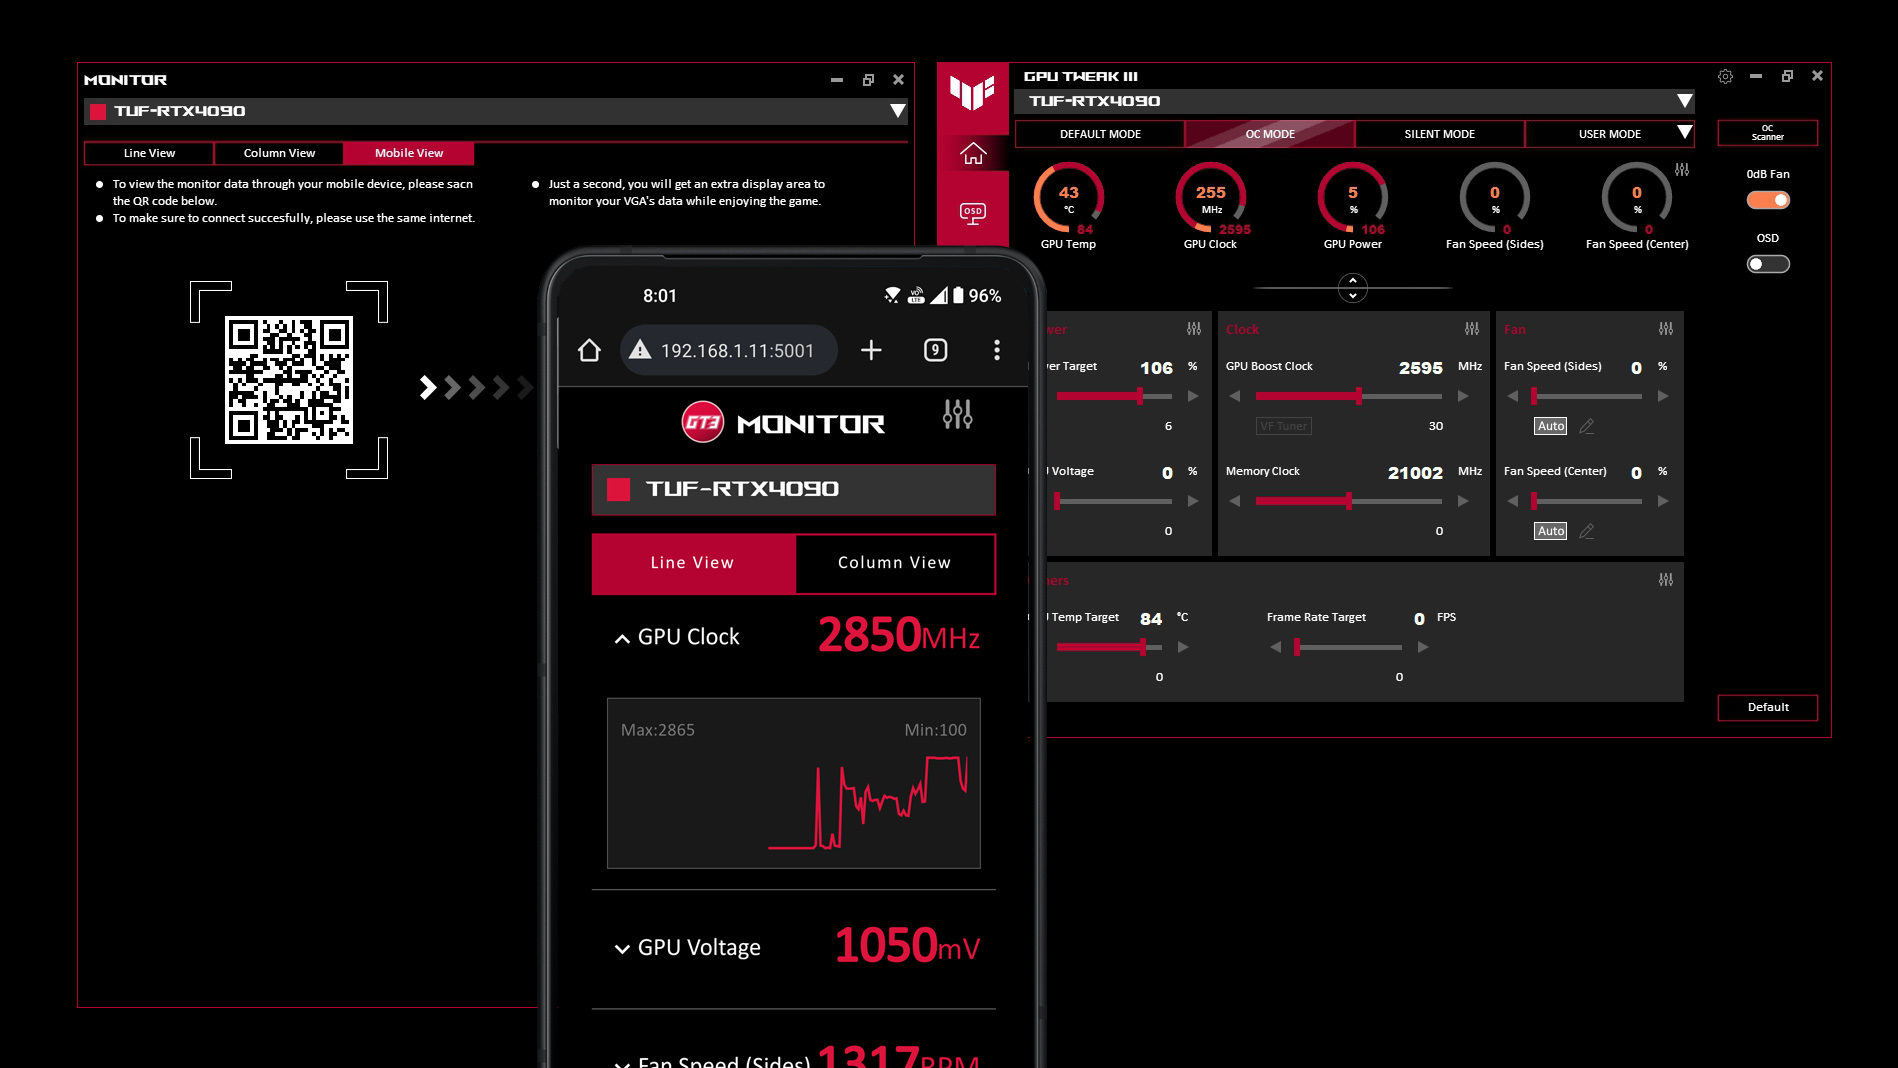
Our new Mobile Monitor feature is also extremely handy. While you can set up GPU Tweak’s on-screen display (OSD) to monitor temperatures, fan speeds, memory usage, and more while you play, not everyone wants that information overlayed atop their game. For maximum immersion, you can turn the OSD off and use Mobile Monitor to keep an eye on those stats using your phone or other mobile device. To turn on Mobile Monitor, open the Monitor window using the graph icon in the right sidebar, then select the Mobile View tab. Scan the QR code on your phone, and as long as your phone and PC are on the same network, you’ll get an instant, real-time view of your PC’s performance that you can prop up anywhere on your desk.
Want to use different tunings for different games? GPU Tweak III’s Profile Connect lets you do just that, allowing you to assign different profiles to individual games on your system and automatically apply them when the game is launched. So, for example, you can automatically set your GPU to an overclocked “maximum performance” mode when playing Counter-Strike 2, but enter a more immersive undervolted silent mode when you launch God of War. Profile Connect now allows for unlimited profiles, too, so no matter how big your library is, you can assign a custom tweaked profile to every game on your PC. Just click the profile dropdown in the upper-right corner and click Connect to link different profiles different programs on your PC.
Finally, while GPU Tweak III allows plenty of control your GPU’s fans, owners of ROG Strix graphics cards can also use GPU Tweak III to control certain case fans by using the FanConnect II headers on the card. So if you have two bottom-mounted intake fans in your case, you can plug these into your graphics card and set GPU Tweak III to ramp them up and down according to the GPU’s temperature, rather than using the CPU temperature through your motherboard headers. ROG Strix cards also come with a Power Detector that flashes the card’s power LED if a drop in voltage occurs — which you can toggle on and off in GPU Tweak III. Note that FanConnect II and Power Detector are exclusive to ROG Strix cards, but nearly everything else in GPU Tweak III is usable with any brand of graphics card.
More user-friendly GPU monitoring and tweaking
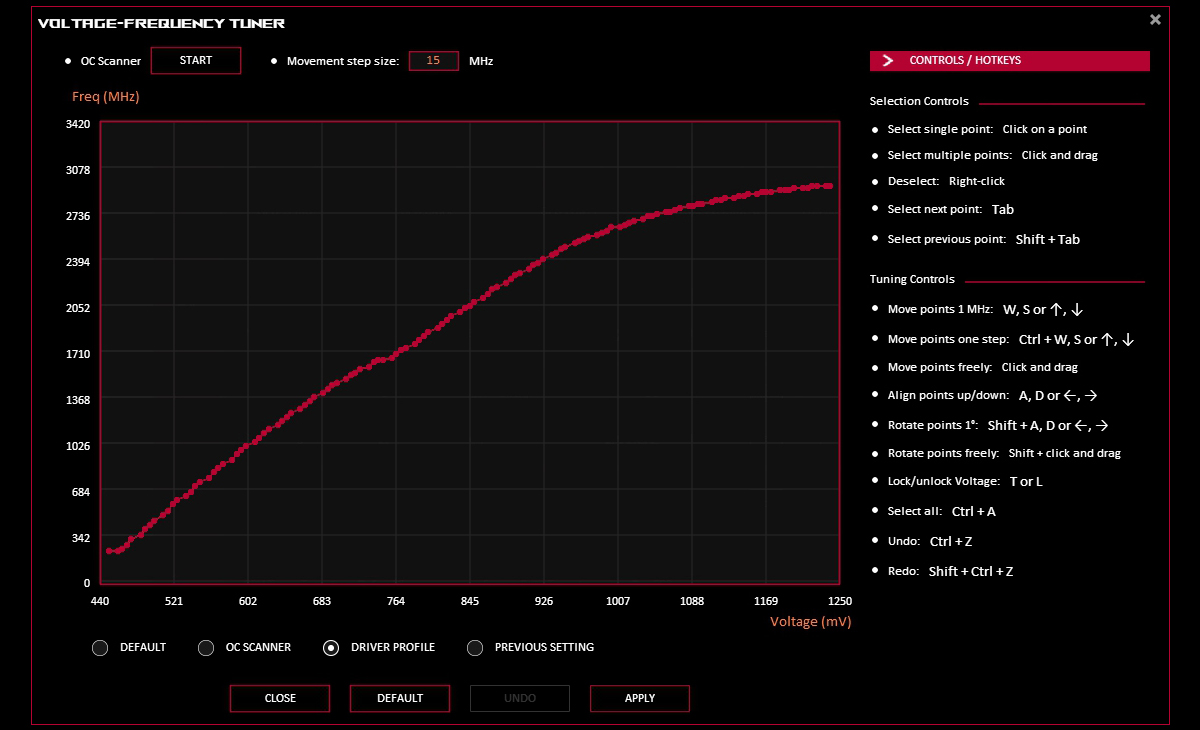
We’ve also enhanced a number of GPU Tweak III’s existing features to make them more user-friendly than ever. If you don’t want to manually overclock but want to boost performance higher, you can use our OC Scanner feature, which will automatically overclock and stress test your card, pushing performance even further than OC Mode based on the capabilities of your specific chip. For those who want to dig in deeper, our VF Tuner is now easier to use, so you can fine-tune your voltage/clock curve with fewer clicks. Importing and exporting your profiles is also easier than before: under the User Mode menu, just highlight one of your custom modes to pop up a menu. The Export button looks like a sheet of paper with an arrow. You can then import previous configurations by clicking the User Mode dropdown and choosing the Import button along the top.
As mentioned above, the OSD feature allows you to monitor your framerate, temperatures, and more right on top of your game — and it’s extremely customizable, allowing you to configure exactly what you want to show, what you want to hide, how the font appears, and where on screen the overlay lives. These functions are all now easier to use, residing in a simple but powerful menu that lets you customize the OSD from top to bottom. Just click the “OSD” button in the left sidebar to get started customizing, and toggle the OSD switch on the right side to “On” to show your stats in-game. If you want even more information in the Monitor and OSD, GPU Tweak III now allows you to enable a plugin for HWMonitor to get even more detailed information about your PC’s performance in real time.
Finally, ask any seasoned overclocker and they'll tell you how much they live and die by GPU-Z. This special little piece of software gives you a plethora of information about your GPU, and helps you ensure that your overclock has applied correctly — and what, if anything, is preventing you from pushing it even further. We’re proud to say that GPU-Z is now built right into GPU Tweak III, so you don’t have to install it separately. You can access it by clicking the “GPU-Z” button in the left sidebar.
Customize your colors, background, and hotkeys
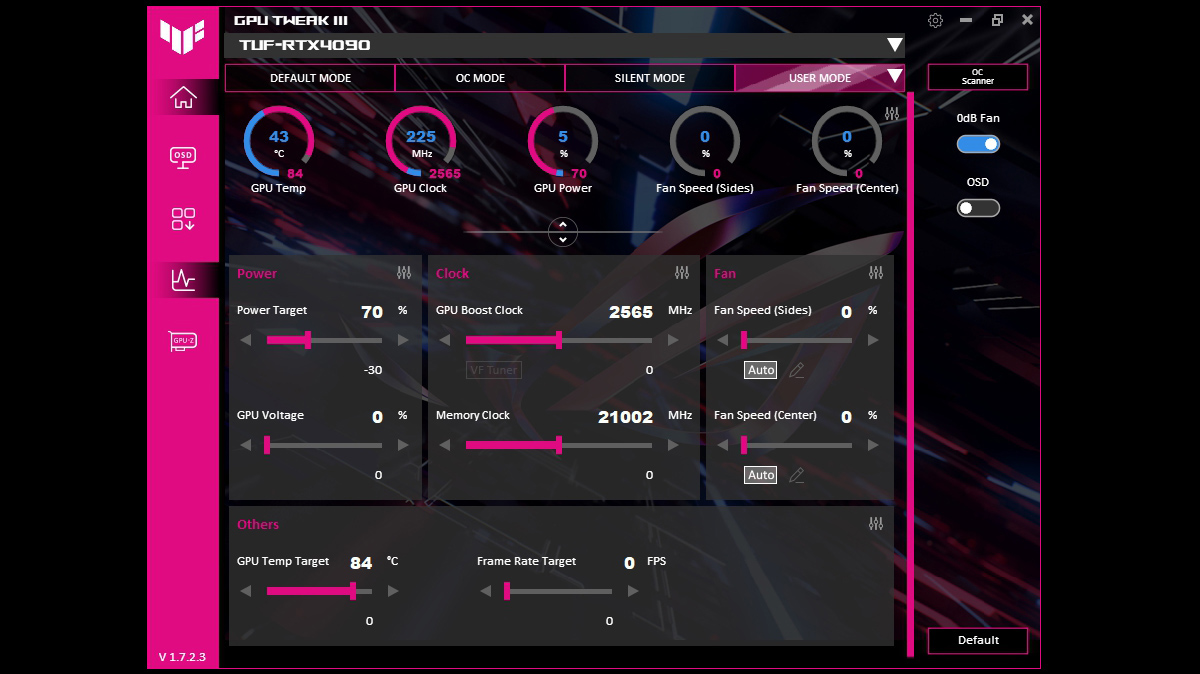
While tuning your GPU is, obviously, the most crucial function of GPU Tweak III, we also know how much our users love to customize the look and feel of their machine. So we’ve built in even more aesthetic customization into the software. Just click the Settings cog in the upper-right corner and select the Interface tab to get started.
Colors can be tweaked to your liking by clicking on one of the three colors on the right side, and you can select a background wallpaper for the app by browsing to a custom image on your PC. Some wallpapers may look better once imported into the app, so try different images to see what works best, and play with the Wallpaper Transparency slider to get it looking just right.
GPU Tweak III’s customization goes beyond looks, too: select the Hotkeys tab and you’ll be able to tweak loads of different shortcuts. With just a few keystrokes you can show the GPU Tweak III window, switch to different modes (like OC Mode, Silent Mode, or Default Mode), adjust the GPU clock, move the OSD, and a whole lot more. Download GPU Tweak III today to explore all the new settings and features for yourself.

