How to upgrade the SSD and reinstall Windows on your ROG Ally or Ally X
The ROG Ally and ROG Ally X let you bring your games with you anywhere you go. But if you have a particularly massive library and like to jump around from game to game, you might want to upgrade your storage. While a microSD card can take you far, the Ally’s SSD storage is also upgradeable, so you can swap in a new drive on your own. Here’s how.
This is part of our ultimate guide to the ROG Ally series of articles.
Step one: gather your parts
To swap your SSD, you’ll need a couple things:
- A size 0 Phillips head screwdriver
- A guitar pick or other piece of thin plastic
Of course, you’ll also need an SSD. The ROG Ally is compatible with compact 2230 M.2 NVMe drives, which you can get in 1TB or 2TB sizes at your favorite e-tailer or brick-and-mortar PC hardware store. If you have an ROG Ally X, you'll need a 2280 M.2 NVMe drive instead.
Note that we’ll be reinstalling Windows from scratch in this guide, and is the method we recommend for installing a new SSD. If you want to keep all your existing data, you can use an external SSD enclosure to clone your current drive to the new one, but we won’t detail those steps here. There are plenty of drive cloning guides around the web if this is the route you choose to take.
Step two: open your Ally
Before you get to work, discharge your battery to 25% or below and remove any microSD cards that might be in the slot.
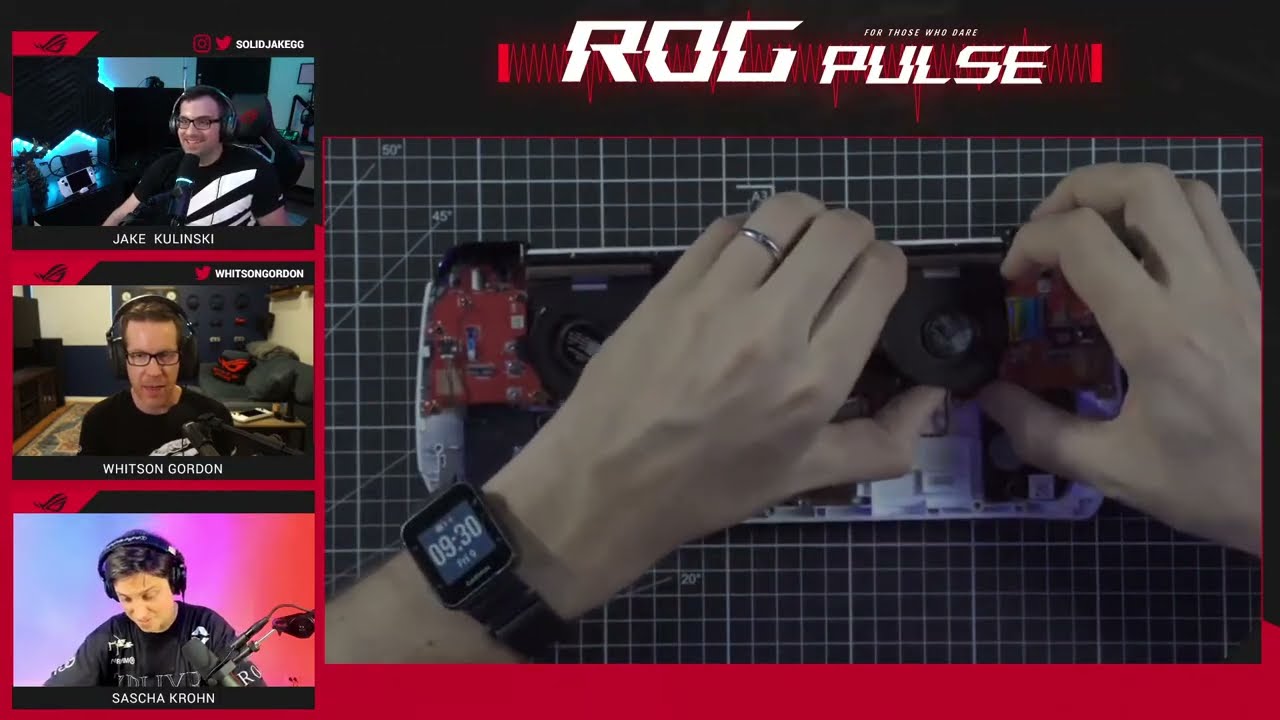
Once you’ve done so, it’s time to see what’s inside. We’ve included photos below, but you can also follow along with our teardown video above. The process should be the same for both the Ally and Ally X, except where otherwise noted.
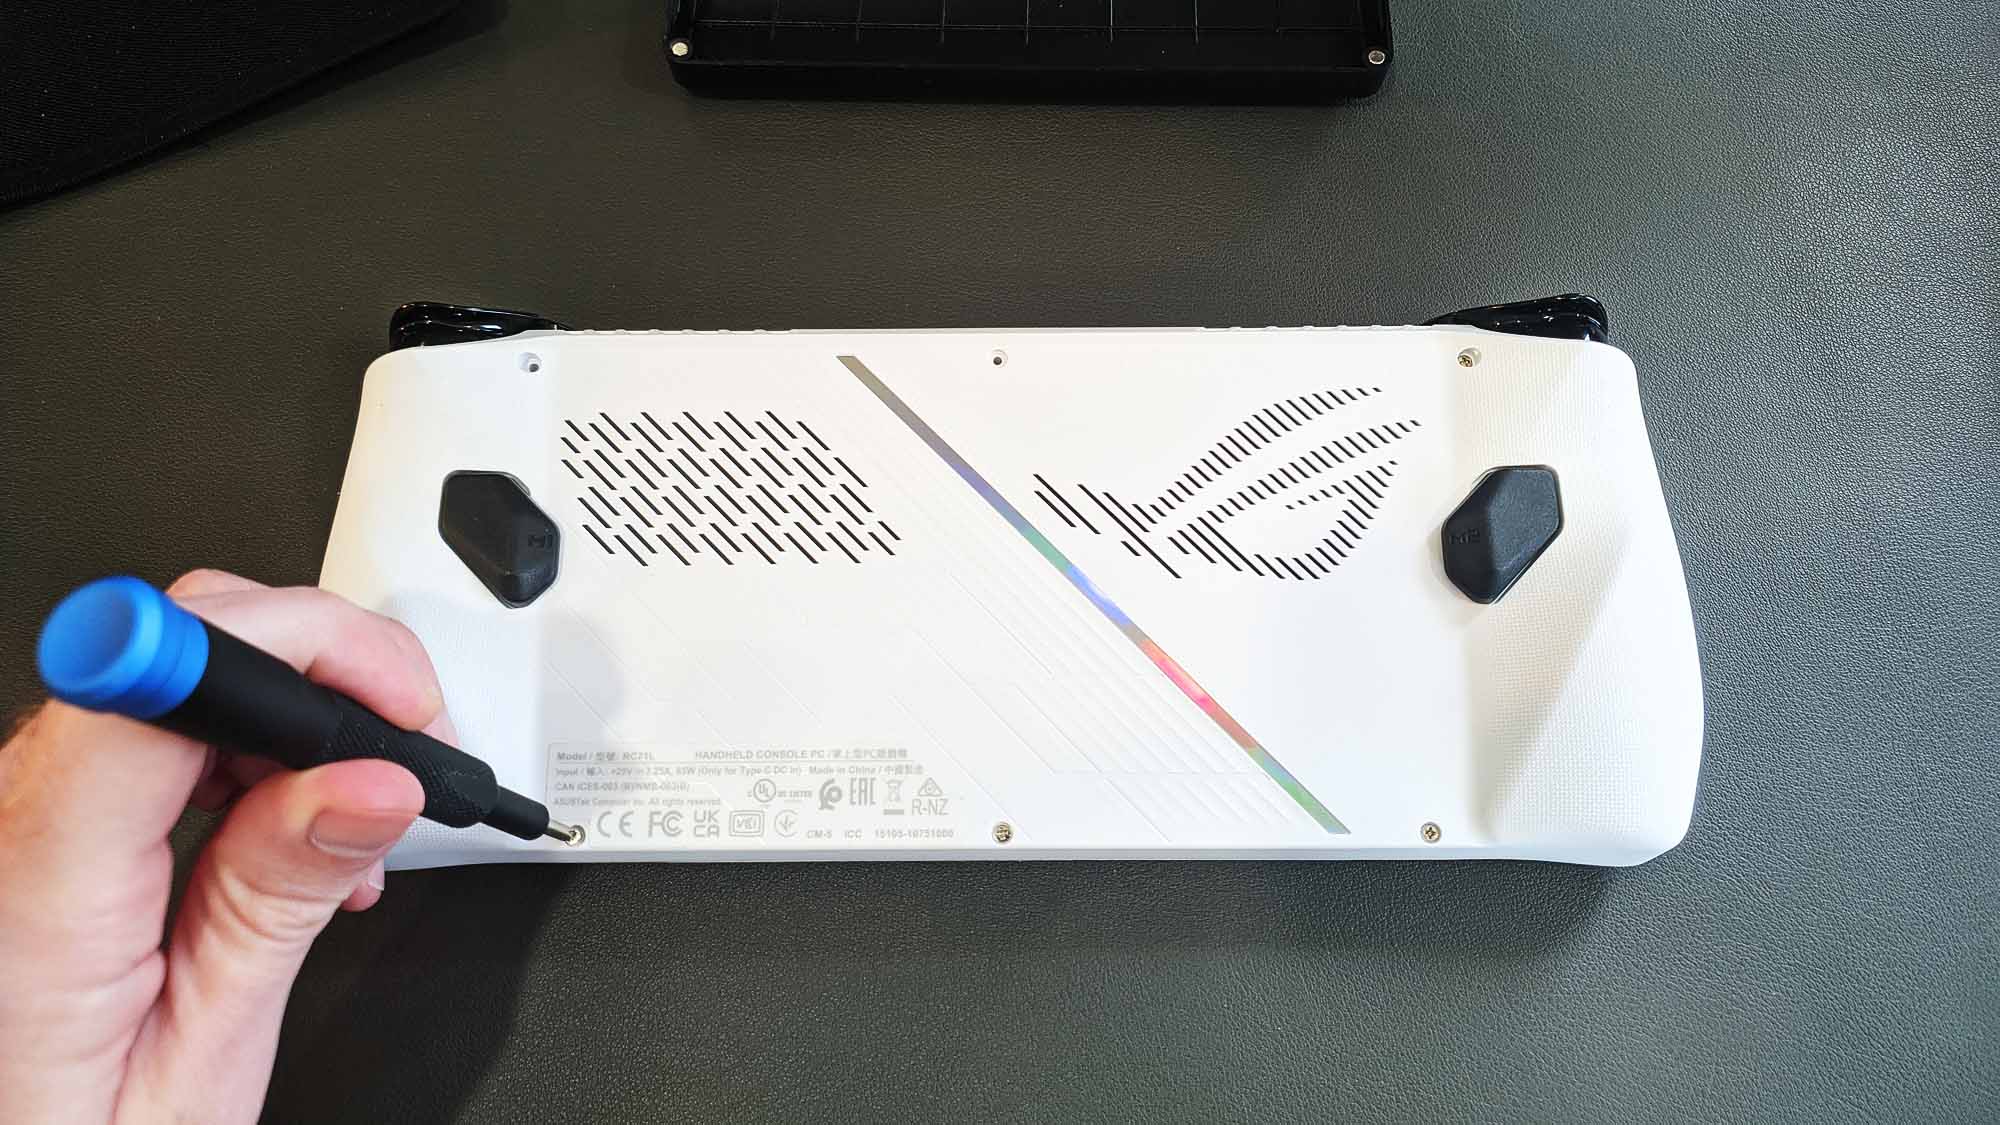
Place your Ally face down on a soft surface and grab your small screwdriver. Undo all six screws along the back side — three along the top, three along the bottom. Place them in a small bowl or tray so you don’t lose them. The bottom middle screw won’t come out all the way — this captive Pop-open screw helps lift the bottom cover off the case. Once it’s loose, you should be able to remove the bottom panel and the screw will stay attached to it.
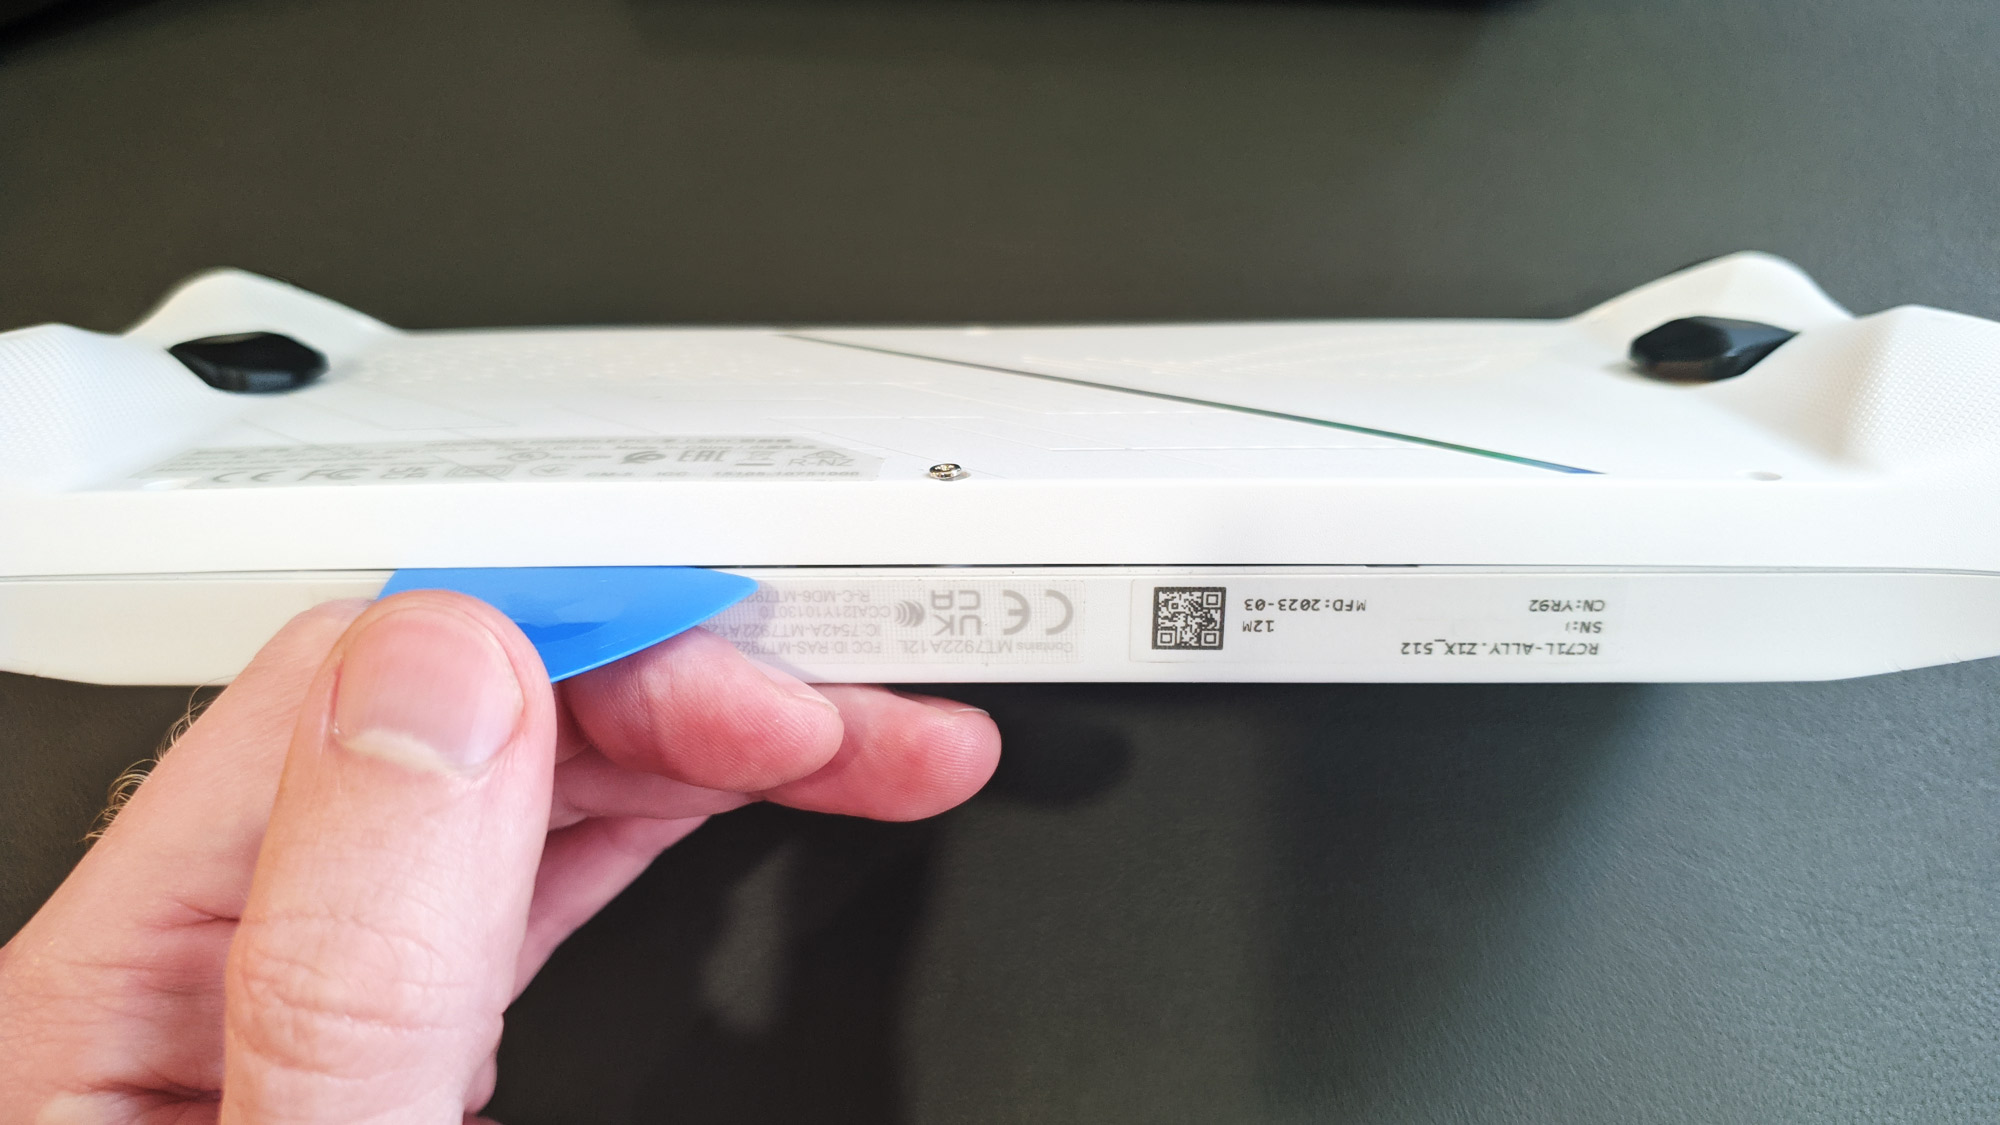
If the bottom panel doesn’t pop open all the way with that last screw, you can use your guitar pick to undo the clips holding the case together. Insert your guitar pick in between the two panels and slide it along the length of the case to undo the clips.
If you're opening an Ally X, be careful not to tear the ribbon cable that connects the motherboard to the back panel. Set the back panel aside.
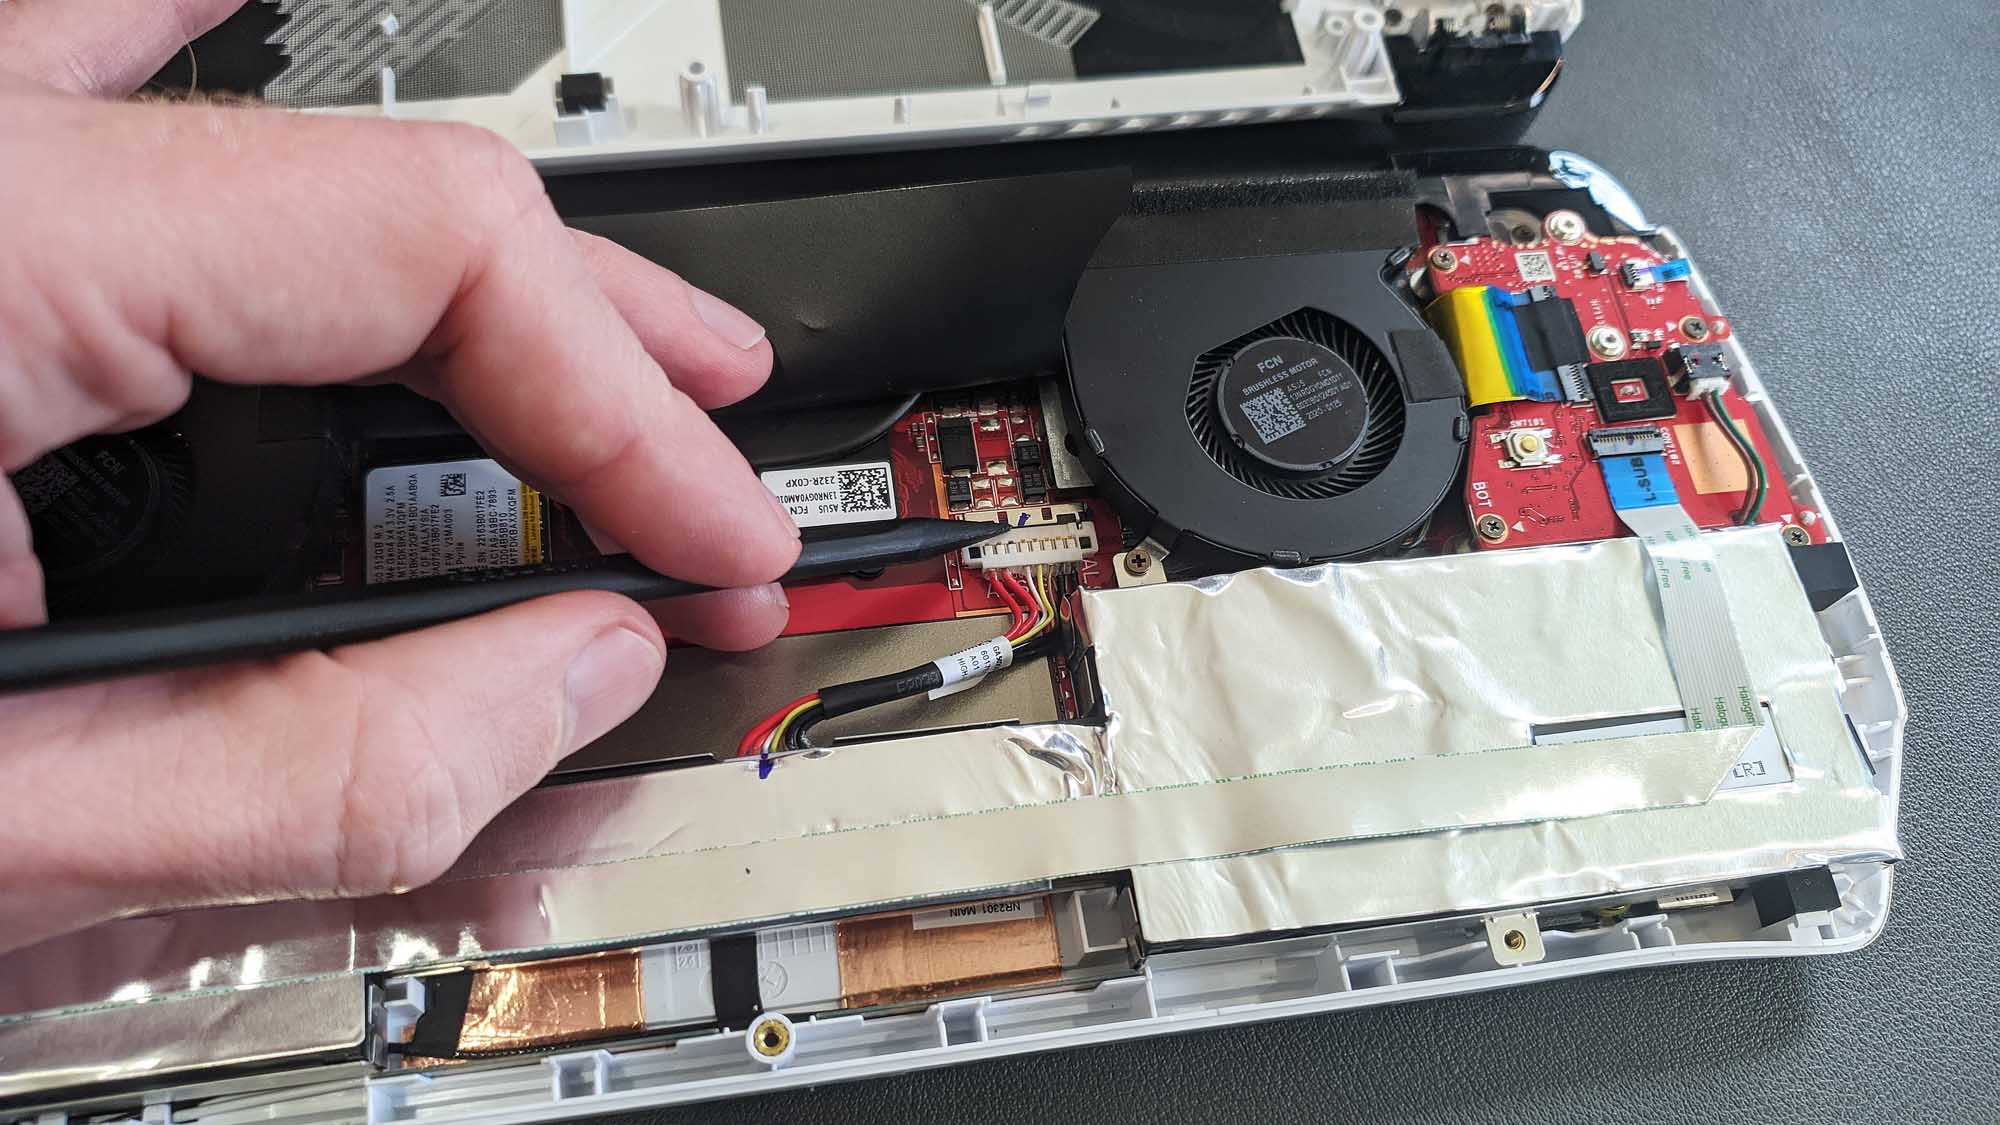
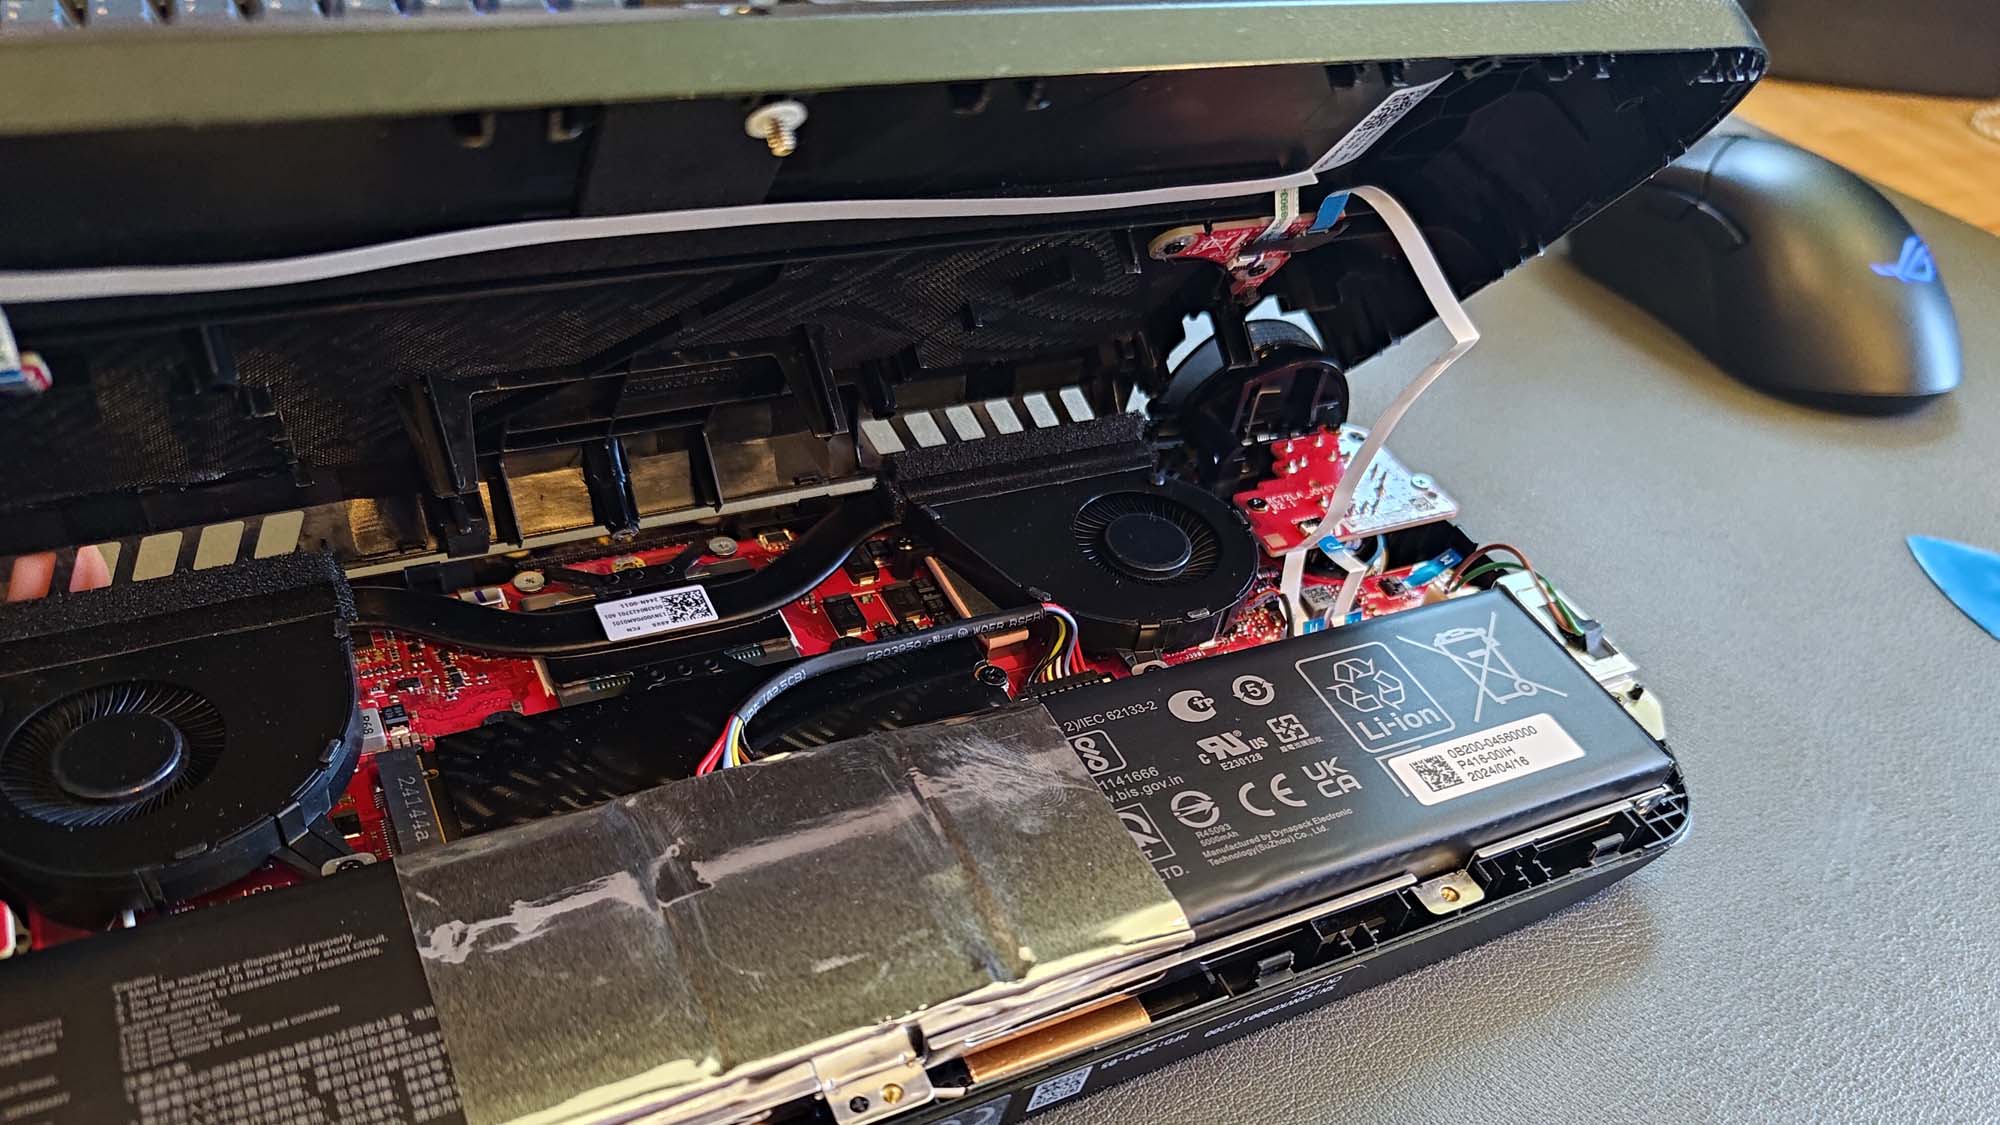
Next, you’ll want to disconnect the battery for safety. Lift up the black flap between the fans and, using a spudger, pry tool, or even your guitar pick, slide the metal retaining clip back, then pull the battery connector upward and out of its socket.
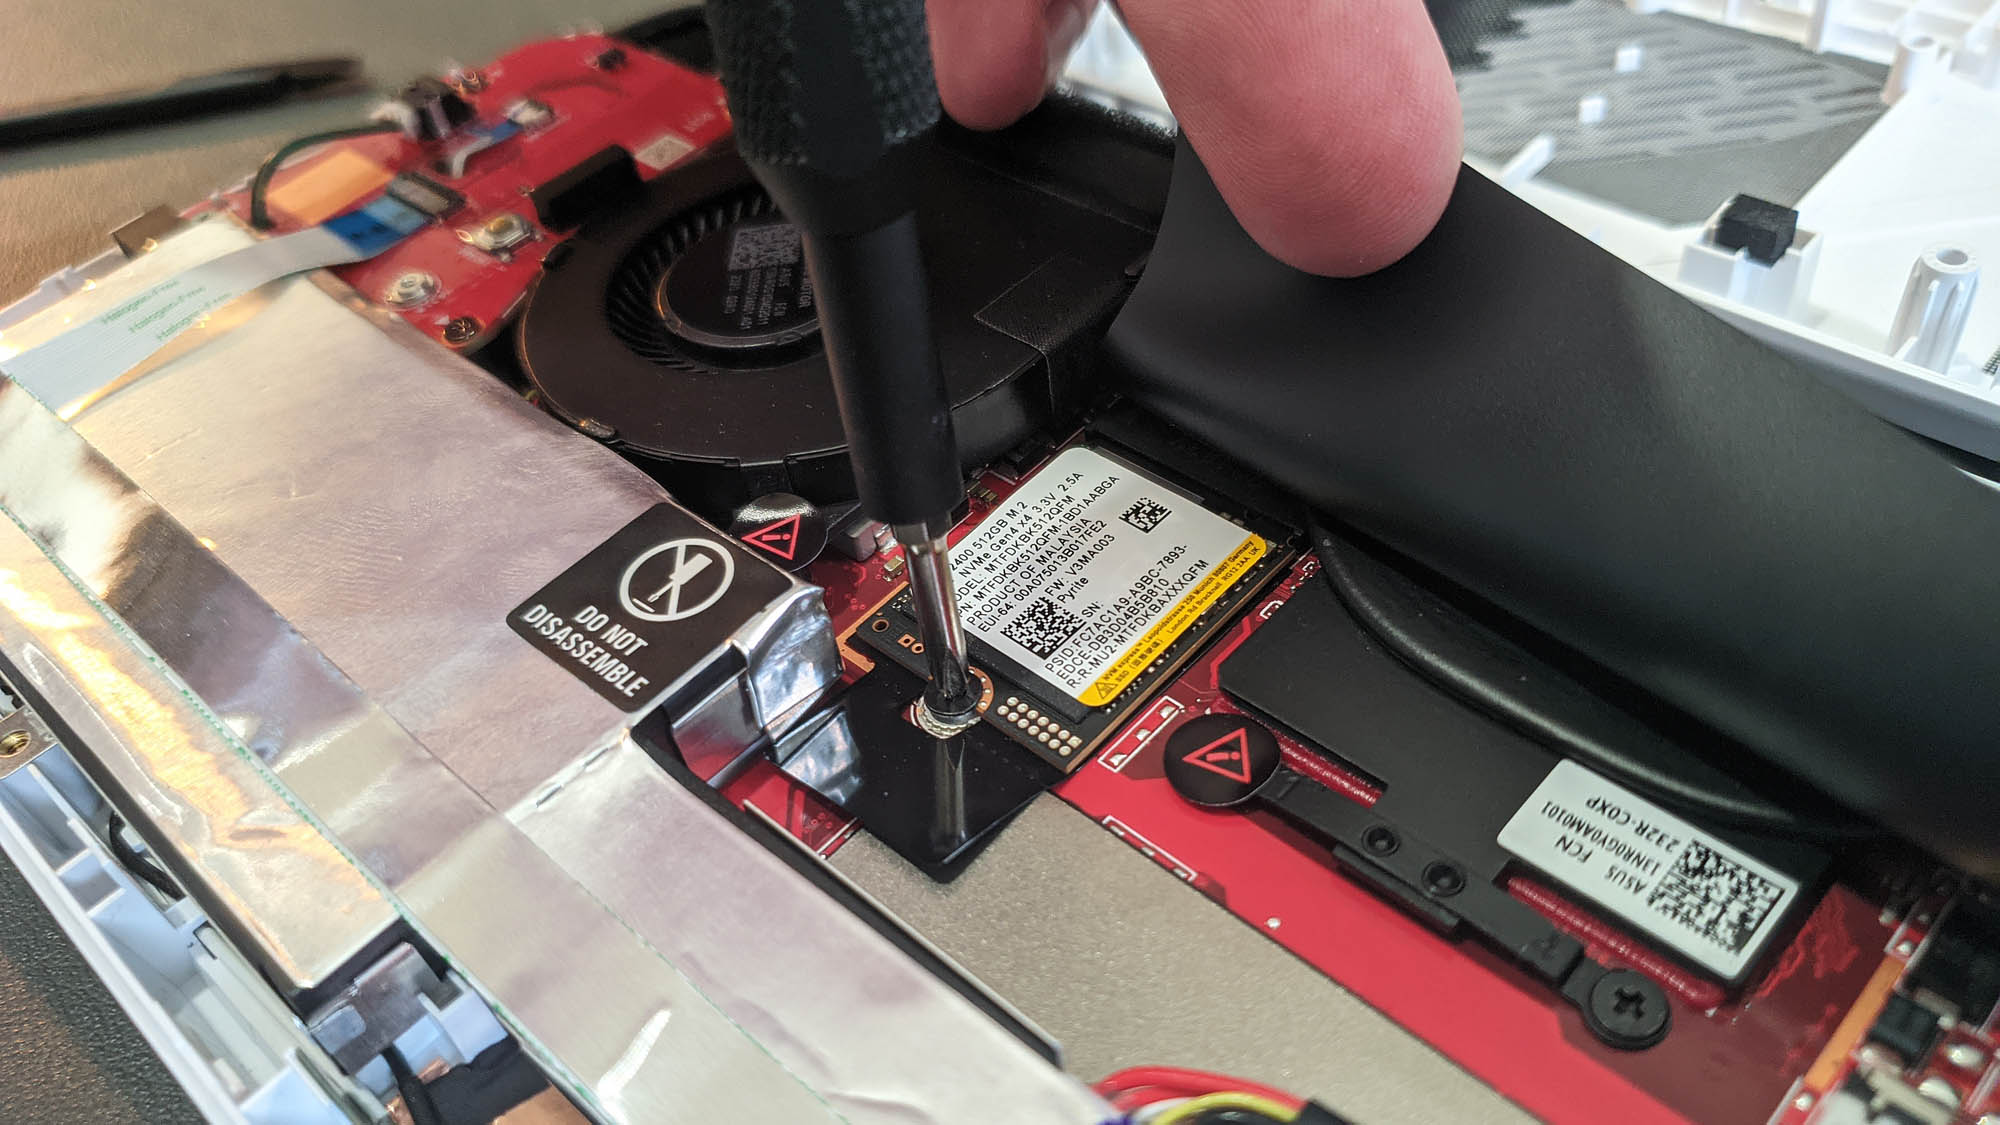
Underneath the black flap between the fans, you’ll find the SSD. Remove the screw holding the drive in place, gently slide the SSD out, and slide your new SSD in. You can then secure it using the same screw.
When you’re done, plug the battery connector back in and close the device up, ensuring all the clips snap back into place and all the screws are screwed back in.
Step four: reinstall Windows with ASUS Cloud Recovery
With the device closed back up, remove any SD cards and plug your Ally into the wall using the included 65W charger. Then, hold the volume down button and press the power button to turn the device on. It should boot into the BIOS menu.
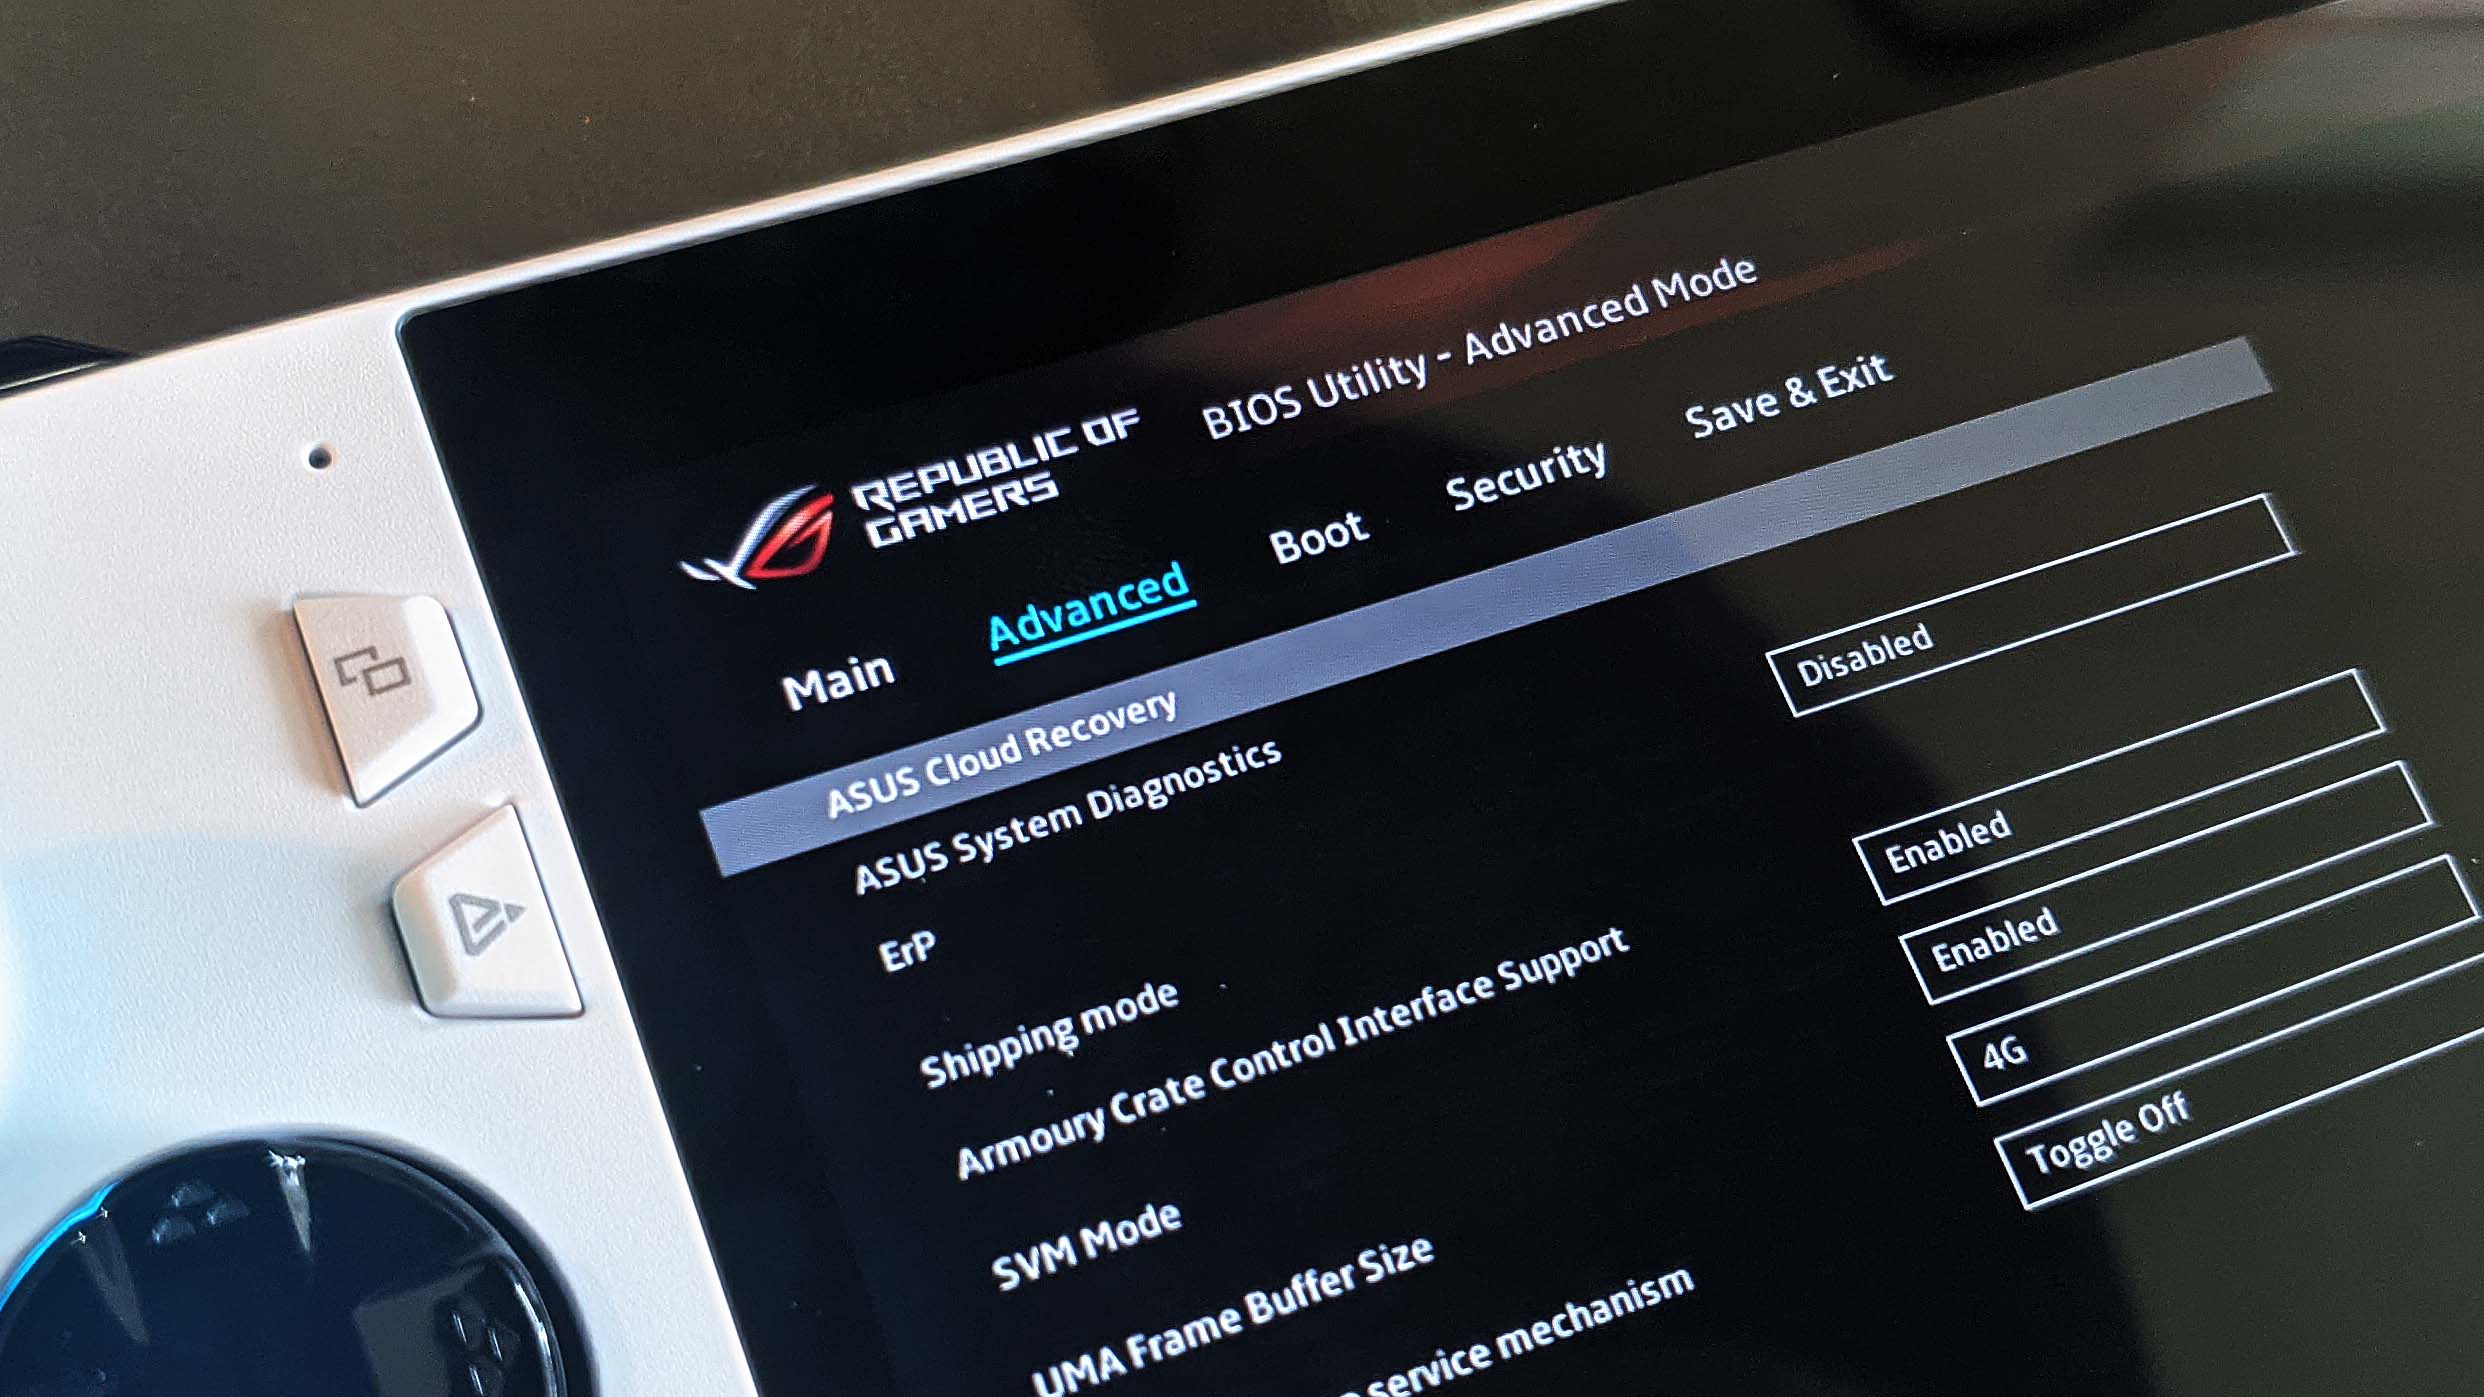
Press the Y button to exit EZ mode, then navigate to the Advanced tab. Select ASUS Cloud Recovery and press A to begin the process. You’ll have to connect to Wi-Fi to begin the download, and it may take some time, rebooting multiple times during the process.

Let your Ally download and install the image, and when it’s done, you’ll be able to set up your Ally as if it were a brand new device — with even more space for all those games. For more tips and tricks, check out our full guide to the ROG Ally.
Author
Popular Post
Introducing the ROG Astral GeForce RTX 5090 and 5080: a new frontier of gaming graphics
The ROG Strix OLED XG27AQDPG kicks the refresh rate up to 500Hz

The complete list of GeForce GPU power specifications for 2024 ROG and TUF Gaming laptops

Meet the first AI gaming router: the ROG Rapture GT-BE19000AI
The ROG Swift OLED PG27UCDM stuns with a 4th Gen QD-OLED panel
LATEST ARTICLES
How to choose a gaming laptop: The ultimate 2025 buying guide
Learn how to choose a gaming laptop with our complete guide, ensuring you find the perfect match for your gaming needs and preferences.
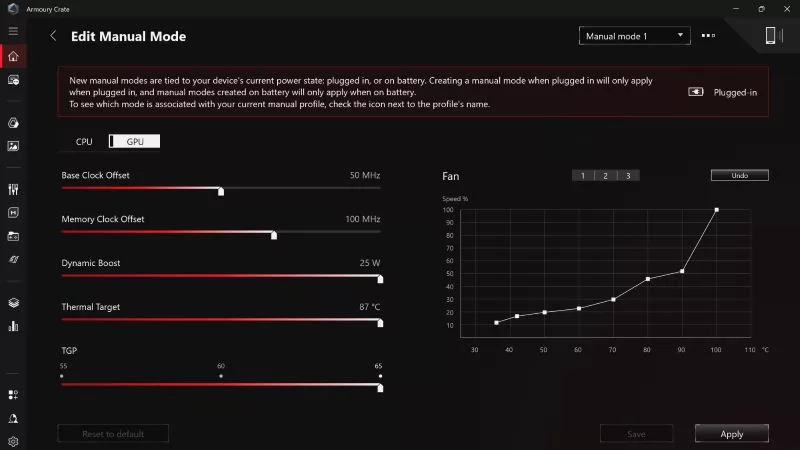
Can I overclock my GPU with Armoury Crate?
If you have an ROG machine — whether it’s a gaming desktop or a gaming laptop — you can control most of its functions from the bundled Armoury Crate software. On laptops, this includes tuning your GPU performance and overclocking your graphics chip. On desktops, you'll need GPU Tweak III as well.
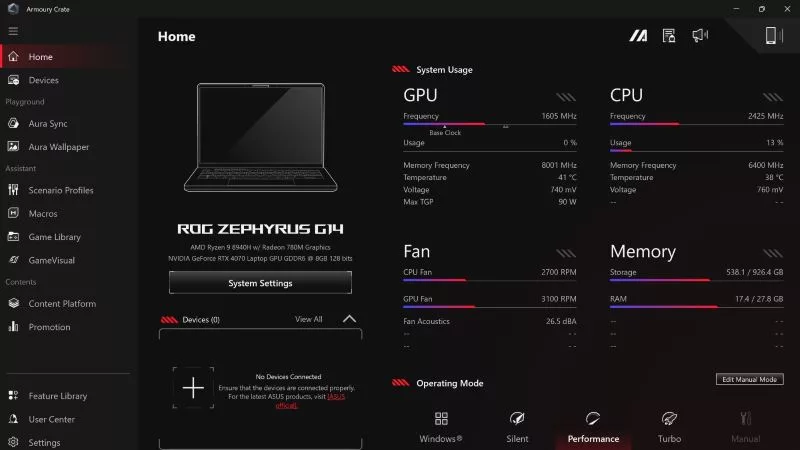
Do I need Armoury Crate on my PC?
If you just bought an ROG desktop PC or gaming laptop, you may be wondering what the preinstalled Armoury Crate software does. Here are its banner features.
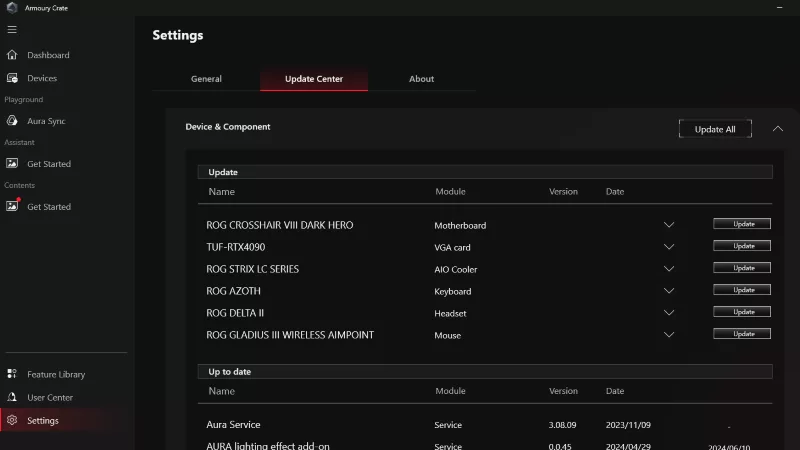
How to fix a device that's not showing up in Armoury Crate
If Armoury Crate isn’t automatically detecting your new device, don't worry — you probably just need to download a quick update.

Reintegrated: An ROG stylebook for today's competitive corporate world
Working in a corporate office doesn't necessarily mean that you have to settle for bland, underwhelming PC hardware.
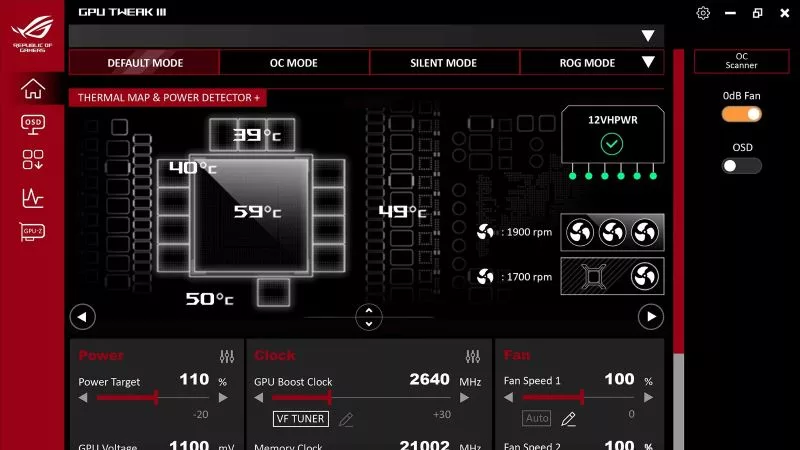
How GPU Tweak's Power Detector+ alerts you to abnormal current on your ROG Astral graphics card
Our new Power Detector+ feature on our ROG Astral graphics cards lets you know exactly what’s going on with your card at all times.