How to customize the GPU Tweak III interface
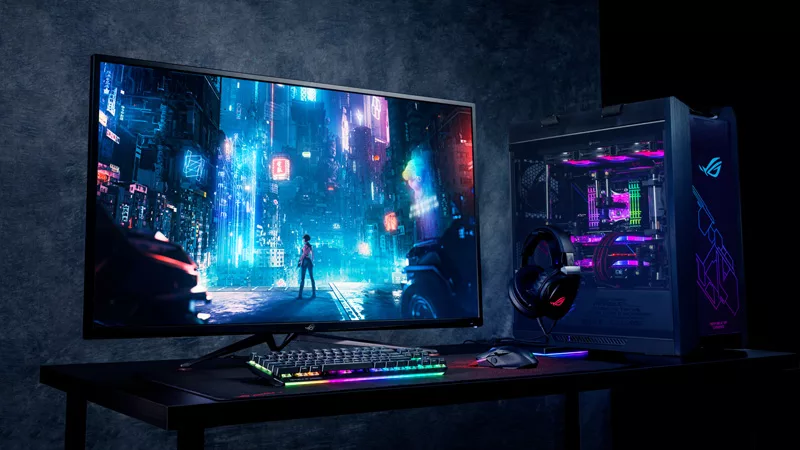
Whether you're overclocking your GPU, undervolting for lower GPU temperatures, tweaking your fan curves, or just monitoring performance metrics, ASUS GPU Tweak III is a feature-packed program with all the tools you need to dial in your PC’s performance. And you can completely customize its interface to suit your needs.
This is just one of many things GPU Tweak III can do! Click here to see all of our GPU Tweak guides.
How to add, remove, and reorganize items in GPU Tweak III
Customizing the interface isn’t just about aesthetics — though we’ll get there. The ability to add, remove, and reorganize different aspects of GPU Tweak III allows you to keep the most important information front and center.
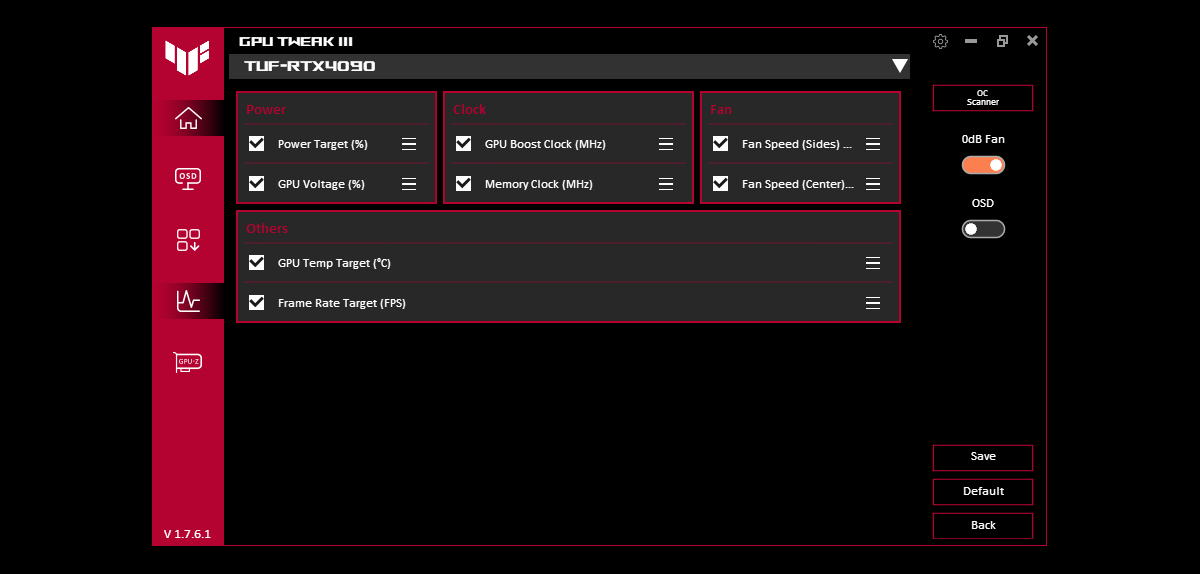
In the main GPU Tweak III window, you’ll see a set of dials along the top that monitor your GPU temperature, boost clocks, power usage, and fan speed, among other things. You can click the small arrow below these dials to expand this panel and show even more — or click the customize icon in the corner (with the three sliders) to tweak which items appear in this panel. If you don’t care about fan speeds but want to see your GPU Voltage, for example, you can choose those specific options.
The same goes for the panels of sliders on the bottom half of the window. If you have no intention of changing the GPU Temperature Target or Frame Rate Target, you can click the customize button in the upper-right corner of that panel (again, the icon with the three knobs) to remove them and save yourself some space and clutter in the GPU Tweak III interface.
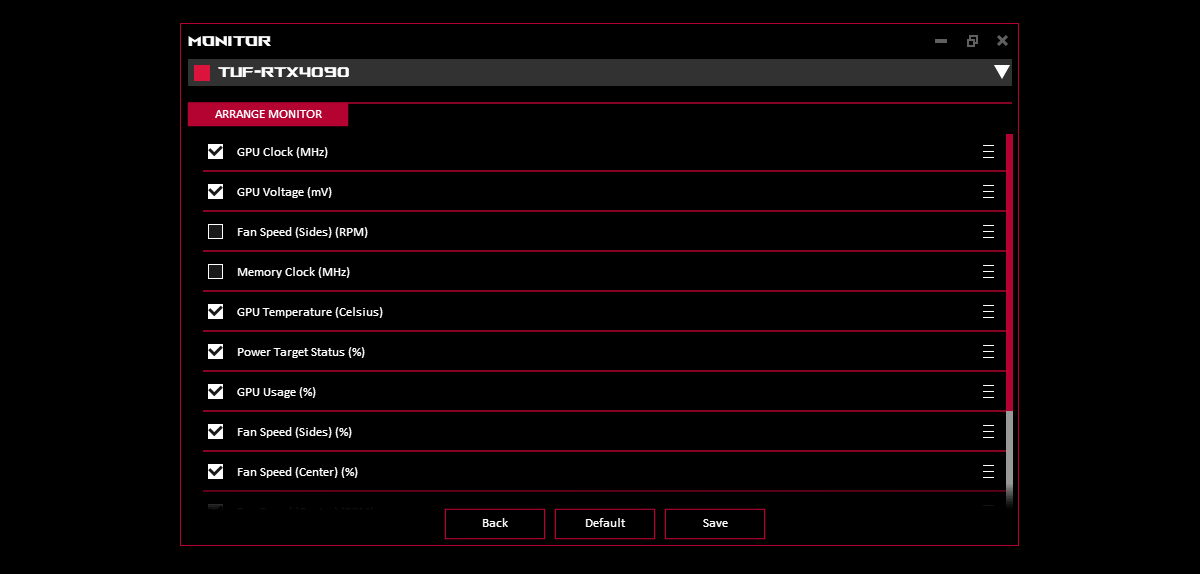
And you can do the same for the Monitor window. Click the graph icon in the left sidebar, and you’ll see the full might of GPU Tweak III’s system monitor, and you can click the customize button in the corner to check or uncheck the options that you want to see. For a more detailed guide on customizing this section, you can see our full guide to GPU Tweak III’s system monitor and OSD here.
How to personalize the colors and background in GPU Tweak III
Once you’ve dialed in all the important stuff, you can also customize the colors, fonts, and background to match your aesthetic preferences. There are a few places you can adjust these things.
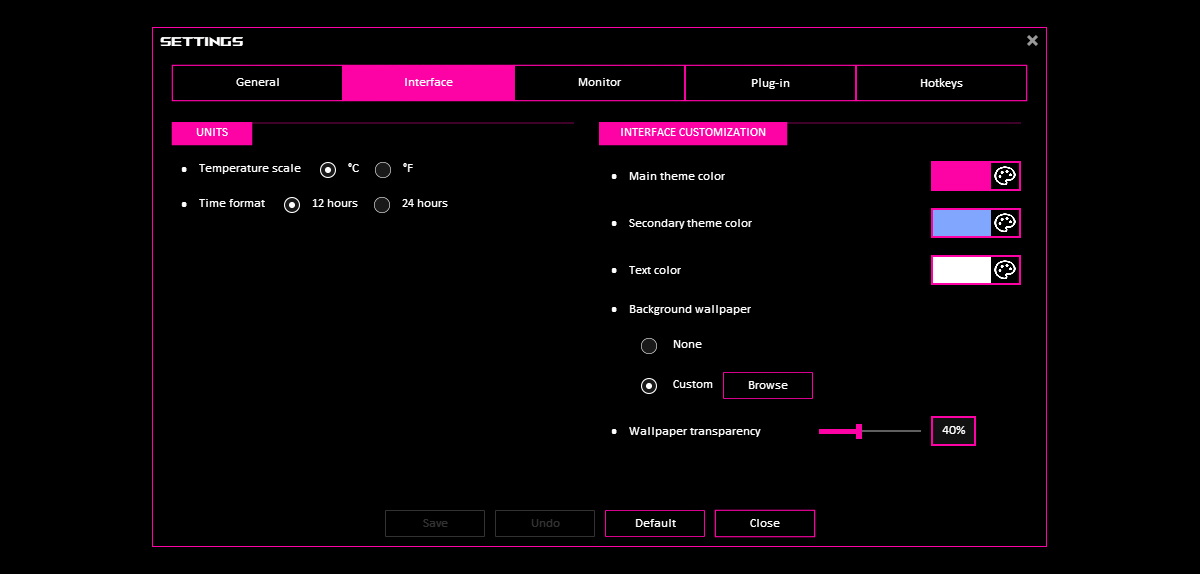
To change the main colors of the GPU Tweak III interface, click the Settings cog in the upper-right corner of the program and head to the Interface tab. On the right, you’ll be able to change the Main Theme Color, Secondary Theme Color, and Text Color. You can also add a background wallpaper — select the Custom option, browse to an image of your choice, and adjust the transparency until it looks good. With the default GPU Tweak III window size, an image with an 823x520 resolution will fill the window. If you resize the window, you’ll need an image of the same aspect ratio for the same effect.
Next, click the Monitor tab to adjust the color used in the Monitor window. If you have multiple GPUs, you can select different colors for each.
Finally, if you’re using GPU Tweak’s OSD in-game, you can change the font, colors, and other appearance settings by clicking the OSD option in the left sidebar of GPU Tweak III. Scroll down to Information Text Options, Text Effects, and Background Effect to adjust the look and feel of the overlay. Again, you can read more about how the OSD works in this guide.
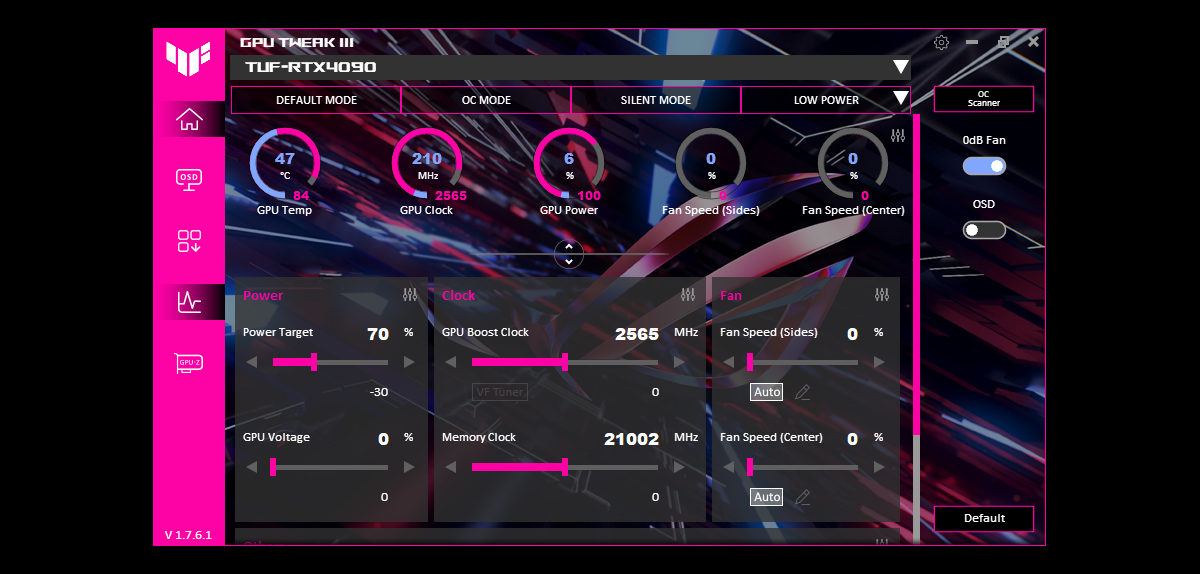
Once you’re finished, you’ll have a GPU Tweak window that perfectly matches the aesthetics and colors of your rig, while showing you only the most important information you need to see. Welcome to the fully customizable world of PC gaming!


Ultimi Articoli
Sistema di raffreddamento negli smartphone gaming: un’analisi dell'avanzato sistema ROG
Come ROG rivoluziona il mobile gaming grazie a soluzioni di raffreddamento avanzate come il sistema GameCool 9 e l’AeroActive Cooler X Pro, che sfruttano la tecnologia termoelettrica all’avanguardia basata sull’effetto Peltier.

AI gaming con ROG Phone 9 Pro: sfide più intelligenti e vittorie più semplici
Ecco come il ROG Phone 9 Pro rivoluziona il gaming su mobile con funzionalità basate sull’IA che migliorano le prestazioni, ottimizzano il gameplay e offrono un reale vantaggio competitivo.
Come funziona il Command Center del ROG Flow Z13
Il ROG Flow Z13 del 2025 è un PC gaming 2-in-1 che offre una vasta gamma di strumenti per personalizzare l'esperienza. Ma c'è bisogno di un modo per gestire al meglio questi strumenti. Ecco perché abbiamo incluso il Command Center: un hub unico per il controllo totale dello Z13.
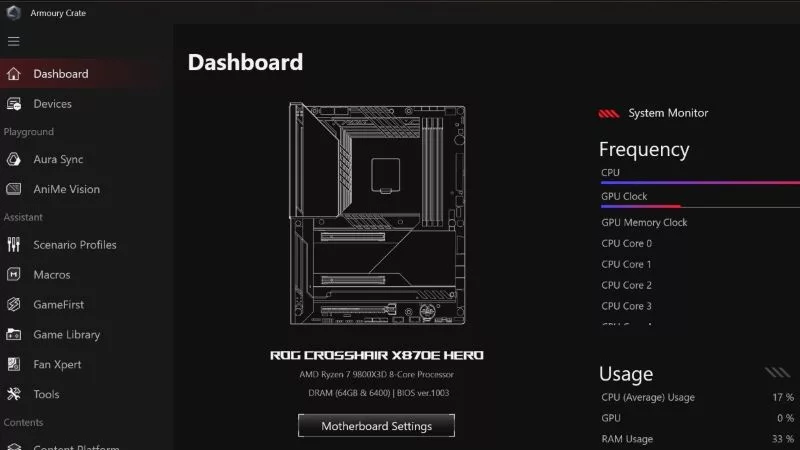
Armoury Crate 6: come la nuova versione ottimizza l'esperienza di gioco su PC
La nostra app Armoury Crate è più potente che mai grazie a un restyling completo. Grazie ai vostri feedback, la versione 6 è la versione più intuitiva e ottimizzata di sempre, pronta a migliorare al massimo la vostra esperienza su PC.
Air vs Liquid Cooling for the RTX 5090: Are AIO GPUs better?
The latest NVIDIA GeForce RTX 5090 is an incredible GPU, no doubt. But is a liquid-cooled RTX 5090 worth stepping up to over an air-cooled RTX 5090?
How to use ASUS OLED Care to protect your ROG OLED monitor
ASUS OLED Care minimizes the possibility of burn-in with your ROG OLED gaming monitor. Here's how to use its features.