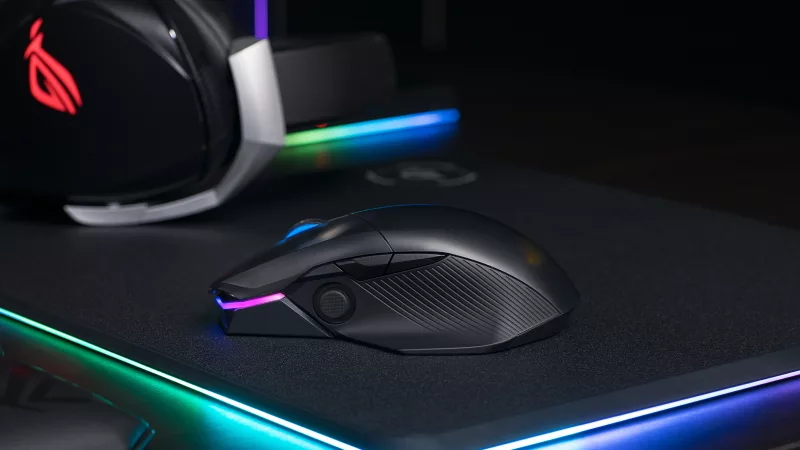
HOW TO REPLACE THE SWITCHES IN YOUR ROG GLADIUS III GAMING MOUSE
Maybe this has happened to you: after years of use, after countless hours together, one button on your favorite gaming mouse stops working, forcing you to buy a brand new model. At ROG, we think this is a waste—not just of plastic and still-functioning parts, but of your hand-picked mouse that may not be easy to replace. That’s why we designed the ROG Gladius III with hot-swappable switches. This gaming mouse uses our exclusive push-fit socket design, so replacing a switch is as easy as pulling the old one out and pushing the new one in.
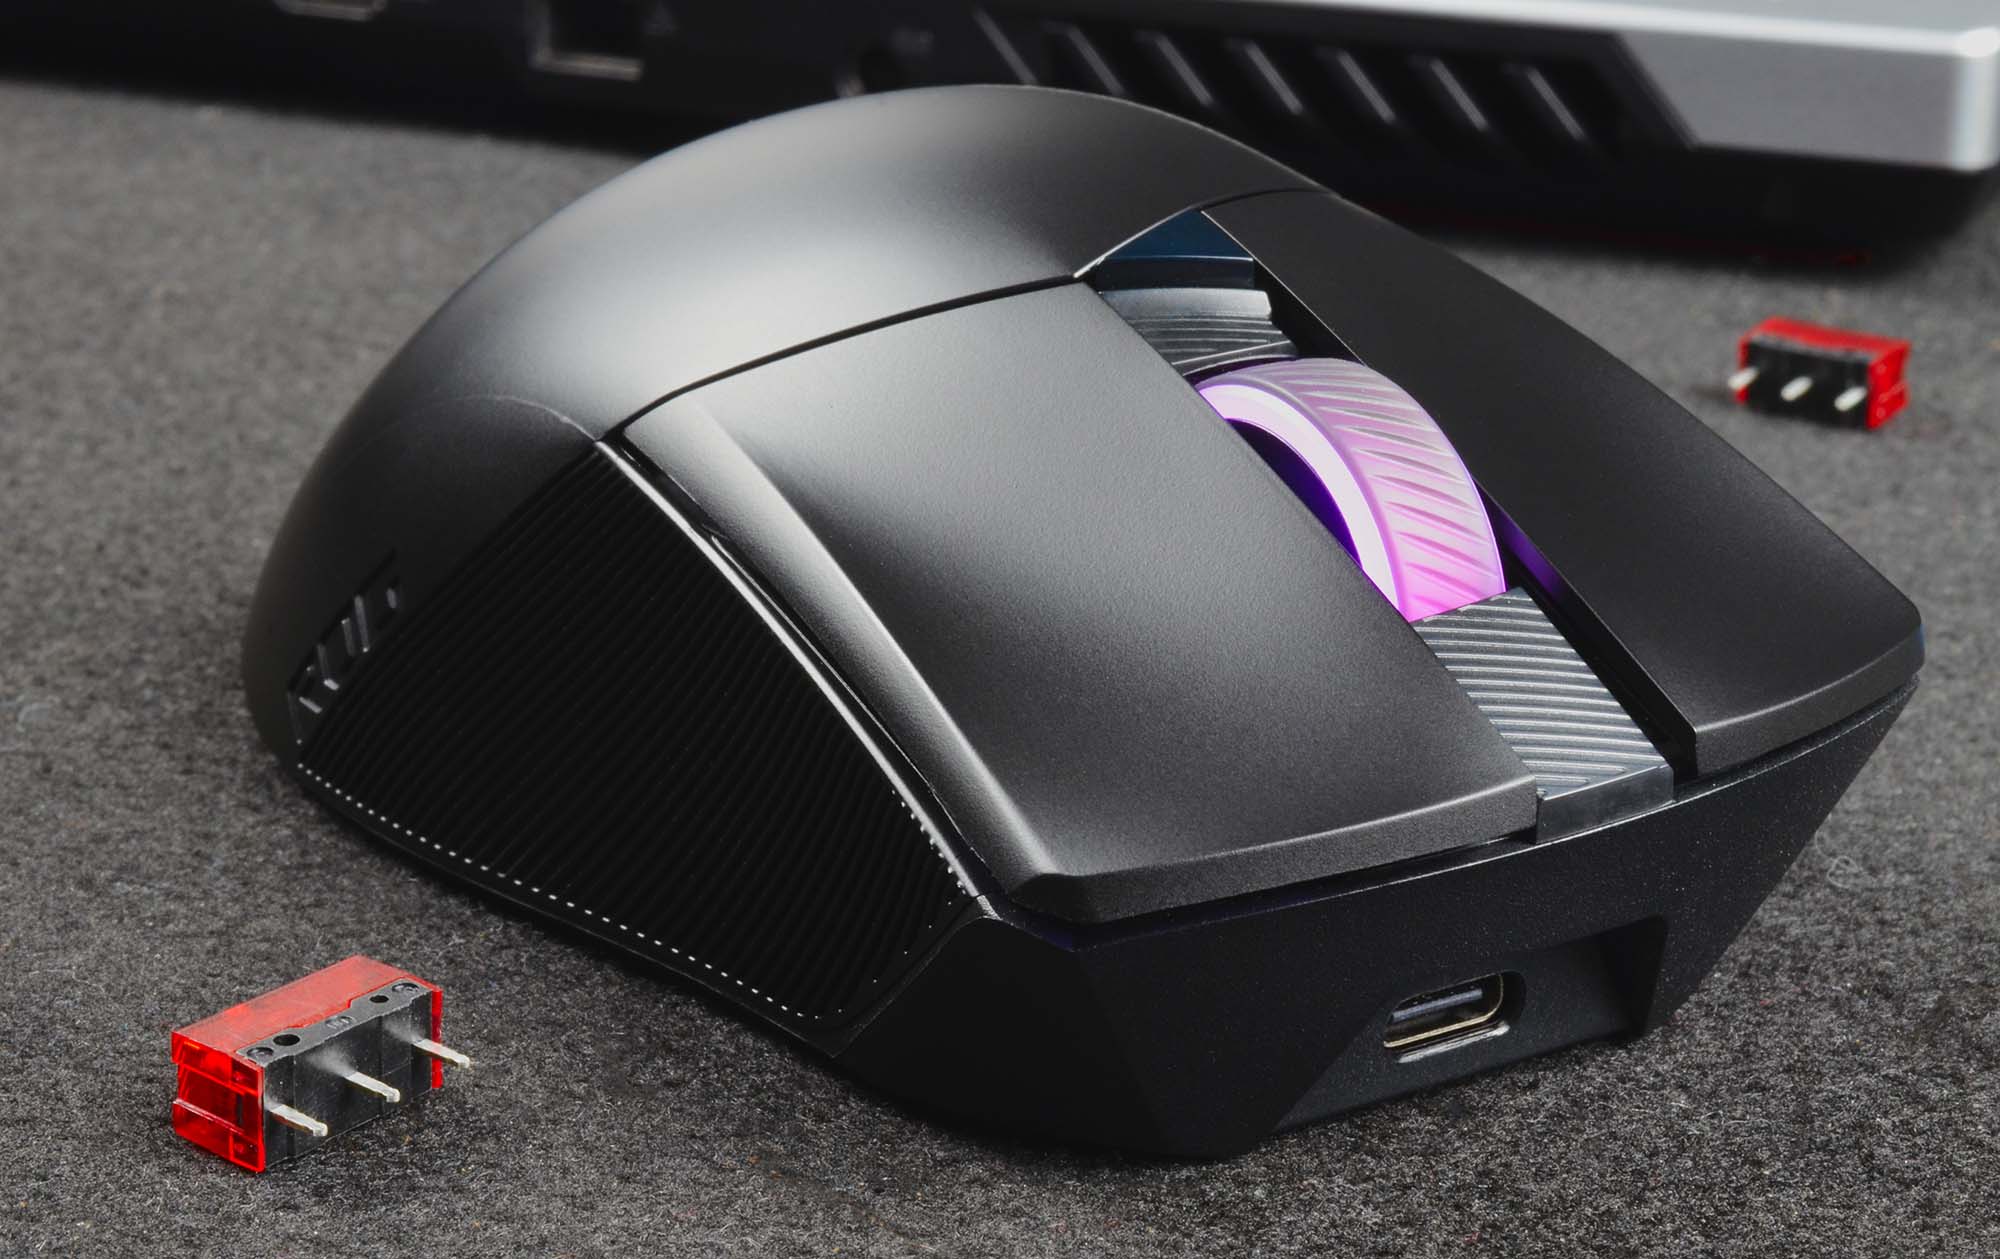
Reducing e-waste isn’t the only reason why you might want to replace the switches in the ROG Gladius III. Its socket is compatible with both three-pin and five-pin optical Omron switches, so you can easily install the switch with the sound and feel that you prefer. To get you started on your journey to find the perfect switch, we include an extra set in the box. These optical switches offer a satisfying metallic click on every press and a light, crisp feel. They’re well worth trying on for size.
Swapping out a switch in the ROG Gladius III is a fast, easy process that only requires a screwdriver and a few minutes of your time. In this article, we’ll walk you through every step.
| ROG Gladius III | |
|---|---|
| Availability (US) | |
| Wired | Newegg Adorama Amazon Micro Center Walmart |
| Wireless | ASUS Amazon Micro Center |
Setup and disassembly
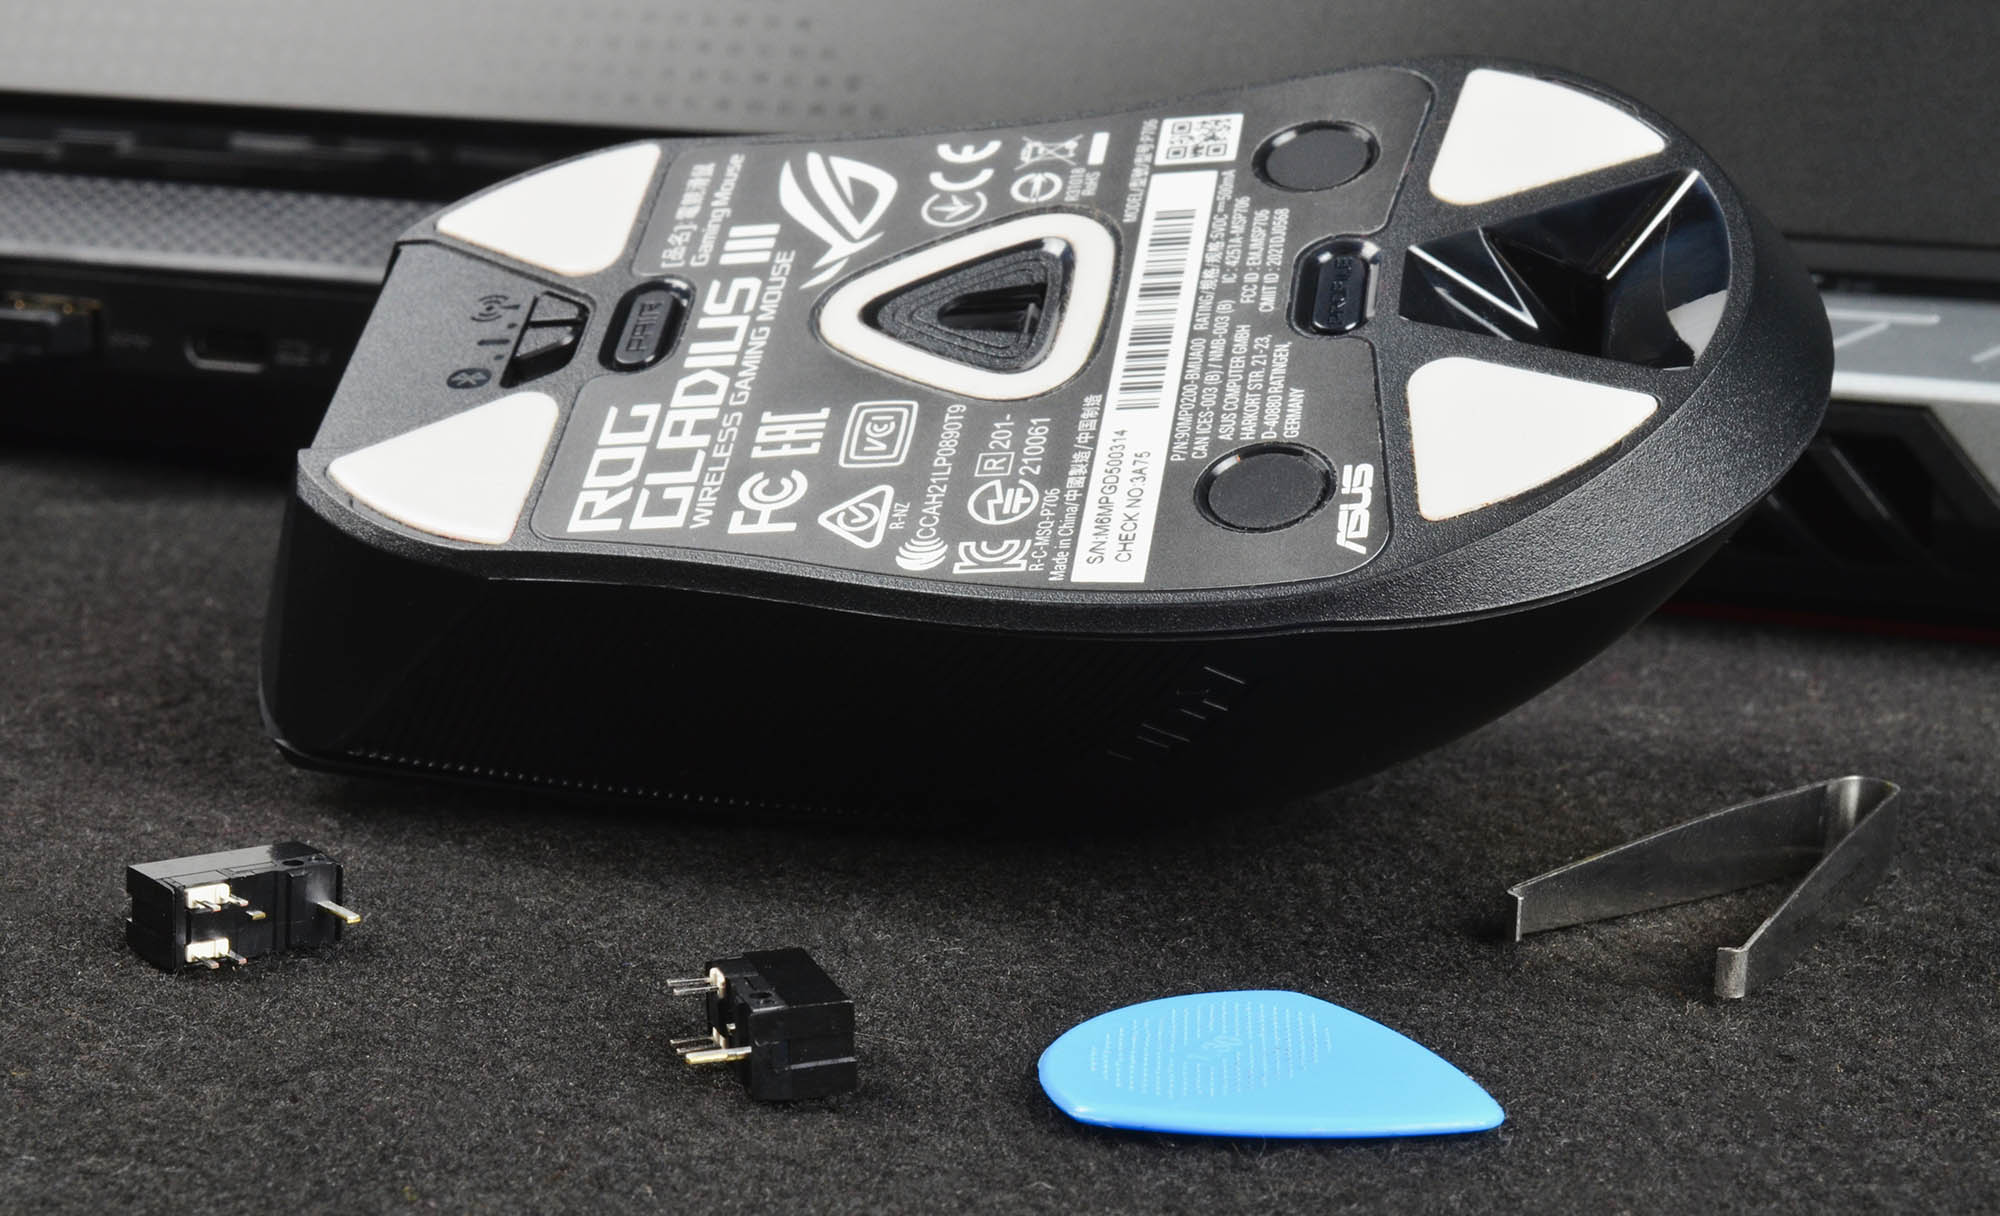
To get started, locate your replacement switch or switches. We include a set inside the box, but there’s also a wide range of three-pin or five-pin switches readily available online, and they’re quite affordable. The Gladius III’s socket is compatible with both mechanical and optical switches, so don’t hesitate to try a few options and find the perfect set for you.
Find a clear surface with plenty of light. Then, gather your tools and materials. There’s a pair of tweezers inside the box that might help you in a later step. You need a small Phillips-head screwdriver, and we recommend having a small bowl or dish nearby to hold the screws and other small parts so that you don’t inadvertently lose them. Finally, a thin plastic tool like a guitar pick or plastic spudger might be useful.
To remove the mouse’s top cover, you’ll need to remove two screws on the bottom panel. Unplug the mouse, flip it over, and turn it off by sliding its toggle into wired connectivity mode.
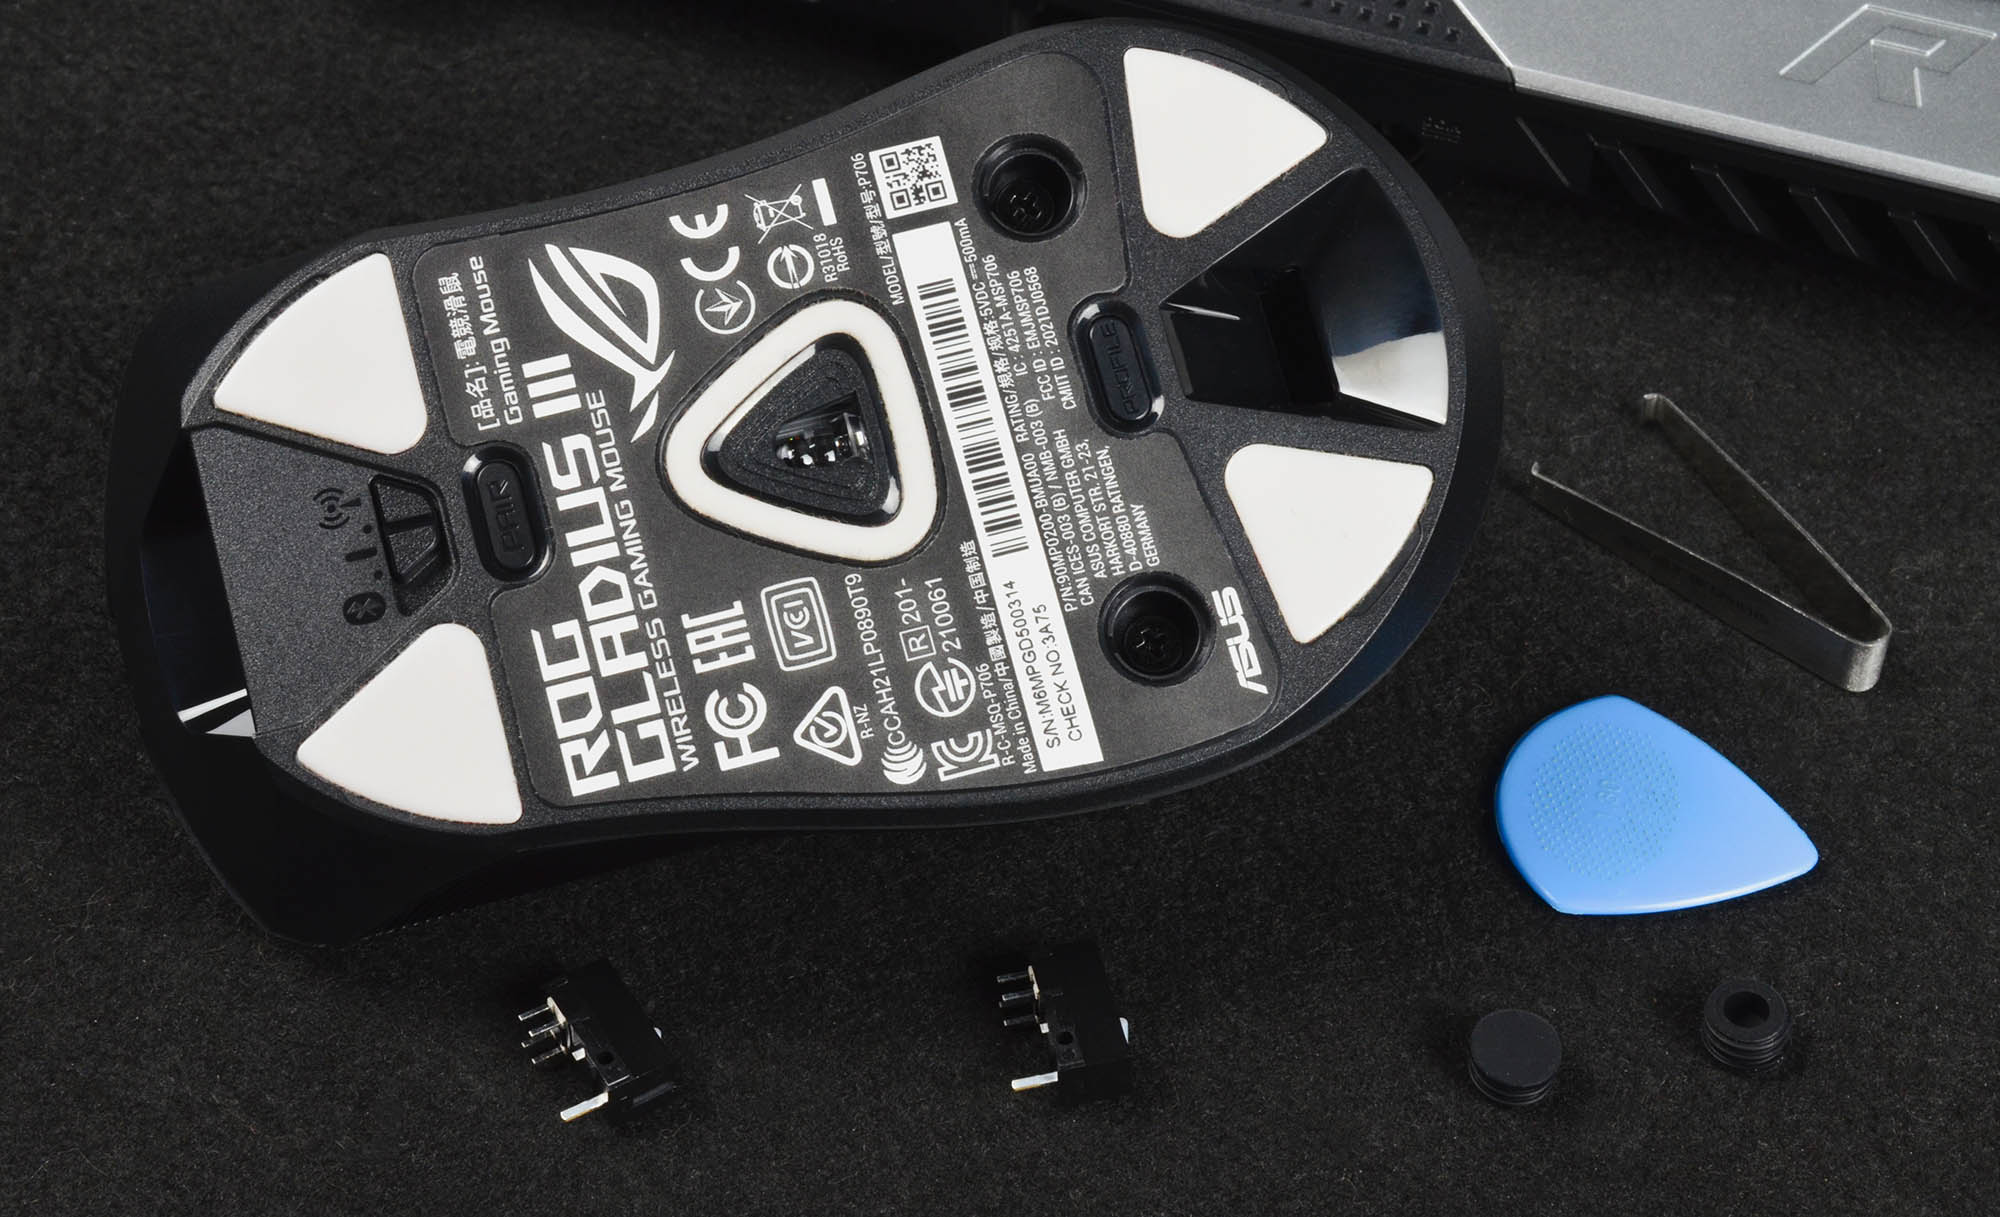
Next, remove the rubber caps that cover the two screws. They’re only held in by tension, so your fingernail should suffice to pop them out. If you’re having trouble with this step, a thin bit of plastic like a guitar pick can help.
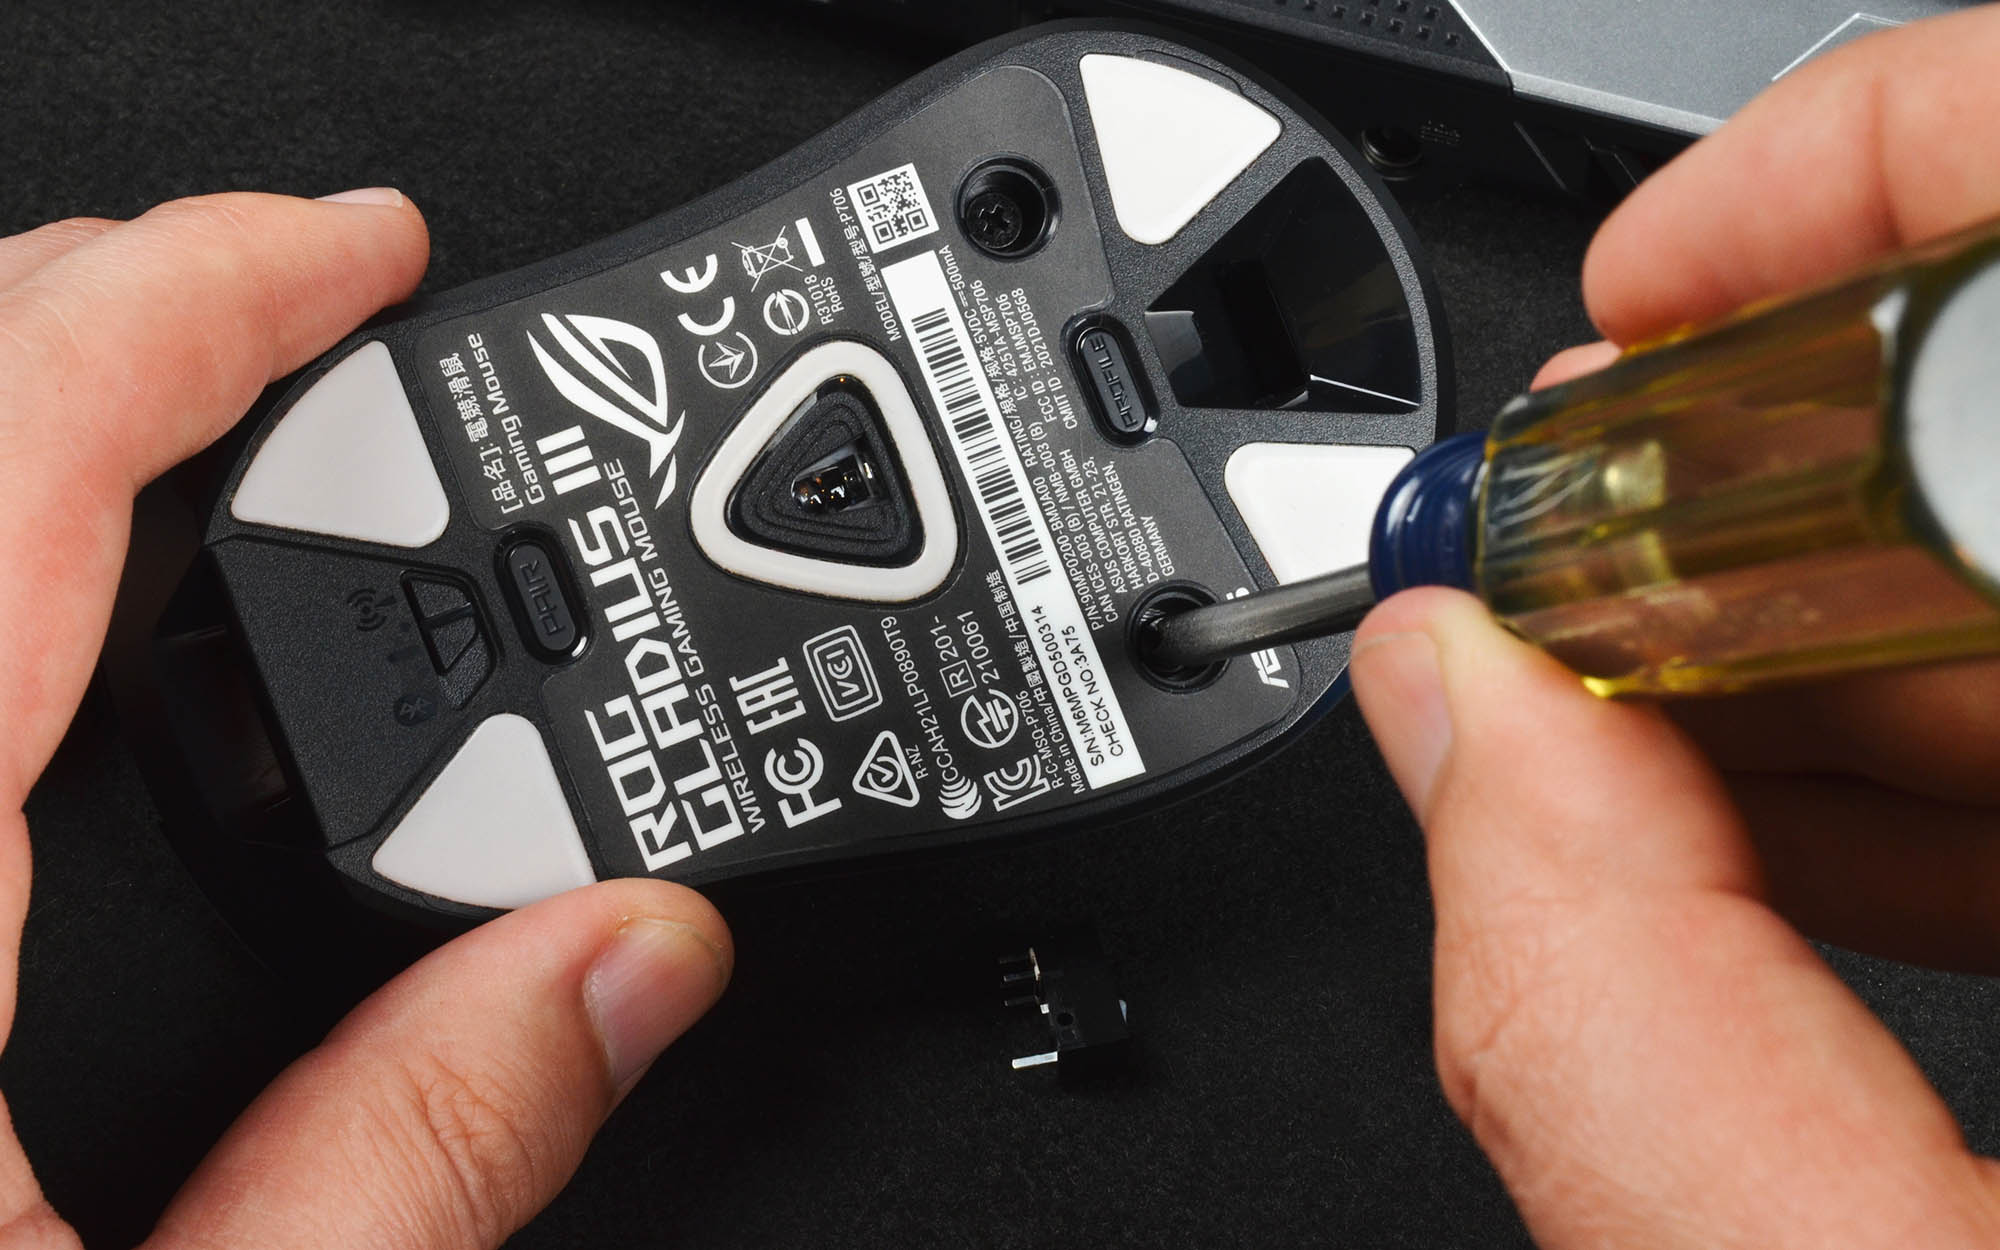
Remove the two screws and set them aside in a safe place where you won’t lose them.
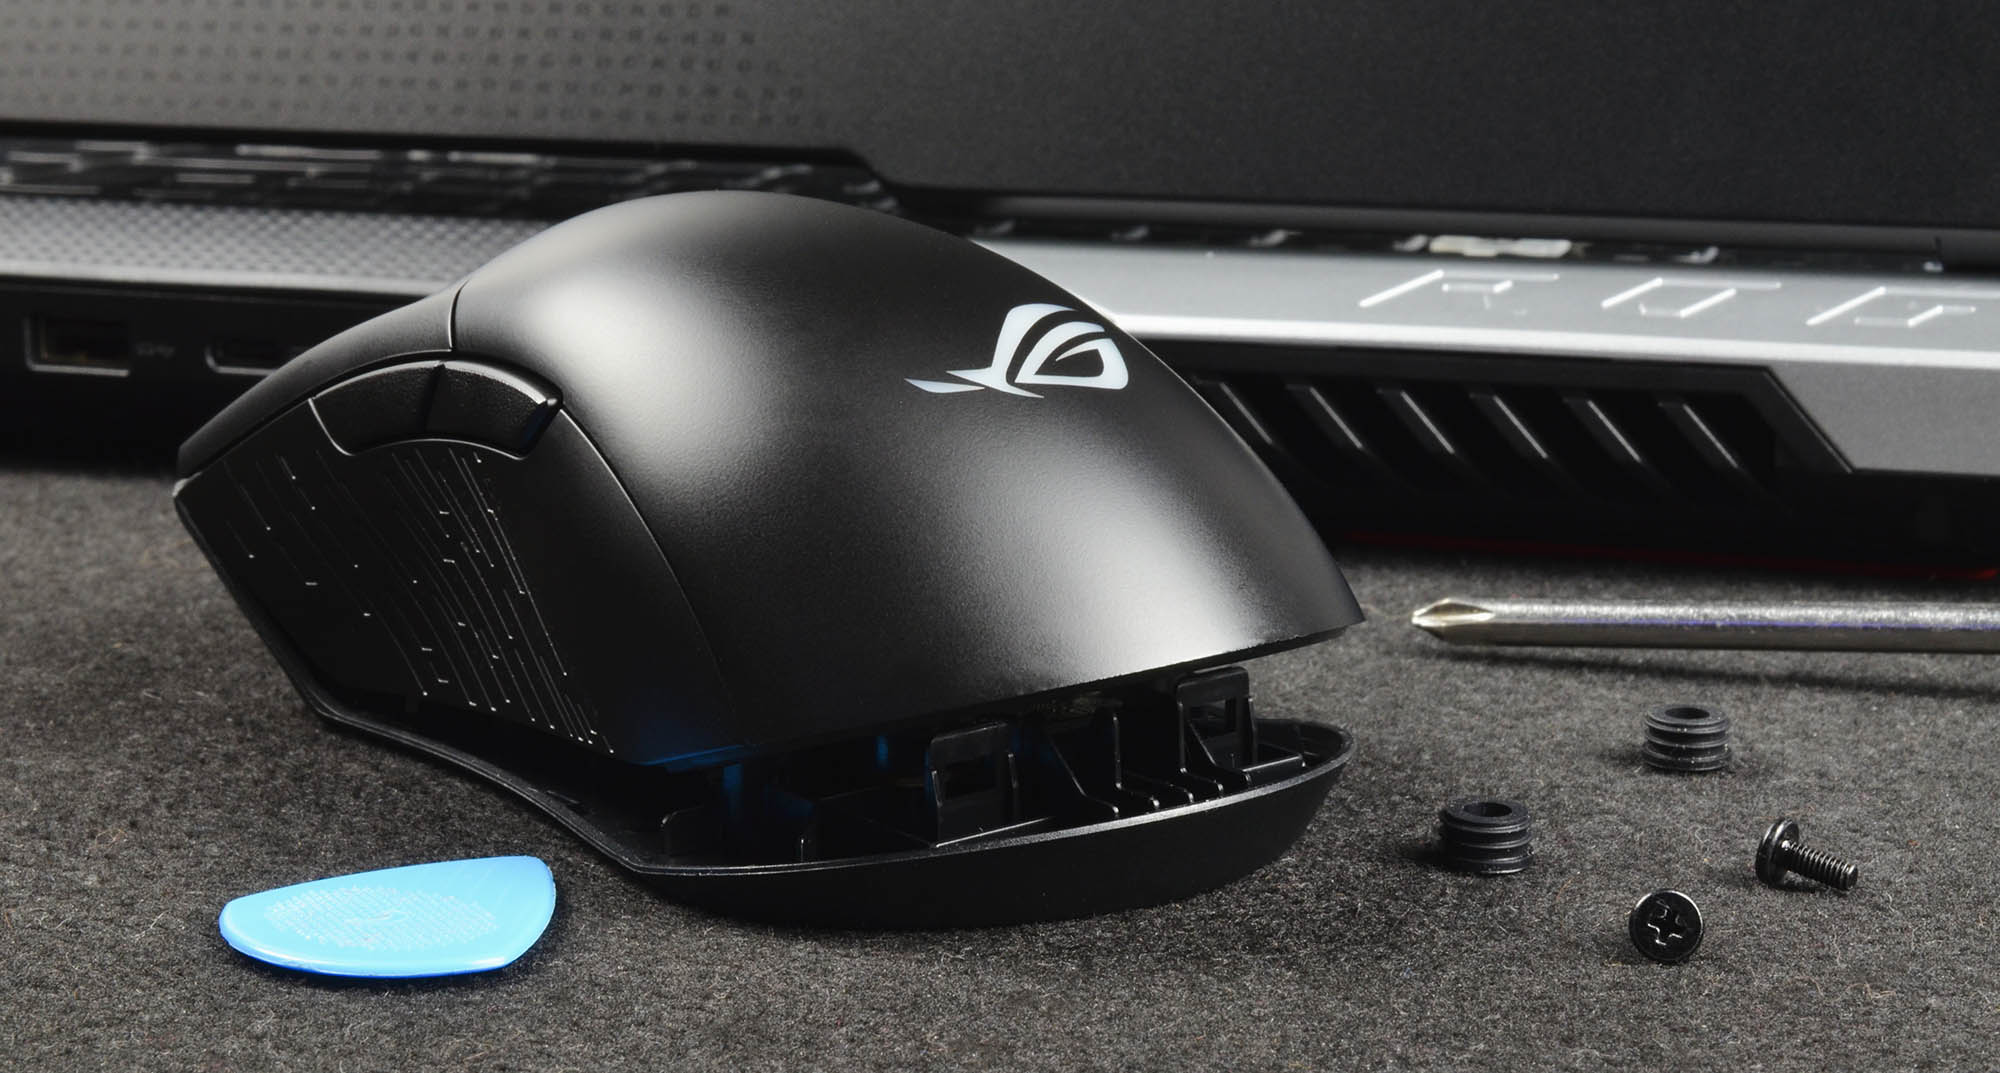
With the screws removed, the top cover can now come free. Start at the back of the mouse along the seam below the ROG logo. It’ll pop free with just a little encouragement, though again a guitar pick or plastic spudger can help you get it loose without damaging the surface of the mouse. Once the cover is loose, lift it up and backwards to remove it, being careful to avoid damaging the internal components.
Replacing the switches
With the top cover of the mouse removed, you’re now ready to replace the switches. As you’re working with the interior of the mouse, avoid unnecessary contact with the circuitry.
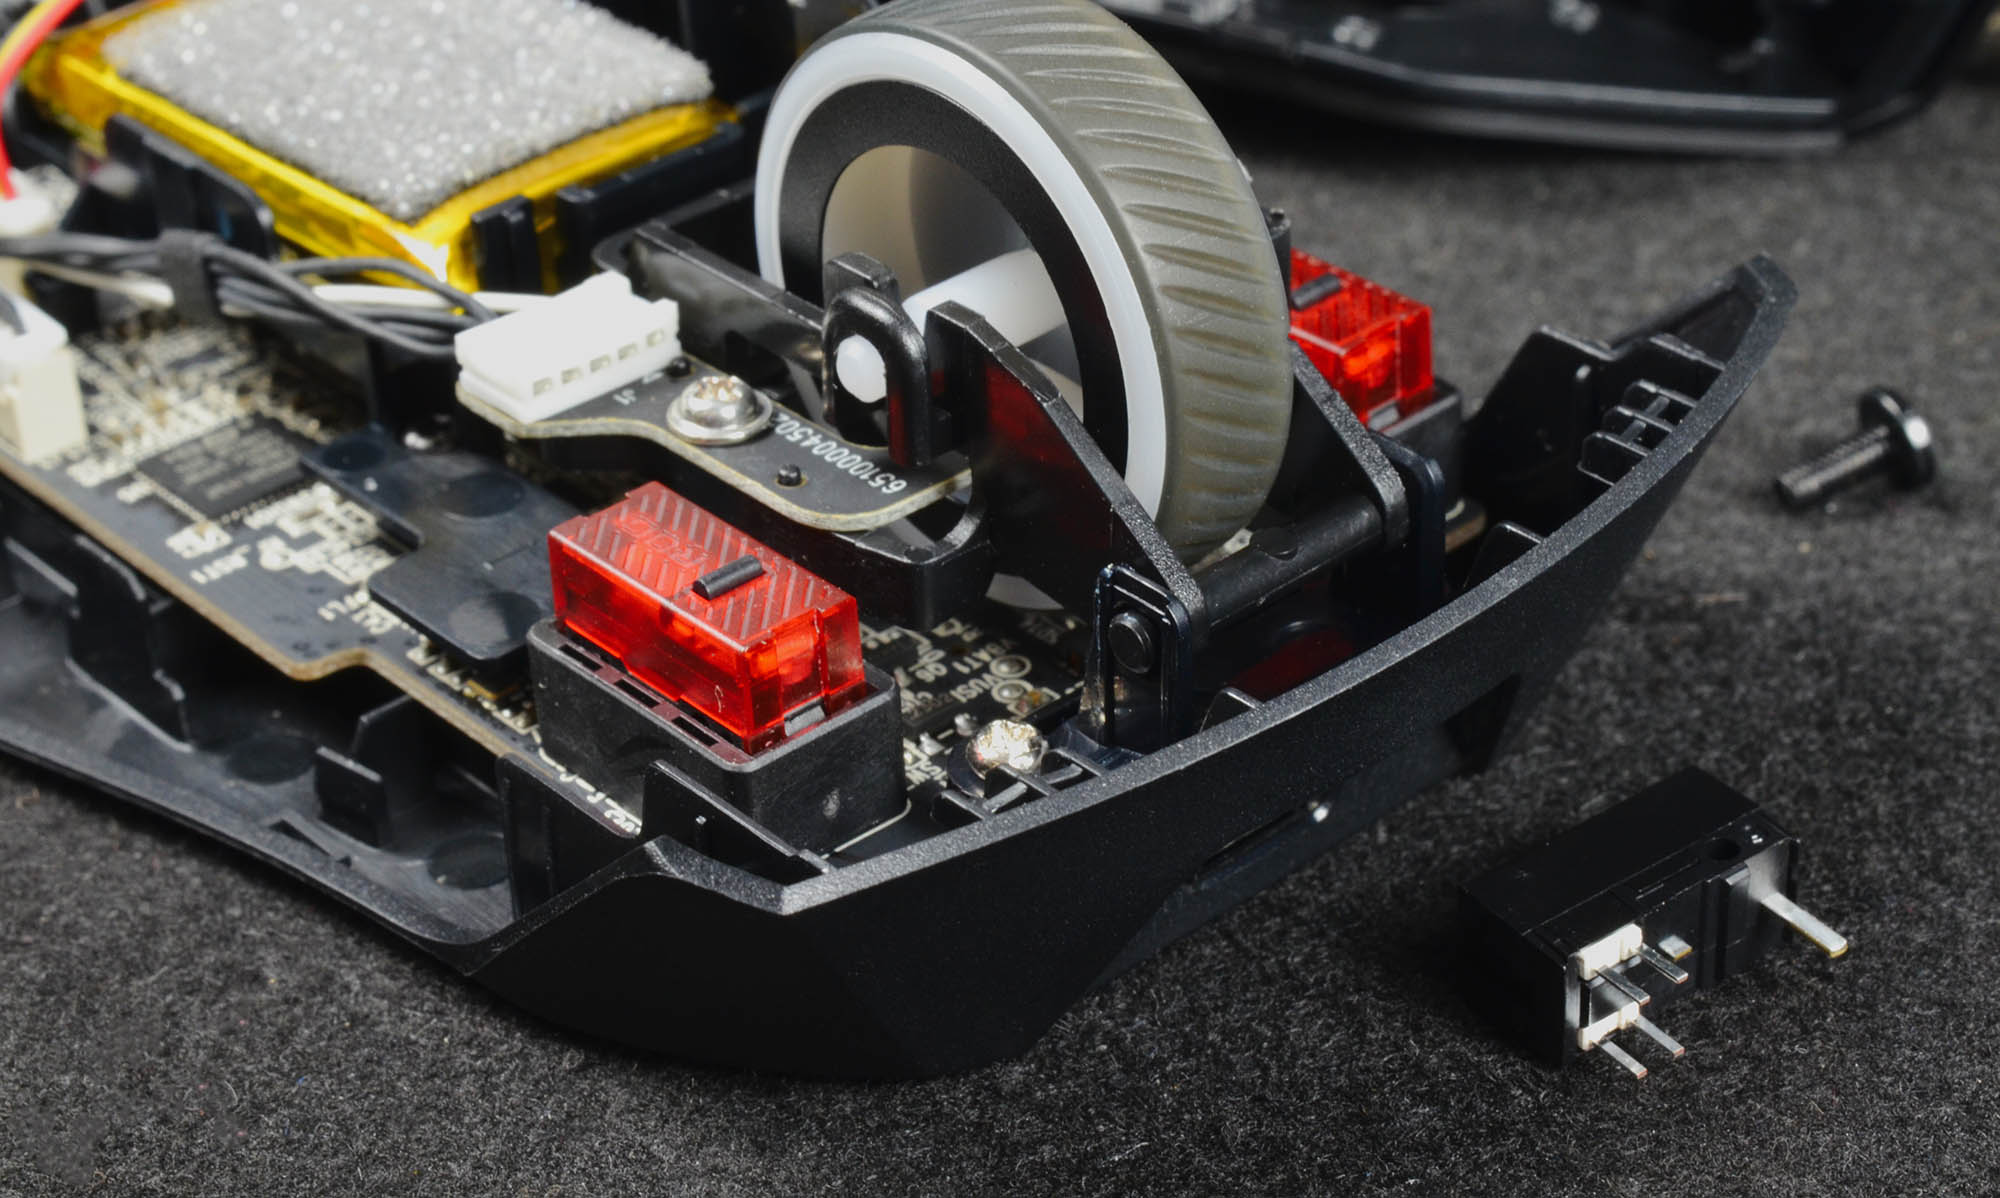
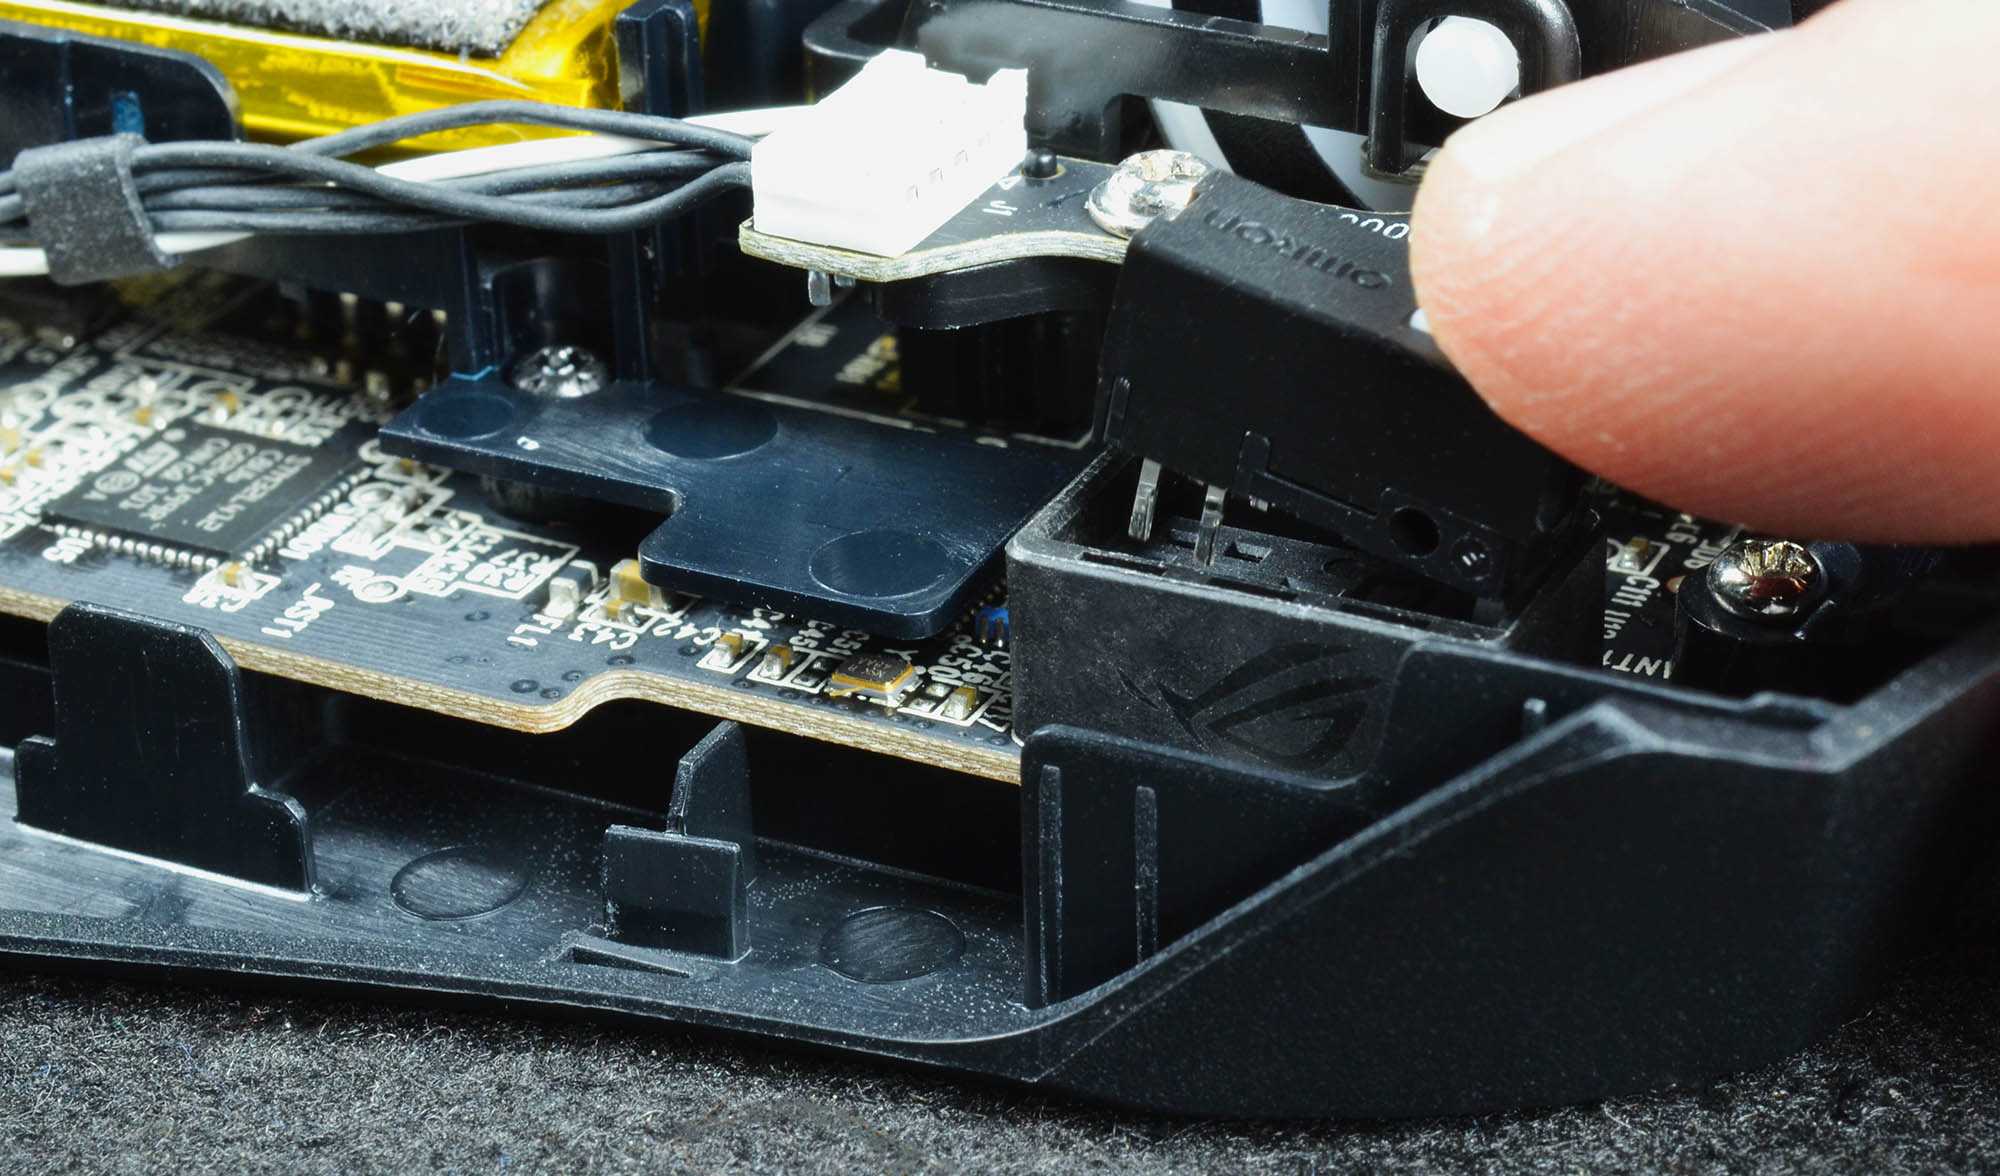
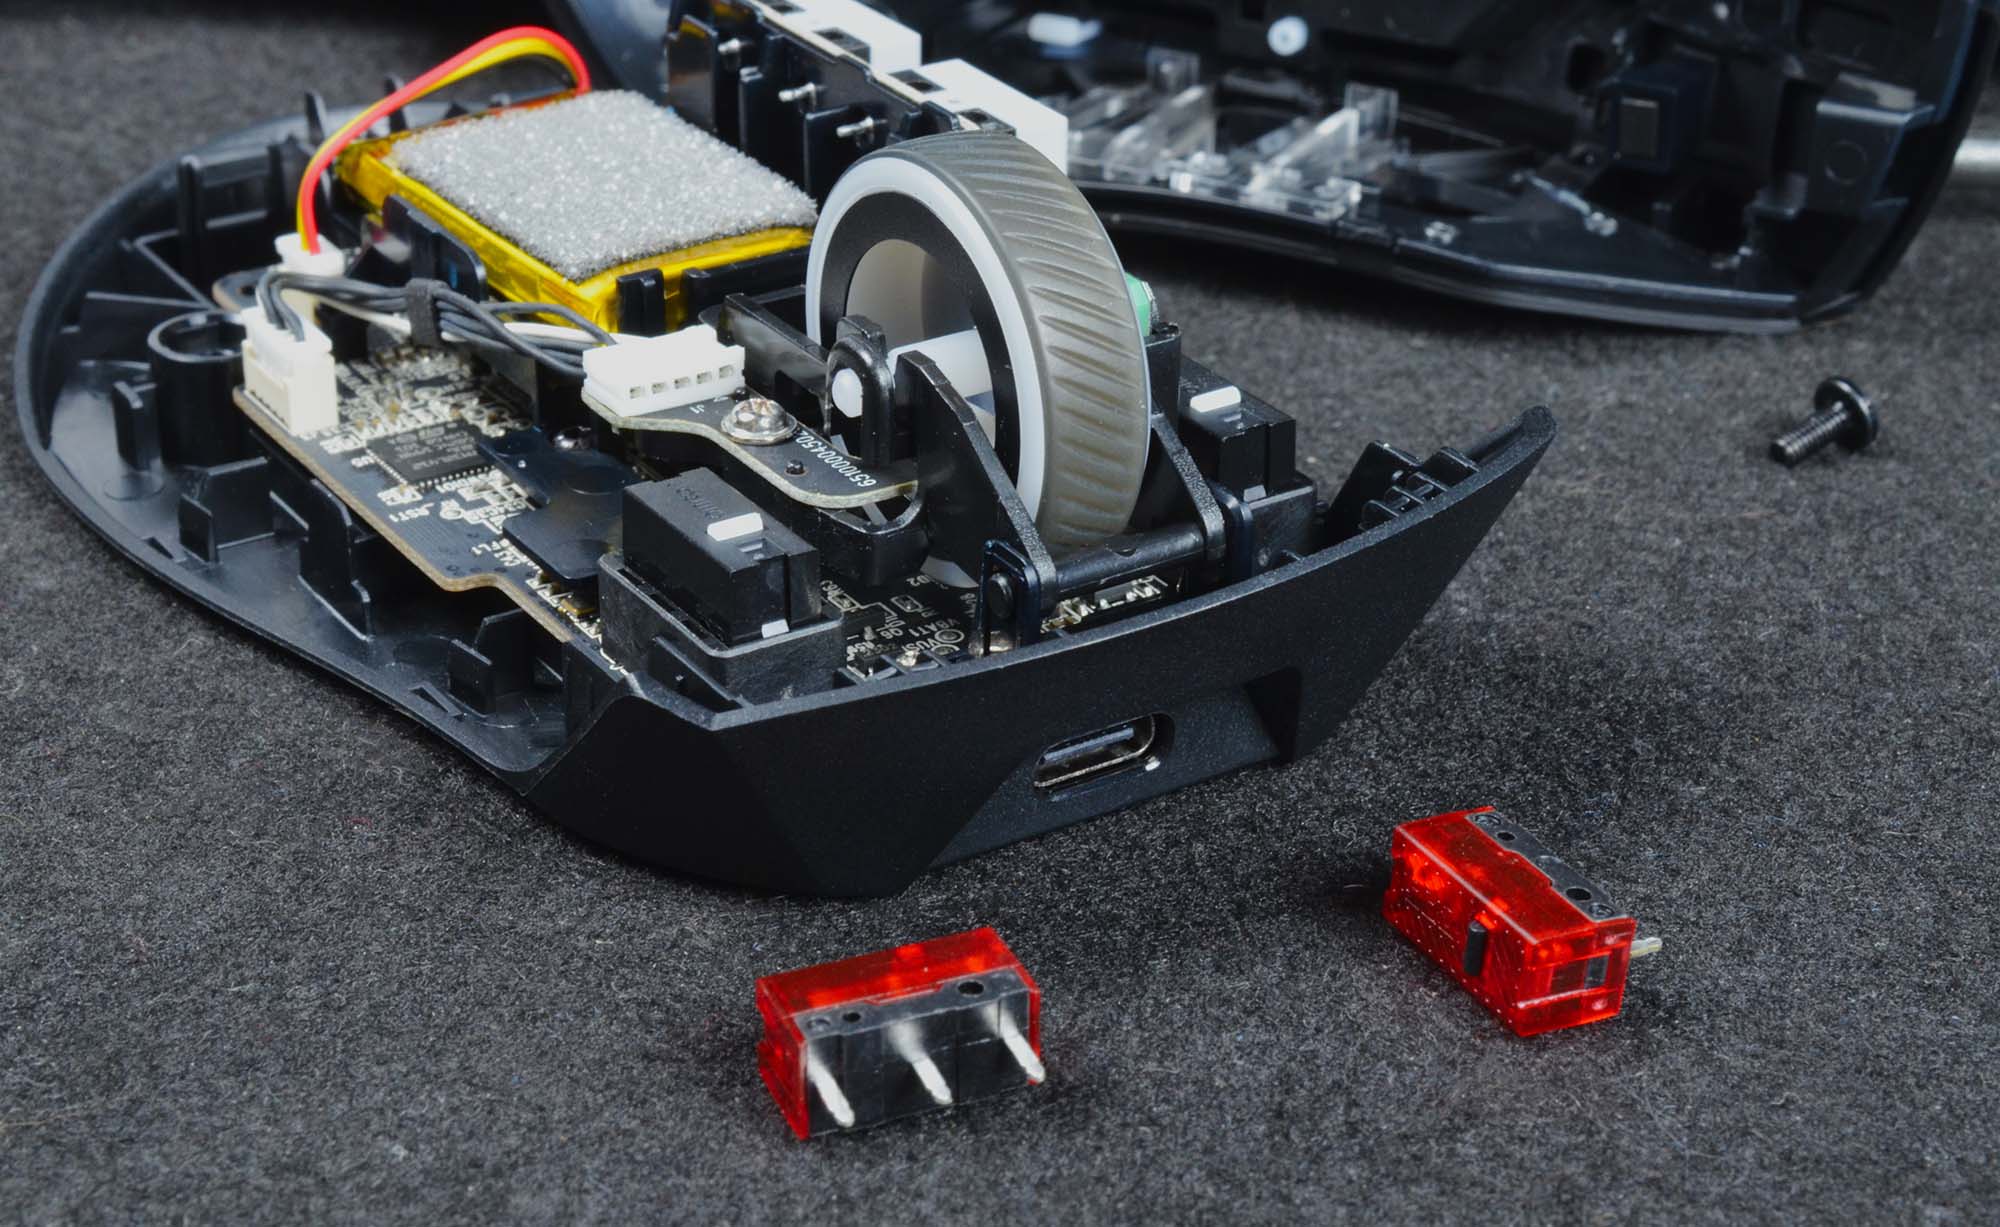
Next, locate the switches for the primary buttons. The preinstalled switches are the small red rectangles on either side of the scroll wheel.
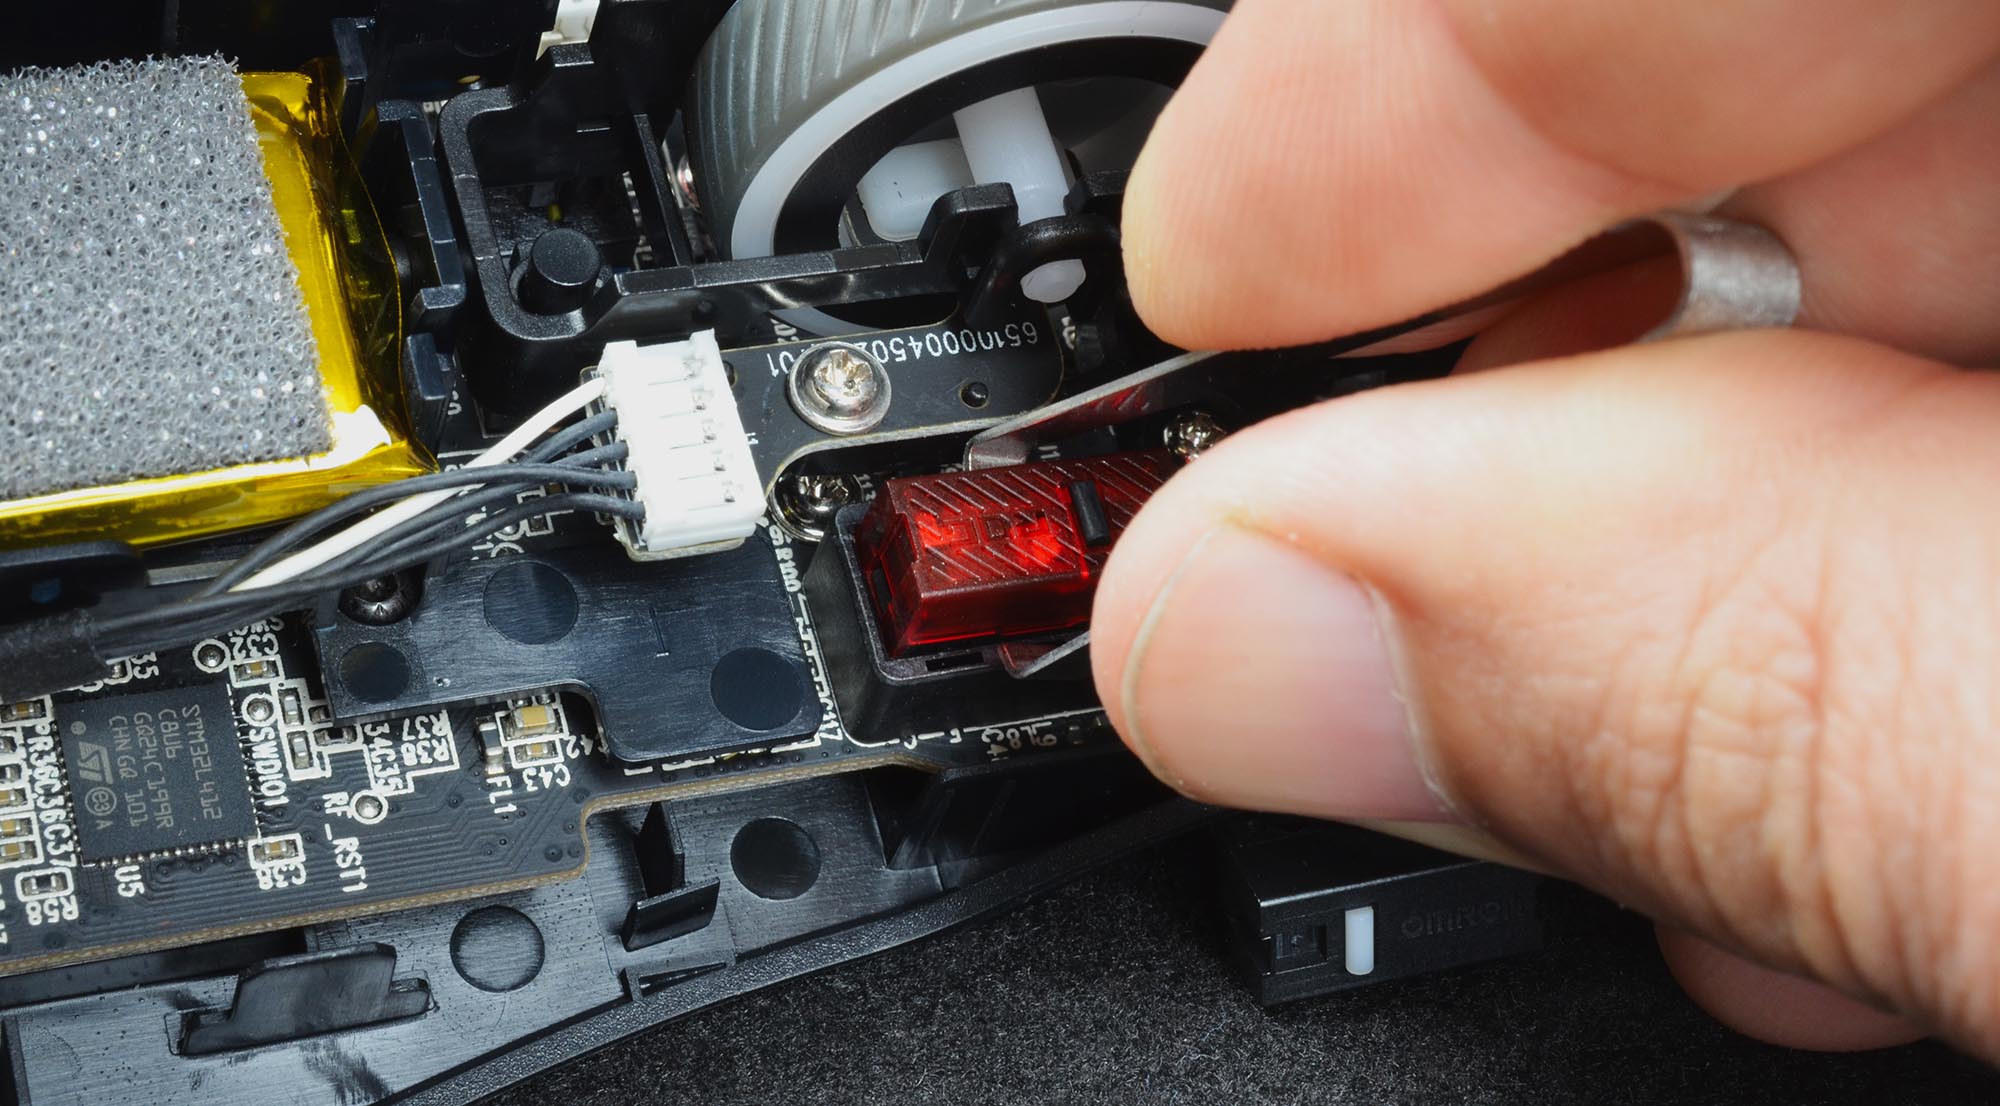
Now, remove the switch or switches that you want to replace. You may not need the tweezers, as the switches will simply lift up and out, but the tweezers can help get the process started.
Now it’s time to push your new switches in. Since the ROG Gladius III has a hot-swappable switch design, you won’t need a soldering iron. Simply align the pins on the bottom of the switch with the holes in the socket. If you’re installing a five-pin optical switch, the switch will only fit in one direction. If you’re installing a three-pin switch, make sure that the small black button on top of the switch is oriented toward the front of the mouse. Apply gentle pressure until the switch clicks into place.
Putting it all back together
Now that you’ve installed the new switches, it’s time to replace the cover of the Gladius III.

Gently press the front end of the cover in place. There are two tabs in the front that slide into slots in the base. Then, tilt the back end down until the standoffs align with the screw holes. The entire cover will click into place. Then, flip the mouse over, reinsert the screws, and press the rubber caps back in to cover the screw heads.
With the cover secured, you’re all done with the process of replacing the hot-swappable switches. Flip the connectivity toggle back to the mode of your choice, and you’re good to go. Whether you’ve just extended the lifespan of your ROG Gladius III by replacing a switch or whether you’ve installed a different set to try out a new experience, you’ve completed this easy process and are ready to get back to the game.
| ROG Gladius III | |
|---|---|
| Availability (US) | |
| Wired | Newegg Adorama Amazon Micro Center Walmart |
| Wireless | ASUS Amazon Micro Center |