Upgrade Guide: ROG G752
Just got yourself a brand-new ROG G752? It is unlikely that you need to upgrade anything just yet, but of course there's that burning desire to load up on everything possible... If you are in the market for a premium gaming laptop, here's a guide so you know how much the G752 can pack.
To get started, just pull out the rubber cover on the back of the G752 (it only goes so far so that you don't lose it, please don't keep pulling!!), unscrew the screw underneath, and remove the cover.


After removing the cover, you will find three compartments where upgrades may be possible (depending on the configuration you already have). It is possible to upgrade the memory, 2.5" hard drive, and up to two M.2 SSDs.

Memory
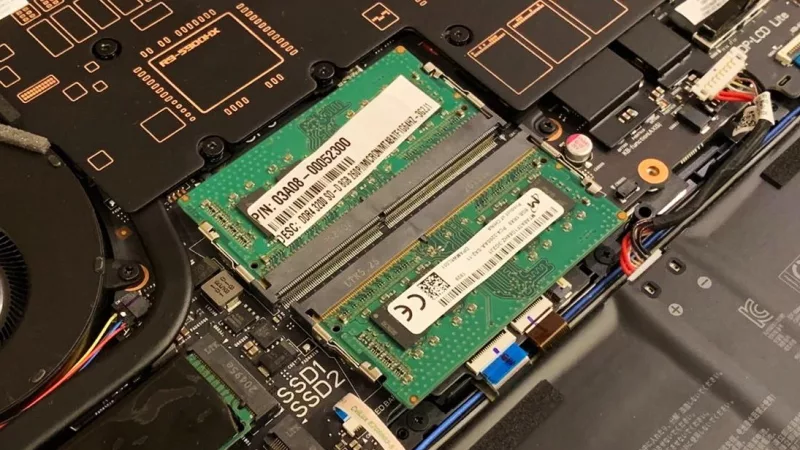
Up to 64GB of DDR4 (2133 MHz) SO-DIMM memory is possible (four 16GB modules, two upgradeable by the user). Before handling memory, know that it is most susceptible to static electricity, wear a anti-static wristband or at least discharge yourself first. Below you can see two free slots, one is stacked on top of the other so make sure you install the bottom module first. Align the pins to make sure you have the module the right way up, insert the memory into the slot angled at about 30°, use your thumbs and press evenly on both sides to make sure the module goes all the way into the slot, finally, push the top of the module down towards the motherboard until both of the locks on the sides click into place. Repeat the process for the other module.

Storage
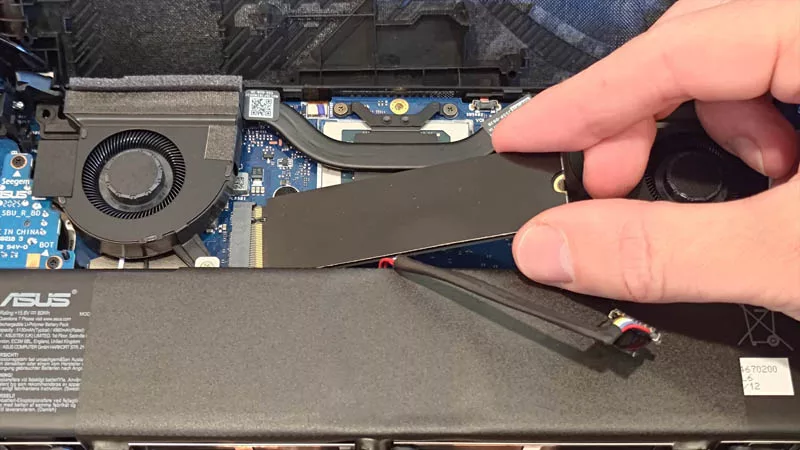
Up to two NVMe M.2 PCIe 3.0 x4 SSDs can be installed in RAID0 (both SSDs need to be identical) configuration for extreme speed - it is highly recommended to install your OS on this partition for best performance.
Simply remove the metal cover and unscrew the screw(s) first before inserting the SSD(s).

Insert the M.2 SSDs and secure them into place. you can put thermal conductive tape on so the metal plate can help dissipate heat. Screw the metal plate back on.

The 2.5” SATA III hard drive can be replaced with a larger and/or faster SSD. To do this, remove the four screws holding the bracket.

Slide the bracket to the left like so.

Remove another four screws which secure the 2.5" hard drive, put the new drive into the bracket (making sure it's in the right way), and put the bracket back into the laptop.

Now fire it up to make sure your beast is even beastier.
*** Please take care when upgrading, any damages caused will not be covered by warranty. If you run into any issues, remember to revert the laptop to its default configuration (what you purchased) before sending it in for RMA. ***
Author
Popular Posts

Prepare for Tandem OLED splendor with these new ROG gaming monitors

How to adjust your laptop's P-Cores and E-Cores for better performance and battery life

How to Cleanly Uninstall and Reinstall Armoury Crate
How to upgrade the SSD and reinstall Windows on your ROG Ally, ROG Xbox Ally, or ROG Xbox Ally X
ASUS GPU Tweak III: The ultimate tool for advanced GPU tuning
LATEST ARTICLES

Supercharge your play with the new ROG Strix SCAR 17 X3D
For the first time, we’re proud to announce that 3D V-Cache has come to an ROG laptop to create one of the most powerful gaming laptops in existence. Meet the ROG Strix SCAR 17 X3D.
ROG and ACRONYM collaborate once again to reshape the future of mobile computing
ROG and renowned technical apparel firm ACRONYM have joined forces again to leverage their design expertise for an all-new project.
RAM chips are changing. Here's how 2021 ROG laptops are affected
It takes more than a few benchmarks to tell the whole story.
ROG reveals the first 300Hz gaming laptops at IFA Berlin 2019
Our display leadership continues at IFA 2019 with demos of the fastest gaming laptop panels in the world.
New ROG Zephyrus and Strix laptops chill out in Glacier Blue
Out with the black and in with the blue. See the cool new color we're bringing to gaming laptops.
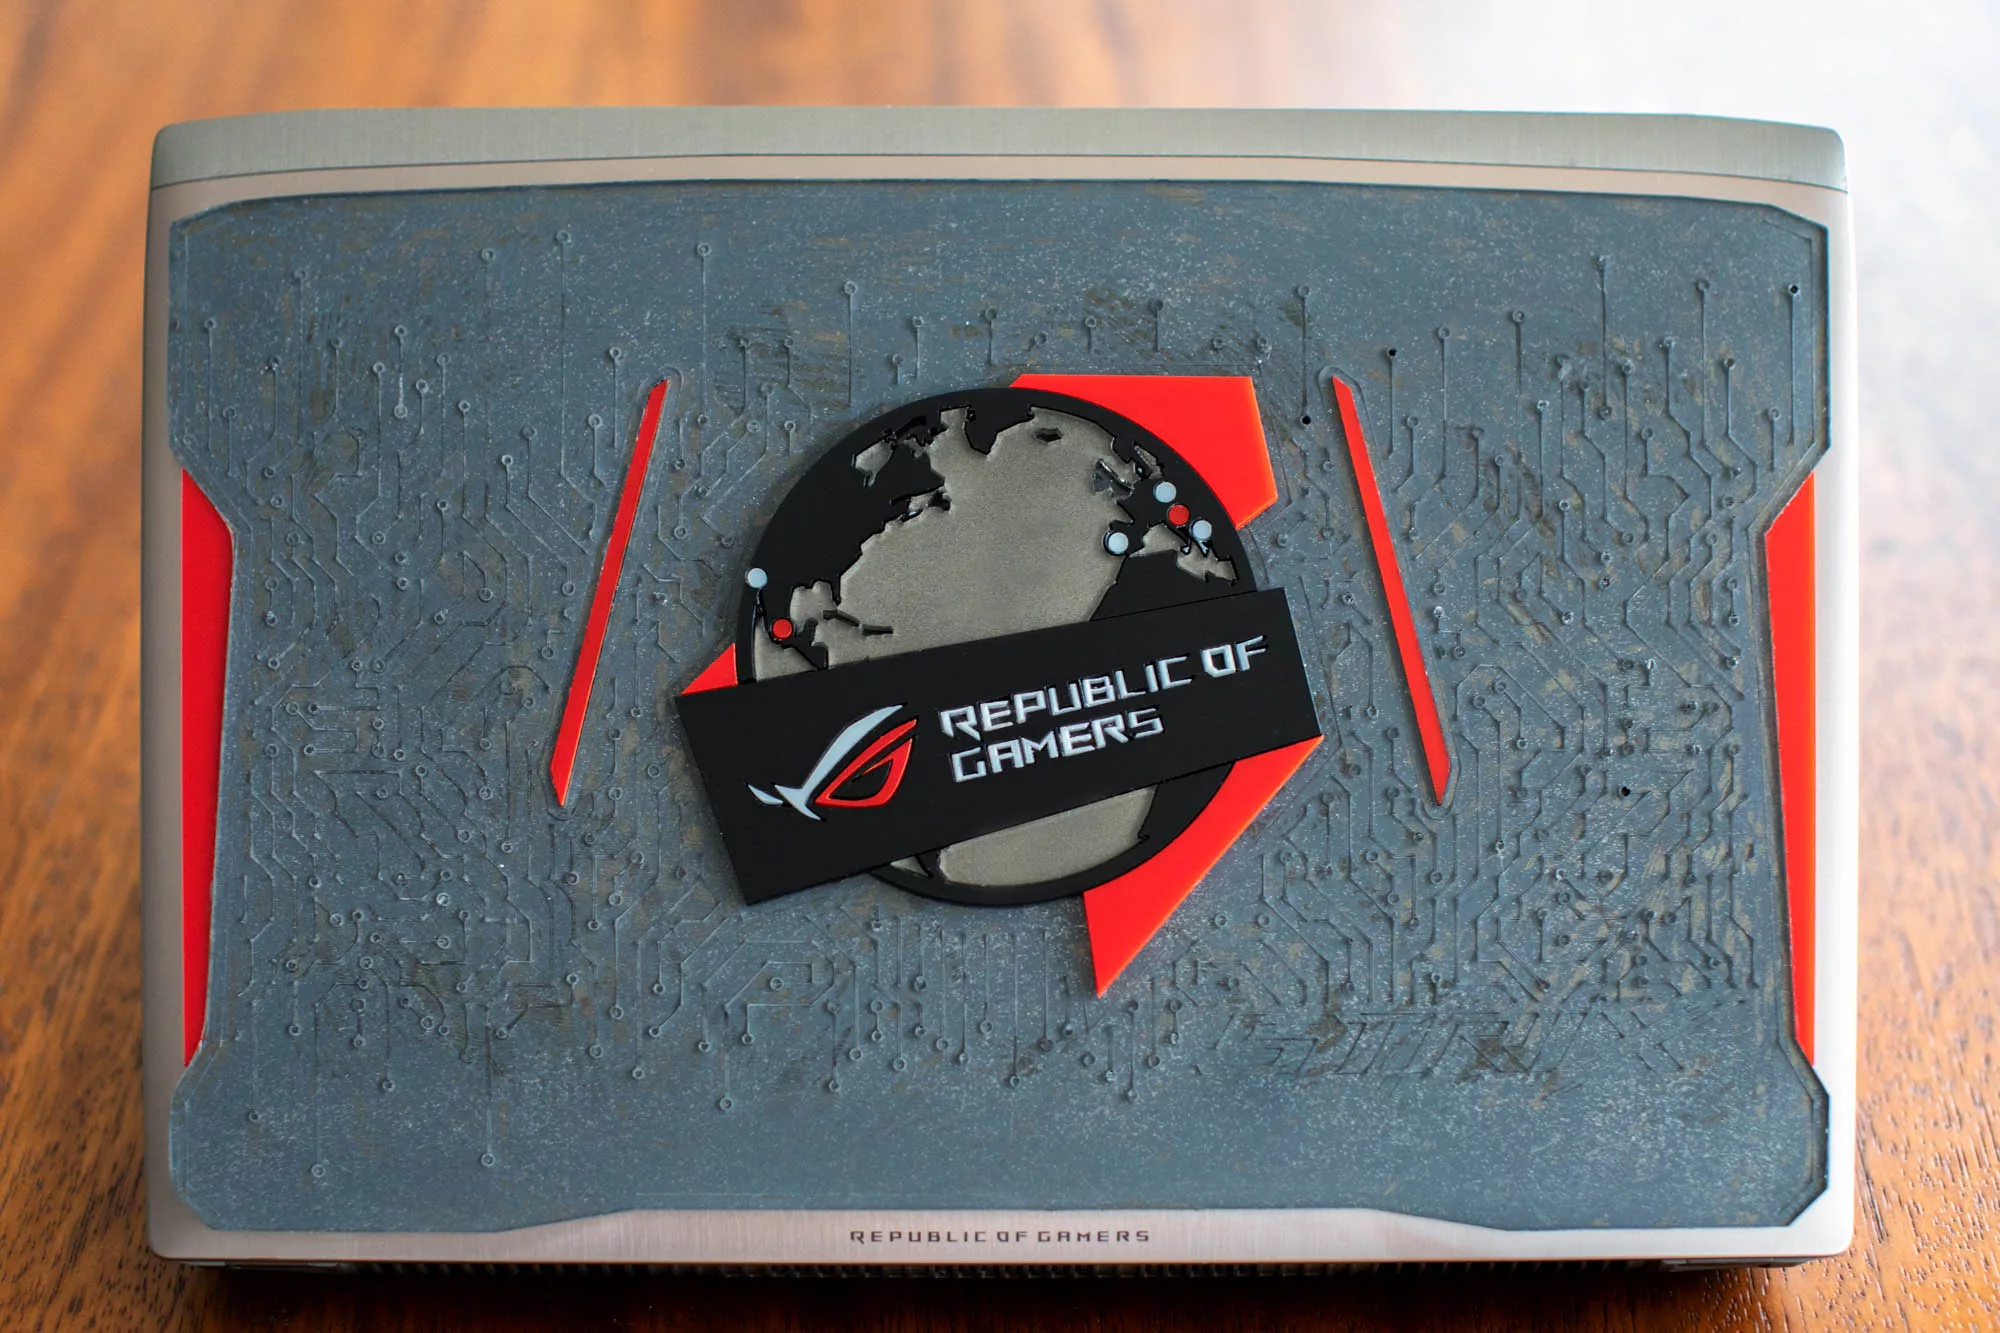
Celebrating the globetrotting ROG Strix GL502VS with Mexico’s makerspace movement
We take an inside look at Mexico's quickly growing makerspace movement, including 3D printing ROG case mods and designing our very own custom GL502VS cover.