Command and Control: how to set up your own gaming server
With the boom of multiplayer survival games like Day-Z and Minecraft, private server hosting has become hugely popular. It's also fairly straightforward to host your own server with today's tech, and there are plenty of advantages too (such as unashamedly rigging the gaming world in your favor – or sending trolls to an elaborate server side purgatory), so here are a few tips to getting started with some of the most popular titles.
Minecraft

The first thing you'll need is the official software, which you can find here. You'll also need the most recent version of Java Runtime Environment. Once these are installed you're good to go. Run the server, and it will set up some config files, then quit. You now simply need to find the eula.txt in the application folder, and change eula=false, to eula=true. It can also be worth running as administrator if you encounter problems (the usual Windows solution).
Team Fortress 2

The game that proves hats are more important than anything else. Well, maybe. Hosting your own Team Fortress 2 server requires the SteamCMD client, which you can download here. Extract and install onto your server (make sure you set up a directory for your TF2 server too: C:\TF2HATS, for example). From there, you can set up and alter your server configuration using the SteamCMD client. The above link has lots of helpful info, but there's also a good guide here for an-in depth, step-by-step set-up.
Call of Duty: Modern Warfare 4
Still going strong, and arguably the definitive CoD experience. If you don't already own this, then the original version is much more multiplayer/server hosting friendly than the remastered version. You simply need to get your server machine up and running, then copy the COD4 config and parameters files from the game folder. Paste the config file into the 'main' folder of the server. You can then open and edit the settings to whatever you like.
Next, create a shortcut to the iw3mp (found in the game folder), then copy the parameter file and paste it into the 'target' box of the iw3mp (right click on iw3mp, then 'properties' to find the tab). The parameter file also allows you to alter anti-cheat settings, and gives you port info for port forwarding. It's then just a matter of double clicking on iw3mp to run your server.
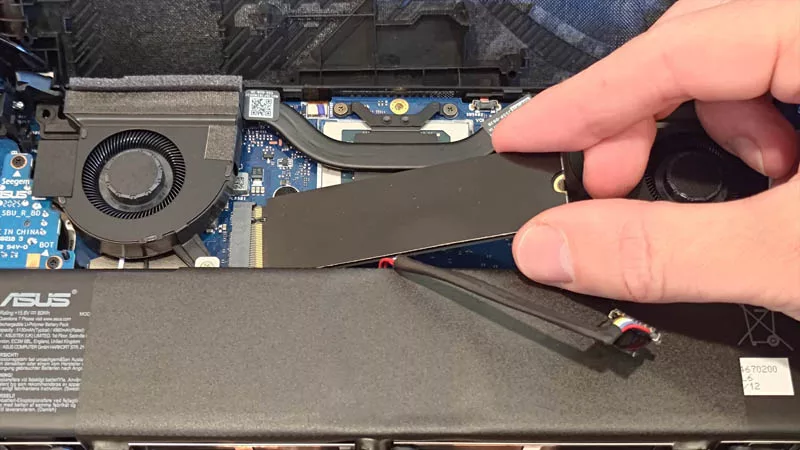
What hardware do you need?
Running a dedicated gaming server doesn't need a sentient AI with quad VR-ready GPUs. Even basic integrated graphics are acceptable (yes, I did just use the terms 'integrated graphics' and 'acceptable' in the same sentence). Memory and data transfer speed are the key areas, so anything with over 8GB of memory, and ideally an SSD (solid-state drive), will be more than enough.
It really pays to get quality components from the get-go, you can put an old system to good use even long after its gaming days are over.
By Simon Marshall
![]()
Author
Popular Posts

Prepare for Tandem OLED splendor with these new ROG gaming monitors

How to adjust your laptop's P-Cores and E-Cores for better performance and battery life

How to Cleanly Uninstall and Reinstall Armoury Crate
How to upgrade the SSD and reinstall Windows on your ROG Ally, ROG Xbox Ally, or ROG Xbox Ally X
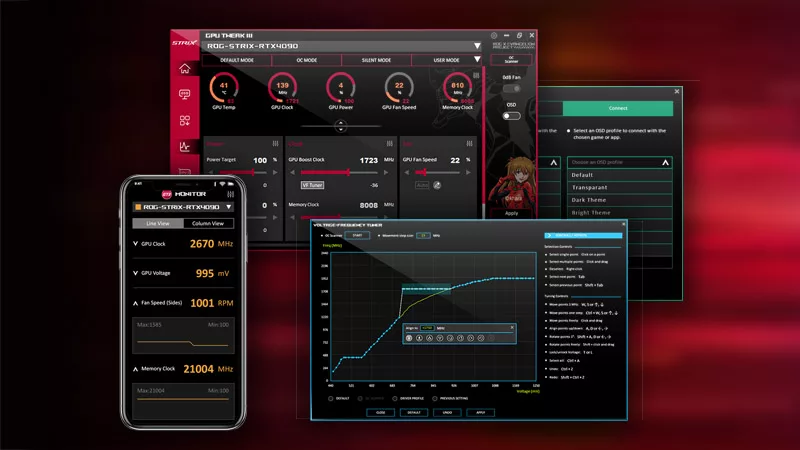
ASUS GPU Tweak III: The ultimate tool for advanced GPU tuning
LATEST ARTICLES
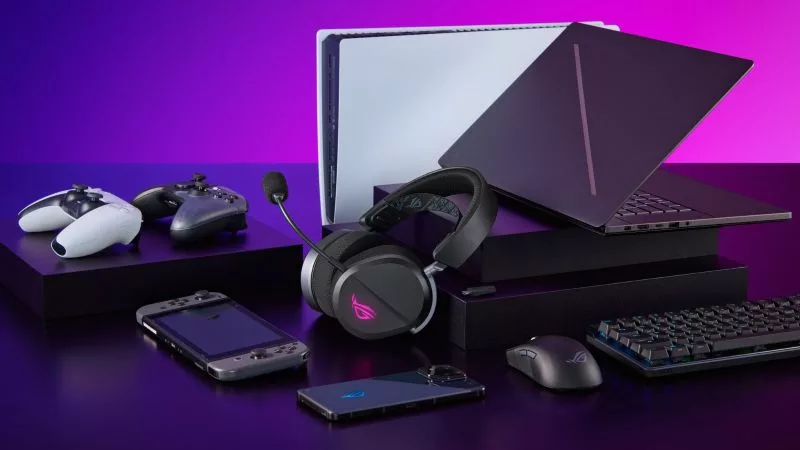
Level up your Xbox, PlayStation, and Nintendo Switch 2 with these ROG accessories
ROG has headsets, controllers, and other gadgets that’ll amp up your console experience, too.
How ROG reinvents the PC gaming platform
Here's why millions choose the Republic of Gamers, ROG, as their defining gaming destination.

The best AAA games for the ROG Ally and ROG Ally X
The ROG Ally is a new breed of handheld, capable of handling large-scale AAA games with great performance. Here are some of our top games for the system.

ROG Travel has assembled a legendary cast for its new ROG Xbox Ally video
ROG Travel is back in action with a zany new video to get folks aboard the ROG Xbox Ally hype train.
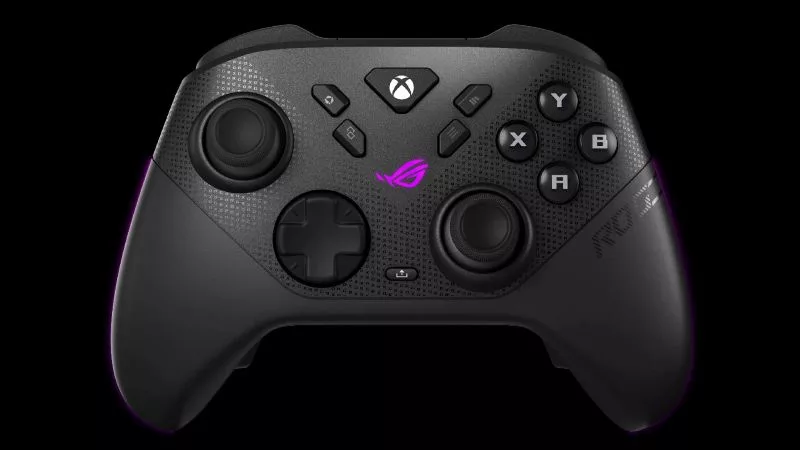
The ROG Raikiri II Xbox Wireless Controller is your next-gen premium gamepad for console and PC
From your desk or your couch, the ROG Raikiri II Xbox Wireless Controller is perfect for your PC, Xbox, or ROG Xbox Ally.
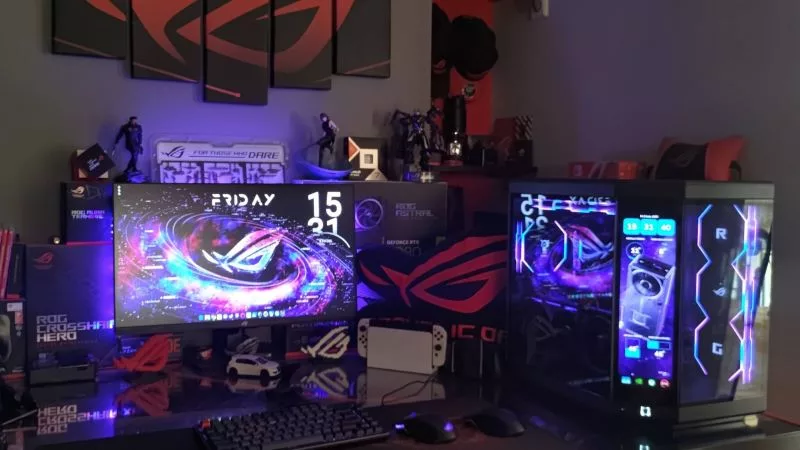
Four slick ROG PC gaming battlestations to model your setup after
Check out some of the coolest gaming PC battlestations assembled by ROG fans.