5GHz 4670K/4770K Overclocking Guide On Maximus VI Formula
Before Starting, Please Note:
This guide applies to both Core i7-4770K and i5-4670K as the principles of overclocking both chips are the same. Hitting the magic 5GHz with a K-series LGA1150 requires an excellent CPU (read: a lot of luck) and a great motherboard to achieve it. As the TechReport noted: Of the processors ASUS has tested, 70% hit 4.5GHz, 30% reached 4.6GHz, and 20% made 4.7GHz. Only 10% were stable at 4.8GHz. Heat is reportedly the limiting factor, and Asus recommends using a dual-fan water cooler to prevent thermal throttling past about 4.5GHz or 1.25V. Going beyond 1.35V is apparently problematic even for high-end water coolers. Even if your CPU cannot achieve this, following the basic overclocking principles outlined in this guide will get you most of the way towards this goal. Paired with the Maximus VI Formula, this gives the user the a full ROG-tweaked UEFI BIOS, with pre-sets and functions that make it easier attempting to hit that 5GHz Overclocking to anything above 4GHz on a Core i7-4770K or i5-4670K will require a large CPU cooler or, ideally, a liquid cooling system. Intel 'Haswell' LGA1150 CPUs, generate more power than their previous counterparts as they include digital VRMs for power management on-chip. While the Maximus VI Formula's CrossChill cooler can be cooled both with air or water, equally, the motherboard VRMs also generate heat when under high load and voltage, so if you are air cooled then please ensure your case has some active back-to-front or bottom-to-top airflow. In our Formula we've hooked up a basic water cooling loop, integrating the CrossChill into the CPU cooler. We will skip the installation part in this guide, however you can refer to a previous guide for a reminder.  Please note: Water cooling is not mandatory. If you are air cooled or use an integrated liquid cooler (LCLC/AiO cooler) you can still follow our guide, however be mindful your CPU cooling capacity will be more limited.
Updating the BIOS
- Before overclocking your Maximus VI Formula it’s a good idea to update it to the latest version of the BIOS. Check what BIOS version you have in the Main tab in the ROG BIOS and compare this against the Maximus VI Formual product page/support tab/downloads.
- Updating the BIOS can be done within it via the Tool menu, and by selcting ASUS EZ Flash 2. So long as the valid BIOS file is on a FAT32 formatted USB flash drive, it’ll appear in the menu. Load the new BIOS and wait for it to install; a process which will typically require a reboot. If you’re super impatient, you can also update the BIOS before even installing the CPU or RAM using ASUS’ USB BIOS Flashback technology.
")
")
Make sure everything works
- There’s no point to overclocking your PC if it isn’t stable at stock to start with, so first make sure everything’s working as it should.
- Start the system and enter BIOS
- Press F5 to load optimized BIOS defaults, and set the boot device to your Windows HDD/SSD.
- Hit F10 to save the BIOS and restart, booting into Windows.
- Once in Windows, if you haven't already done so, now’s also a good time to install a temperatures monitoring software such as CoreTemp or RealTemp, as the Asus AISuite software will report from sensors on the board. Running temperature software keeps an eye on things to make sure your cooling setup isn't being overwhelmed.
Help! Something crashed! What do I do?
Don't panic! Switch off the system and locate the Reset CMOS button on the rear I/O panel. Press it for a few seconds, then this should clear all the BIOS settings back to default, allowing you to start overclocking again. 
Testing Time!
- Load up Realbench 2 and run it at least once. If the system completes the benchmark and produces a score, all it good! Record it for reference as we'll need it later. Realbench will test single-core and memory, multi-core and cache, an OpenCL enabled GPU and it will heavily push the system in multi-tasking. The full test should take less than ~7 minutes with an Intel 'Haswell' CPU.
- During each test note the temperature to make sure everything is within acceptable limits.

All good? Now back to the BIOS! With your system stable at stock, it’s now time to overclock. As always, there’s some variability between every Core i7-4770K/Core i5-4670K. Some will reach 5GHz while others won’t make it anywhere between 4.5GHz upwards; this is an inevitable and random part of overclocking.
- Entering the BIOS should automatically send you into Advanced Mode, otherwise switch to this mode (top right)
- In the Extreme Tweaker section, enter the Overclocking Presents sub-menu.
- Here select Load Gamer's OC Profile. This BIOS profile easily setups up most of the options us: it sets up the CPU with varying frequency depending on load: from 4.4 to 4.7GHz. In this OC Profile, the CPU frequency still drops to lower frequencies under idle conditions, saving power, but this can be disabled (see further tweaks section). Let's check this works to start with, so do the Testing Time! procedure again.
")
")
- The road towards 5GHz is a case of increasing these values 1x by 1x, along with small increments to the CPU Core Voltage up to a maximum of (we recommend) 1.3V for high-end coolers and water cooling. Beyond this requires serious water cooling setups with large cooling capacities. (After repeat testing) we found the highest we could clock our i7-4770K was 50x/50x/48x/47x for 1-4 cores load respectively, with a cache ratio of 42x.

- The External CPU Input Voltage must also maintain a +0.5V difference between itself and the CPU Core Voltage as well. Remember to perform the Testing Time! procedure after each adjustment to check everything is going well.
")
We found our CPU could run 1 and 2 cores at 5GHz, but 3 and 4 cores must run at lower 4.8GHz and 4.7GHz respectively in order to be stable. If we had run them all at the same frequency we would be limited by the lowest value, meaning we would lose the 300MHz benefit for single/dual threaded applications.
How do I know my system really runs faster?
By comparing the Realbench results you can see the real effect of the overclock on actual program performance. To see more details about what each of the Realbench tests do, click here. Here is my 87k score in the leaderboard (the recorded frequency is the 4-core value), whereas before overclocking and tweaking this score was closer to 67k! ![]()
How do I test system stability?
We've got you covered here with Realbench 2 as well. Click the Stress Test button in the app and it offers pre-timed runs from 15 minutes to 8 hours. ROG has designed this stress test to be far more dynamic than any other; it loads iterative and varying loads of Blender, Handbrake and LuxMark together, which finish at different times to give oscillating heavy loads. During development professional users (3DSMax etc) have noted to the ROG development team that it consistent found a more reliable, upper stable overclock for their long renders, where other stress tests have not! 
Further Tweaks
- If you have fast, XMP-capable memory installed, you can also enable this overclock in addition to the CPU overclock. Under Ai Overclock Tuner select XMP and this will automatically enable its timings and frequency setting.
")
- Alternatively memory overclocking can be done manually by selecting manual under Ai Overclock Tuner and performing three actions: 1) Under the newly appeared DRAM frequency setting, increase the value to the frequency of your installed memory 2) increase the memory voltage 3) under DRAM Timing Control tweak the timings to match those on sticker of your DIMM (or its packaging).
")
")
- The CPU Cache Ratio also directly affects the CPU and memory performance, and should be increased if possible. However the large cache with its many transistors is generally even more frequency limited than the CPU cores, meaning it will always run at a lower clock speed.
- Disable any motherboard function you don't use in the BIOS, like LAN/WiFi, SATA or audio. These can be adjusted from the Advanced/Onboard Devices menu. If you're really going for the highest benchmark score disable everything and use Offline Upload functions to upload results later from another PC (Realbench 2 has one!)
")
- If you wish to run the CPU at its full frequency all the time, under the Advanced/CPU Configuration/CPU Power Management Configuration menu disable EIST and CPU C States but leave Turbo Boost enabled.
")
")
- If you've made significant BIOS changes, save your profile! Then should you have to reset the CMOS after pushing the OC too far you can get right back to where you left off. To do this go to the Tool menu (keep going right on the tabs) and ASUS Overclocking Profile. Here input a profile name and save in the 1-8 profile spaces. You can also export/import via USB stick too.
")
Author
Popular Posts

How to adjust your laptop's P-Cores and E-Cores for better performance and battery life

Prepare for Tandem OLED splendor with these new ROG gaming monitors

How to Cleanly Uninstall and Reinstall Armoury Crate
32-inch glossy WOLED panels debut in the ROG Strix OLED XG32UCWMG and XG32UCWG gaming monitors
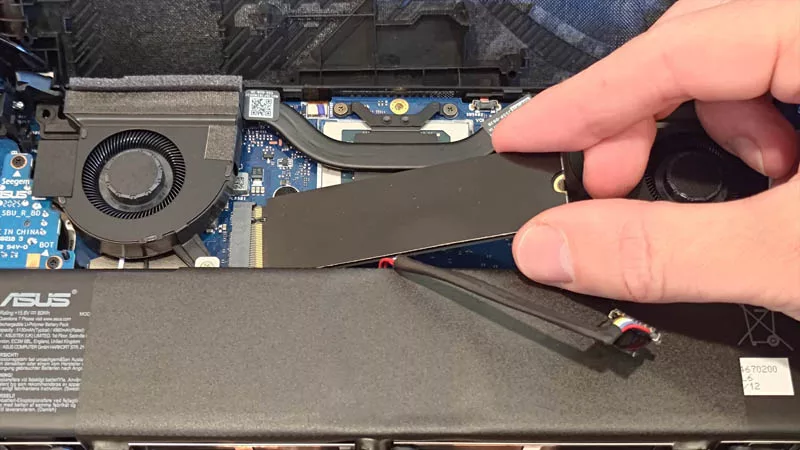
How to upgrade the SSD and reinstall Windows on your ROG Ally, ROG Xbox Ally, or ROG Xbox Ally X
LATEST ARTICLES

Hands-on: The ROG Raikiri Pro took my couch gaming to the next level
I've been a diehard PC gamer all my life, but I often play on the couch. The ROG Raikiri Pro has improved my living room PC gaming immeasurably thanks to a few useful features and loads of customizability.
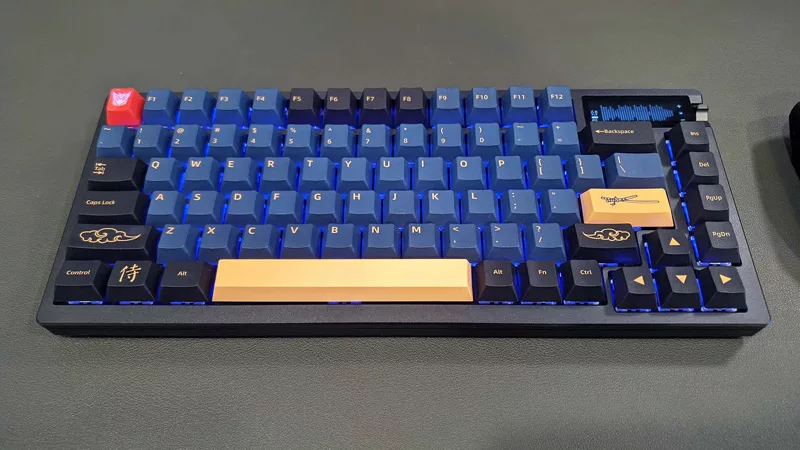
Hands-on: The ROG Azoth became the canvas for the keyboard of my dreams
Ever since I bought my first mechanical keyboard, I’ve been on a mission to mod and upgrade, mod and upgrade. But I think the ROG Azoth may actually be my endgame.

The Zephyrus M16 blends outstanding HDR gaming performance with undeniable luxury
The new ROG Zephyrus M16, with its Nebula HDR display, is like bringing a high-end home theater gaming setup with you wherever you go.
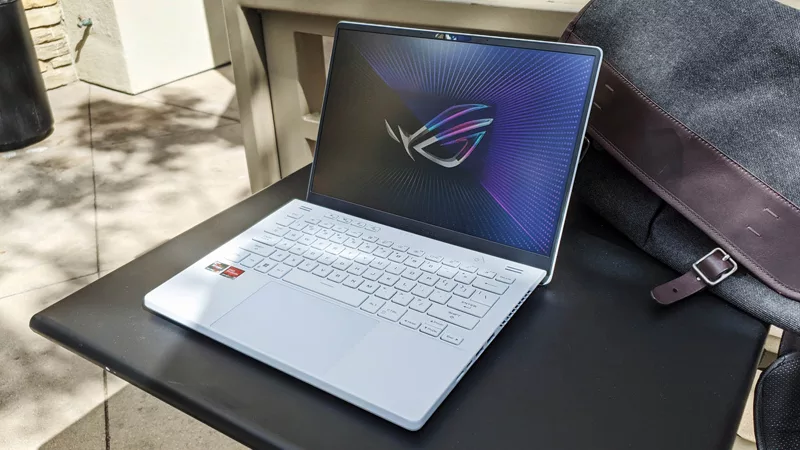
Radeon graphics and a stellar new display reinvigorate 2022 ROG Zephyrus G14
For a long time, I had to choose between underpowered ultraportable laptop and large laptops capable of gaming. But the ROG Zephyrus G14 puts admirable gaming chops into an ultra portable machine that travels anywhere.

Ready to rumble out of the box: Hands-on with the ROG Strix SCAR 15
Living on the move or in a smaller space isn't a roadblock to high-end gaming. The ROG Strix SCAR makes portable powerful.
The ROG Zephyrus S17 is an outstanding mixture of power and portability
The S17 has it all: top-tier hardware in a slim package with all the bells and whistles.