Build a Z170 Gaming Rig with J.J. From Start to Finish
Want to know how to build a gaming PC step by step? J.J can show you how to build a powerful Z170 gaming PC from start to finish. If there is only one or a couple of particular sections you wish to watch there is a rundown below.

0:00 - Introduction
1:33 - Chassis detailing
6:25 - PSU - Power supply detailing
8:18 - PSU & chassis custom extension cables
9:33 - CPU & chassis fans
11:17 - LED strips
12:31 - Storage detailing
14:17 - RAM / DRAM / memory detailing
16:04 - CPU cooling detailing
17:50 - Motherboard detailing
22:01 - GPU / graphics card detailing
24:56 - Tools you will need and recommended tools
28:03 - PCDIY Checklist and preparing for your build
29:01 - Installing your CPU
31:39 - Installing RAM / DRAM / memory
33:01 - Installing M.2 SSD
34:55 - Installing CPU cooler
40:22 - Airflow and cable routing considerations
49:11 - Installing chassis fans
1:01:15 - Installing storage drives
1:04:23 - Installing the I/O shield
1:06:46 -Installation of the motherboard
1:07:18 - Cable routing & cable management
1:08:19 - Installing the PSU
1:12:40 - Testing your connections and doing a test post
1:15:39 - Installation of fan extension card
1:17:03 - Cable routing and adding extension cables
1:22:50 - Verifying all your motherboard connections
1:26:20 - Installing the graphics card
1:27:57 - Conclusion
Specs:
CPU - Core i5 6600K or Core i7 6700K
Motherboard - ROG MAXIMUS VIII HERO ( Z170 )
RAM / Memory - Kingston HyperX Fury DDR4
SSD - HyperX Savage SSD 960GB X2 , HyperX Predator 480GB SSD
GPU / Graphics Card - ASUS GeForce GTX STRIX 980Ti Gaming
Chassis ( Case ) - LIAN LI PC-08
PSU - Seasonic M12 750 WATT ( replaced with Seasonic 760 WATT Platinum )
Heatsink / Cooling Solution - Noctua U12S
Fans - BitFenix Spectre Pro ( 120MM red led )
Accessories - BitFenix Alchemy cables ( PSU, EPS, SATA, HD Audio, SATA to molex, front chassis, fan extension ) BitFenix Alchemy LED strips
Author
Popular Posts

Prepare for Tandem OLED splendor with these new ROG gaming monitors

How to adjust your laptop's P-Cores and E-Cores for better performance and battery life

How to Cleanly Uninstall and Reinstall Armoury Crate
How to upgrade the SSD and reinstall Windows on your ROG Ally, ROG Xbox Ally, or ROG Xbox Ally X
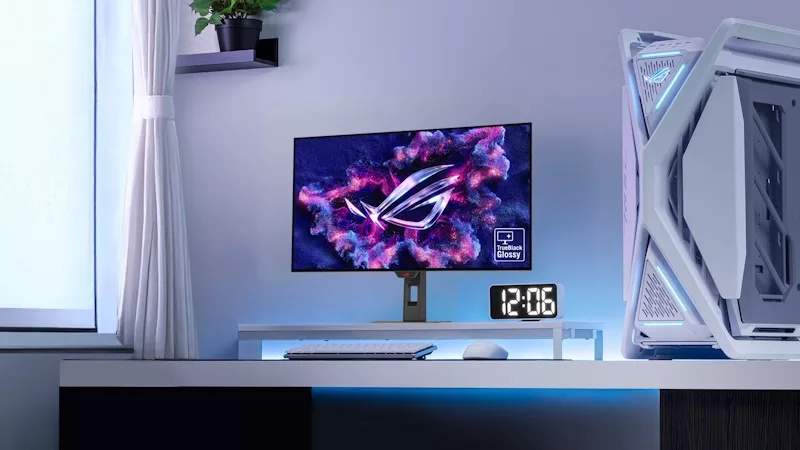
32-inch glossy WOLED panels debut in the ROG Strix OLED XG32UCWMG and XG32UCWG gaming monitors
LATEST ARTICLES

Hands-on: The ROG Raikiri Pro took my couch gaming to the next level
I've been a diehard PC gamer all my life, but I often play on the couch. The ROG Raikiri Pro has improved my living room PC gaming immeasurably thanks to a few useful features and loads of customizability.
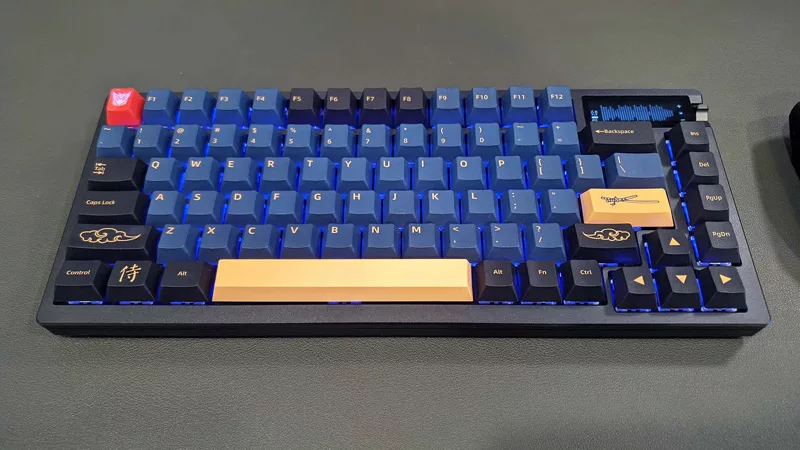
Hands-on: The ROG Azoth became the canvas for the keyboard of my dreams
Ever since I bought my first mechanical keyboard, I’ve been on a mission to mod and upgrade, mod and upgrade. But I think the ROG Azoth may actually be my endgame.

The Zephyrus M16 blends outstanding HDR gaming performance with undeniable luxury
The new ROG Zephyrus M16, with its Nebula HDR display, is like bringing a high-end home theater gaming setup with you wherever you go.
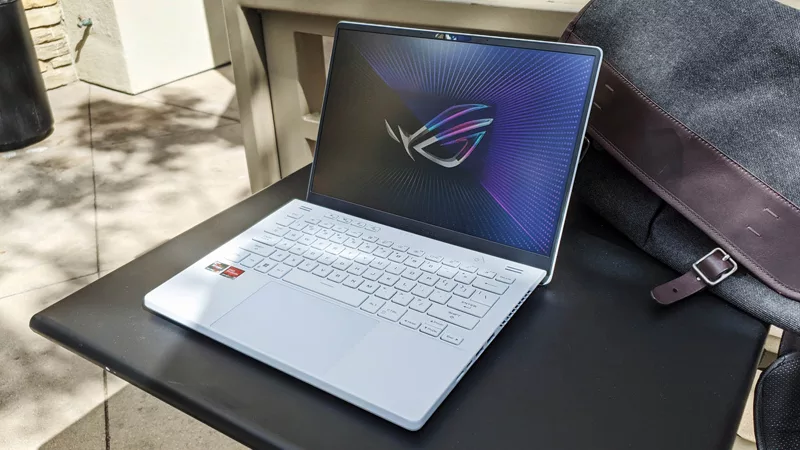
Radeon graphics and a stellar new display reinvigorate 2022 ROG Zephyrus G14
For a long time, I had to choose between underpowered ultraportable laptop and large laptops capable of gaming. But the ROG Zephyrus G14 puts admirable gaming chops into an ultra portable machine that travels anywhere.

Ready to rumble out of the box: Hands-on with the ROG Strix SCAR 15
Living on the move or in a smaller space isn't a roadblock to high-end gaming. The ROG Strix SCAR makes portable powerful.
The ROG Zephyrus S17 is an outstanding mixture of power and portability
The S17 has it all: top-tier hardware in a slim package with all the bells and whistles.