Maximus VI Power Saving & Power Tuning Guide
Tuning for Optimal Power Consumption
Via UEFI BIOS Adjustments
Under Ai Tweaker
Disable the ASUS MultiCore Enhancement under BIOS to configure the system to power consumption biased state. Enable the EPU Power Saving Mode under BIOS to activate the EPU function. 
Under Extreme Engine DIGI+ III
Set the CPU Voltage Frequency option to Auto, and Active Frequency Mode to Enabled to allow the Extreme Engine DIGI+ III to manage the CPU Switching Frequency dynamically for optimal balance between the consumption and then delivery of power to the CPU integrated Voltage Regulator over time. Set the CPU Power Phase Control option and DRAM Power Phase Control to Optimized to best fit how Extreme Engine DIGI+ III should switch between multiple active power phases state with respect to the change of CPU and DRAM power consumption.  All other items under Extreme Engine DIGI+ III are advised to be left at default settings for optimal power consumption results.
Under CPU Power Management
CPU Integrated VR Efficiency Management can be configured Balanced to allow the CPU integrated voltage regulator to consume power more effectively to reduce CPU power consumption. Power Decay Mode can be configured to Enabled to allow the CPU integrated voltage regulator to enter lower power state mode to reduce CPU power consumption when the CPU idles down. Idle Power-In Response can be configured to Fast for the CPU integrated voltage regulator to have a quick entry to idle low power consumption state, to reduce power consumption. Idle Power-Out Response can be configured to Regular for the CPU integrated voltage regulator to have longer delay before exiting the idle low power state, to reduce power consumption.

The Fully Manual Mode option must be Disabled to allow the CPU integrated power saving schemes to take place. The CPU Core Voltage, CPU Cache Voltage, and CPU Graphics Voltage must be configured to anything but Manual Mode to allow any of the CPU integrated power saving schemes to take place.

Advanced --> CPU Configuration
Set Boot Performance Mode to Max Battery to kick start the processor power saving functions prior entering the operating system to minimize the unnecessary consumption of CPU power.

CPU Power Management Configuration
- Set CPU C state to Enabled.
- Set Enhance C1 State (previously known as C1E) to Enabled.
- Set CPU C3 Report to Enabled to allow the CPU to enter C-State C3 State when the CPU idles down.
- Set CPU C6 Report to Enabled to allow the CPU to enter C-State C6 State when the CPU idles down.
- Set C6 Latency to Short to allow the CPU to respond to C-State C6 entrance request with a relatively shorter delay.
- Set CPU C7 Report to Enabled to allow the CPU to enter C-State C7 State when the CPU idles down.
- Set C7 Latency to Short to allow the CPU to respond to C-State C7 entrance request with a relatively shorter delay.
- Set Package C-State Support to C7s to allow the system to send I/O devices to low power mode to reduce unnecessary power consumption when the system idles down.

PCH Configuration --> PCI Express Configuration
Set DMI Link ASPM Control to Enabled, to allow DMI connection to the PCH chipset to enter low power state to reduce power consumption. However, this also introduces the trade-off of some performance considering latency exists to transition from lower to fully powered state.

SATA Configuration
Aggressive LPM Support can be Enabled for devices on the SATA bus to be putted to a lower power state to reduce power consumption. Note: Considering not all SATA devices support Aggressive LPM, please simply disable Aggressive LPM Support when encountering compatibility issues, due to the presence of non-LPM aware devices in the system.

System Agent Configuration --> NB PCIe Configuration
Set DMI Link ASPM Control to:
- L0s: Device Standby State, some exit latency is introduced when returning from L0s.
- L1: Lower Power Standby State, longer latency is introduced when returning from L1.
- L0sL1: Activate both L0s and L1 support
Doing so allows the DMI connection inside the CPU to enter a lower power state to reduce power consumption. However, this also introduces the trade-off of some performance considering latency exists to transition from lower to fully powered state. Set PEG - ASPM to:
- ASPM L0s: Device Standby State, some exit latency is introduced when returning from L0s.
- ASPM L1: Lower Power Standby State, longer latency is introduced when returning from L1.
- ASPM L0sL1: Activate both L0s and L1 support
Settings to any of the three models above to allow the devices connected to the CPU native PCI Express Bus to enter lower power states to reduce consumption of power. However, this also introduces some trade-off in some performance considering latency exists to transition from lower to fully powered state. Note: Considering not all PCIe devices support ASPM under the desktop platform, please try different modes or simply disable ASPM Support when encountering compatibility issues due to the presence of non-ASPM aware devices in the system. 
Platform MISC Configuration
PCI Express Native Power Management can be Enabled to kick start the two types of ASPM functions configured earlier. Note: Considering not all PCIe devices support ASPM under the desktop platform, please simply disable ASPM Support when encountering compatibility issues due to the presence of non-ASPM aware devices in the system.

APM
ErP Ready can be configured to:
- Enabled (S4+S5) to cut the system standby power consumption under both the S4 Hibernate state and the S5 Soft Off state.
- Enabled (S5) to cut the system standby power consumption under the S5 Soft Off state.
Setting to either of these options will be able to reduce then system to consume less than 0.5W under the desired ACPI state. However, all functions requiring standby power will also fail under this state. This includes any form of wake functionalities outside the power button, as well as USB BIOS Flashback and USB Charger+.

Please carry on to page 2 for software [OS] power management.
AI Suite 3 [OS] Power Management
There are several options that the user can tweak from the main screen of the new 4-Way Optimization module, from the Ai Suite 3 software package.  The Configured Max CPU Power option is the new power management mode introduced in the Haswell platform that allows the direct control of the maximum power consumption of the CPU. Enable this option to allow the utilization of the cTDP power management under the Max Power Saving mode.
  Considering not all users use all the SATA ports on the system, the third-party SATA controllers will still consume power. By disabling them when they are not used, this can save a small amount of power.
  Users can also make the use of the EPU module from under 4-Way Optimization to put the system to the most energy efficient manner by adjusting the behavior of the four power states.
  The High Performance mode is when the system is put into performance priority mode. Considering the performance is the only concern under this mode, the only thing that can be adjusted are whether or not and when the system should put the system to the Away Mode and Sleep Mode when no user input is received after a set period of time to save power.
  Following the High Performance mode is the Auto Mode, where the system is put into the most balanced state between the performance, power efficiency, and fan noise. On the top of the control to enter the support for the Away Mode and automatic entrance to the Sleep mode, there is also the 'Voltage Decrement' option to allow the reduction of the key CPU voltages in real-time for further power saving capability. Of course the selection of Fan Profile can also assist the final result to some degree due to the difference in power consumption under different fan speeds.
  Under the power consumption biased Max Power Saving Mode, the additional “Configure Max CPU Power” option will appear. This option allows the CPU to consume only the desired amount of power when operating under its full capability, to avoid the additional consumption of power.
  Finally, the Away Mode is the most energy saving. It features the power saving capacity of all power modes listed above apart from the entrance to Away Mode (considering the system is already in it). Considering the user is no longer in front of the system while under this state, the Max CPU Power can be dropped to the lowest 10W, onboard audio is muted (if the speaker sets enter standby mode when with no input), and activate “Cut off USB ports power when device is attached and can be safely removed” to allow USB mass storage device to be put into a spin down state when they are connected to the designated ports, under Away Mode, for further power saving. When everything is ready click 'Apply', then the system is ready to go.
Author
Popular Posts

Prepare for Tandem OLED splendor with these new ROG gaming monitors

The ROG XREAL R1 gaming glasses let you game anywhere on a 171-inch 240Hz virtual screen

How to Cleanly Uninstall and Reinstall Armoury Crate

How to adjust your laptop's P-Cores and E-Cores for better performance and battery life
How to upgrade the SSD and reinstall Windows on your ROG Ally, ROG Xbox Ally, or ROG Xbox Ally X
LATEST ARTICLES
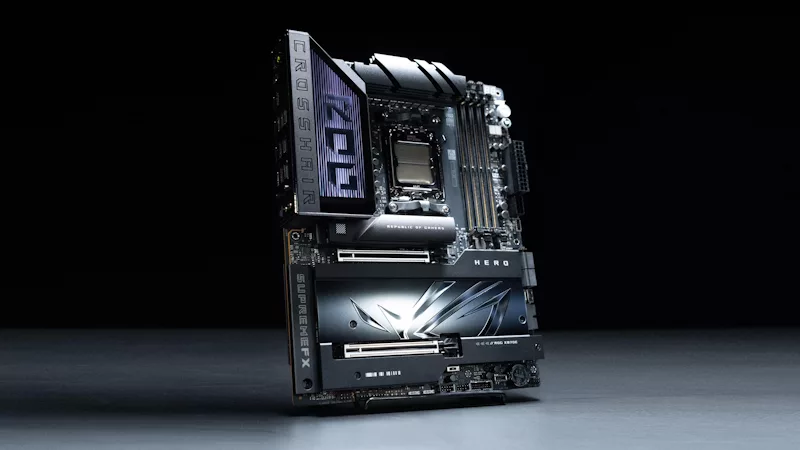
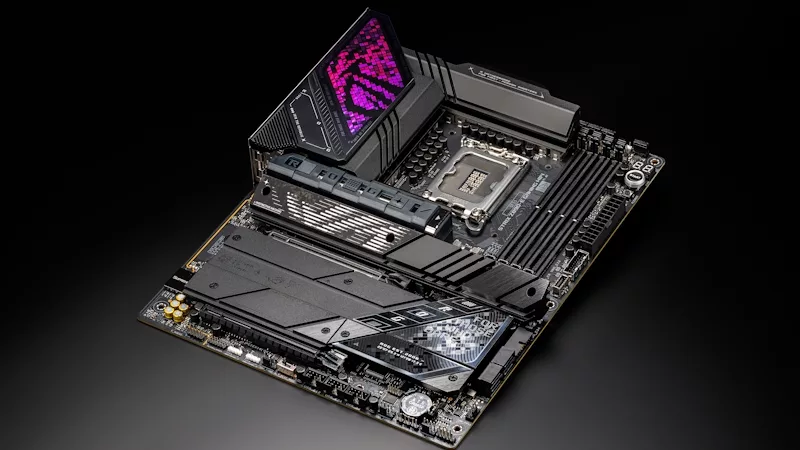
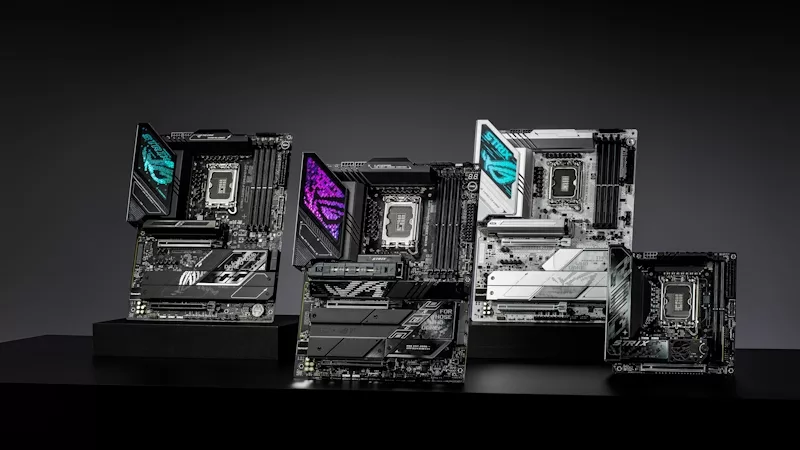
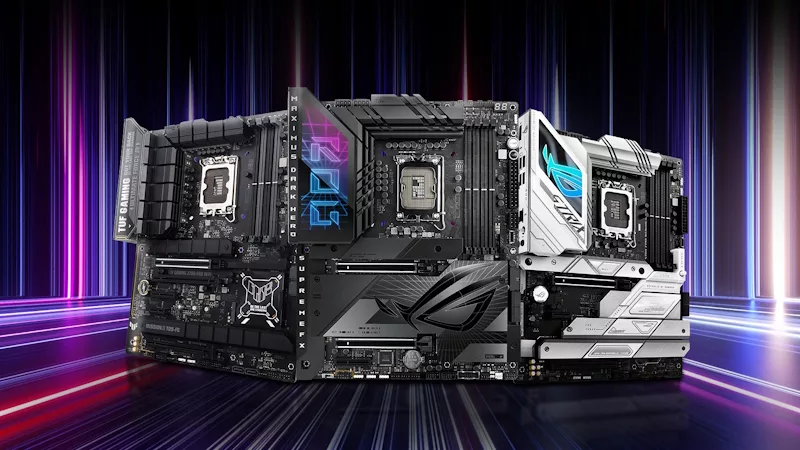
ROG Strix vs Extreme vs Apex vs Hero: What's the difference between ROG gaming motherboards?
When we launch a new generation of motherboards, we don’t just design one model and expect it to meet everyone’s needs. We give you a broad range of options from our ROG Maximus, Crosshair, and Strix lineups so that you can find the board for your next build.
Install up to seven M.2 SSDs on one motherboard with new ROG M.2 PowerBoost tech
Here's how ROG M.2 PowerBoost allows you to install more M.2 drives in one system while enjoying more stable performance.
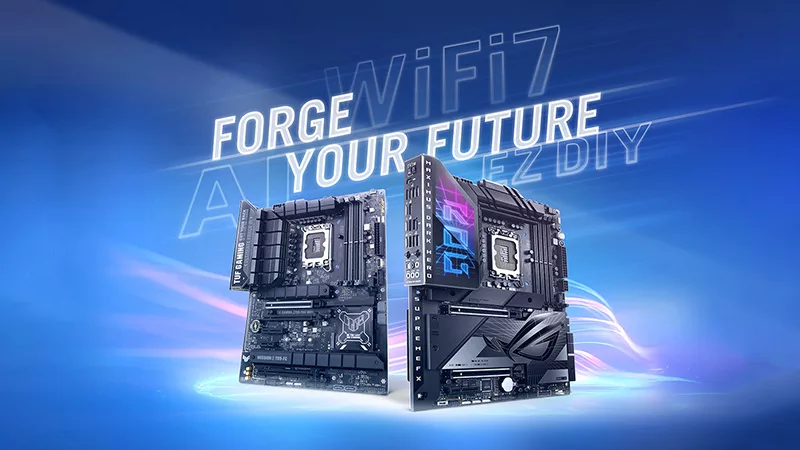
ROG Z890 motherboard guide: meet the new contenders for your next gaming rig
New ROG Maximus and ROG Strix Z890 motherboards stand ready for your Intel Core Ultra (Series 2) CPU.
New Z790 motherboards from ROG pave the way for 14th Gen Intel Core CPUs
WiFi 7 support, more fast storage, front-panel device charging, intelligent controls — our latest Z790 motherboards have it all.
New Z790 motherboards from ROG pave the way for next-gen Intel Core CPUs
WiFi 7 support, more fast storage, front-panel device charging, intelligent controls — our latest Z790 motherboards have it all.
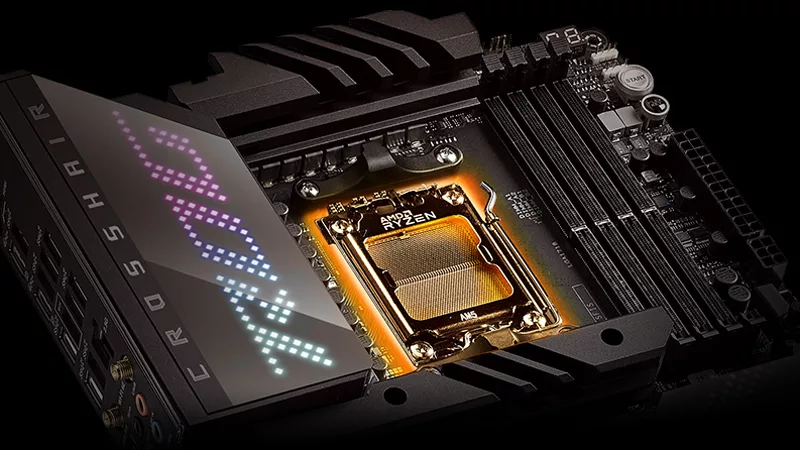
The best motherboards for a Ryzen 9 7950X3D CPU from ROG and TUF Gaming
AMD has released two new processors with 3D V-Cache technology: the Ryzen 9 7950X3D and the Ryzen 9 7900X3D. ROG and TUF Gaming X670 motherboards will provide a rock-solid foundation for these new top-tier chips.