Upgrading the G75VW
Upgrading the G75VW is relatively simple: you just need a Philips screw driver. It's just one screw keeping you out of the main hatch which covers the two 2.5" hard drive spaces, two SO-DIMM clips and one of the fan filters, as you can see below. Flip over the notebooks and unscrew the first hatch near the front:  By removing two screws on each, the hard drives can be popped out using the pull tags. Then unscrew the old drive if there is one via its side-screws and add the new drive into the housing, before reversing the process to put it back in.
  Unscrew two screws and just give it a tug to the side before lifting it out.
The housing will take SSDs, hybrid drives (like the Seagate Momentus XT) and SSDs in any mix and match configuration you desire. If you want to enable RAID0 or RAID1 for two HDD or SSD, it is available via the BIOS.  From here, the left-hand fan filter is accessible for cleaning, while the right fan filter requires removing another Philips screw and accessing a smaller hatch. Just to be clear: removing these two screws does not void your warranty. Also, as you'd expect, the battery requires just flicking the clip on the base to swap it out. No screw removal required. [gallery include="" size="large" link="file" template="file-gallery" columns="2"] However for the sake of transparency to our customers, please be aware of upgrade limitations. While the G75VW has four SO-DIMM slots in total; two of which are situated underneath the keyboard and accessing them requires chassis dismantling that voids your warranty so please plan your needs carefully before you buy.
  These two above will be populated first, at the factory, meaning if you buy an G75VW with 8GB DDR3 but later want 12GB or 16GB, dropping in one or two extra 4GB SO-DIMMs is a perfectly warranty-safe upgrade as this requires simply opening the base as described above. However, if you require upgrading all four SO-DIMM slots, this can only be done by unscrewing all visible screws on the base, removing the battery and optical drive, then gently separating the the motherboard tray from the keyboard. Evidently this process is not designed to be user upgradable, but if you feel you are technically adept and accept that you will not be able to return the notebook at a later date, it can be done.
Author
Popular Posts

The ROG XREAL R1 gaming glasses let you game anywhere on a 171-inch 240Hz virtual screen
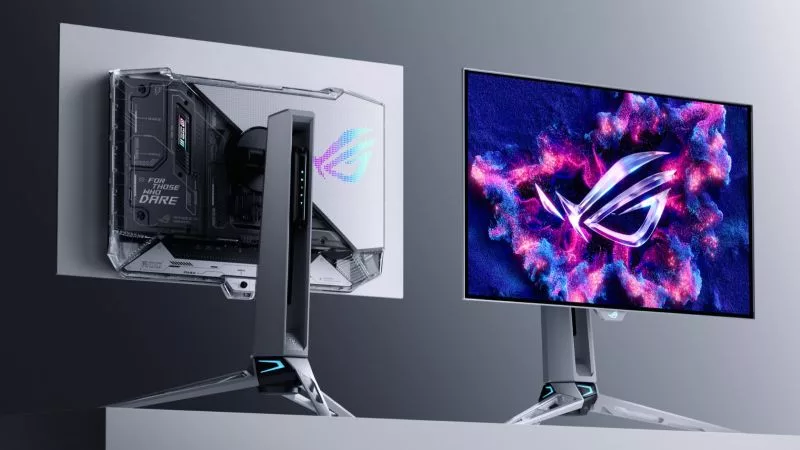
Prepare for Tandem OLED splendor with these new ROG gaming monitors

How to Cleanly Uninstall and Reinstall Armoury Crate
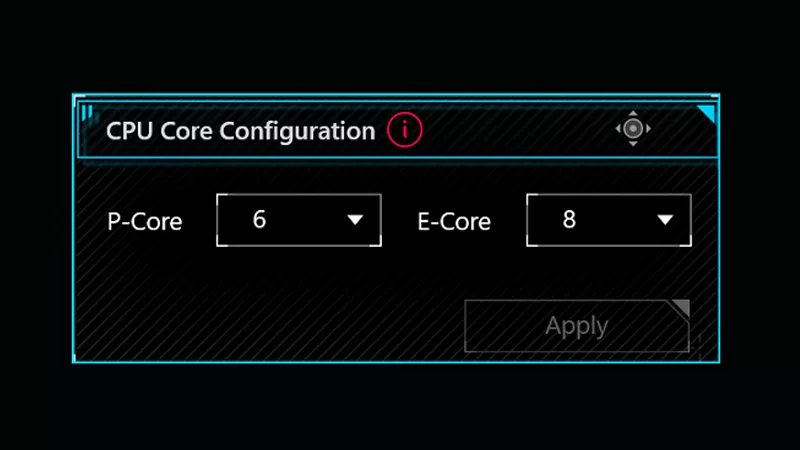
How to adjust your laptop's P-Cores and E-Cores for better performance and battery life
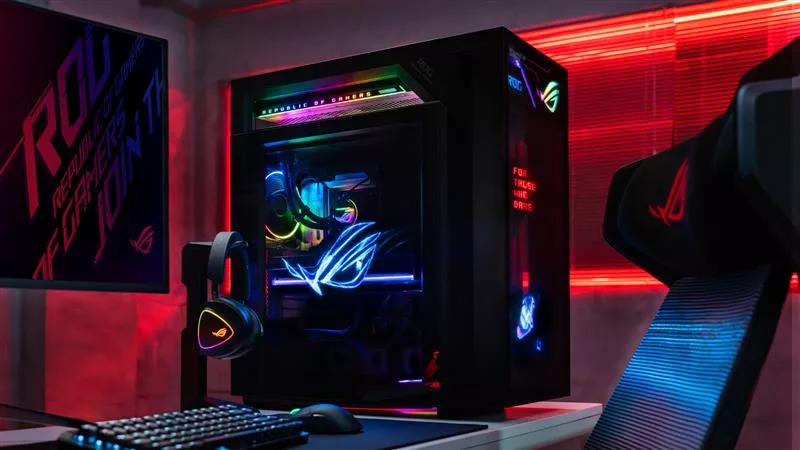
Check out the latest ROG gaming gear revealed at CES 2026
LATEST ARTICLES

The ROG Raikiri II is my new go-to game controller — and I can’t put it down
I'm a PC gamer who plays on the couch — and the new ROG Raikiri II is the lynchpin of my living room battlestation.
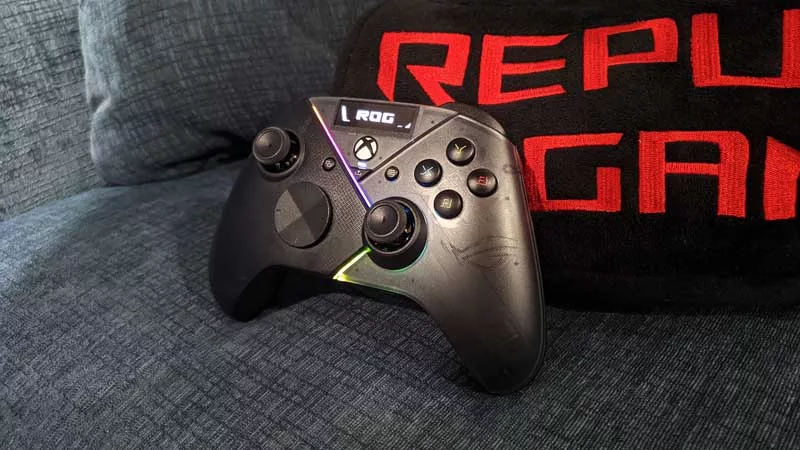
Hands-on: The ROG Raikiri Pro took my couch gaming to the next level
I've been a diehard PC gamer all my life, but I often play on the couch. The ROG Raikiri Pro has improved my living room PC gaming immeasurably thanks to a few useful features and loads of customizability.
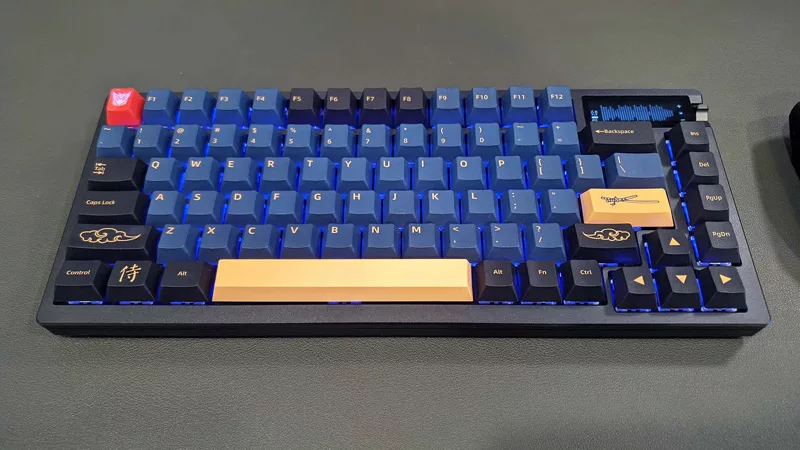
Hands-on: The ROG Azoth became the canvas for the keyboard of my dreams
Ever since I bought my first mechanical keyboard, I’ve been on a mission to mod and upgrade, mod and upgrade. But I think the ROG Azoth may actually be my endgame.
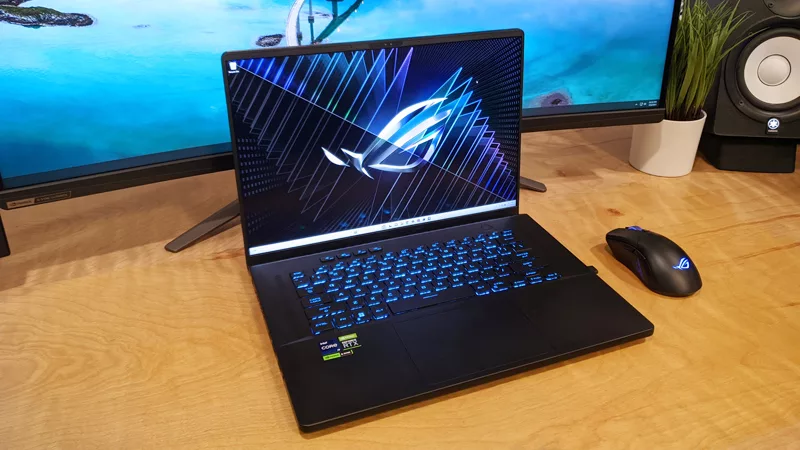
The Zephyrus M16 blends outstanding HDR gaming performance with undeniable luxury
The new ROG Zephyrus M16, with its Nebula HDR display, is like bringing a high-end home theater gaming setup with you wherever you go.
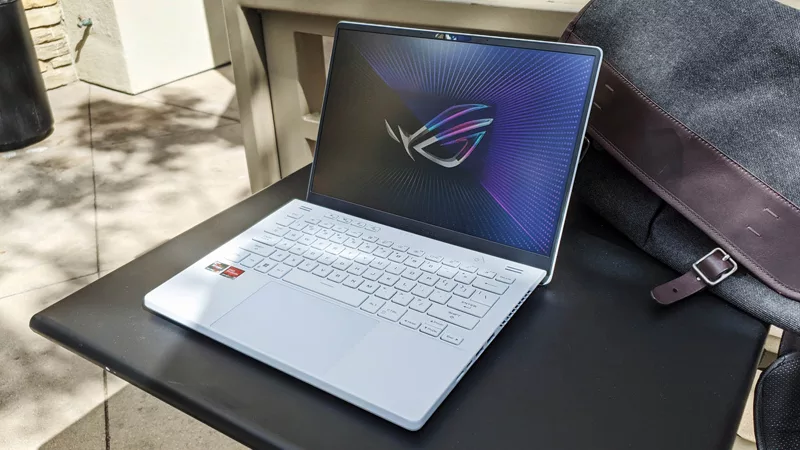
Radeon graphics and a stellar new display reinvigorate 2022 ROG Zephyrus G14
For a long time, I had to choose between underpowered ultraportable laptop and large laptops capable of gaming. But the ROG Zephyrus G14 puts admirable gaming chops into an ultra portable machine that travels anywhere.
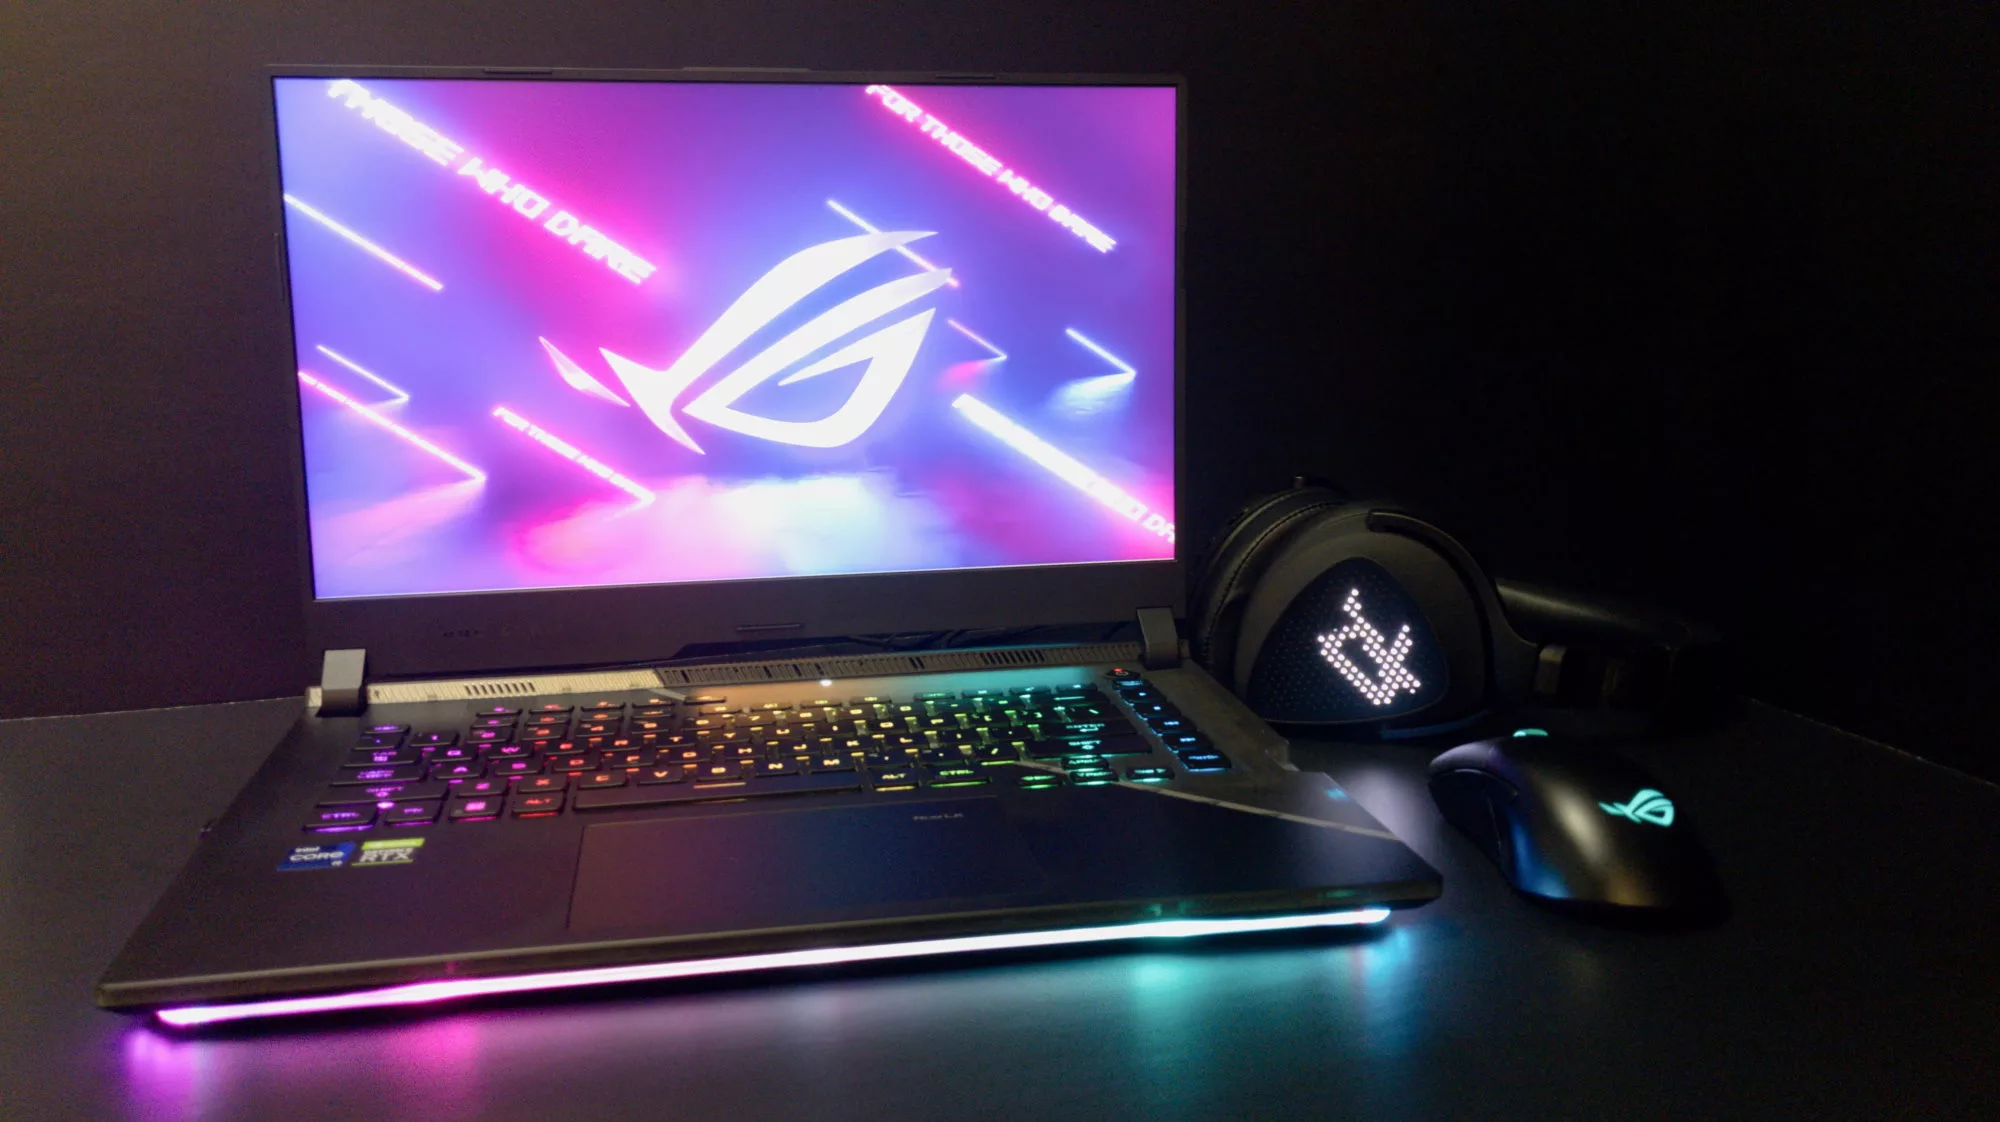
Ready to rumble out of the box: Hands-on with the ROG Strix SCAR 15
Living on the move or in a smaller space isn't a roadblock to high-end gaming. The ROG Strix SCAR makes portable powerful.
