G551 Upgrade Guide
There is something that makes a laptop very appealing; that certain satisfaction you get when you know you've upgraded and pushed your laptop until it can't possibly go any further.
The ROG G551 allows you access to components to improve the performance, if you haven't already maxed it out when you bought it, giving you the option of boosting your laptop via upgrade later on. Here we get to open one up, but first, find some stable work space where there's ample room (losing a screw is never fun) with a surface that won't scratch the nice, brushed-aluminum surface on your new G551. It is ill-advised to disassemble more than what is illustrated here, as that would void the warranty.
To start, we need to flip the laptop over, unscrew the two screws (as illustrated with red lines) and slide the cover down to open (do not pull to open).
Under the cover, you will find the 2.5-inch SATA hard drive/SSD bay on the left, which has four screws (red) holding it down (to reduce the total number of screws, one screw also secures the cover which we already took out). In the middle is the WiFi/Bluetooth module. Next to that is the RAM (blue). There's a small square window on the right which reveals the optional 24GB SSD cache, but this is inaccessible and must be purchased pre-installed if you want it.. On the very right, there is the card-reader slot.
Upgrading the RAM
ROG G551 has 2 SO-DIMM slots, you can insert up to two 8GB sticks of DDR3L (low-voltage 1.35V) 1600MHz RAM. By pulling the 2 latches on each side outward the DIMM pops up, and then you can pull them out. As usual when working with sensitive electronics like memory, always discharge (ground) yourself to make sure you don't zap (potentially kill) it with static electricity.
Upgrading the Hard Drive / Swapping the Battery
There is a removable Li-ion 56Wh battery which can be removed by sliding the locking mechanism (white). The battery pops up and you can drop in an optional second battery if you wish.
In this model we have a Solid-State Hybrid Drive (SSHD) connected via the SATA connector (blue) in the drive bay. You can swap it out for an alternative like a pure 2.5-inch SSD if you wish, but remember all your data is stored on the one drive.
Upgrading the Optical Drive
If you are in favour of using a Bluray ROM/Burner, or using the optical drive bay as a second HDD bay via a 3rd party caddy/adapter, then you can simply unscrew the single screw (yellow) securing the optical drive and slide it out. The connector is standard mobile SATA.
Other
There is a WLAN / Bluetooth combo card (purple) and a slot for the optional mSATA Mini SSD for cache (green).
The WLAN / Bluetooth combo card can be removed and replaced, although if replaced with a different card there may be compatibility issues, so it is best to avoid changing it.
mSATA Mini (Half Size) Slot
An optional 24GB SSD cache resides here (green), which must be spec'd and pre-installed by the retailer at time of purchase. It gives SSD-like performance to HDD/SSHD users, giving a good balance of performance and large storage space.
Author
Popular Posts

The ROG XREAL R1 gaming glasses let you game anywhere on a 171-inch 240Hz virtual screen
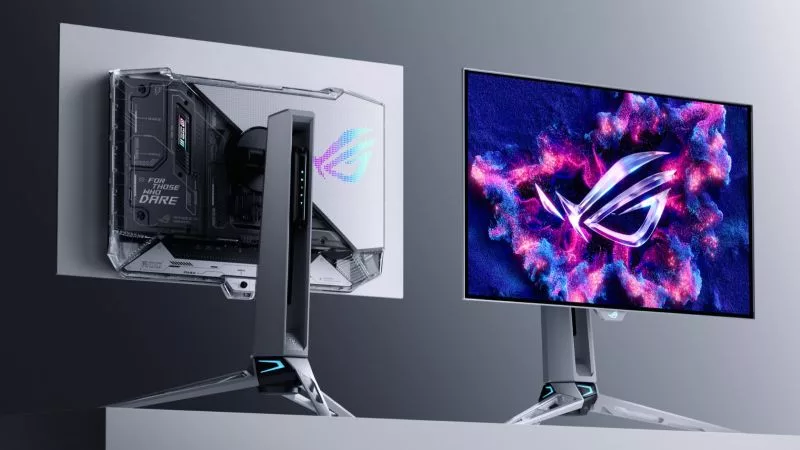
Prepare for Tandem OLED splendor with these new ROG gaming monitors
How to Cleanly Uninstall and Reinstall Armoury Crate
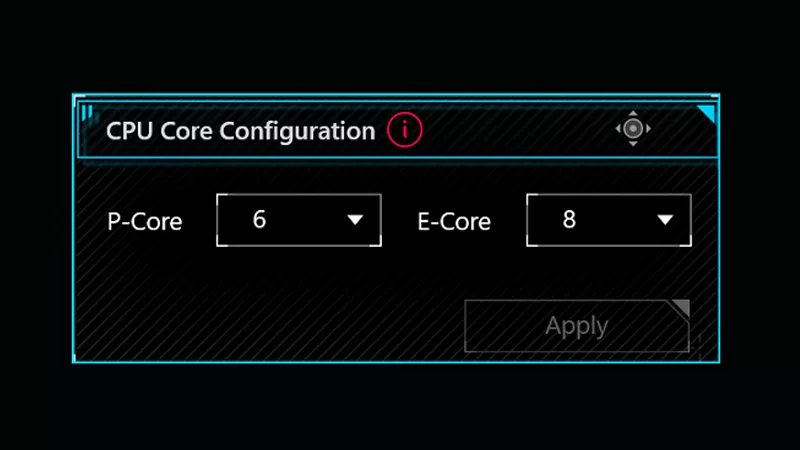
How to adjust your laptop's P-Cores and E-Cores for better performance and battery life
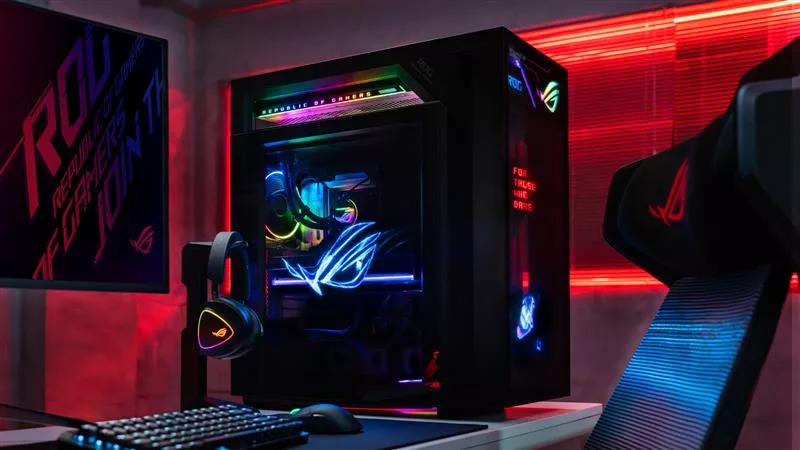
Check out the latest ROG gaming gear revealed at CES 2026
LATEST ARTICLES

The ROG Raikiri II is my new go-to game controller — and I can’t put it down
I'm a PC gamer who plays on the couch — and the new ROG Raikiri II is the lynchpin of my living room battlestation.
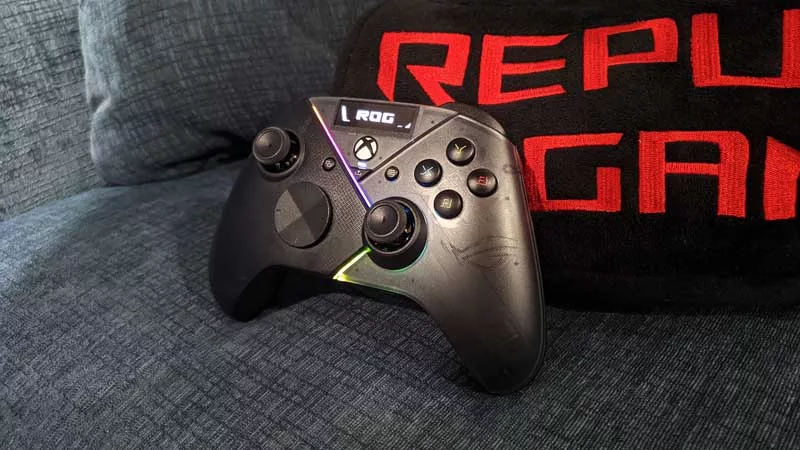
Hands-on: The ROG Raikiri Pro took my couch gaming to the next level
I've been a diehard PC gamer all my life, but I often play on the couch. The ROG Raikiri Pro has improved my living room PC gaming immeasurably thanks to a few useful features and loads of customizability.
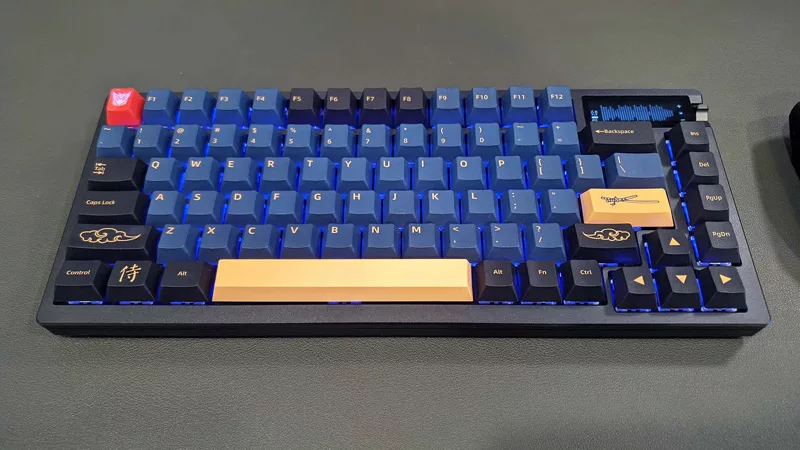
Hands-on: The ROG Azoth became the canvas for the keyboard of my dreams
Ever since I bought my first mechanical keyboard, I’ve been on a mission to mod and upgrade, mod and upgrade. But I think the ROG Azoth may actually be my endgame.
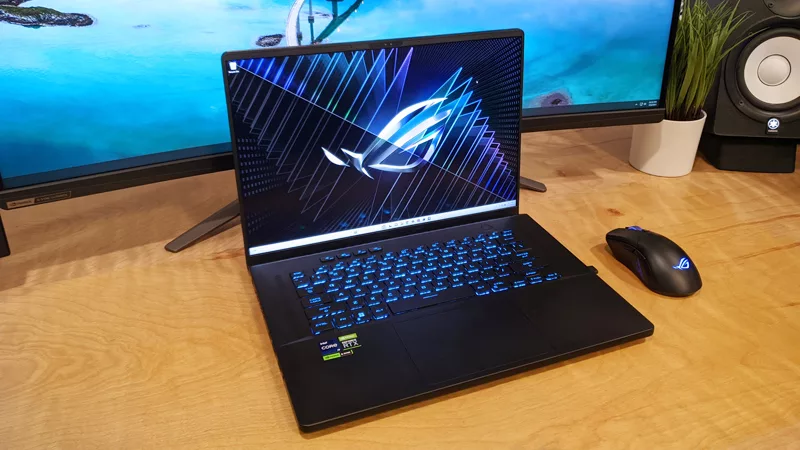
The Zephyrus M16 blends outstanding HDR gaming performance with undeniable luxury
The new ROG Zephyrus M16, with its Nebula HDR display, is like bringing a high-end home theater gaming setup with you wherever you go.
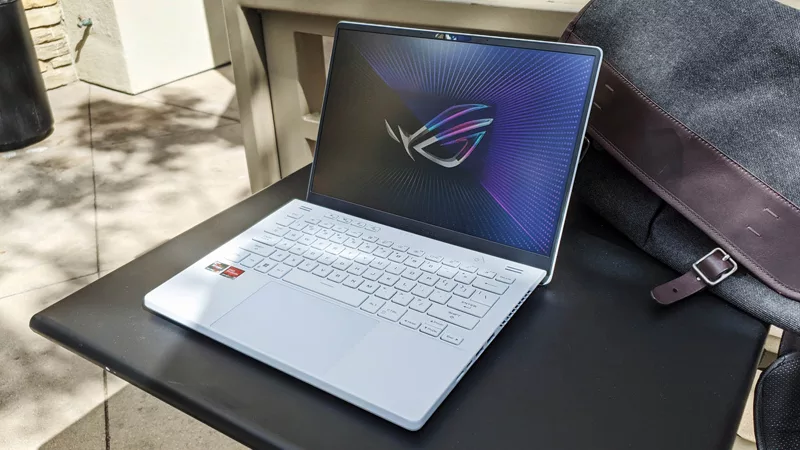
Radeon graphics and a stellar new display reinvigorate 2022 ROG Zephyrus G14
For a long time, I had to choose between underpowered ultraportable laptop and large laptops capable of gaming. But the ROG Zephyrus G14 puts admirable gaming chops into an ultra portable machine that travels anywhere.
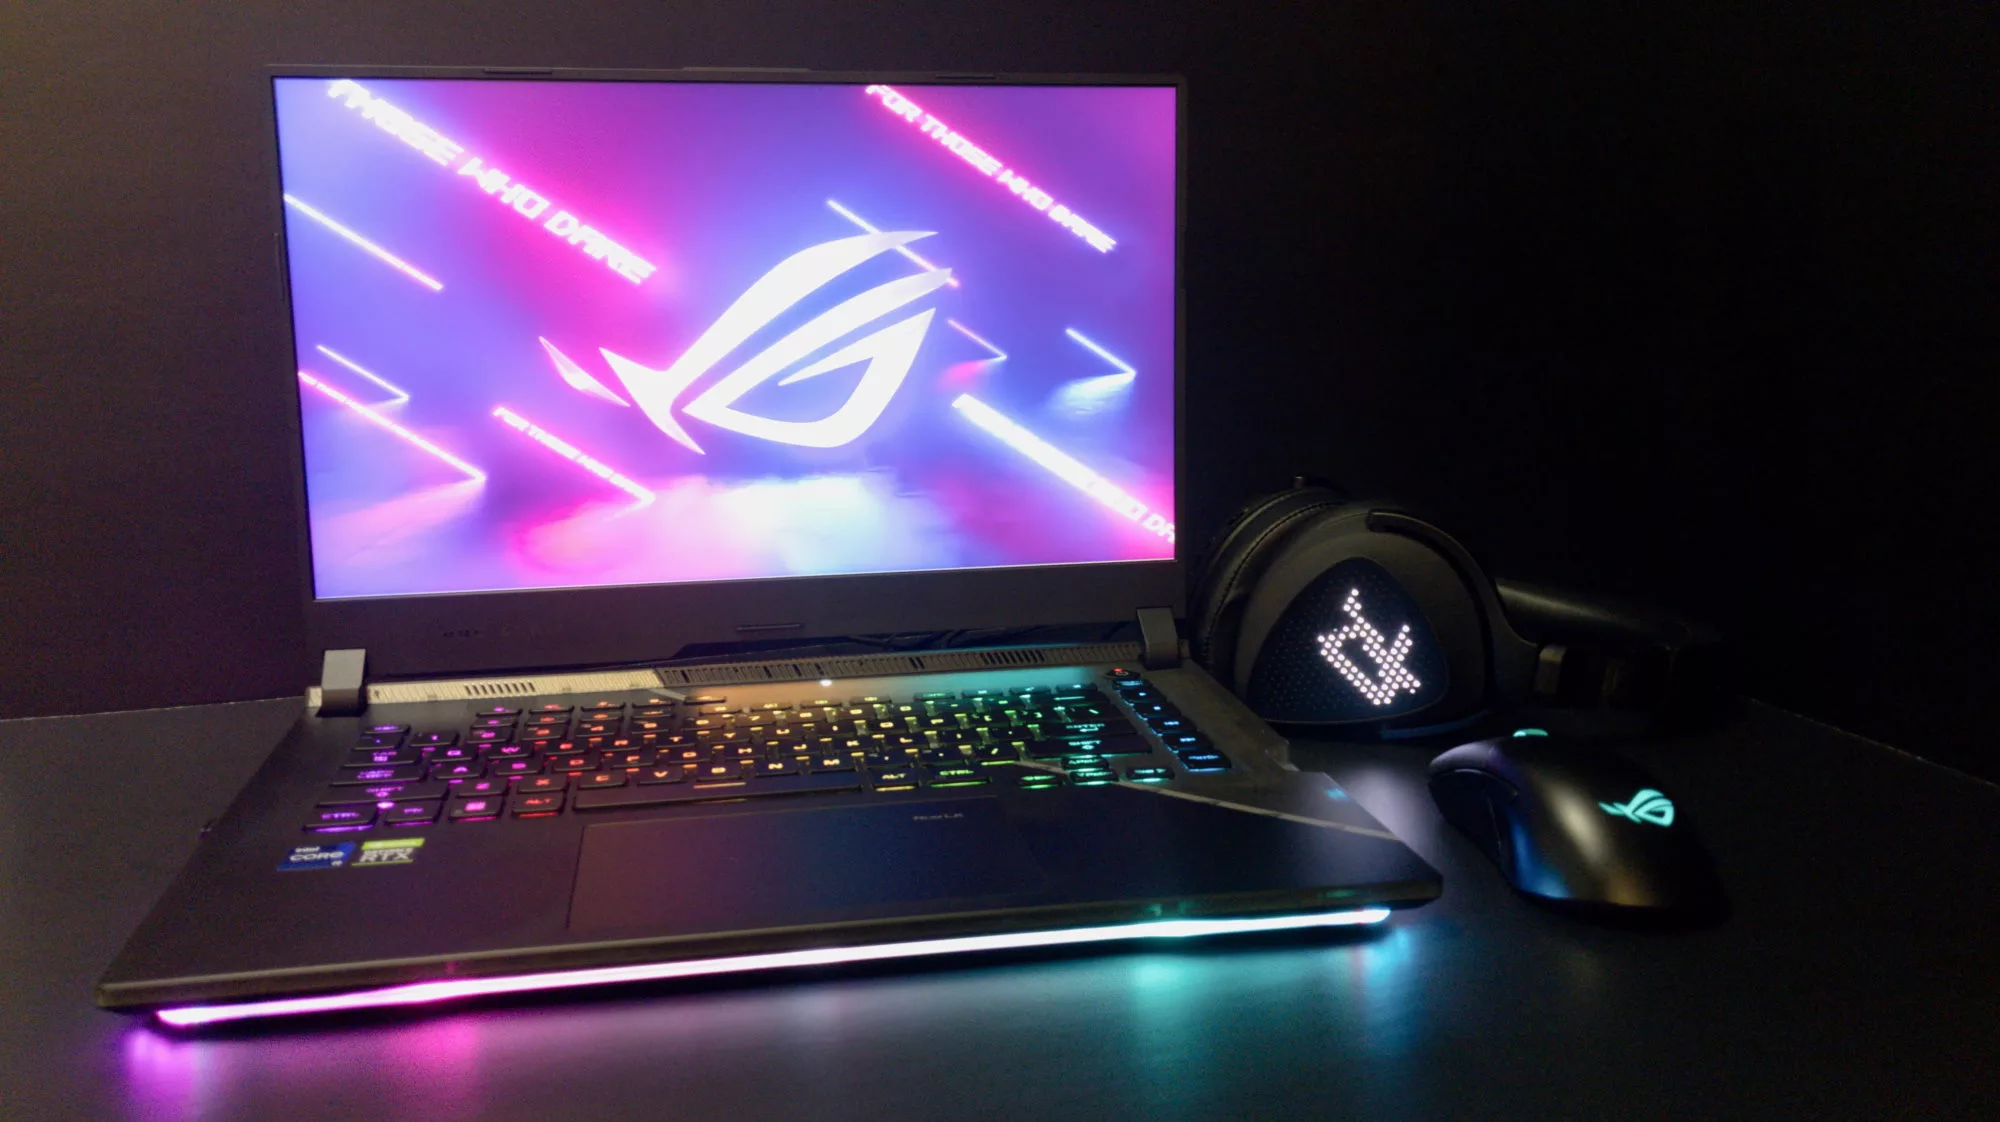
Ready to rumble out of the box: Hands-on with the ROG Strix SCAR 15
Living on the move or in a smaller space isn't a roadblock to high-end gaming. The ROG Strix SCAR makes portable powerful.


