Guide: How To Swap Omron Switches In The ROG Gladius
One of the key features in the ROG Gladius is the customizable Omron switches for the left and right trigger buttons. These high-quality Japanese-made switches provide you with accurate clicks with the right resistance. They are robust enough to last 20 million clicks. There is an exclusive socket design for easy switch upgrades for when you want to change between the 2 pairs of switches included, each pair offers a different resistance. Although it is an easy process, we will quickly look at how you can change the switches yourself with confidence.
Here you can see the extra pair of Omron switches (with a different click resistance) and a set of extra mouse feet.

First unlock and disconnect the mouse cable to make it easier to handle. The Gladius is designed with slots to get your fingernail in, to lift up the mouse feet. Lift the feet up enough so that you can access the screw underneath.

And unscrew.

Don't lose the screws. (Magnetic screwdrivers are the best!)

Do the same with all 4 screws.

Now you can pull the mouse apart carefully, opening the bottom is much like cracking an egg between two hands.

Inside you have the opportunity to check out the tech.

Voila! Piece of cake.

Simply pull out the current switches from their sockets (and don't mix them up with the new ones).

Get the new Omron switches.

Push the replacement switches in firmly; it doesn't require much force.

You can swap just one button, or both buttons, depending on your preference.

Put the mouse back together.

Close it up tight.

Put the screws back.

Run your fingers over the feet to cover the screws holes again.

Realign if necessary.

Then finally plug the Gladius back in, and it's time to frag!
Author
Popular Posts

Prepare for Tandem OLED splendor with these new ROG gaming monitors

How to adjust your laptop's P-Cores and E-Cores for better performance and battery life

How to Cleanly Uninstall and Reinstall Armoury Crate
How to upgrade the SSD and reinstall Windows on your ROG Ally, ROG Xbox Ally, or ROG Xbox Ally X
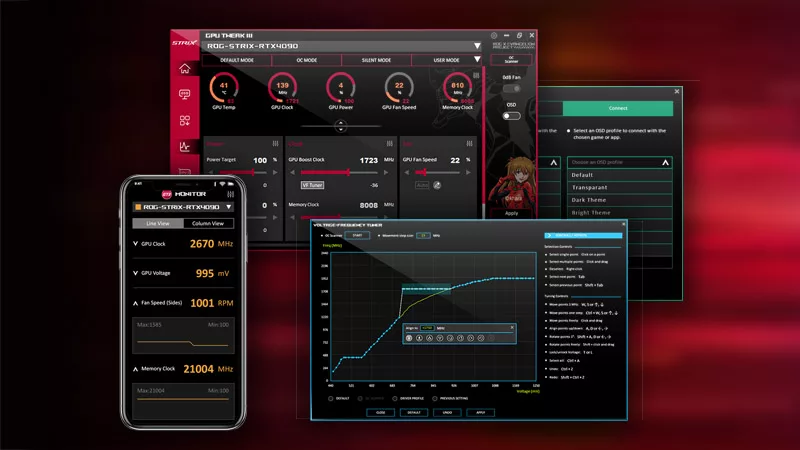
ASUS GPU Tweak III: The ultimate tool for advanced GPU tuning
LATEST ARTICLES

Hands-on: The ROG Raikiri Pro took my couch gaming to the next level
I've been a diehard PC gamer all my life, but I often play on the couch. The ROG Raikiri Pro has improved my living room PC gaming immeasurably thanks to a few useful features and loads of customizability.
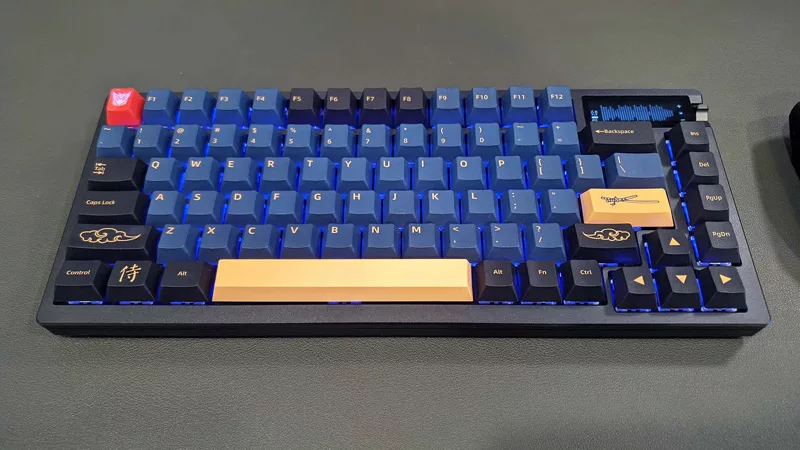
Hands-on: The ROG Azoth became the canvas for the keyboard of my dreams
Ever since I bought my first mechanical keyboard, I’ve been on a mission to mod and upgrade, mod and upgrade. But I think the ROG Azoth may actually be my endgame.

The Zephyrus M16 blends outstanding HDR gaming performance with undeniable luxury
The new ROG Zephyrus M16, with its Nebula HDR display, is like bringing a high-end home theater gaming setup with you wherever you go.
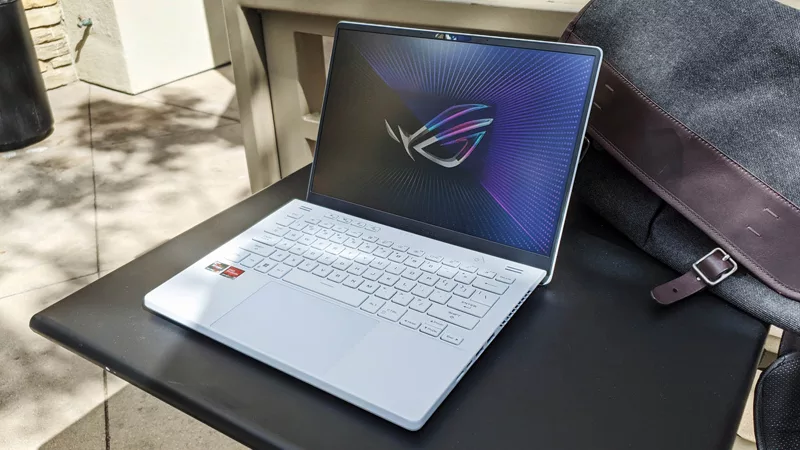
Radeon graphics and a stellar new display reinvigorate 2022 ROG Zephyrus G14
For a long time, I had to choose between underpowered ultraportable laptop and large laptops capable of gaming. But the ROG Zephyrus G14 puts admirable gaming chops into an ultra portable machine that travels anywhere.

Ready to rumble out of the box: Hands-on with the ROG Strix SCAR 15
Living on the move or in a smaller space isn't a roadblock to high-end gaming. The ROG Strix SCAR makes portable powerful.
The ROG Zephyrus S17 is an outstanding mixture of power and portability
The S17 has it all: top-tier hardware in a slim package with all the bells and whistles.