Overclocking A 5960X With EK-KIT X360 Water Cooling Kit
ROG forumer, Chino, recently paired his Rampage V Extreme and Core i7-5960X with an EK-KIT X360 water cooling kit. Here's his review and overclocking results:

Having owned the Core i7-5960X and the Rampage V Extreme for a few months now, I was looking to extract some extra performance from this awesome combo. However, my current air cooler wasn’t going to help me achieve my goal. As much as I love air cooling, I was convinced that I need to cross over to water cooling to be able to overclock this 8 core monster. There was just no way around it.
While AIO closed loop liquid coolers are very popular nowadays, I wanted more performance than what they can provide. But also being a newcomer to the custom water cooling world, I didn’t have the knowledge or funds to spec out a capable water cooling loop on my own. So I did the next best thing and went with a water cooling starter kit to get my feet wet. Since custom water cooling is so versatile, I am sure that I will - at some point - upgrade my custom loop to water cool my graphics card(s).
The EK-KIT X360 Water Cooling Kit

After doing a little research, I decided on the EK-KIT X360 from EKWB. Since EKWB is a popular and reputable brand in the water cooling industry, I was positive that my Core i7-5960X and Rampage V Extreme were in good hands. And besides - the X360 kit includes a 64mm thick 360mm radiator that should allow me to push the CPU well beyond 4GHz.
Overview of the Installation Process
The installation manual that EK has provided with the X360 is one of the most detailed that I’ve ever read, with a clear explanation on how to install the kit from start through finish.
What I loved most about it was the extra tips that were present in each step. It’s like you have a veteran water cooling user guiding you along the way.
Here's a quick summary of what I did:
After removing the Rampage V Extreme from the case so that I had more space to work with, I thoroughly cleaned the CPU’s HIS with isopropyl alcohol. I then applied the included TIM using the dot method. The thumb screws and springs were installed before I started to fasten the thumb nuts in the recommended criss-cross pattern to even out the pressure. I’m loving the tool free design.

After putting the Rampage V Extreme back into the case, I decided to attach the three fans into the radiator. I’m rolling with a push configuration which works best in my scenario and ambient temperature.

All that is left at this point in the installation process is to mount the reservoir and pump to somewhere in the case. Afterwards, I started to cut the tubes and connect them to each component using the compression fittings. I double checked all my connections and then started to fill the loop carefully.

I wrapped all the compression fittings with paper towels to start the 24 hour leak test. Let’s fast forward to the next section.

EK-KIT X360 Cooling Performance
The only way to find out the quality of my Core i7 5960X is to test it, so I proceeded to the BIOS and started overclocking. ROG Realbench was used to stress test the CPU for stability at each frequency. After several days of tweaking and BSODs, you can see my results below. They are presented in delta temperatures so that you can get a better idea of the EK-KIT X360’s performance.
For me, the EK-KIT X360 is truly amazing and performed flawlessly to keep the temperatures in check. The delta temperature readings are below 40C up to 4.4GHz.

You might notice that there was a substantial increase from 4.4GHz to 4.5GHz; of which the reason is as follows:

I've graphed each frequency with the corresponding voltage necessary to achieve stability. This is valuable information as it tells me when to back off. Normally your CPU voltage scales in a linear pattern as you start increasing your CPU frequency, but eventually you will reach a point where it needs a hefty voltage increase for that extra 100MHz. That’s evidently the point where diminishing returns start have kicked in.
For my particular CPU, the sweet spot is at 4.4GHz. To get to 4.5GHz, I needed to feed it +0.19V which is three times as much than what I need to go from 4.3GHz to 4.4GHz.
The EK-KIT X360 has proven that it can definitely keep the i7-5960X’s temperatures under control. Depending on your room’s ambient temperature, you have as much headroom as high as 1.47V on the vcore. For the average 5960X, you should be able to achieve 4.6GHz to 4.7GHz with this starter kit.
BIOS Configuration
Since the three fans that come in the package use three pins, I chose DC Mode in the BIOS.

Being non PWM fans, my options to control them to my taste are limited. I can choose between the typical profiles like Silent, Standard or Turbo. Since it’s winter time where I live, my ambient temperature is decent. So I decided to run the Silent profile.

Author
Popular Posts

How to adjust your laptop's P-Cores and E-Cores for better performance and battery life

Prepare for Tandem OLED splendor with these new ROG gaming monitors

How to Cleanly Uninstall and Reinstall Armoury Crate
32-inch glossy WOLED panels debut in the ROG Strix OLED XG32UCWMG and XG32UCWG gaming monitors
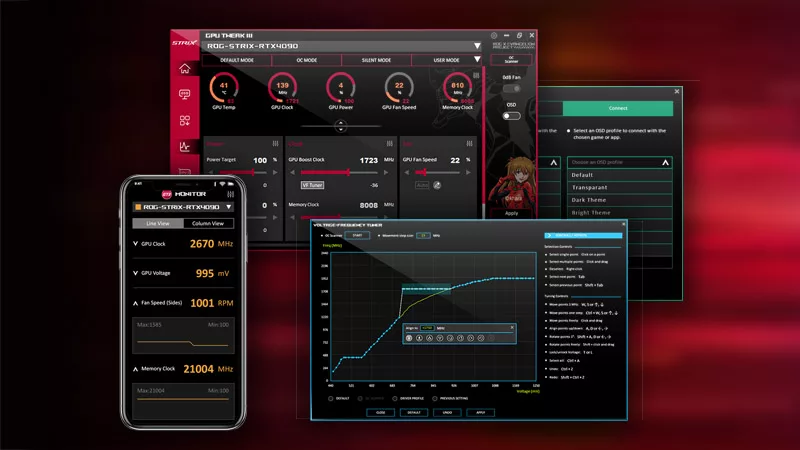
ASUS GPU Tweak III: The ultimate tool for advanced GPU tuning
LATEST ARTICLES

Hands-on: The ROG Raikiri Pro took my couch gaming to the next level
I've been a diehard PC gamer all my life, but I often play on the couch. The ROG Raikiri Pro has improved my living room PC gaming immeasurably thanks to a few useful features and loads of customizability.
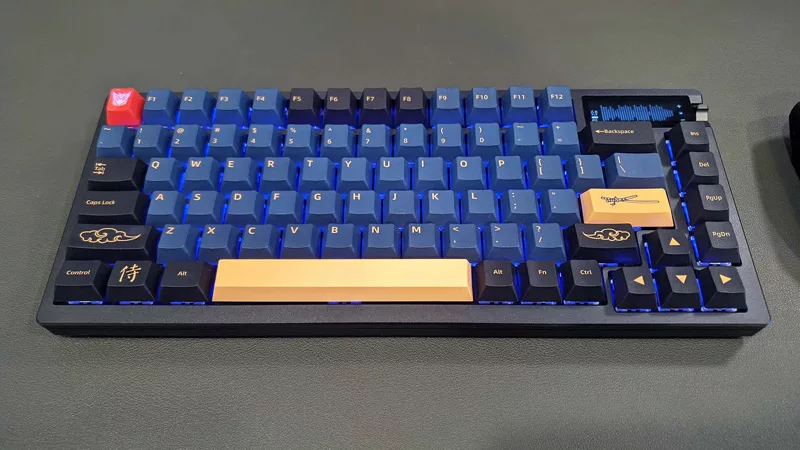
Hands-on: The ROG Azoth became the canvas for the keyboard of my dreams
Ever since I bought my first mechanical keyboard, I’ve been on a mission to mod and upgrade, mod and upgrade. But I think the ROG Azoth may actually be my endgame.

The Zephyrus M16 blends outstanding HDR gaming performance with undeniable luxury
The new ROG Zephyrus M16, with its Nebula HDR display, is like bringing a high-end home theater gaming setup with you wherever you go.
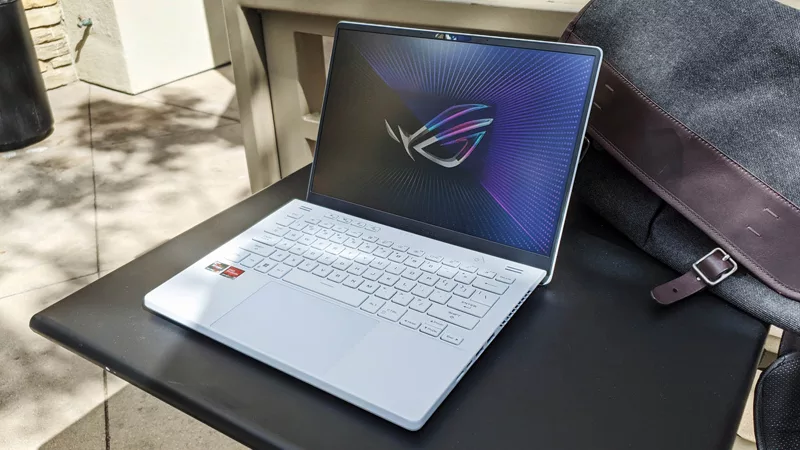
Radeon graphics and a stellar new display reinvigorate 2022 ROG Zephyrus G14
For a long time, I had to choose between underpowered ultraportable laptop and large laptops capable of gaming. But the ROG Zephyrus G14 puts admirable gaming chops into an ultra portable machine that travels anywhere.

Ready to rumble out of the box: Hands-on with the ROG Strix SCAR 15
Living on the move or in a smaller space isn't a roadblock to high-end gaming. The ROG Strix SCAR makes portable powerful.
The ROG Zephyrus S17 is an outstanding mixture of power and portability
The S17 has it all: top-tier hardware in a slim package with all the bells and whistles.