Overclocking Guide: 4.7GHz Core-i7 3770K On The Maximus V Formula
Before Starting, Please Note:
Overclocking to these frequencies on a Core i7-3770K will require a large CPU cooler or, ideally, a liquid cooling system. Ivy Bridge CPUs, despite consuming less power than the Sandy Bridge chips they replaced, generally run hotter, and without a very high-end cooler you will struggle to keep temperatures below the chip’s TJMax of 105°C, particularly at the settings listed below.
Installing the i7-3770K in the Maximus V Formula
- Release the CPU socket tension arm
- Install the CPU, ensuring the notches on the CPU line up with the socket. This requires zero insertion force, but once seated the socket pins are extremely delicate so don't wiggle it.
- Secure the tension arm and it should look as shown above.
- Add thermal paste (as necessary)
- Use a flat edged item such as an old credit or debit card to smooth the thermal paste flat and even. We've used a spreading spatula here to ensure a thin, even coat.
- If you’re using a dual-channel memory kit, fit the two in the pair of red slots, furthest from the CPU socket.
- Aiming for 4.7GHz, you’ll need a hefty CPU cooler. Here we've used the Corsair H100i liquid cooler, which requires the fitting of a back-plate mount behind the motherboard. Fit this now to avoid having to do so inside your built PC.
 Updating the BIOS
- Before overclocking your Maximus V Formula it’s a good idea to update it to the latest version of the BIOS. You can do this in the BIOS by selecting the ‘Tool’ menu, and running the ASUS EZ Flash 2 utility. So long as the valid BIOS file is on a USB flash drive, it’ll appear in the menu. Load the new BIOS and wait for it to install; a process which will typically require a reboot. If you’re super impatient, you can also update the BIOS before even installing the CPU or RAM using ASUS’ USB BIOS Flashback technology.
Make sure everything works
- There’s no point to overclocking your PC if it isn’t stable at stock to start with, so first make sure everything’s working as it should.
- Start the system and enter BIOS
- Press F5 to load optimized BIOS defaults
- Hit F10 to save the BIOS and restart, booting into Windows.
- Open CPU-Z, you’ll find the CPU has clocked itself down to 1,600MHz when idle
- Run Prime95 and select the CPU intensive Small FFT test – the CPU should clock up to 3.9GHz, the maximum Turbo Boost frequency for this chip.
- Now’s also a good time to install a temperatures monitoring software such as CoreTemp or RealTemp, as the Asus AISuite II software will report from sensors on the board, not from the CPU’s internal thermistors.
All Good? Now back to the BIOS
With your system stable at stock, it’s now time to overclock. As always, there’s some variability between every Core i7-3770K. Some will reach 5GHz while others won’t make it to 4.7Hz; this is an inevitable and random part of overclocking. However, in our experience the vast majority of chips should be able to comfortably reach 4.7GHz using the Maximus V Formula and appropriate cooling we’re using here.
- Switch BIOS to Advanced Mode
- Set AI overclock tuner to Manual
- Set Turbo Ratio to Manual
- Leave Ratio Sync Control ‘Enabled’
- Set the 1-Core Ratio limit to 47. All the other core limits boxes should auto-fill to match.
- Enable Internal PLL Overvoltage, which can aide in overclocking capability
- Enable Xtreme Tweaking, which helps improve performance in some circumstances.
Adding Voltage
As we want this guide to apply to as many people as possible, we've been very liberal with voltages to ensure you’ll reach the specified clock speed. It is not advised to run your CPU at the below voltages in the long term! After getting your chip to 4.7GHz, reduce the voltage down to find the lowest stable voltage your particular i7-3770K can run at.
- Leave Extreme OV ‘Disabled’ – you will not need more than is provided. This setting is for extreme overclocking (6+GHz) only, and remember excessively over-volting your processor can damage it.
- Set CPU Voltage to Manual Mode
- Set the CPU Manual Voltage to 1.35V. This really should be the maximum you require to reach 4.7 GHz
- Enter the DIGI+ power Control screen by selecting DIGI+ power Control
- Set load-line Calibration to Extreme
- Set CPU Voltage Frequency to Manual and set the CPU fixed Frequency to 500. This will help with overclock stability.
- Set CPU Current Capability to 140%. This will allow your CPU to pull more power than its listed TDP, a requirement for higher overclocks.
- Hit F10 to save the changes you've made and restart the PC
- Fire up Core Temp, CPU-Z and Prime 95. The CPU should clock up to 4.7GHz, but you’ll likely find that your CPU temperatures will be in the range of 90°C+. That’s OK for now, the important thing at this point is that you know the chip can reach 4.7GHz without a blue-screen or hard lock crash. Keep an eye on the CPU-Z voltage when the CPU is loaded too: does it jump above 1.35V? If the system proves unstable, consider returning to the BIOS and disabling the C-states in the CPU power management configuration menu. This will ensure the CPU remains at its turbo-boosted frequencies without clocking down. This means higher power use and temps, but also it can prove more stable.
- With this knowledge, you can now return to the BIOS and reduce the voltages to more manageable levels.
- Start by reducing the voltage in small 0.1V steps. You can also drop the load line calibration setting if you wish, if you have spotted the CPU-Z voltage jumping too high above 1.35V when the CPU is loaded.
- Between each voltage adjustment, restart the system and run CPU-Z, CoreTemp and Prime 95 to determine if the overclock remains stable. Your results will vary, but our chip here, which is by no means a pre-binned chip, was able to run at 4.7GHz stable using a core voltage of 1.27V and Ultra Load Line Calibration.
Author
Popular Posts

Prepare for Tandem OLED splendor with these new ROG gaming monitors
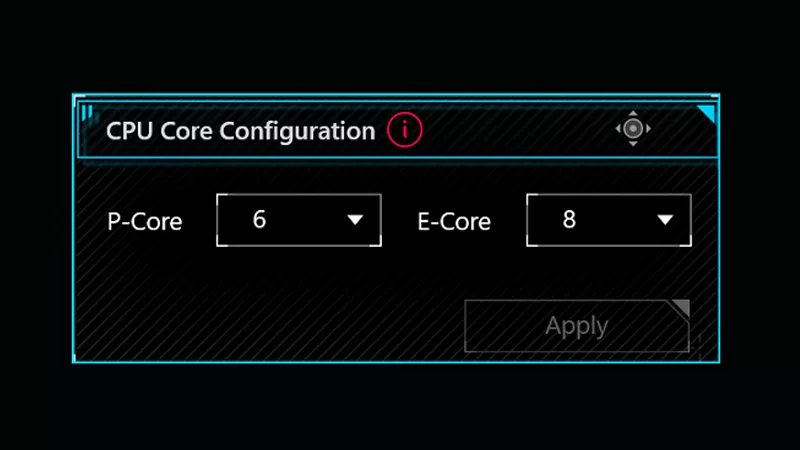
How to adjust your laptop's P-Cores and E-Cores for better performance and battery life

How to Cleanly Uninstall and Reinstall Armoury Crate
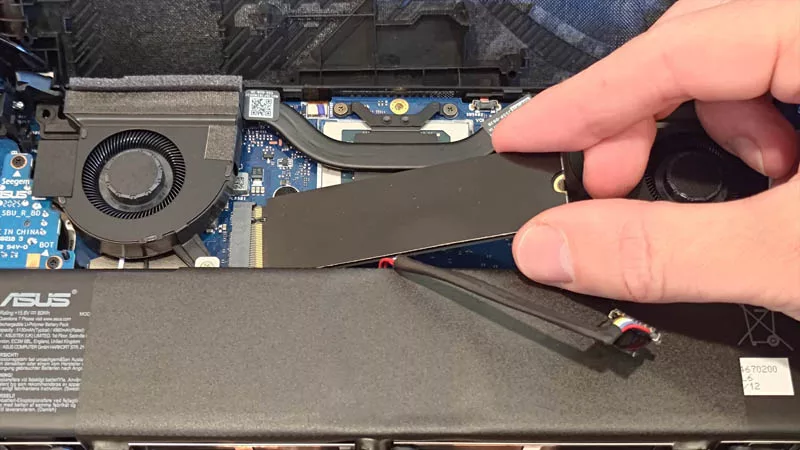
How to upgrade the SSD and reinstall Windows on your ROG Ally, ROG Xbox Ally, or ROG Xbox Ally X
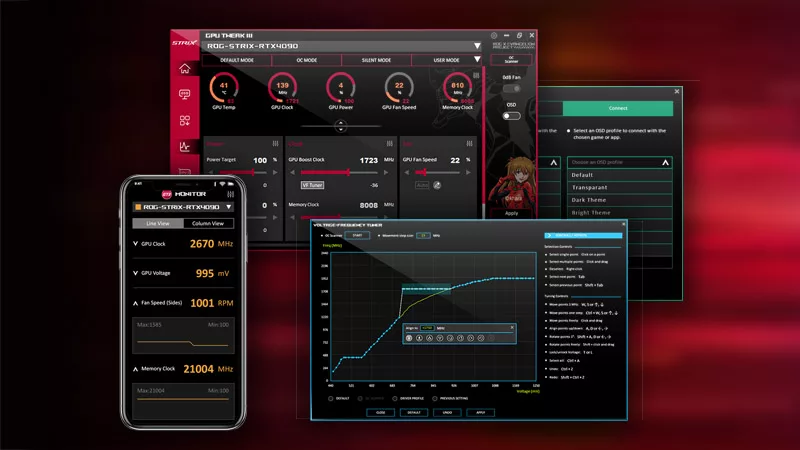
ASUS GPU Tweak III: The ultimate tool for advanced GPU tuning
LATEST ARTICLES

Hands-on: The ROG Raikiri Pro took my couch gaming to the next level
I've been a diehard PC gamer all my life, but I often play on the couch. The ROG Raikiri Pro has improved my living room PC gaming immeasurably thanks to a few useful features and loads of customizability.
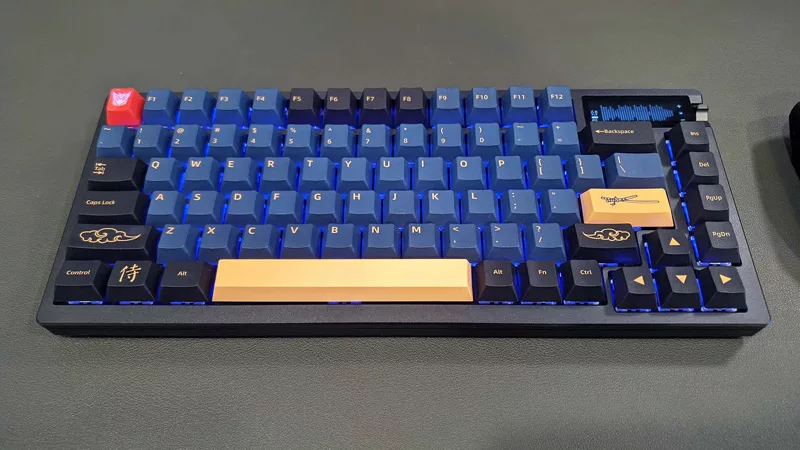
Hands-on: The ROG Azoth became the canvas for the keyboard of my dreams
Ever since I bought my first mechanical keyboard, I’ve been on a mission to mod and upgrade, mod and upgrade. But I think the ROG Azoth may actually be my endgame.
The Zephyrus M16 blends outstanding HDR gaming performance with undeniable luxury
The new ROG Zephyrus M16, with its Nebula HDR display, is like bringing a high-end home theater gaming setup with you wherever you go.

Radeon graphics and a stellar new display reinvigorate 2022 ROG Zephyrus G14
For a long time, I had to choose between underpowered ultraportable laptop and large laptops capable of gaming. But the ROG Zephyrus G14 puts admirable gaming chops into an ultra portable machine that travels anywhere.
Ready to rumble out of the box: Hands-on with the ROG Strix SCAR 15
Living on the move or in a smaller space isn't a roadblock to high-end gaming. The ROG Strix SCAR makes portable powerful.
The ROG Zephyrus S17 is an outstanding mixture of power and portability
The S17 has it all: top-tier hardware in a slim package with all the bells and whistles.


