Overclocking The Core i5 2500K With Maximus IV GENE-Z To An Easy 4.4GHz
Following our recent BIOS guide for the Maximus IV GENE-Z, here's exactly how you can reach an easy 4.4GHz with the popular Intel Core i5-2500K processor. This guide is applicable to other ASUS P67 and Z68 motherboards, including the Sabertooth P67, the Maximus IV Extreme and Extreme-Z as well.
Disclaimer
As this is a basic guide for new and novice overclockers, so there are some basic factors that we need to take into account before we begin any kind of overclocking. The most important one is to understand that by overclocking your CPU you are voiding its warranty, and therefore you overclock entirely at your own risk. The fact that Intel and ASUS manufacture products with the capacity to overclock is irrelevant as overclocking is an option that the end user undertakes at their own risk. Realistically though, under low-to-moderate voltage increases and with proper cooling should be just fine!
Hardware Check List
Successful overclocking requires more than just turning up the MHz. Firstly let us check you have right hardware to support it.
Unlocked Intel K Series
The K series of Intel processors includes the Core i5-2500K, i7-2600K and the i7-2700K; all of which have an unlocked multiplier that enables overclocking. Sandy Bridge differs from past Intel products in that the multiplier is now the main means of achieving higher overclocks, with limited gains to be had from increasing base clock. This makes overclocking simpler for new users. In this article we'll be focusing on the cheapest 4 core/4 thread, Core i5-2500K.
Motherboard
Since you're here at ROG I expect you already know ROG motherboards are specifically designed to handle overclocking, with upgraded components specifically for it.
Cooling
Make sure your cooling solution is up to the task. The stock Intel cooler will function just fine at the factory default settings as specified by Intel. That includes the turbo mode which is a built in feature of the Intel Sandy Bridge CPU. This basic guide is directed at the users who will have a suitable aftermarket cooler for the processor that is up to the task of keeping the cooler within safe temperature ranges at 4.4GHz and higher. It is important to constantly monitor your processors temperatures during the entire process of determining your stable overclock. Temperature should always be the defining limit to what your optimal overclock is. So don’t decide before you start what your overclock will be, yes have a target in mind, but be realistic you are not going to achieve a 5GHz overclock in a country with an ambient of 45’C using a cooler that is not much better than the standard Intel cooler. You will however be able to quite comfortable achieve 4GHz with the stock Intel cooler.
[gallery include="" size="medium" link="file" template="file-gallery"]
Power Supply Unit
It is important to have a PSU that is of a suitable quality and rating. Most folks will spend money quite happily on a CPU, Graphic Card and Memory but skimp when it comes to paying for a PSU. Not all PSU’s are created equal. So do some research and when in doubt buy a reputable branded PSU product. It is worth the little extra in the long run.
Memory
Sandy Bridge used dual channel DDR3 ram. When ordering your ram ensure that the ram that you are thinking of purchasing is suitable for your motherboard. That being said most DDR3 ram kits that are sold currently will work just fine on the ASUS boards. There are of course exceptions to every rule.
Basic Terms To Understand
BCLK – Base clock or Bus clock. They are both correct and the Sandy Bridge platform runs at 100Mhz default. Increasing the BCLK will increase the CPU frequency and the DDR3 ram frequency.
Multiplier – As Sandy Bridge is different from what has gone before, in that we use the multiplier of the processor to increase the frequency of the processor when the processor is unlocked. How it works is the multiplier is multiplied by the value of the BCLK to determine the CPU frequency. There for a multiple of 40 times the stock BCLK of 100MHz will result in a overclock of 4Ghz.
Dividers – the only dividers worth talking about on the Sandy Bridge platform are those for the ram. There are a number of options which will allow us to set the frequency of the ram independently of the processors frequency. These dividers range from a outcome of 1033Mhz right up to 2133MHz.
IMC - This stands for Integrated Memory
Vcore – On ASUS motherboards this is called CPU Voltage.
UEFI BIOS – Unified Extensible Firmware Interface Basic In/Out System. This is the place we will be doing most of our overclocking from.
POST – Power-On Self Test, this is the automated checks going on right after you turn on your PC and before you boot into OS. Only here can you get into the UEFI BIOS.
Overclocking the Core i5 2500K and Maximus IV GENE-Z
1. Make sure you have the latest UEFI BIOS
- Go to the respective product page of your motherboard, for example here we'd search the Maximus IV GENE-Z product page, click the Downloads tab and grab the latest (at the time of writing) 0902 BIOS.
- Download it and copy the BIOS file alone (not the zip) to a FAT/FAT32 formatted USB drive.
- Restart your PC.
- Next hit delete as the system POSTs and go into the BIOS. Navigate to the Tools tab (last one) and select the EZ Flash 2 function. From here select the BIOS file on your USB stick and update it.
2. Overclocking in the UEFI BIOS
- Press del to enter the BIOS during the POST sequence
- You can use your mouse and/or your keyboard to navigate around
- Insure you are at default settings by selecting default setting and pressing enter
- Write down your CPU temperature at default settings – navigate to the monitor heading and then down to temperature, select and all your temperatures that the motherboard monitors will be displayed.
- Navigate to the Extreme Tweaker tab
- Ai Overclocker Tuner - Manual
- BCLK/PEG Frequency – 100
- Turbo Ratio: By All Cores (Can Adjust in OS) – 44
- Memory Frequency – Auto or XMP if available.
- DRAM timing - When using XMP you do not need to change this setting. Otherwise you can leave this setting Auto, or manually set the top 5 settings to the values you will find on your DDR3 ram modules (e.g.: 9-9-9-24-2T). They are CAS Latency, RAS to CAS Delay, RAS Pre Time, RAS Act Time and DRAM Command Mode. Please note that DDR3 memory modules that are rated for 1.8volts are not suitable for Sandy Bridge boards, and 1.65V are not ideal, but acceptable. 1.5V or under should ideally be used.
3. Adjusting Voltages
- Extreme Tweaker – Scroll down to the voltages:
- CPU Voltage – Manual
- CPU Manual Voltage – Type in the value 1.250 or use the + symbol on your keyboard until you see the value 1.250 in the active pane.
- DRAM Voltage – Set the voltage to the recommended voltage as specified on your DDR3 set of ram.
- There is no need to change any other values at this time.
- Press F10 and select yes and enter.
- Allow the motherboard to boot into Operating System. The board might reboot itself a few times; that is normal and nothing to worry about.
Applications
- AI Suite II (available from the product pages): This includes hardware monitor, CPU frequency checking, temperature status and fan monitor.
- Download and install CPU-Z.
- HWMonitor – this is a handy tool that is very useful for monitoring your temperatures.
- CoreTemp – exactly what the name says, this application will monitor your temperature of the motherboard.
Tip: Never have two temperature monitoring applications active at the same time. This will likely result in one or both readings being incorrect and just confuse the issue. Use only one.
4. Stress Testing
Download a stress test of your choice, there are many different variations and each one has their own strengths and weaknesses. I use Prime95 but any one of the following will be suitable such as IntelBurnTest, LinX or OCCT to name a few.
Now that we have overclocked our system a little, currently we are at 4GHz it is important to constantly monitor stability and temperature.
- Open Prime95 and when asked if you wish to use the program as it was originally intended or the stress testing, select the stress testing.
- Now select test from the navigation bar at the top, and run the Torture test.
- You have 4 options I suggest you choose Blend as it stress every aspect of your overclocked system.
- Select 8 threads if you are using a 2600K or 2700K processor or 4 threads if you are using the 2500K processor.
- Open your temperature monitoring application and note the idle temperature. I suggest writing this number down.
- Start Prime95 and let the application run for an hour.
If your system crashes or is unstable you can tell by the following:
- Errors in Prime95 will result in the green icon turning red and stating a thread has been terminated.
- Blue Screen Of Death (BSOD)
- Screen lock-ups
- System Restarts
How to fix instability or crashing:
- Go back into the BIOS and navigate back to the Extreme Tweaker tab
- CPU Manual Voltage – use the + symbol on your keyboard, increase the voltage up one or two notches. You should not need more than 1.3V.
- F10 to save your new settings, then repeat the stress test.
During the test you will need to monitor the temperature of your processor. Depending on your cooling, at 4GHz your CPU should not exceed 55ºC when at 100% load. Typically using a Cooler Master 212+ (mid-range cooler) @ 4.4GHz the maximum temperature is around 60ºC depending on your ambient air temperature (those who live in hotter and humid countries will see a higher temperature).
The Even Quicker Method: CPU Level Up!
The ROG team has built in its CPU Level Up system to simply even the above process.
- Enter the BIOS as you did before.
- Under the Extreme Tweaker tab select CPU Level Up: 4.60G
- Then if your memory is compatible select XMP from the AI Overclock Tuner, otherwise leave Auto:
- Hit F10 then Enter, and that's it!
This method is the quick approach that should work for most people who don’t have time to invest in overclocking.
As every CPU is different this means you can find your CPUs exact needs by reducing the voltage to lower temps, while still keeping the system stable. This means that once you've tested stability, you can re-enter the BIOS and drop the voltage slightly until the system becomes unstable in stability tests, then add one or two notches to make it stable again. This yields your most optimal voltage-to-clock settings for your exact system, but ultimately the total effort here is the same as doing it manually.
Author
Popular Posts
Prepare for Tandem OLED splendor with these new ROG gaming monitors
How to adjust your laptop's P-Cores and E-Cores for better performance and battery life

How to Cleanly Uninstall and Reinstall Armoury Crate
How to upgrade the SSD and reinstall Windows on your ROG Ally, ROG Xbox Ally, or ROG Xbox Ally X
32-inch glossy WOLED panels debut in the ROG Strix OLED XG32UCWMG and XG32UCWG gaming monitors
LATEST ARTICLES

Hands-on: The ROG Raikiri Pro took my couch gaming to the next level
I've been a diehard PC gamer all my life, but I often play on the couch. The ROG Raikiri Pro has improved my living room PC gaming immeasurably thanks to a few useful features and loads of customizability.
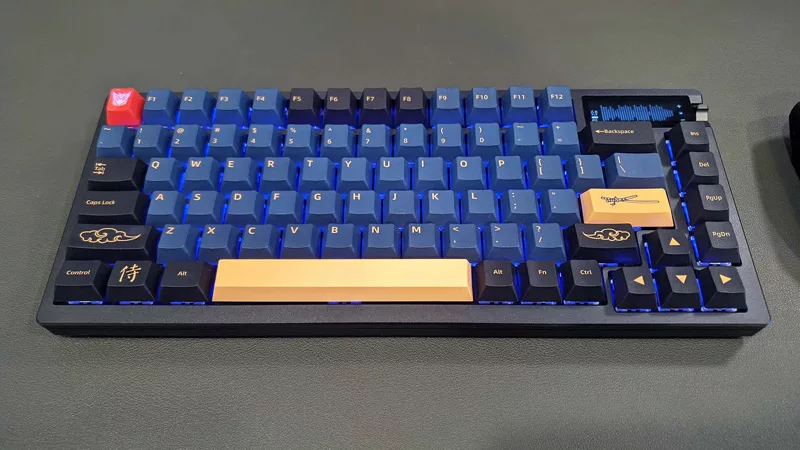
Hands-on: The ROG Azoth became the canvas for the keyboard of my dreams
Ever since I bought my first mechanical keyboard, I’ve been on a mission to mod and upgrade, mod and upgrade. But I think the ROG Azoth may actually be my endgame.
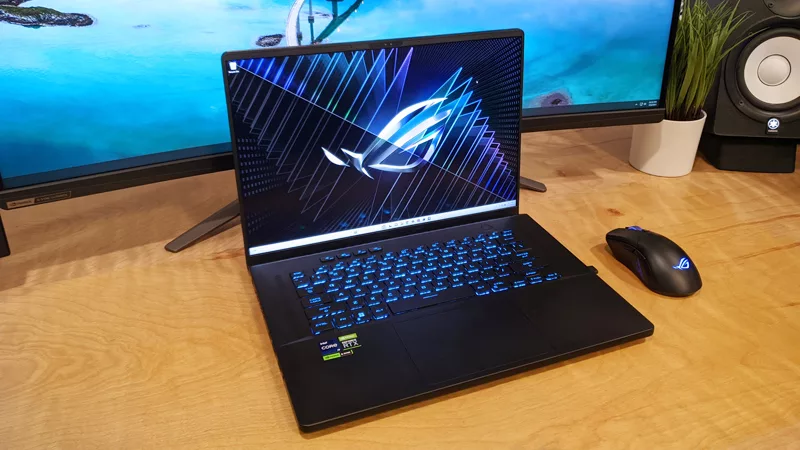
The Zephyrus M16 blends outstanding HDR gaming performance with undeniable luxury
The new ROG Zephyrus M16, with its Nebula HDR display, is like bringing a high-end home theater gaming setup with you wherever you go.
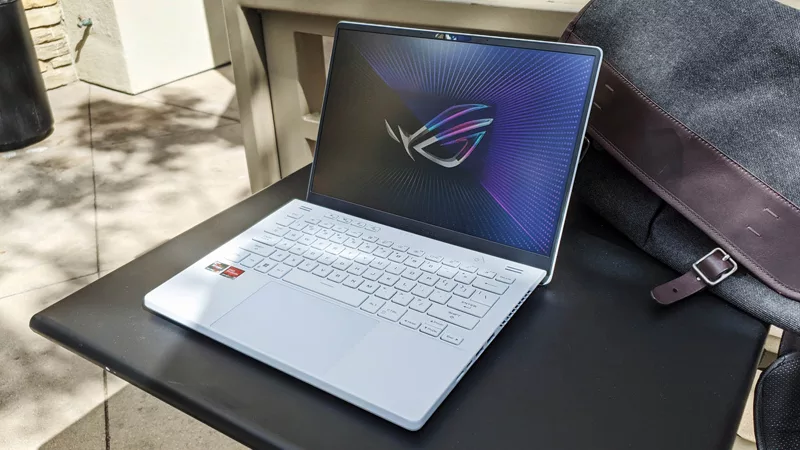
Radeon graphics and a stellar new display reinvigorate 2022 ROG Zephyrus G14
For a long time, I had to choose between underpowered ultraportable laptop and large laptops capable of gaming. But the ROG Zephyrus G14 puts admirable gaming chops into an ultra portable machine that travels anywhere.
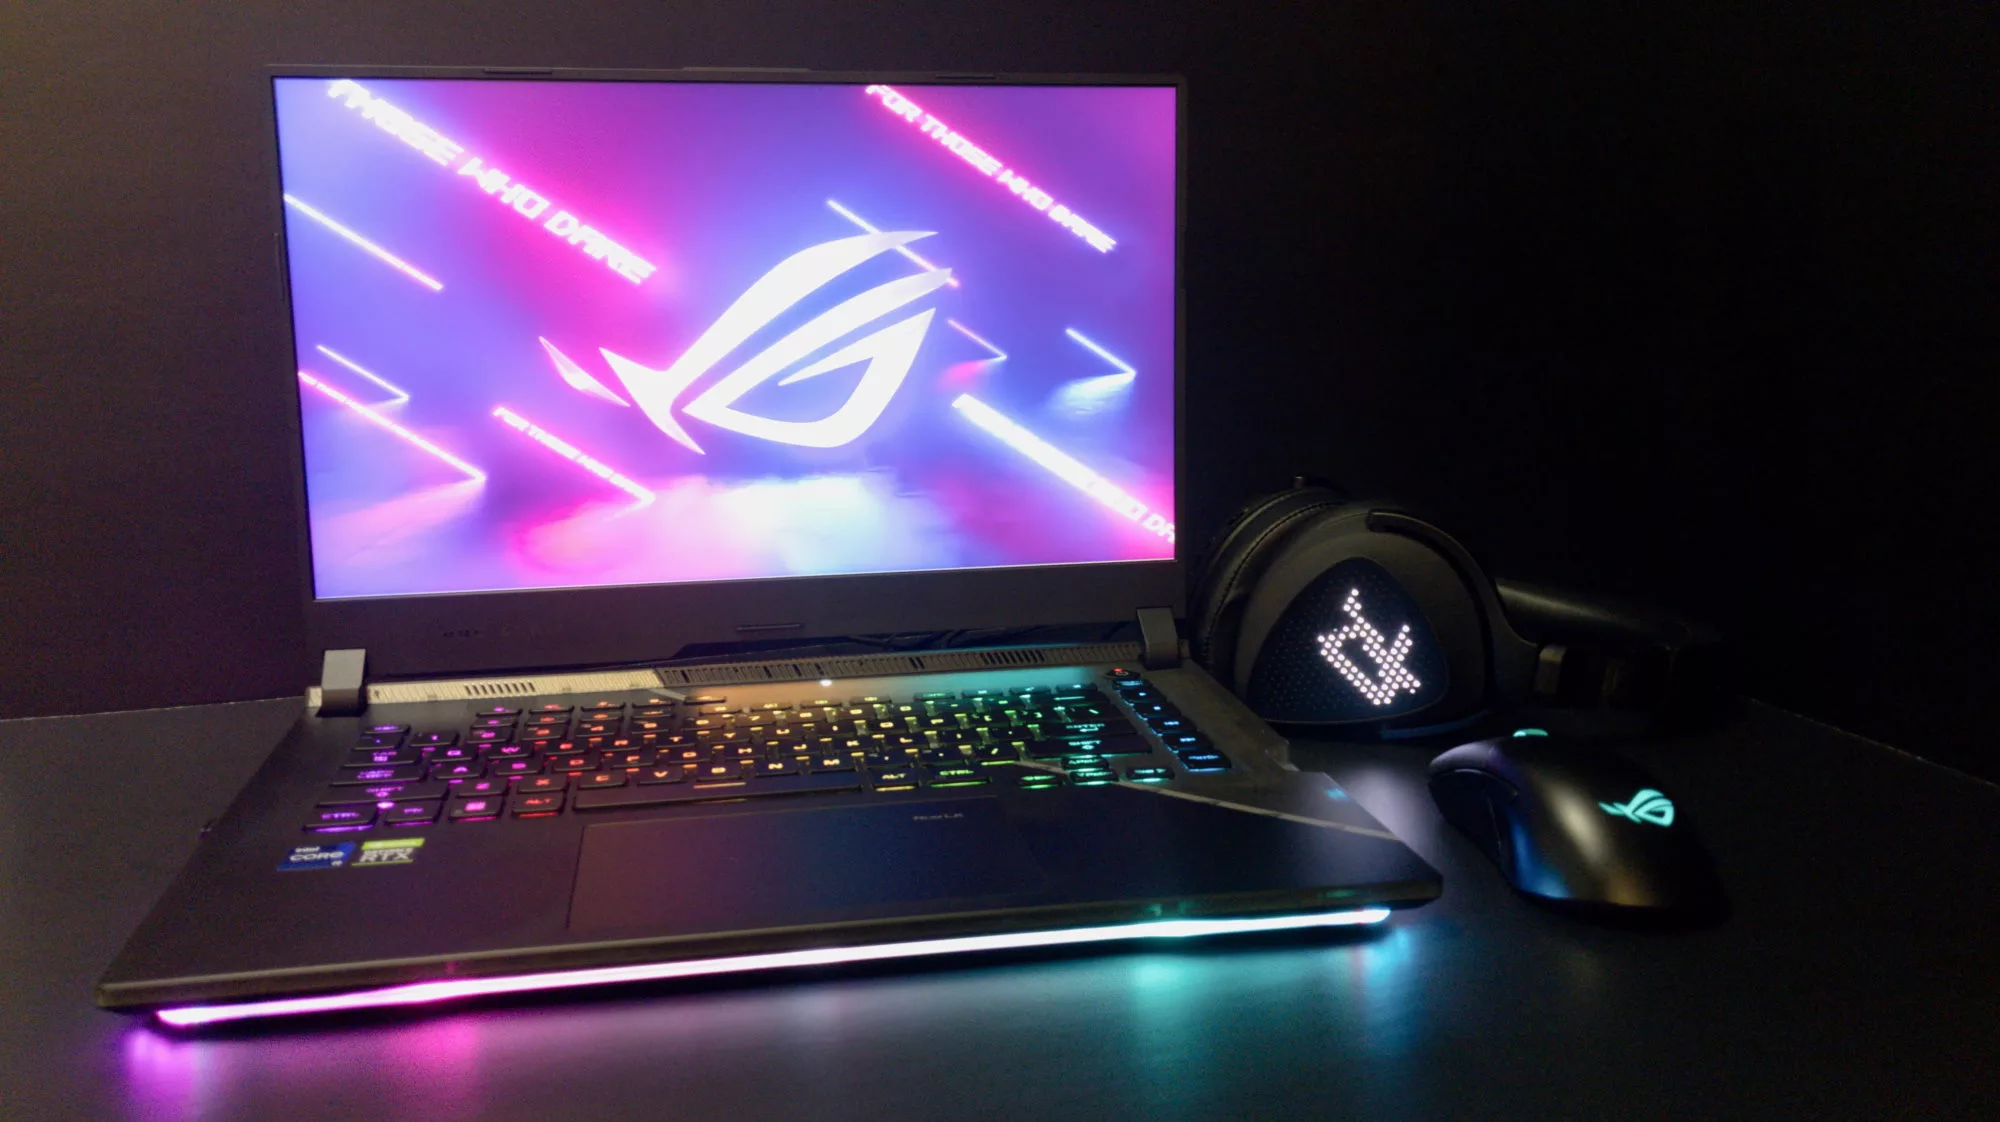
Ready to rumble out of the box: Hands-on with the ROG Strix SCAR 15
Living on the move or in a smaller space isn't a roadblock to high-end gaming. The ROG Strix SCAR makes portable powerful.
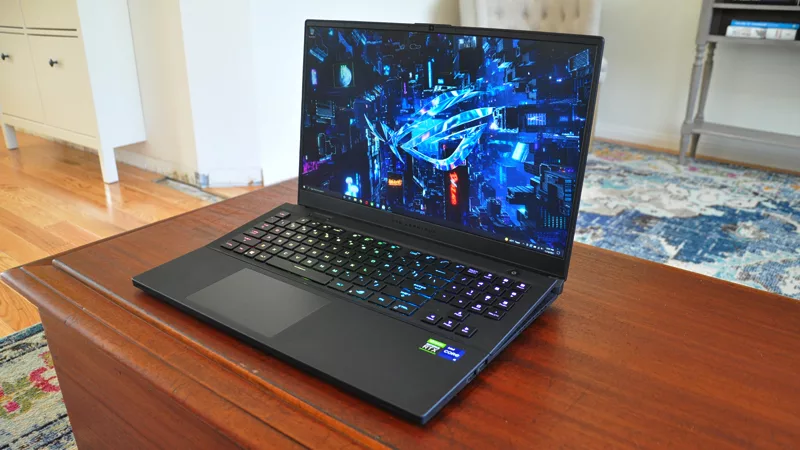
The ROG Zephyrus S17 is an outstanding mixture of power and portability
The S17 has it all: top-tier hardware in a slim package with all the bells and whistles.


