Feature Overview & Unboxing: ASUS X99 Deluxe
The X99 Deluxe is ASUS' super-premium X99 motherboard upgrade, for gamers and professionals. As you'd expect from a Deluxe, it focuses on features, giving you the very best of everything.

Unboxing the X99 Deluxe
You've just had a fresh, new X99 Deluxe delivered and after a brief eye over the fancy box art, flipping it over reveals info on the exclusive OC Socket, the Fan Extension Hub, Hyper M.2 X4 and 1300Mbps 3x3 (3T3R) 802.11ac Wi-Fi bundled extras.


Open the lid and there's the detailed explanation of its 5-way Optimization, which combines the custom designed dual intelligent processors (DIP), DIGI+/EPU and TPU, along with comprehensive cooling control from Fan Xpert and Turbo App functionality. Watch this Tek Syndicate video for a breakdown on how it works. Other key features include Crystal Sound 2, Turbo LAN, WiFi-GO! and Media Streamer software that pairs up with the 802.11ac WiFi.

Inside the box you get:
- Feature breakdown manual, user guide and driver disc
- OC Adrenaline Sticker!
- Hyper M.2 X4 PCI-Express card
- Fan Extension Hub and motherboard cable
- Thermal probe
- SATA III cables
- 3x3 WiFi Antenna
- M.2 bracket for the motherboard
- 3-way SLI cable
- Rear IO shield
- Q-connector for USB and front IO

Here's the board out the box. On the back, the bracket behind the VRMs helps cool them and strongly affix the heatsink without bending the PCB.


The rear IO is covered by the elongated shroud, with the heatsink nestling in between. Underneath, connectivity includes:
- BIOS Flashback button
- 10x USB 3.0 ports
- 2x USB 2.0 ports
- 2x Gigabit Ethernet ports (they support Teaming with compatible routers like the ASUS RT-AC87U)
- 3x3 802.11ac Wi-Fi antennas
- 5x 3.5mm Stereo audio jacks and S/PDIF out

The VRM heatsink runs from above the CPU socket, between the DDR4 DIMM slots then around and behind the rear IO. This is neatly covered by the shroud that extends along its left edge, all the way down covering the Crystal Sound 2 hardware. Looks great, right!


The Crystal Sound 2 uses special ELNA capacitors (in yellow), and incorporates an EMI shield on the underside of the cover.


Five PCI-Express 16x slots (electrically two are 16x and three are 8x) and one open-ended PCI-Express 4x slots share bandwidth depending on which CPU is installed. Up to 3-way SLI or CrossFireX is supported (16x-8x-8x). The onboard switch selects between modes, helpfully highlighting via LEDs which slots to use.

Other switches shortcut the need to go into the BIOS for major features. They are:
- EZ XMP switch that automatically sets the memory to any XMP settings found
- EPU switch to turn on power savings settings
- TPU switch with two levels to automatically overclock

Along the side edge there are two SATA-Express ports (backward compatible to four SATA III ports), 6+2 SATA III ports, M.2 port (requires the bundled bracket), ATX power socket and MemOK button at the top.


The onboard M.2 SSD sits vertically, which is admittedly unorthodox, but it makes sure the motherboard retains to ATX size specifications so it fits in all cases. It affixes like so:


Alternatively you can use the bundled Hyper M.2 X4 card in your PCI-Express slot of choice. Both M.2 slots provide up to 32Gbps of bandwidth from a compatible M.2 SSD. Note the M.2 mode is PCI-Express only, not SATA.


Packed with kit, it looks good! For show, we're using 8 DIMMs of Kingston HyperX DDR4 memory and an ROG Matrix R9 290X graphics card, in among the Hyper M.2 X4 card and M.2 extension bracket installed.


The bundled 802.11ac WiFi uses a 3x3 (3T3R) antenna - the first onboard solution to do so! - offering performance up to 1300Mbps, providing your router hardware is similarly up to spec (such as the RT-AC68U, RT-AC87U).


Meanwhile the Fan Extension Hub adds an extra three 4-pin fan connectors for use around the chassis, and hidden completely behind the motherboard tray or screwed neatly into a drive bay. Both methods have fixing apparatus included. The fans can be fully controlled by Fan Xpert software.


Author
Popular Posts

Prepare for Tandem OLED splendor with these new ROG gaming monitors

How to adjust your laptop's P-Cores and E-Cores for better performance and battery life

How to Cleanly Uninstall and Reinstall Armoury Crate
How to upgrade the SSD and reinstall Windows on your ROG Ally, ROG Xbox Ally, or ROG Xbox Ally X
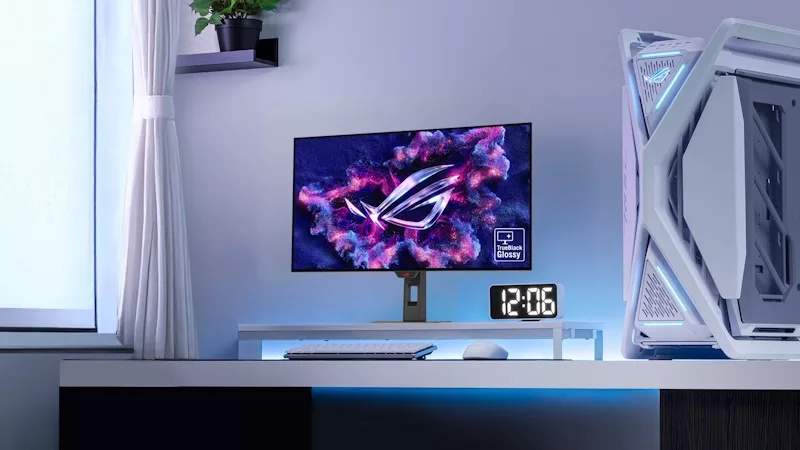
32-inch glossy WOLED panels debut in the ROG Strix OLED XG32UCWMG and XG32UCWG gaming monitors
LATEST ARTICLES

Hands-on: The ROG Raikiri Pro took my couch gaming to the next level
I've been a diehard PC gamer all my life, but I often play on the couch. The ROG Raikiri Pro has improved my living room PC gaming immeasurably thanks to a few useful features and loads of customizability.
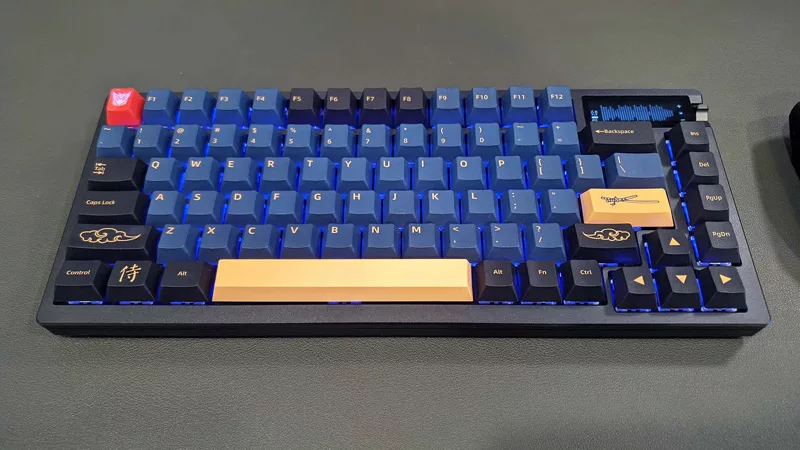
Hands-on: The ROG Azoth became the canvas for the keyboard of my dreams
Ever since I bought my first mechanical keyboard, I’ve been on a mission to mod and upgrade, mod and upgrade. But I think the ROG Azoth may actually be my endgame.

The Zephyrus M16 blends outstanding HDR gaming performance with undeniable luxury
The new ROG Zephyrus M16, with its Nebula HDR display, is like bringing a high-end home theater gaming setup with you wherever you go.
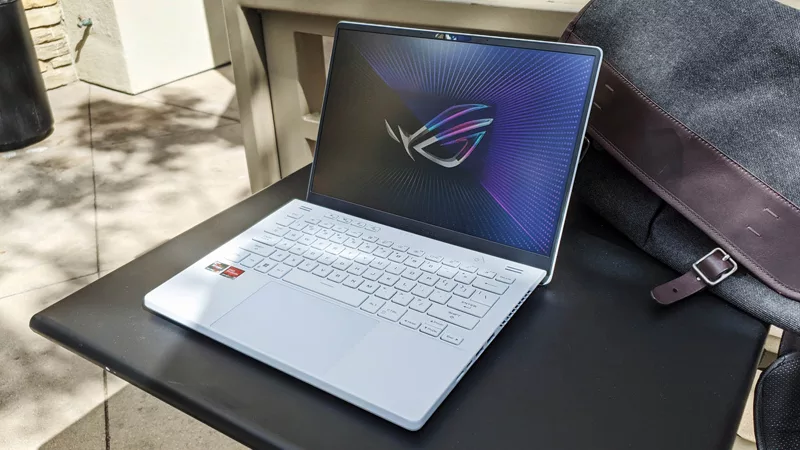
Radeon graphics and a stellar new display reinvigorate 2022 ROG Zephyrus G14
For a long time, I had to choose between underpowered ultraportable laptop and large laptops capable of gaming. But the ROG Zephyrus G14 puts admirable gaming chops into an ultra portable machine that travels anywhere.

Ready to rumble out of the box: Hands-on with the ROG Strix SCAR 15
Living on the move or in a smaller space isn't a roadblock to high-end gaming. The ROG Strix SCAR makes portable powerful.
The ROG Zephyrus S17 is an outstanding mixture of power and portability
The S17 has it all: top-tier hardware in a slim package with all the bells and whistles.