ROG Rampage Mod By Ban Nguyen
Case, who needs a case? Master Modder, Ban Nguyen, has put his uber crafting skills in action and engineered this innovative and beautiful ROG mod right from scratch. We bring it to your here in full, but you can also check the full log (and a few more pics) over at bit-tech.net modding forums too.
Underneath sits a fully watercooled Rampage III Extreme, ASUS Radeon HD 6970 (on a PCI riser card), Intel Core-i7 CPU, Corsair Dominator GT memory and an 800W CoolerMaster Silent Pro PSU.
Sit, read and digest the awesomeness and then let us know your thoughts in the forums or on our ROG Facebook page.

Getting Started
Ban drew up the initial concept in Sketchup. He designed the whole build around acrylic plastic, as he claims it was easier for him to laser cut, although he still did a lot of the work by hand.

[gallery include="" size="medium" link="file" template="file-gallery"]
Cutting all the basic parts and measuring up:

[gallery include="" size="medium" link="file" template="file-gallery"]
Ban in his workshop.

?Watercooling time!
Ban used some Koolance watercooling parts for the chipset and VRMs, and also added a flow meter into the mix, but without wanting to leave anything as standard he adapted them as they needed custom barbs and plates.
[gallery include="" size="medium" link="file" template="file-gallery"]

Measuring up the HD 6970. Yes, it'll go in that way! Can you spot the PCIe 16x riser card?

[gallery include="" size="medium" link="file" template="file-gallery"]
Fitting all the watercooling parts is important just to check it all works correctly. Better this than build it and need to change a component within!

Making the Cover Plates
The parts were cut then painted red and black according to the ROG theme. The layers are stacked using metal circular standoffs, while the watercooling ends are adapted SLI connectors that snugly fit the metal tubing.
[gallery include="" size="medium" link="file" template="file-gallery"]
The main stand is cut. Note the reservoir in the front (with fill port in the top) and pump at the bottom: all this is custom designed by Ban!

and..

The LCD display was borrowed from a previous build, while the two clear lenses were destined to go over the chipset blocks, while the gear was made for a bit of decoration.
[gallery include="" size="medium" link="file" template="file-gallery"]
The 'interconnect plate' with carbon fiber covering.

Building the Spines
[gallery include="" size="medium" link="file" template="file-gallery"]

Preparing to 'nest' the R.A.T 7 gaming mouse on the side.

Preparing the I/O panel and mouse clip
[gallery include="" size="medium" link="file" template="file-gallery"]

With the I/O panels cut, painted and fitted, it was time to make a hole in that top spine for the cabling:
[gallery include="" size="medium" link="file" template="file-gallery"]
It doesn't look so great yet, but just wait...

Triangles? Looks like something out of AvP!
[gallery size="medium" link="file" template="file-gallery"]
Ooooh!

The Finished Article: Eye Candy Time!

[gallery include="" size="medium" link="file" template="file-gallery"]

?Gallery:
[gallery include="" size="medium" link="file" template="file-gallery"]

?On Display on the ASUS booth

?Awesome skills, Ban! We can't wait for the next one!

Author
Popular Posts

Prepare for Tandem OLED splendor with these new ROG gaming monitors

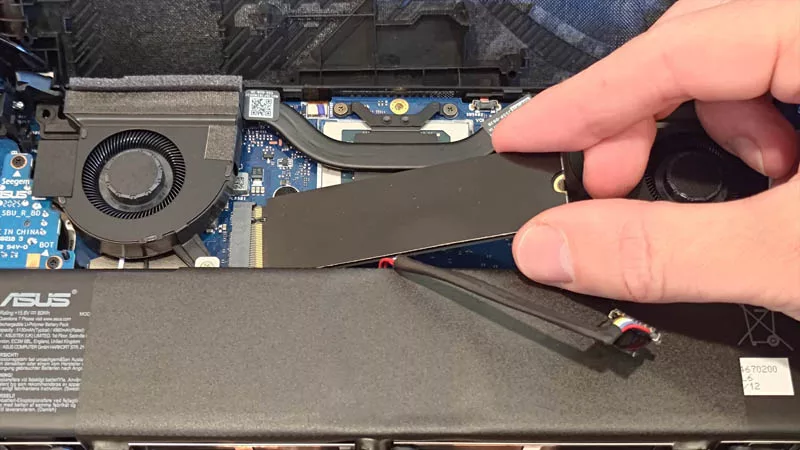
How to adjust your laptop's P-Cores and E-Cores for better performance and battery life

How to Cleanly Uninstall and Reinstall Armoury Crate
32-inch glossy WOLED panels debut in the ROG Strix OLED XG32UCWMG and XG32UCWG gaming monitors
How to upgrade the SSD and reinstall Windows on your ROG Ally, ROG Xbox Ally, or ROG Xbox Ally X
LATEST ARTICLES
Where to catch ROG at Gamescom 2025
ROG is doing more than just revealing wild new PC gear at Gamescom 2025 — it’s amping up the party. Check out what we're up to.
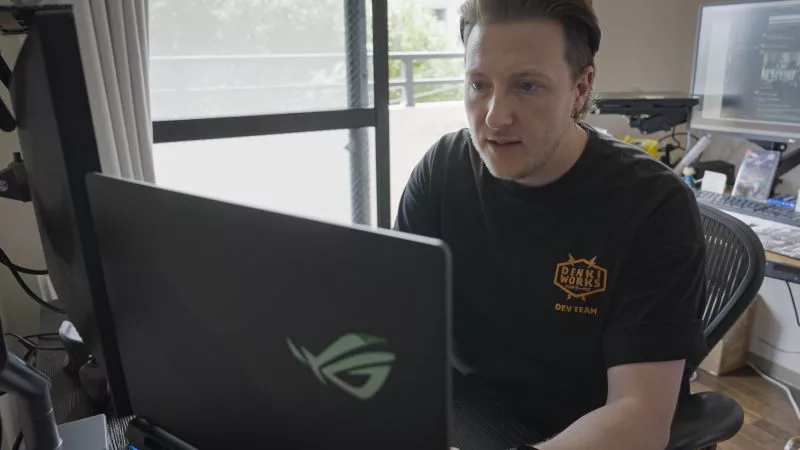
The new ROG Dev Accelerator program gives your indie game dev studio the boost it needs
Our new ROG Dev Accelerator program provides a select number of promising indie devs with the hardware they need to build their games.

The ROG Astral GeForce RTX 5090 OC smashes 6 new overclocking records
The ROG Astral GeForce RTX 5090 OC takes what you love about ROG graphics cards and ups the ante to provide you more power than ever before. But don’t take our word for it — look at the records it’s smashing.
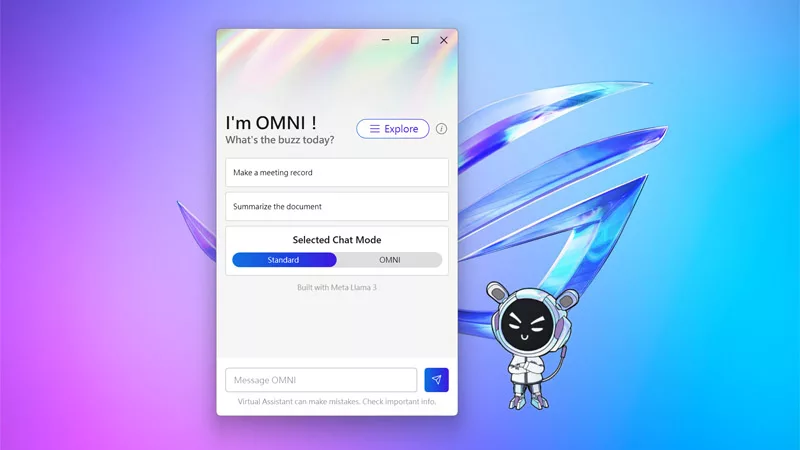
The ROG Virtual Assistant gets an AI upgrade with new features
OMNI is getting a big upgrade. Our ROG Virtual Assistant now packs AI-powered features designed to boost your productivity and user experience.
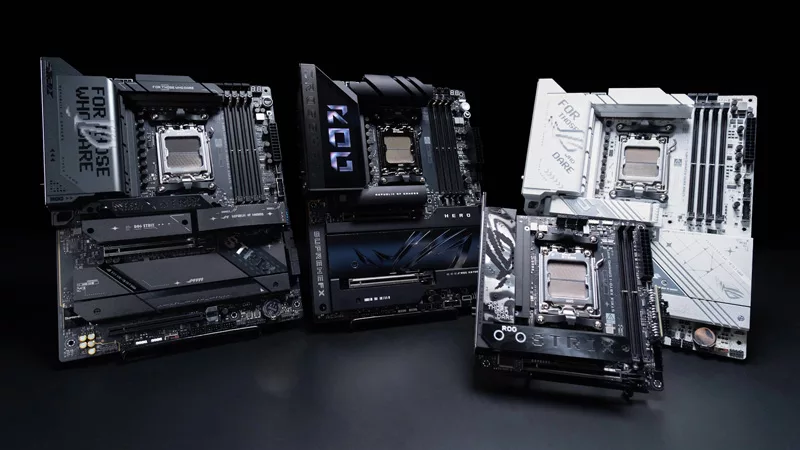
Get ahead of the game with the latest ROG gaming tech from Gamescom 2024
From new X870 motherboards to OLED displays and plenty of mice and keyboards, here’s everything ROG announced at Gamescom 2024.

Buy a GPU and get a free Steam code for Like a Dragon: Infinite Wealth
Purchase select GPUs from ASUS, ROG, or TUF Gaming and dive into an epic adventure with a free Steam code for Like a Dragon: Infinite Wealth!