How to upgrade the SSD in your ROG Flow Z13
The ROG Flow Z13 gaming tablet is small in stature, but has massive versatility—not to mention plenty of power under the hood. But the more you game, the more that storage fills up—and what once seemed like a spacious SSD might need some more room for your burgeoning game library.
While the Flow series is built to be as compact as possible, our design team still found a way to make the storage upgradeable. In fact, you have two options for adding storage to your Flow Z13: you can add a microSD card or swap in a new SSD.
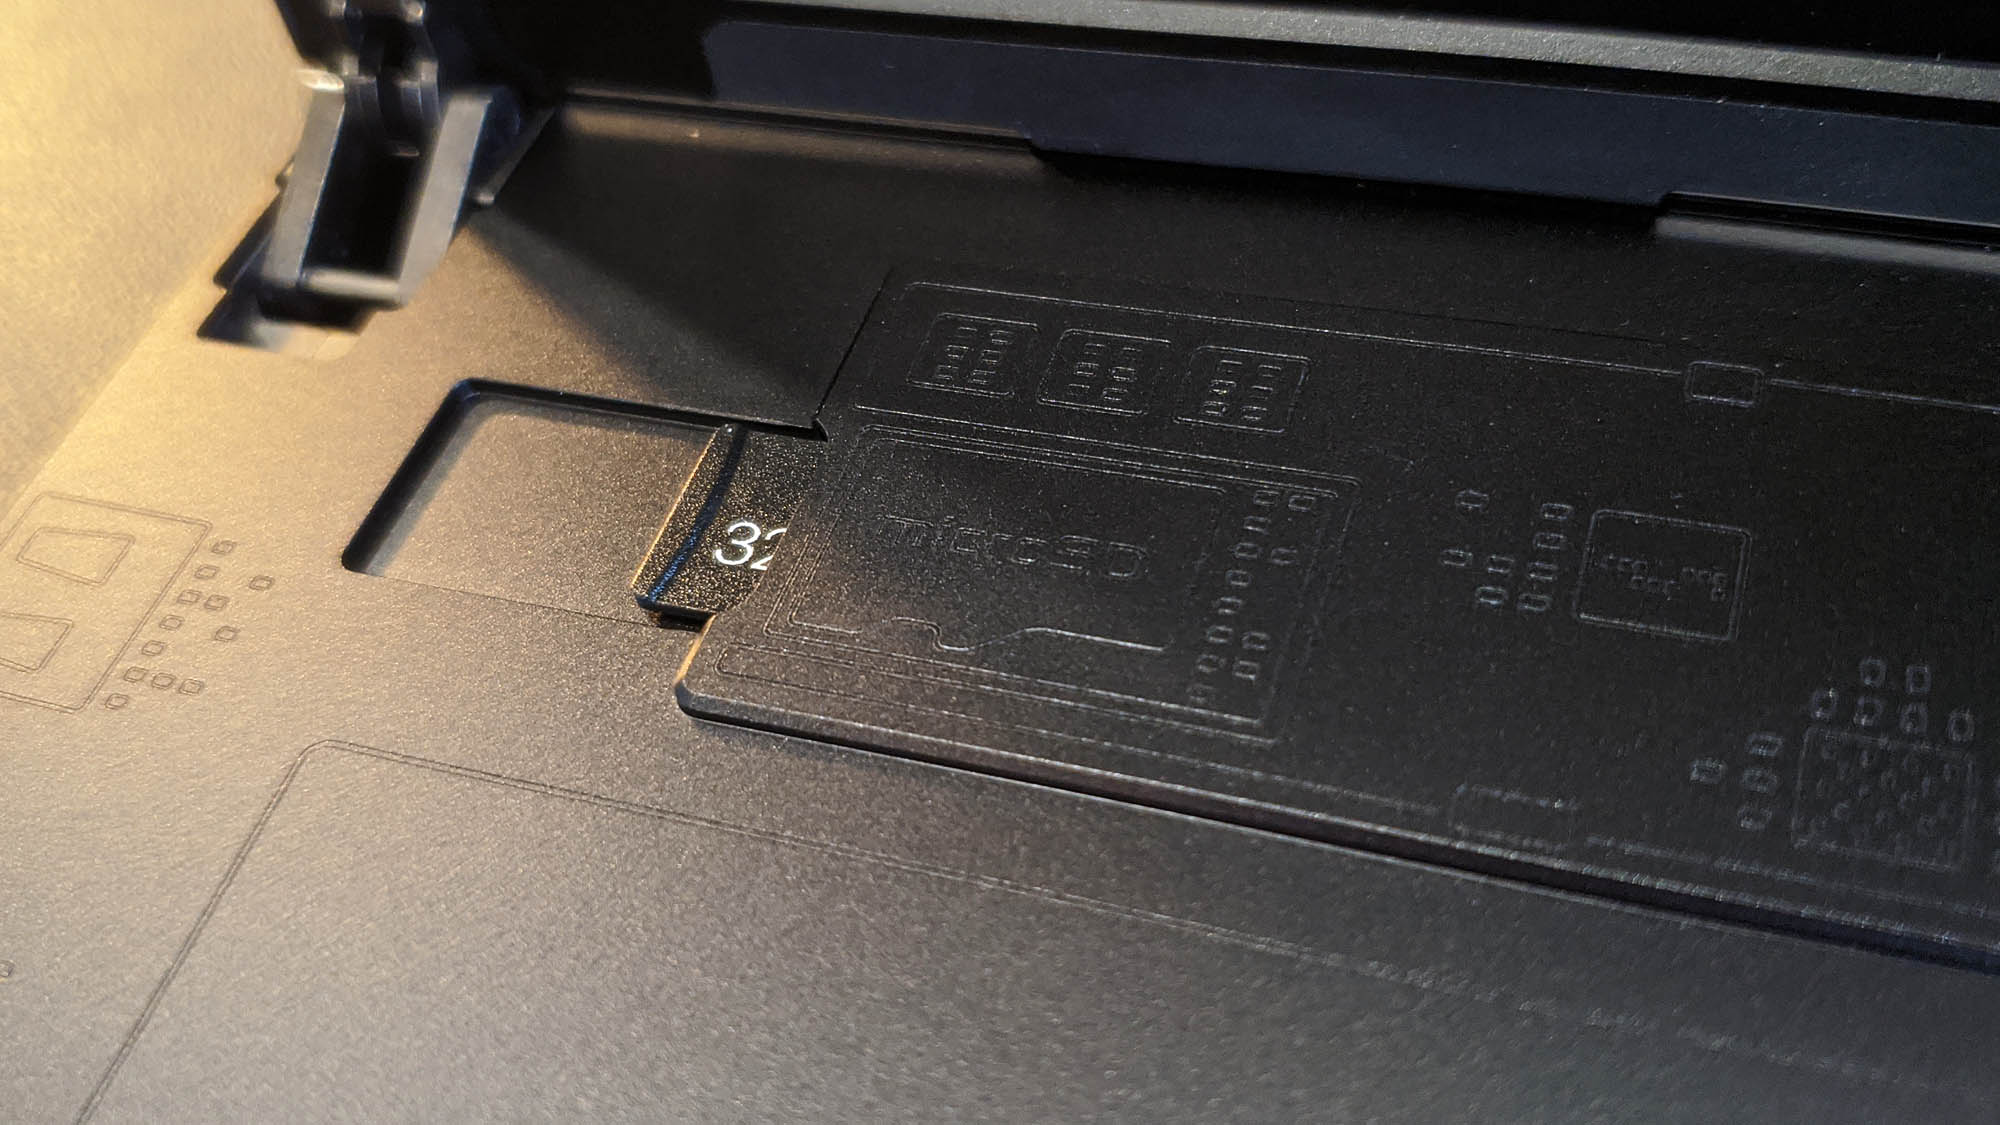
Adding a microSD card is the easiest way to add more storage to your tablet—just grab a spacious model from your favorite retailer, and insert it into the slot located under the kickstand to the left of the rear window. You won’t want to store AAA PC games on an SD card, but you could use it for other types of files—like movies, music, and photos. So if part of your shrinking SSD is filled with dozens of 4K movies, you can simply plug in a 512GB microSD card, drag your movies to the newly-mounted volume, and boom—you now have more space on your SSD for high-end games.
If a microSD card won’t do the trick, though, you can easily swap in a new SSD. In fact, you don’t even need to take the whole tablet — all you need is a screwdriver and a few minutes of time.
Step one: gather your parts
Apart from a size 0 phillips head screwdriver, you’ll also need a compatible SSD. The Flow Z13 uses an M.2 NVMe “2230” size SSD that’s smaller in size than traditional models, so you’ll need to ensure you buy the right size from your favorite or e-tailer or brick-and-mortar PC hardware store. In addition, since there’s only one M.2 slot on the entre machine, you’ll need to back up your data, pop your new SSD into an M.2 NVMe PCIe USB enclosure, and clone your Z13’s existing Windows installation onto the new drive first. We generally don't recommend installing Windows from scratch, as it won't come with all the drivers and software your laptop did out of the box.
When in doubt, check your device’s product page on rog.asus.com for more information on which types of storage it supports, or ask the reps at your favorite retailer for recommendations.
Step two: open the storage compartment
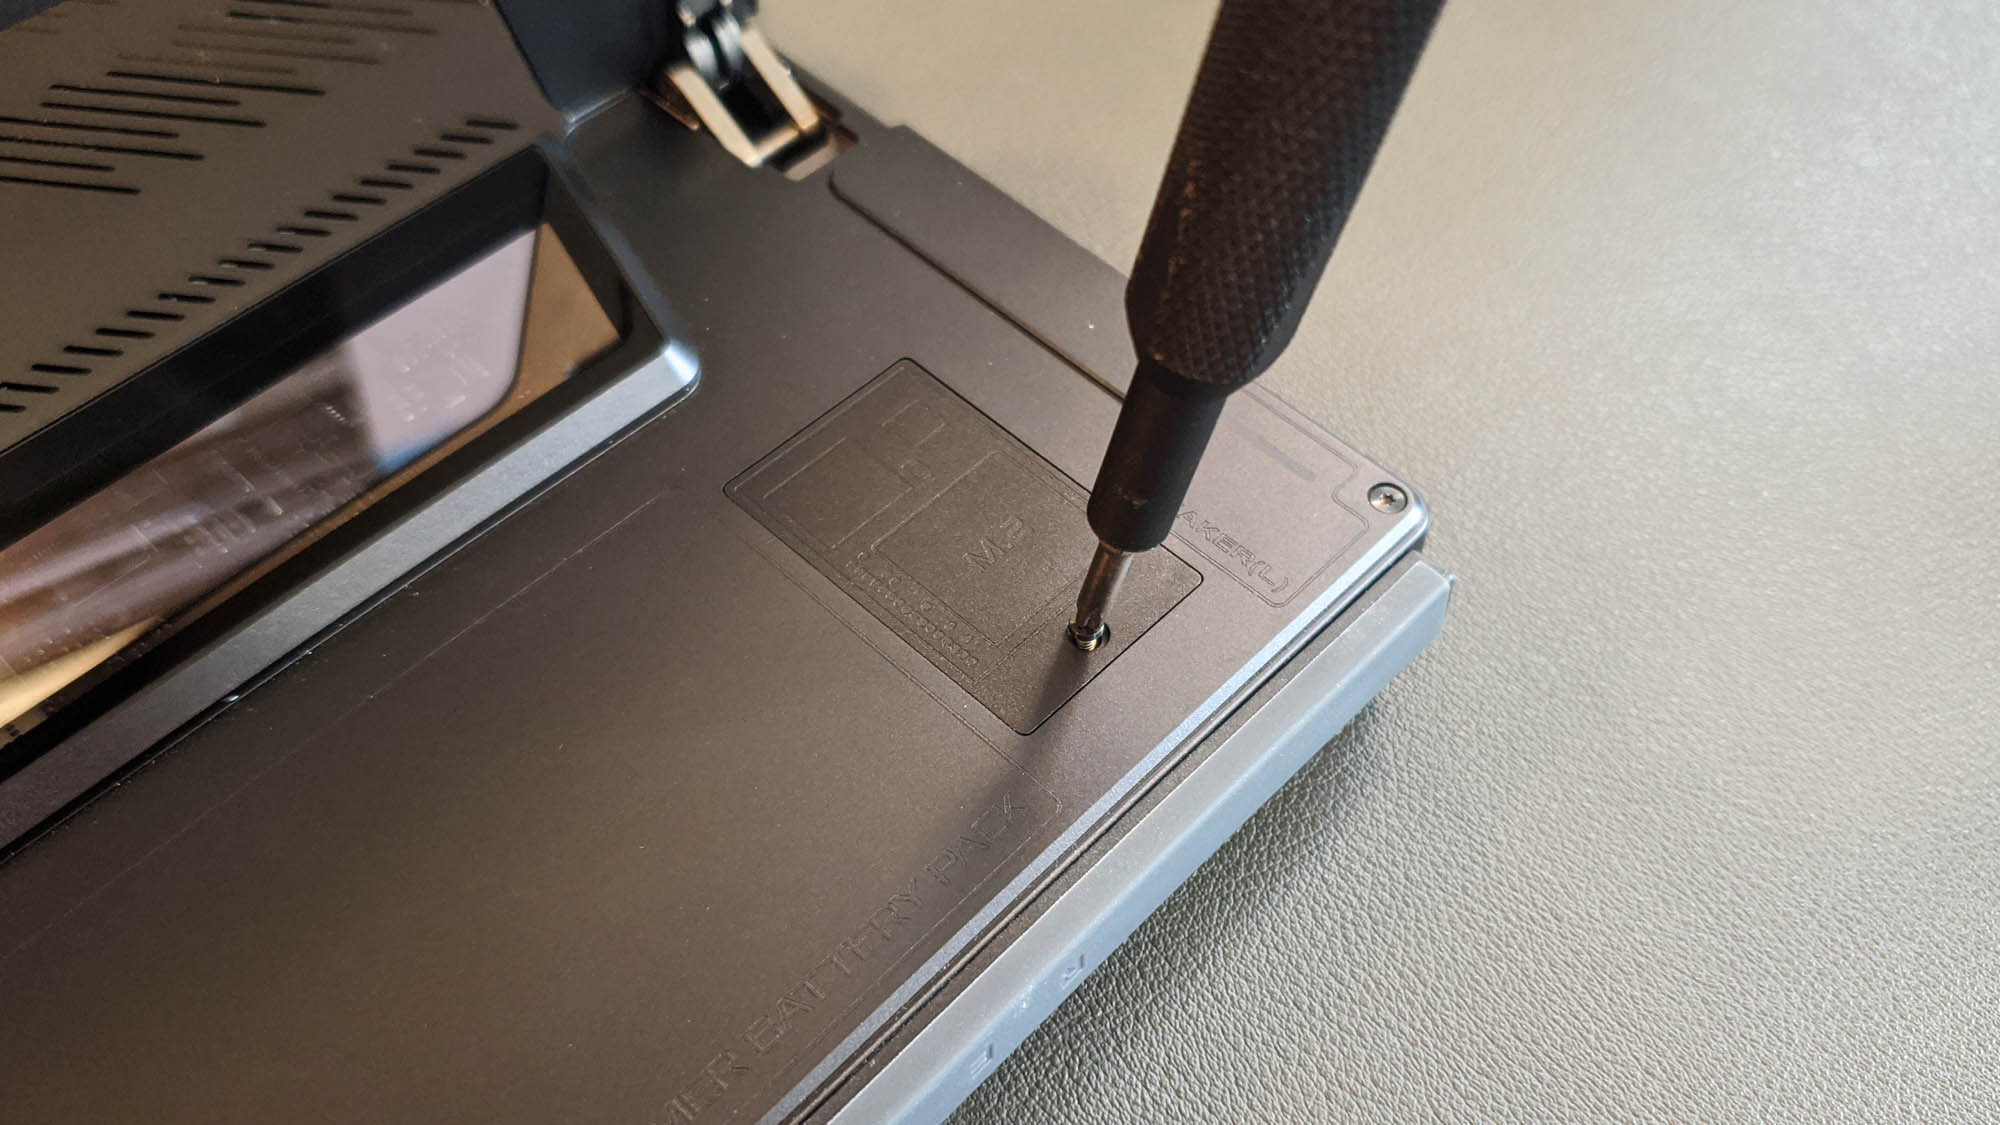
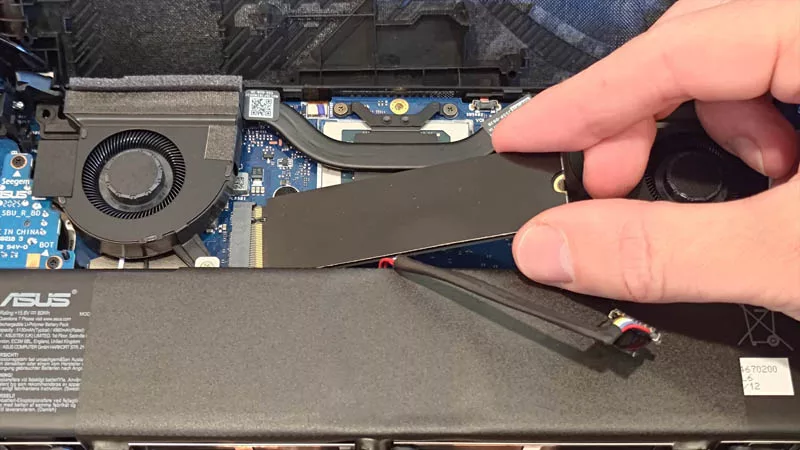
With your screwdriver and newly-cloned SSD in hand, you should only need a few minutes to pop it into your Z13. To start, open the kickstand and undo the single screw in the bottom right-hand corner, on the panel labeled “M.2”.
Remove the M.2 cover to reveal the SSD underneath. You’ll need to remove a second screw holding the drive in place.
Step three: swap your drive
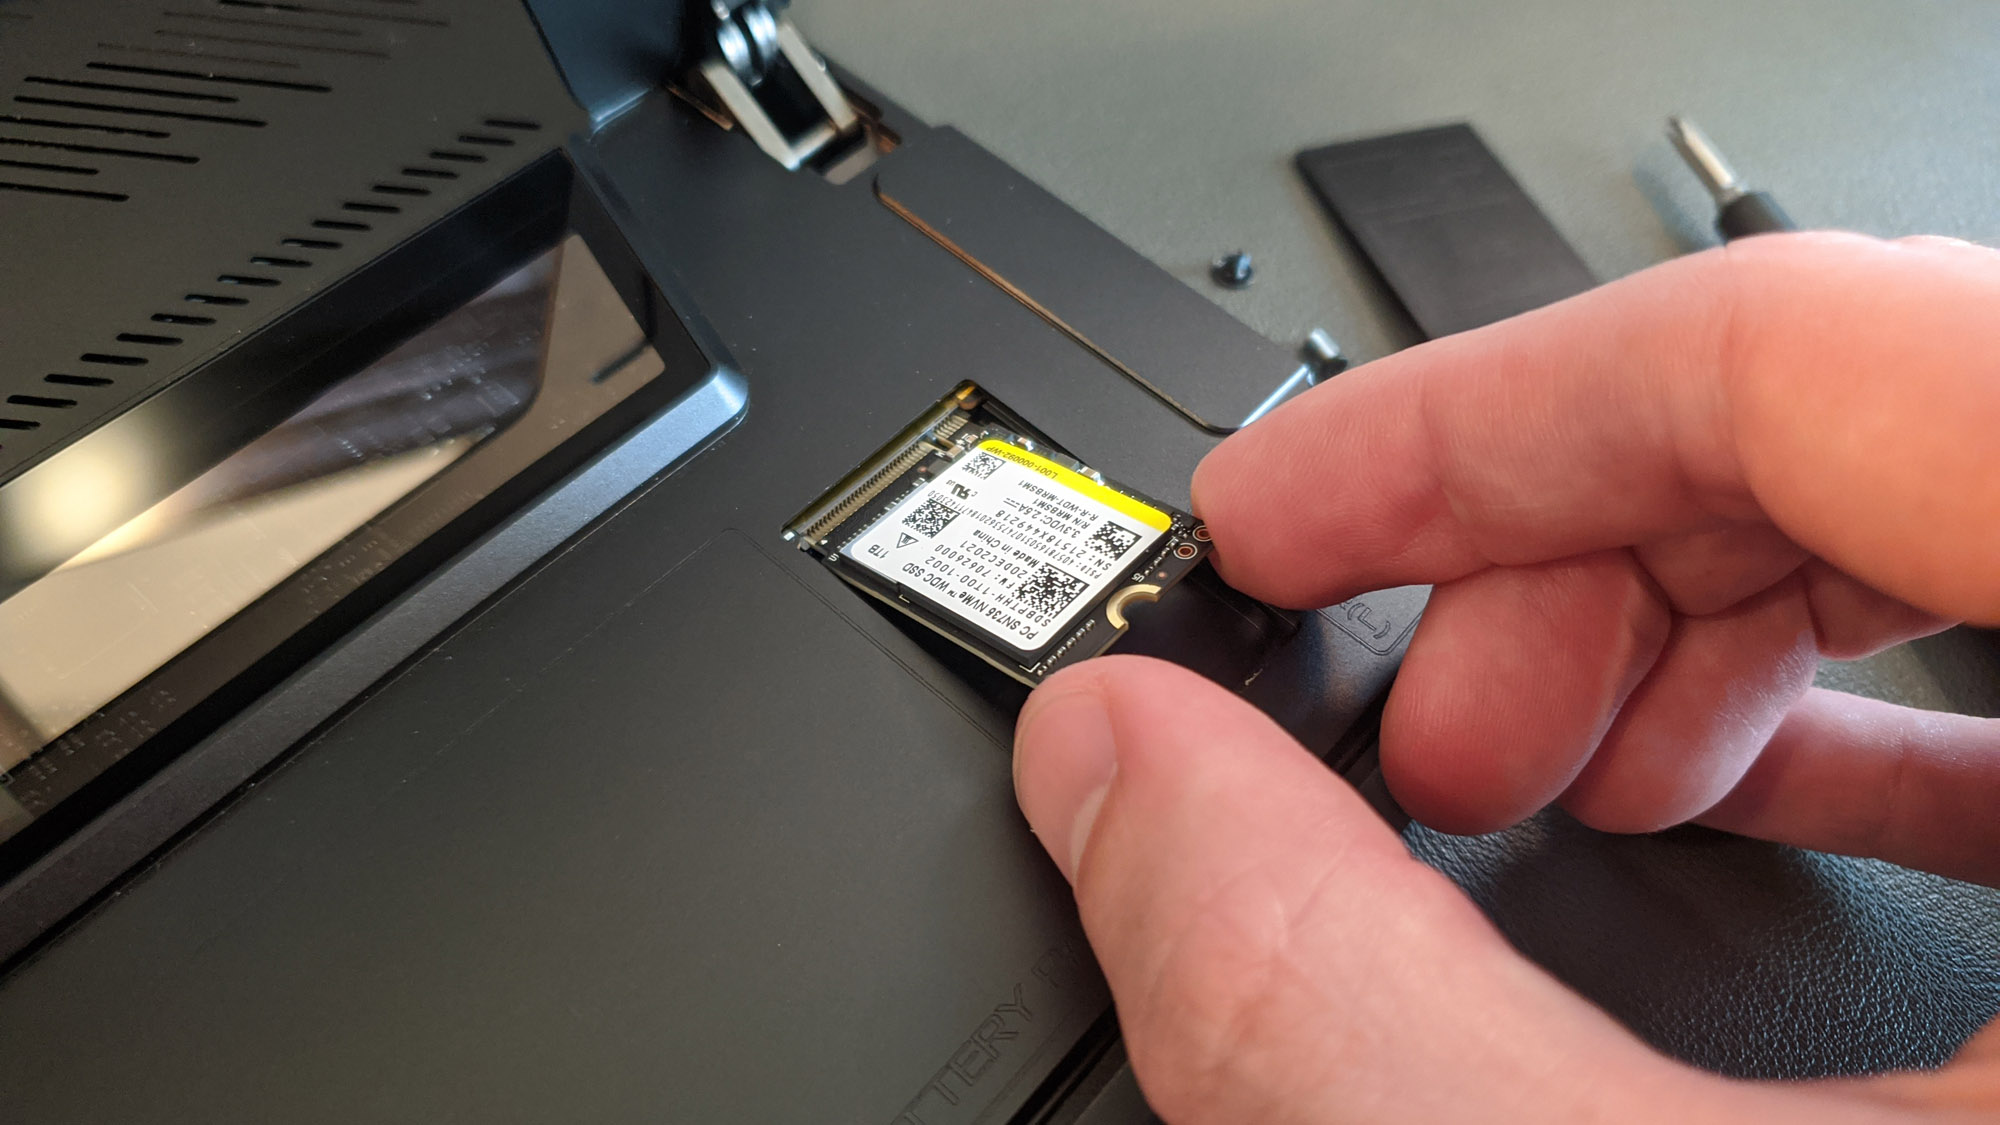
After unscrewing the M.2 screw, you can remove the SSD from its slot. You may have to wiggle it a bit and slide it backwards (toward the edge of the tablet), but it should come free with little force.
Once removed, insert your new, larger, cloned SSD, and return the screws and cover to their rightful places.
Step four: Get back in the game
That’s all it takes! Boot up your Flow Z13 and open Windows Explorer to double-check that your C: drve is showiing the correct amount of storage. If the amount of storage doesn’t look correct, you may need to try cloning the drive again, making sure to extend the C: drive to take up all available space on the new SSD. Once you’ve confirmed everything is working as intended, head on over to Gamesplanet or your favorite digital store and go on a downloading spree — you’ve got plenty of room for new games.
If you run into trouble along the way, contact ASUS customer support. Certain regional offices may be able to install your upgrades for you, if you aren't comfortable doing it yourself. Reach out with any questions, and our talented support staff will lay out all your options.
Autor
Popular Post

Prepare for Tandem OLED splendor with these new ROG gaming monitors
Yes, OLED gaming monitors can work great in sunny rooms. Here’s what to look for
How to upgrade the SSD and reinstall Windows on your ROG Ally, ROG Xbox Ally, or ROG Xbox Ally X
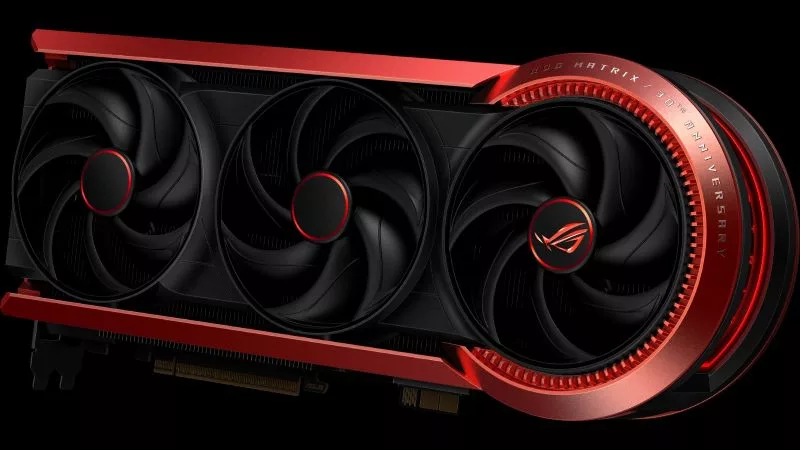
The ROG Matrix GeForce RTX 5090 celebrates 30 years of gaming innovation
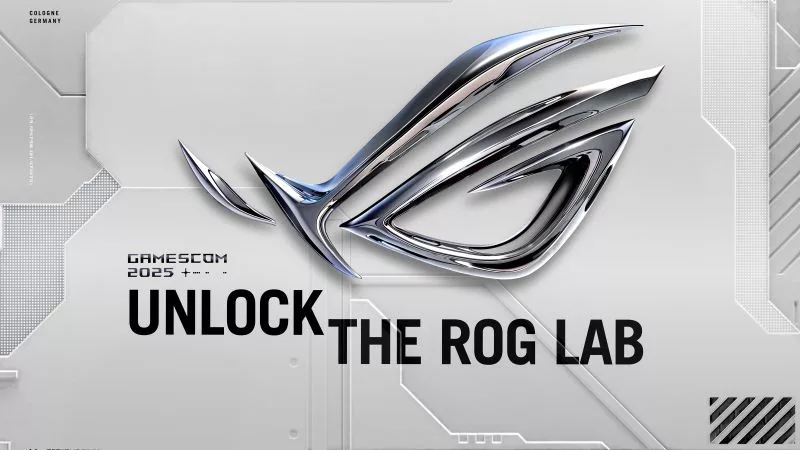
Where to catch ROG at Gamescom 2025
Neueste Artikel
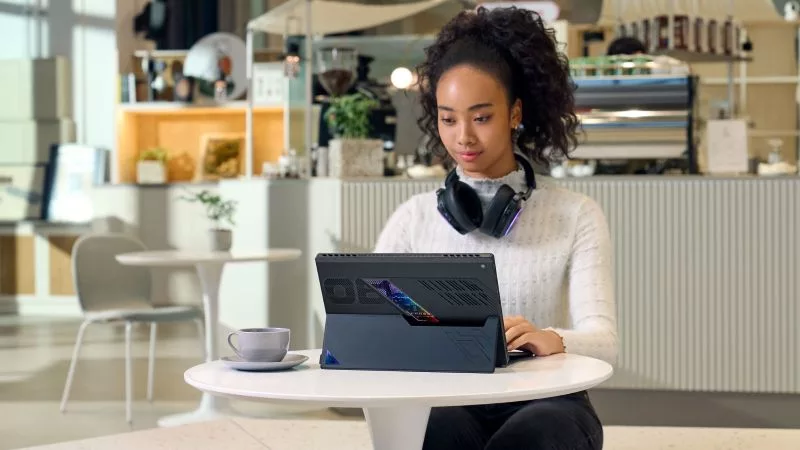
Level up your calls: ROG gear and tips to dominate Discord and Zoom alike
ROG headsets, laptops, and software give you the technology you need to effortlessly dominate virtual work meetings and gaming voice chats.

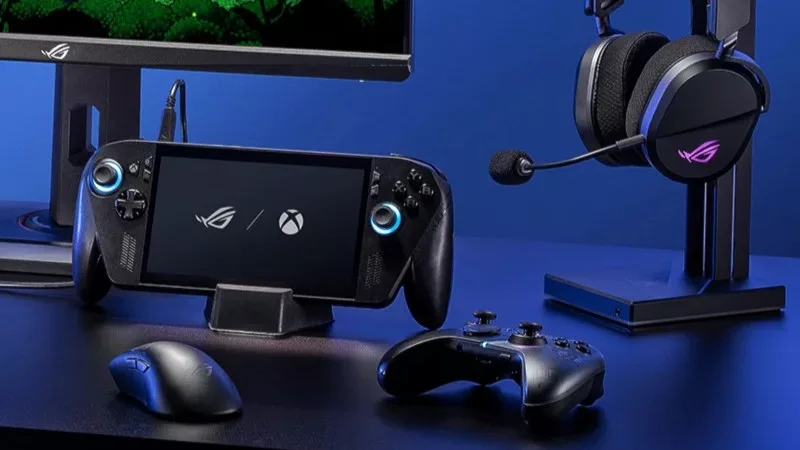
ROG Xbox Ally vs Gaming Laptop: which portable gaming device is right for you?
Both the ROG Xbox Ally and ROG gaming laptops have a lot to offer gamers, depending on what they're looking for.

Which ROG Xbox Ally to give the gamer in your life this holiday
The powerful, portable ROG Xbox Ally is the perfect gift for any gamer who wants to take their favorite games everywhere they go.
The best accessories to supercharge your ROG Xbox Ally
Here’s the must-have gear that’ll catapult your ROG Xbox Ally gaming to the next level.
15 tips & shortcuts to set up and optimize your ROG Ally or ROG Xbox Ally
So you’ve finally unboxed your brand new ROG Ally, and you're itching to get your game on. Here's what to do first.
How to boost gaming performance on the ROG Ally or ROG Xbox Ally
The ROG Ally is a true Full HD handheld ready to make your games look better than ever. Here's how to maximize its performance.