The versatile Zephyrus G GA502 makes it easy to stream and game simultaneously
Being able to share the games you play with other people is one of the more gratifying parts of modern gaming. The single-player experience used to mean that you actually had to play alone. Advances in streaming and gaming tech have made sharing in-game experiences with friends easier than ever. Instead of telling secondhand stories about all the small encounters that make games worth playing, we can share those moments live.
If you’re curious about dipping your toes into streaming, now’s a perfect time to start. While many pro set-ups still require hardware savvy for expensive capture cards and dedicated encoding machines, ROG is creating versatile gaming machines that make streaming a possibility for everyone.
The Zephyrus G GA502 is a standout in that category. It’s potent enough to pump out triple digit frame rates for competitive play and stream content live, in an ultra-slim package that doesn’t break the bank. Its NVIDIA GeForce GTX 1660 Ti GPU has an updated video encoder that closes the gap with demanding software encoding techniques that use up CPU resources, making simultaneous streaming and gaming more accessible than ever.
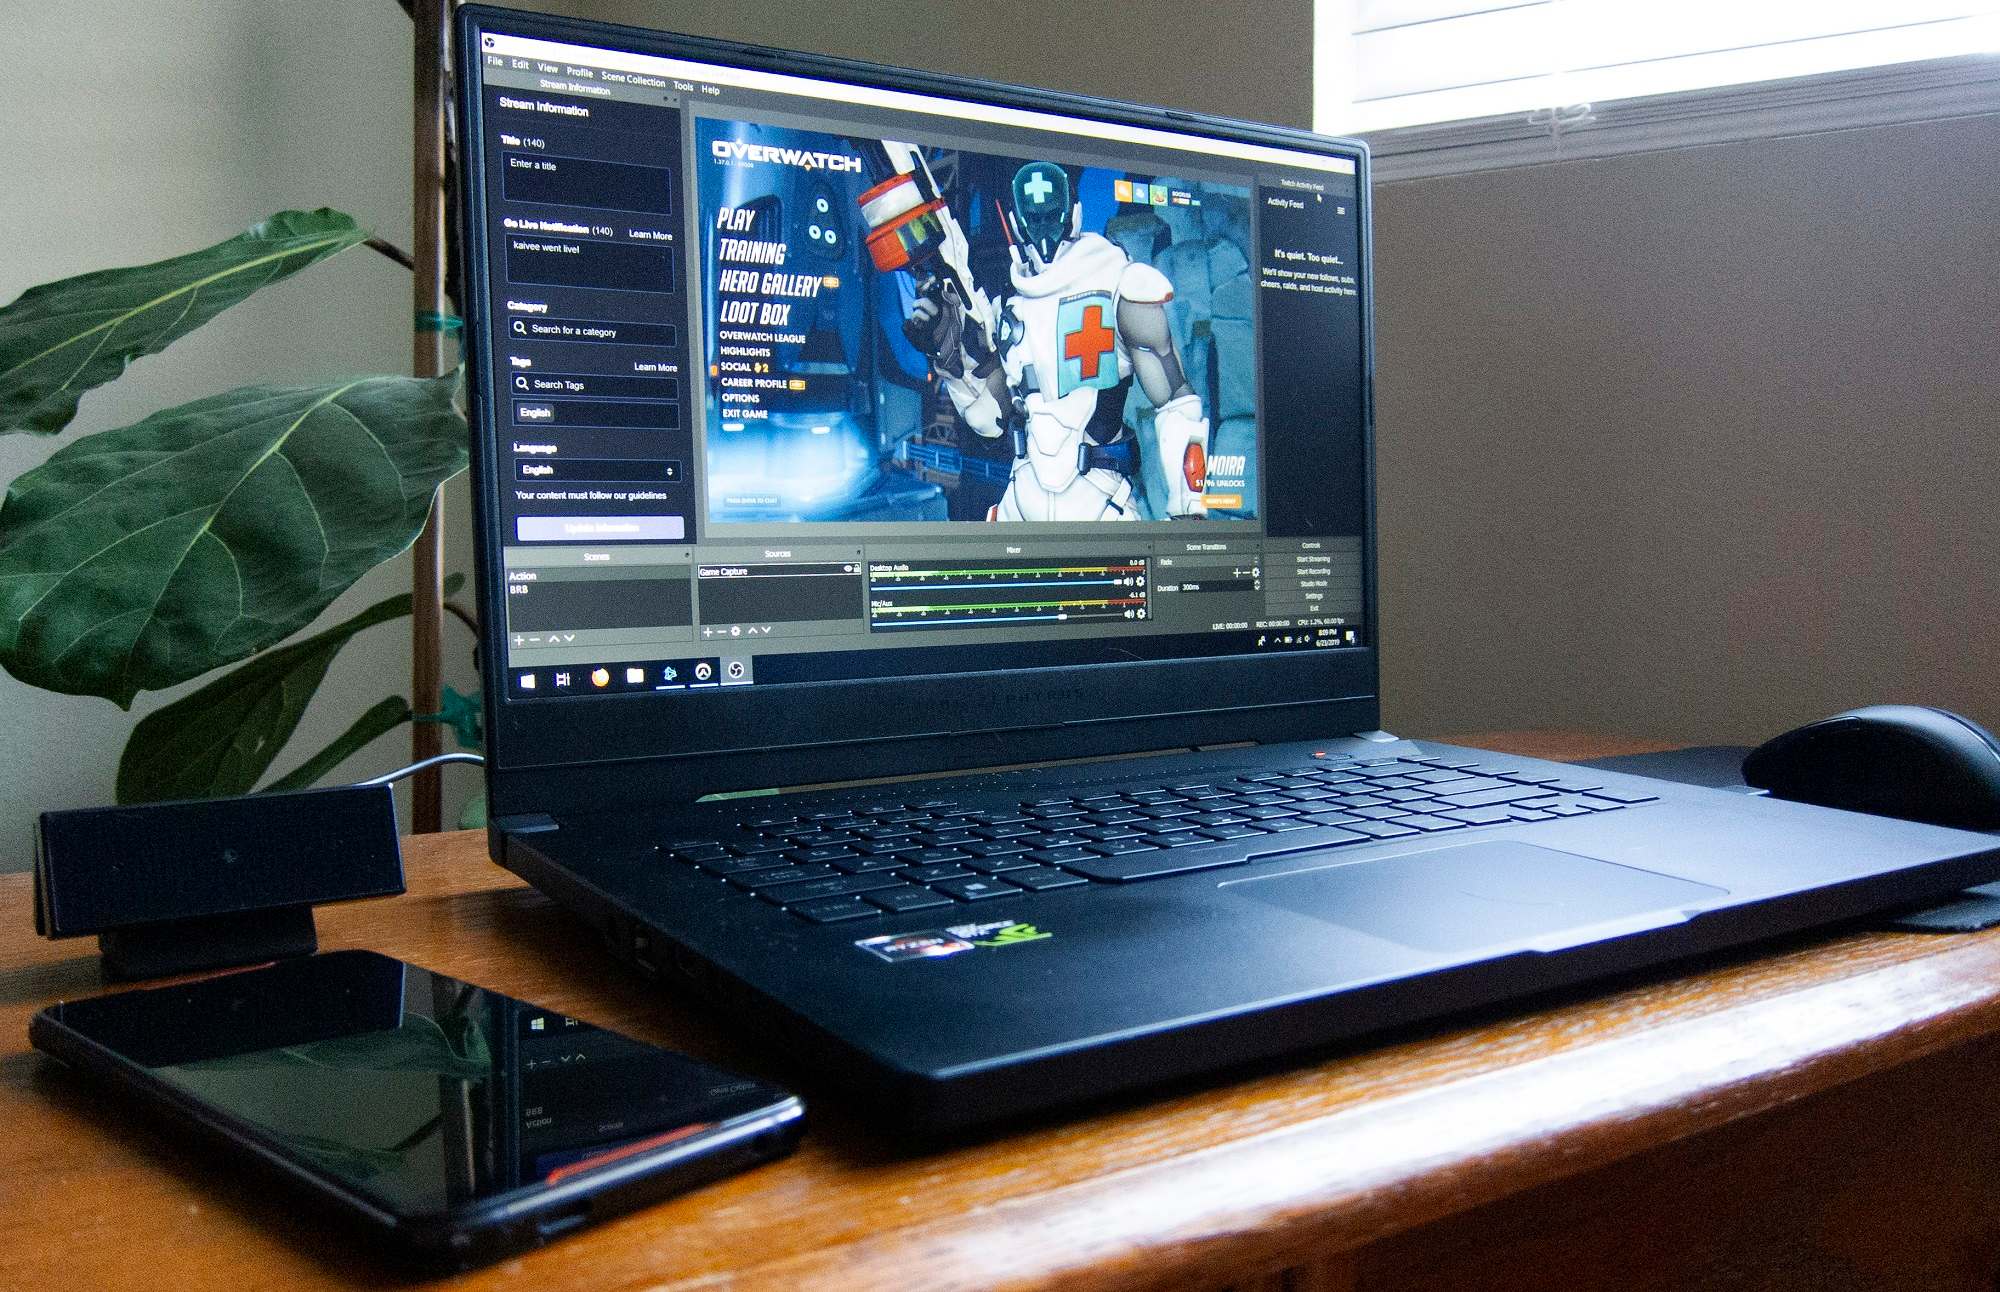
I spent a lot of time with the Zephyrus G GA502 learning how to set up a stream from scratch. Even though it was my first time streaming, the experience on the GA502 was stress-free.
Setting up your stream
Setting up your first livestream requires two main components: video recording software like OBS, XSplit, or Streamlabs OBS, and a platform to broadcast your video to, such as Twitch, YouTube Live, and Mixer.
Because there’s such a wide variety of options, I consulted our resident streaming expert to find out which ones would be right for me. For recording video, he pointed me to Open Broadcaster Software (OBS), since it’s free to download, it’s already optimized for the GA502’s NVIDIA encoder, and it only takes a couple of clicks to link to my existing Twitch account.
I wanted to replicate some of my favorite Twitch streamers’ setups, so I also picked up an ROG GC21 external webcam to capture my thrilling and hilarious live commentary. The GA502’s super-narrow bezels don’t leave space for an integrated webcam, so I needed the external cam to catch all those crucial reaction shots.
Choosing my own camera worked out in a number of ways. The ROG GC21 captures frames at twice the speed of conventional webcams. Its 60 FPS output makes for a smoother and more professional-looking feed. Plus, the external camera came with a standing mount that let me position it where I wanted to hit better angles and lighting.
I also hooked up two external monitors via the GA502’s HDMI 2.0b and reversible USB-C with DisplayPort 1.4 so that I could keep track of the game, make modifications to my stream, and keep up with my Twitch and team chats at the same time. It wasn’t strictly necessary to start streaming, but it made multitasking easier overall.
Getting started with OBS
For me, the most intimidating part of the setup was the software. Initially, the detailed menu and customization options available in OBS were confusing to understand. As it turns out, I only needed to familiarize myself with a few key features to get started quickly.
While there’s a huge amount of customization and tweaking you can do to configure OBS, there are only a handful of settings you need to worry about at first:
- Enforce streaming service encoder settings: Many platforms require specific bitrates, resolutions, framerates, keyframe intervals, and other settings to accept your stream. Checking this box ensures that those rules are enforced, saving you the work of figuring out each individual platform. Experienced users can check each platform’s guidelines to maximize stream quality. For example, Twitch has broadcasting guidelines available online, and keeping up with those rules is the best way to ensure your stream’s quality.
- Encoder Settings: Initially, the encoder will be set to the integrated APU. For the GA502, switch this to the NVIDIA H.264 video encoder, also known as NVENC, so that you use your GTX 1660 Ti instead of your APU.
- Audio and Camera Inputs: If you’re using your own webcam, external microphone, or an external headset, double-check that OBS is pulling its audio and video feed from the correct source. Since the GA502 comes with Hi-Res Audio certification, virtual surround sound, and smart amp technology, I was happy to plug in a headset to chat and jump in-game.
Next, you’ll want to figure out what “scenes” you’ll need for your broadcast. Scenes in OBS define what you’re broadcasting at any given time. A lot of streamers use 3 basic scenes: one dedicated to fullscreen gameplay, one for facial reactions and commentary, and a third with fullscreen gameplay and camera capture in picture-in-picture.
It’s also easy to set up simple text scenes to let your viewers know that you’re AFK, that you’ll BRB, or any other messaging you might need on the fly. You can set up hotkeys to call up and switch any one of these scenes as needed, making it easier to produce your livestream even while engrossed in-game.
After configuring your scenes, you just need to connect OBS with your favorite compatible streaming platform. Mine was Twitch, which came with its own rules for set-up like two-factor authentication.
Once that’s out of the way, you can broadcast your stream to all your friends with the click of a single button.
Lights, camera, action
What’s a stream without games to share? I put the GA502 through its paces on two incredibly popular titles: Overwatch and Fortnite. Endlessly replayable, these FPS games are among the most-streamed titles on Twitch. They can also be hugely demanding at their highest graphics settings, which made them perfect test vehicles.
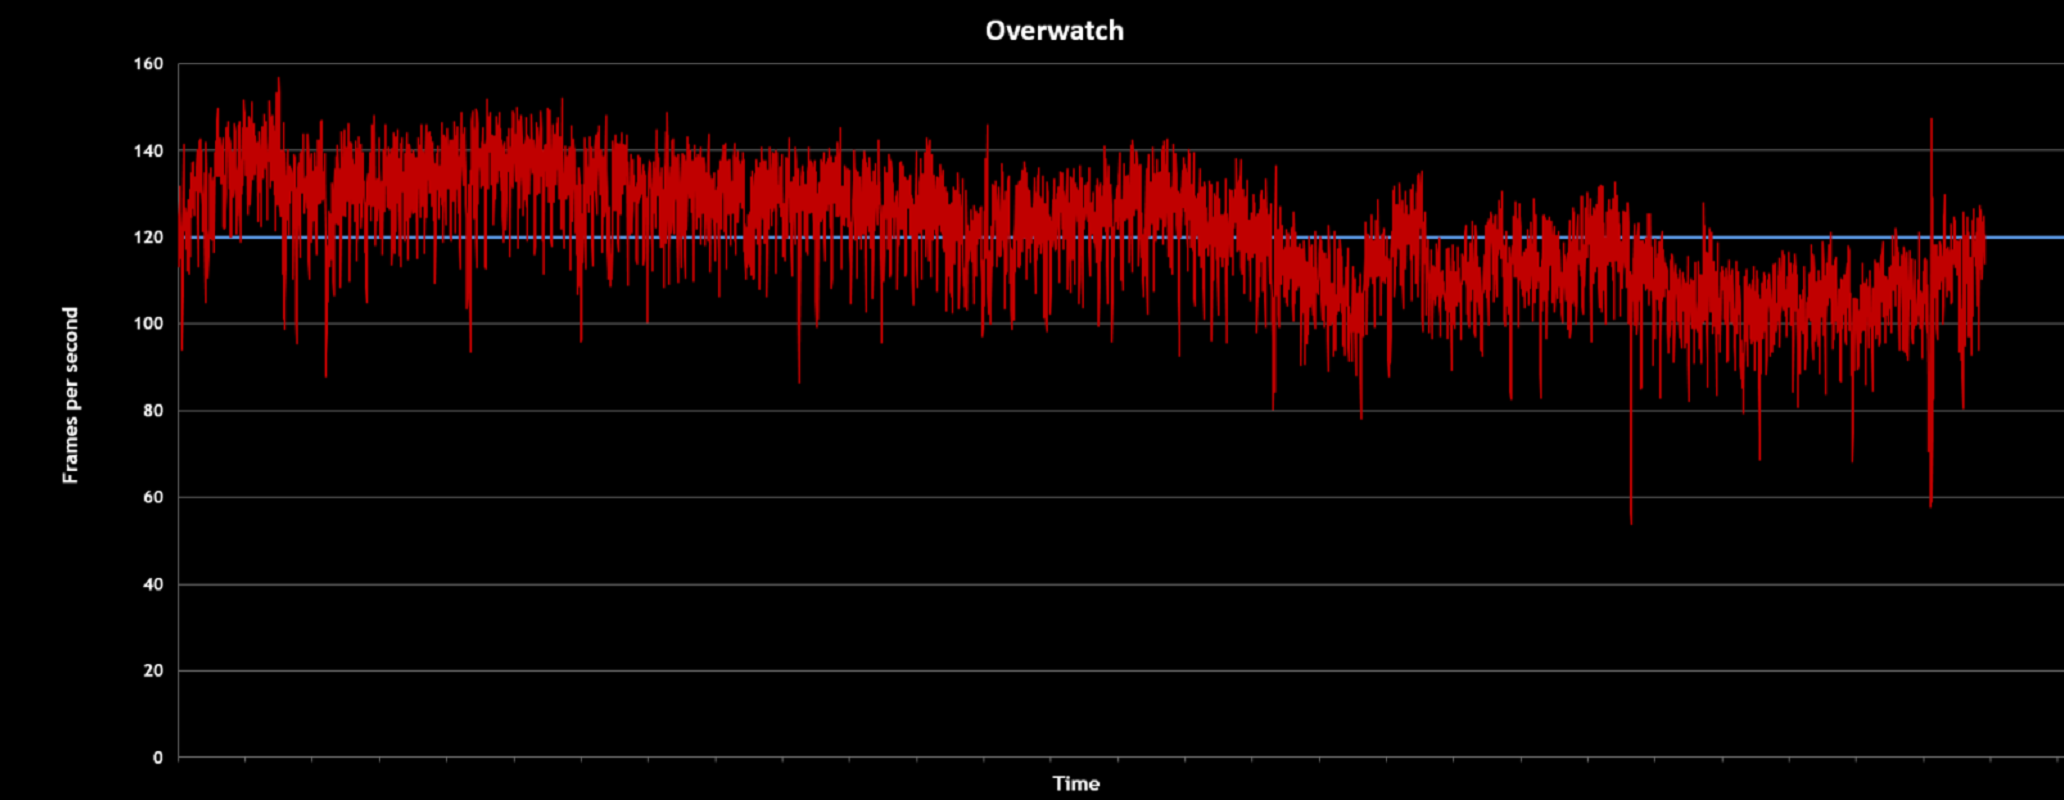
Smooth gaming graphics are crucial in esports, since situational awareness and quick reactions are essential to success. With Overwatch’s huge cast, it’s hard work keeping track of every hero’s location and cooldowns. Visual clarity in games like this requires a GPU that can deliver high frame rates under serious pressure (and in this case, even while encoding video).
To get the best possible experience, I switched around a few settings within the game itself. Most of my settings were at a default “High,” but I also turned off Vsync, raised the frame rate cap to 300+, and set the Render Scale to 100%.
In Performance and Turbo mode, the GA502 delivered. Even while I was taking benchmarks, streaming, and running wild in battle, I saw consistent triple-digit frame rates. Thanks to the average frame rate of around 100 FPS, gameplay was reliably smooth, and I didn't see any noticeable screen tearing, artifacts, or blurring. After many dozens of games, I was able to consistently support my team, get some upvotes, and even score a Play of the Game on Ashe.
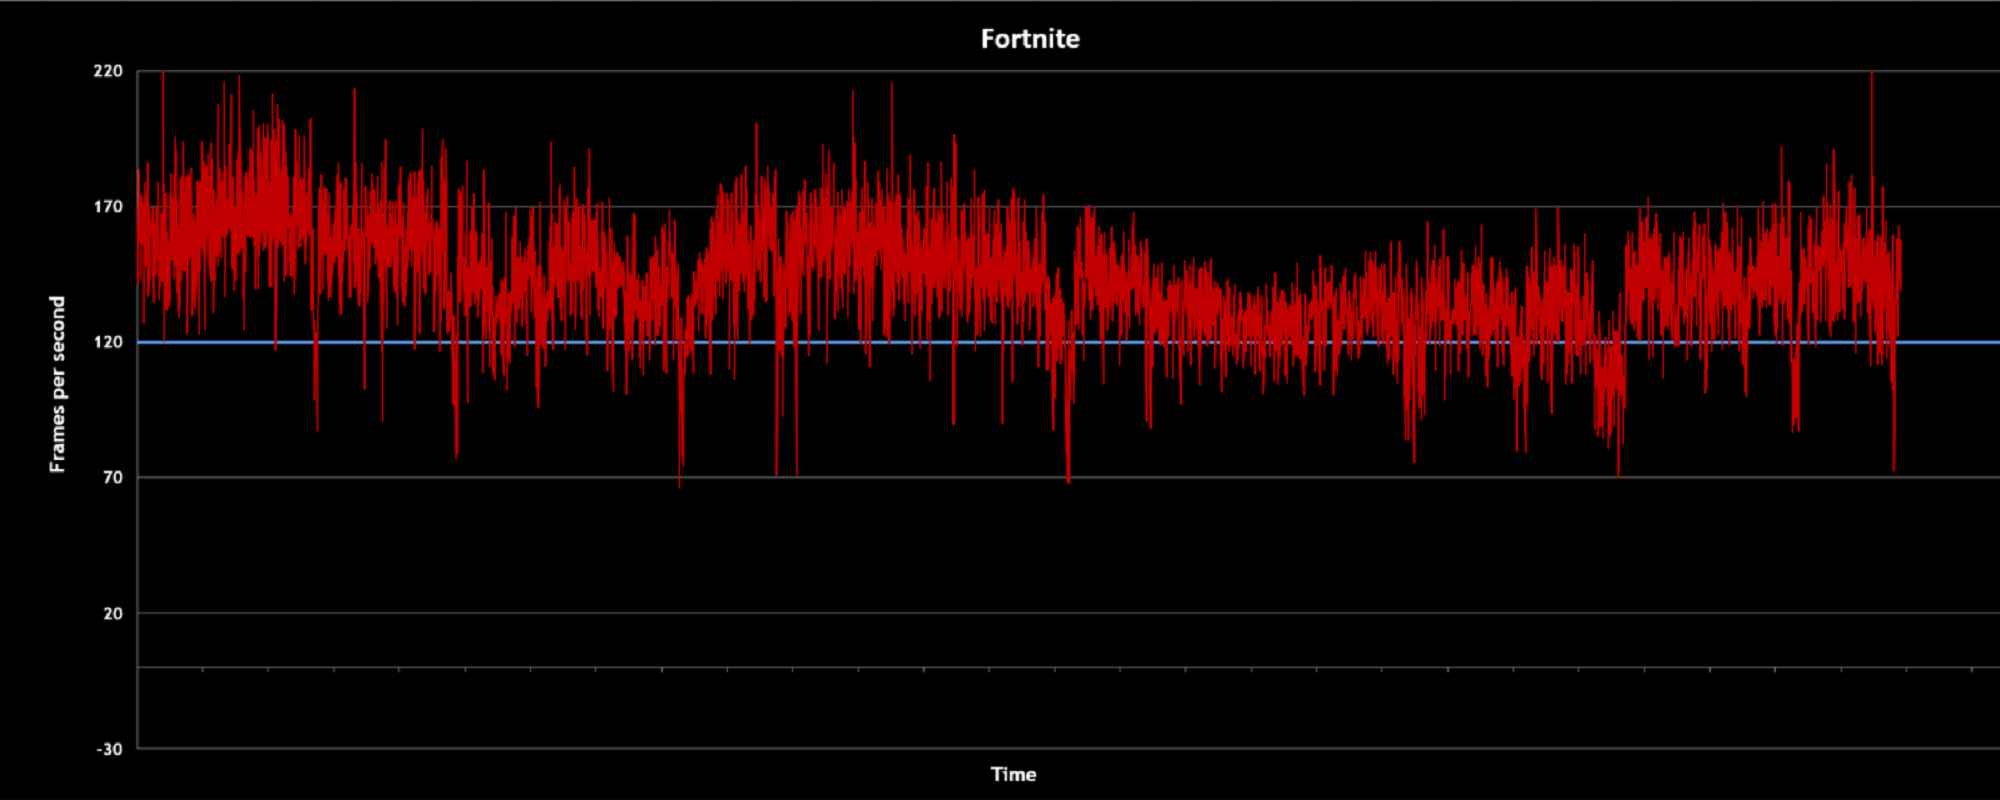
I traded in Overwatch’s magic and mayhem for guns, ammo, and bricks in Fortnite’s Battle Royale. In Fortnite, you don’t get to be the last person standing on the field without top notch situational awareness. Getting the jump on enemies is often the difference between victory and defeat.
With 100 people playing at once, Fortnite’s Battle Royale mode can be incredibly graphically demanding. Still, at medium graphics settings, I reliably saw 100+ FPS during solo battle royale. Each frame matters in a deathmatch, and I’m sure it saved my neck during a couple of tense, one-on-one skirmishes around the edges of the storm. I did see performance dip into the 80-90 FPS range when I jumped into team squad mode, likely due to the sheer intensity of the building and fighting and respawning happening in the ever-shrinking safe zone.
Incidentally, I also watched my own stream from a second computer to see how my broadcast looked. From what I could tell, both the game and video capture from the GA502 looked clear with minimal artifacts. Of course, on that end, you can only ever control the quality of what you input in your stream. What a viewer ultimately sees is mostly determined by the quality of their Internet connection and viewing devices. The best advantage you can give yourself is to start with high-quality equipment, like the ROG GC21 webcam and the GeForce GTX 1660 Ti’s video encoder, and go from there.
Take your game on the road
With a device as portable and compact as the ultra-slim GA502, it’s hard to resist taking it on the road. At under 20mm thin and weighing only 4.6 lbs, this is a device that travels really well. It only seemed right to take it on a trip for a bit of gaming on the go. Over the course of a few weeks, I took it out to friends' houses and cafes, and even used it to write parts of this article. While I was leery of jumping into demanding multiplayer games on public networks and hotspots, it was a breeze to play and stream simple single-player games like Civilization V and Slay the Spire.
The GA502’s punchy AMD Ryzen APU nimbly handled all of my day-to-day needs, from writing in Google Docs, checking emails, and reading endless Wikipedia articles. I was even able to finish up a lot of work off-charger, allowing me to enjoy the view at my favorite spot at my local library that's tragically far away from an outlet.
When it came time to dive into streaming, the GA502 made it easy to share with the world, even for a beginner like me. With its punchy GPU and built-in software optimizations, all I needed to do was hit “Start Stream” in OBS and let it do the rest of the work. For anyone who wants to start streaming without the fuss of expensive equipment, hardware, or even a whole second computer, the GA502 is a perfect solution. It’s lightweight enough to take with you anywhere you’d like to game, with heavyweight power that delivers the goods you need to game and stream in style.
Autor
Popular Post
ASUS Republic of Gamers presenta la serie de fuentes de poder Thor III
ASUS Republic of Gamers anuncia una nueva colaboración con Evangelion

ASUS Republic of Gamers anuncia disponibilidad del monitor ROG Swift OLED PG27UCDM
ASUS Republic of Gamers anuncia el teclado inalámbrico gaming ROG Strix Scope II 96

ASUS ROG presenta en CES 2025 sus últimas innovaciones diseñadas para liberar el potencial ilimitado de los juegos
Últimos Artículos
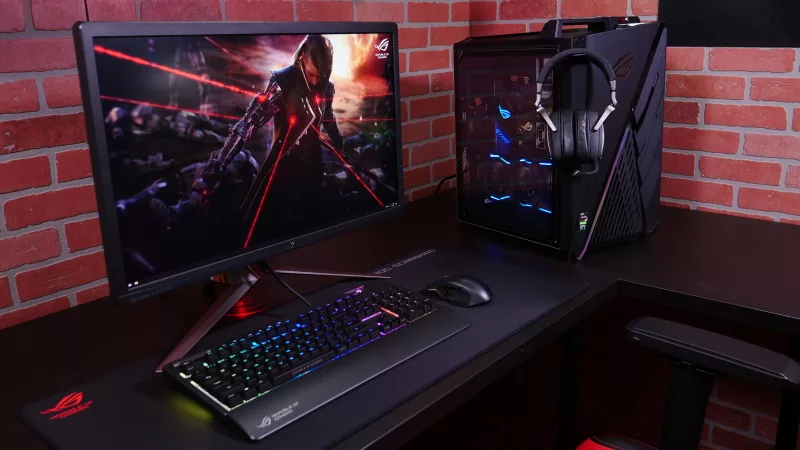
Going hands-on with the ROG Strix GA35's killer combo of Ryzen 9 3950X and GeForce RTX 2080 Ti power
The ROG Strix GA35 delivers incredible gaming performance, but that's just the start of its all-around excellence.
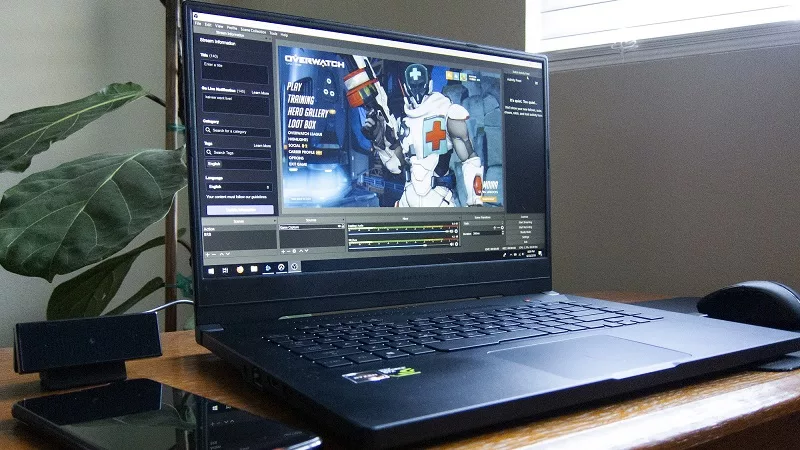
The versatile Zephyrus G GA502 makes it easy to stream and game simultaneously
We're creating gaming PCs that make streaming a possibility for everyone. Come see what the affordable Zephyrus G GA502 can do.