Doom Eternal on the ROG Ally: performance guide & best settings
 Image source: Gamesplanet
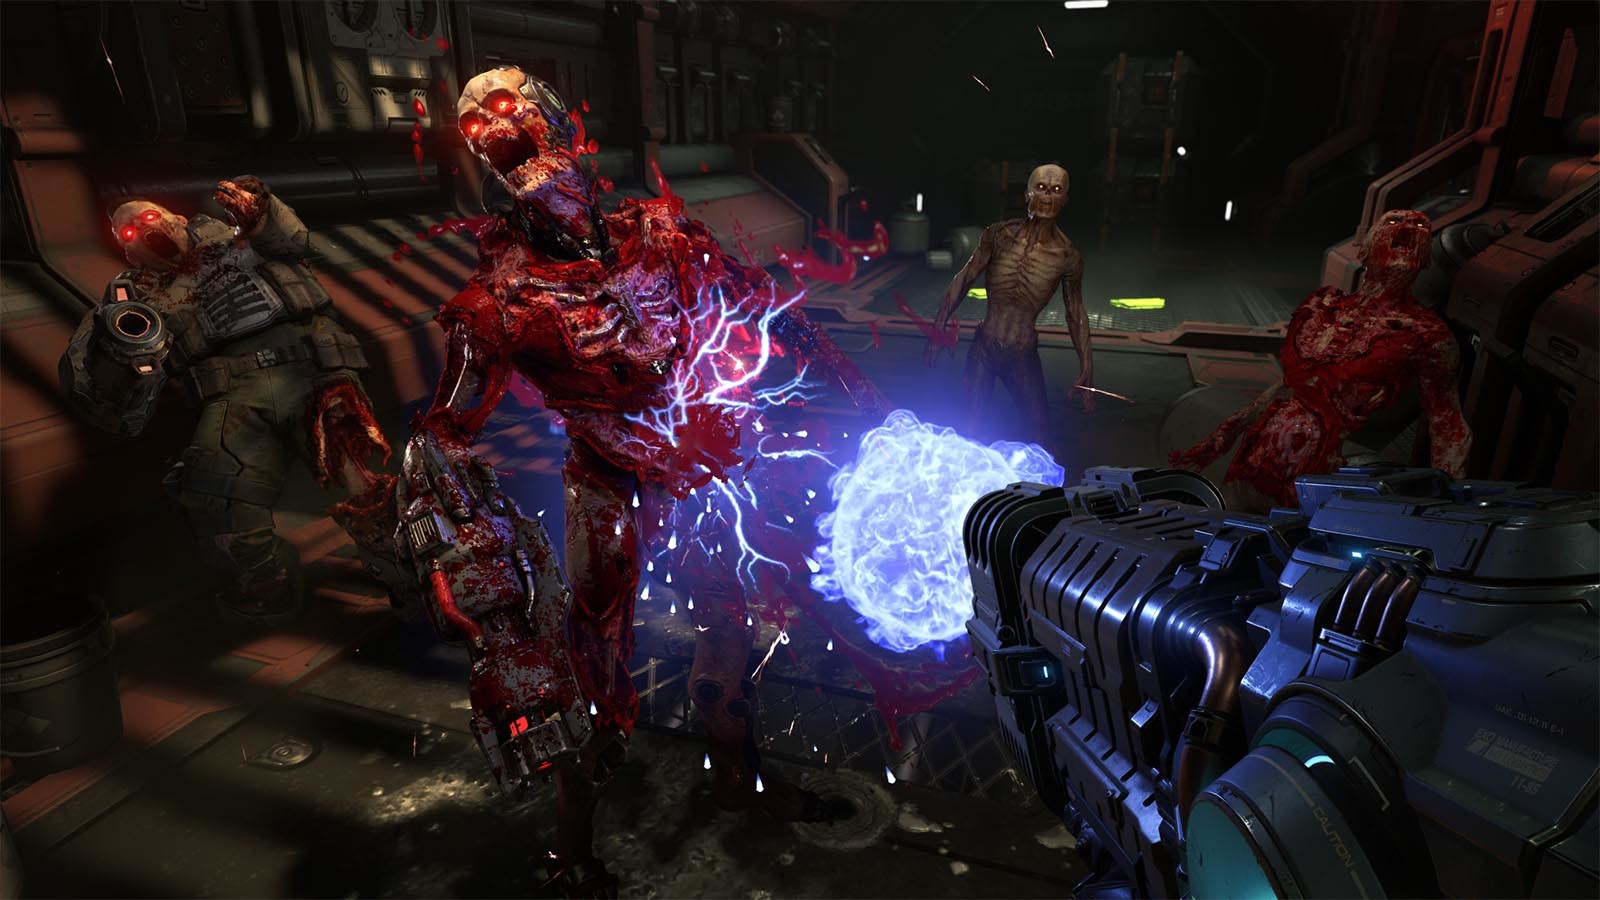
Few games are as furious and fast-paced as Doom Eternal, and the blood-soaked universe it builds is truly a sight to behold. If you’re looking for an ultra-violent frenzy on the go, it’s an incredible game to have on your ROG Ally, and we’ve got the best graphics settings to make it shine.
This is part of our ultimate guide to the ROG Ally series of articles. For more great games, check out our recommendations here.
What framerate to expect in Doom Eternal on the ROG Ally
This game's firey, gory visuals look great no matter what settings you use, but tweaking them can alter the performance you get. If you turn the settings down to their lowest options at 1080p in Turbo mode, you’ll spend most of your time between 70-90 FPS for butter-smooth gameplay. (Note that your performance numbers may differ slightly from ours depending on drivers, software, and other factors – like whether your Ally is plugged in.) If you want to extend your battery life, we recommend switching the Ally to Performance mode, then using Doom Eternal’s dynamic resolution scaling to aim for a 60 FPS target to keep performance smooth.
Those low settings are great for gamers who desire high framerates above all else, but Doom Eternal is a AAA game with gorgeous graphics, and we think a few settings tweaks can make the game look noticeably better — while still offering excellent performance. For our optimized settings below, we targeted 1080p at 60 FPS in Turbo Mode, giving you an excellent balance between fidelity and framerate. The framerate will still fluctuate up and down between 50-70 or so, but thanks to FreeSync Premium, everything will feel smooth and tear-free.
Doom Eternal optimized graphics settings for the ROG Ally
The bowels of Hell have a strange beauty to them, especially if you use these graphics settings in Doom Eternal on the ROG Ally:
- Resolution: 1920x1080, the native resolution of the ROG Ally’s display.
- Field of View: 90. Field of View determines how much of the scene you can see at once, and it’s mostly personal preference – so we’ve left it at the default 90 for the purposes of our testing. You can adjust this as you see fit, just know that it can affect performance, since it requires the game to render more (or less) of the scene at one time.
- Motion Blur: Set to Taste. This adds blur to movement in the game, and whether you like that is personal preference. Common sentiment these days seems to be against turning it on, however, so we left it off for our tests.
- Texture Pool Size: Medium. This mostly affects the amount of VRAM Doom Eternal uses, and Medium fits into the Ally’s default VRAM pool while looking better than Low. You can increase the Ally’s VRAM allocation and turn textures higher if you wish, though.
- Shadow Quality: Medium. Moving from Low to Medium results in noticeably better-looking shadows, so we think it’s worth the small performance hit. Any higher, though, and framerate suffers too much to be worth the improvements.
- Reflections Quality: Medium. Medium reflections looked almost as good as High in our tests, so it’s a good...well, happy medium.
- Motion Blur Quality: Low. This can have a large effect on performance, so set it to low (or turn it off entirely as noted above).
- Direction Occlusion: Medium. Occlusion adds small shadows that help add a sense of depth and realism to the world. Medium offers a good balance between visuals and performance here.
- Lights Quality: Low. This affects performance fairly heavily, but didn’t seem to impact the image too negatively in our tests. Get some frames back by setting this to Low.
- Particles Quality: Medium. This setting, which determines the quality of sparks, explosions, and other particles, has a smaller effect on performance. That said, it also doesn’t change the visuals too heavily, so we think medium works well here.
- Decal Quality: Medium. This affects certain decorations on surfaces, and while higher settings do produce noticeably more details in some areas, we’re sticking with Medium for performance.
- Water Quality: Medium. This mostly affects certain reflections in pools. It’s a nice flourish to have turned on, though Medium offers the best bang for your buck in terms of performance.
- Volumetrics Quality: Low. Fog and light beams will be lower resolution with this turned down, but it’s hard to notice and you'll gain back some performance by setting this to Low.
- Texture Filtering Quality: High. This doesn’t affect performance heavily, but will make textures look nicer when viewed at an angle, so it’s worth turning up to High.
- Geometric Quality: Medium. This determines the number of polygons used in objects throughout the game, which affects the overall visual quality of everything. Medium strikes a good balance between performance and fidelity on the Ally.
- Chromatic Aberration, Sharpening, & Film Grain: Set to taste. These are stylistic choices that some people love and some don’t, so you can decide whether you want these effects turned on.
- Resolution Scaling Mode: Off. Since we were able to hit our 60 FPS target without turning the resolution down, we left this feature off. However, if you want a higher or more consistent framerate, especially if you’ve put the Ally in Performance mode, this setting may be useful. Set it to Dynamic, choose your ideal framerate, and the game will adjust its resolution up and down as you play to hit your performance target.
- Depth of Field & Depth of Field Anti-Aliasing: Set to taste. This adds a depth of field effect to the game, and while it’s mostly personal preference, it does affect performance, so keep that in mind as you choose your setting. Our numbers above were achieved with both of these turned on.
Ultimately, the ideal settings for performance and graphical quality are up to you and your preferences, so don’t feel like you have to stick to these settings – use them as a starting point for your own configuration. Then go rip and tear until it is done.

