How to enable Auto HDR for dazzling graphics in PC games
You may not know it, but the future of PC gaming on Windows just got a whole lot brighter. Included as a standard feature with Windows 11, Auto HDR uses the power of machine learning to bring High Dynamic Range (HDR) gaming to titles that previously couldn't make use of this glorious feature.
What is Auto HDR?
If you haven't gotten on the HDR train yet, it's high time you did. Stunning contrast ratios, vivid color, and more detailed highlights and shadows make HDR one of the most impactful visual settings you can enable in modern video games. But not all games are designed with HDR in mind, and some older titles may never get updated for the latest blow-your-mind displays—which is why Microsoft brought Auto HDR to Windows, allowing you to get that added "pop" even in games that weren't designed for HDR.
In a nutshell, Auto HDR uses deep learning algorithms to automatically adjust an SDR game into a more vivid HDR picture. Down the road, this technology will allow any DirectX 11 or DirectX 12 SDR title to be displayed in HDR. At the time of writing, Microsoft has whitelisted a library of compatible games, and is adding more every day.
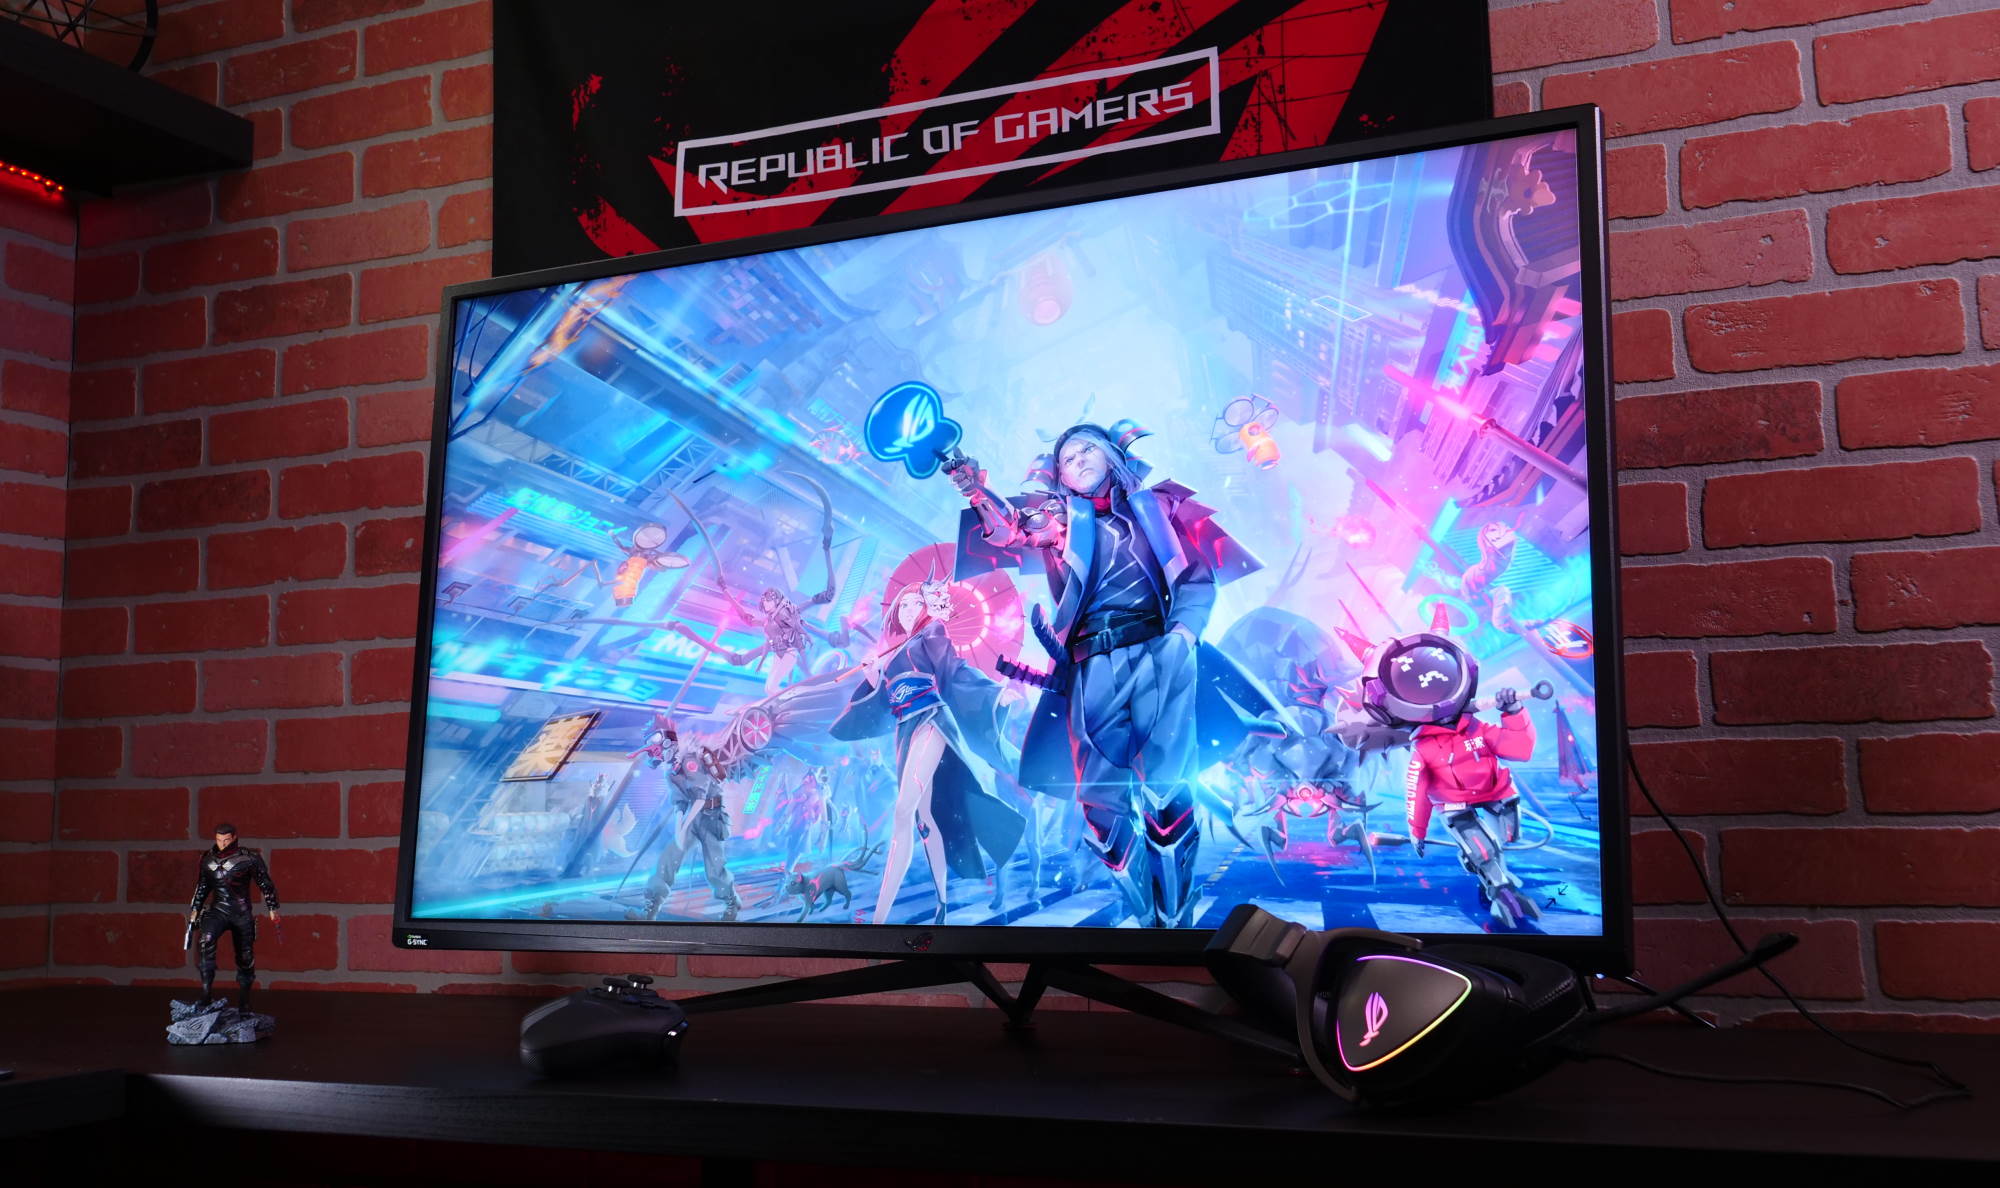
In order to use Auto HDR, you'll need two things: a supported game (sadly, there's no official list) and an HDR capable monitor, like the stunning 4K PG32UQX, ultrawide PG35VQ, or our brand new Zephyrus Duo 16 with its Nebula HDR display. Let’s explore why Auto HDR is such an amazing new option for PC gamers, and why you should consider making sure your next monitor purchase is HDR capable.
How to enable Auto HDR in Windows 11
Auto HDR is dead simple to set up. Again, you will need an HDR capable monitor. Look for something VESA DisplayHDR™ certified—the higher the number, the better your HDR experience will be. You'll also need Windows 11 installed, if you don't already. After that, simply type “HDR” in the Windows search bar, then click on “HDR settings”. The settings page should look like this:
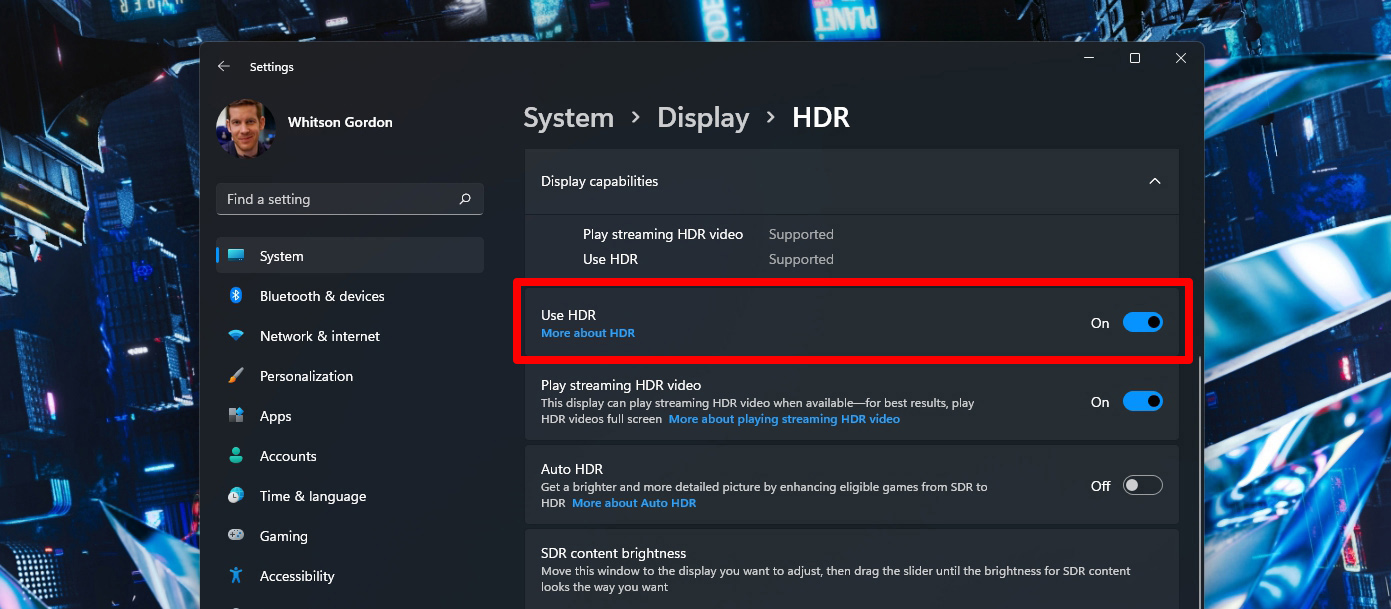
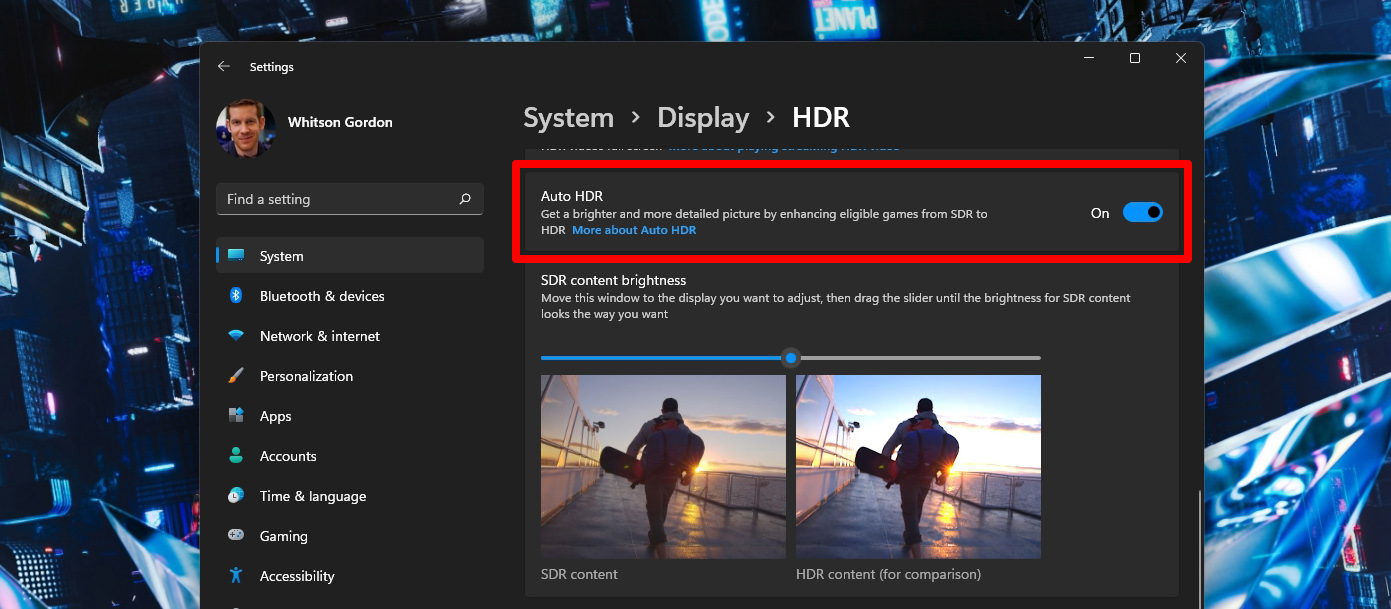
By default, HDR is disabled system-wide. First we need to toggle “Use HDR”, then a new section will appear and we can toggle “Auto HDR” to on. While in this menu, also consider adjusting the SDR brightness slider. From personal experience on a few test displays, lower values under 20 tend to work best if you have a high-brightness display, though this will vary from monitor to monitor. Once all of these settings are toggled to the on position, you're off to the races.
Note that while you need HDR turned on system-wide for Auto HDR to work in-game, you don't have to leave HDR turned on when you're just using the desktop. To toggle HDR on and off on-the-fly, just press Win+Alt+G on your keyboard—no need to go back to this settings menu before you launch a game.
With HDR turned on and Auto-HDR enabled, just launch a compatible game. I tested a number of non-HDR titles with Auto HDR to great results. Set in Japan in the 1980’s, Yakuza 0's neon signs and nightlife scenes became all the more vivid, without washing out the entire scene. If I hadn’t seen the Auto HDR notification pop up when the game booted, I would think this was a native implementation. Other scenes were more subtle—The Witcher 3 offered slight differences in the reflections on clothes and armor in certain scenarios, but didn't change the environment. That's a good thing: instead of blowing out a scene or creating visual artifacts, Auto HDR seems to take a more conservative approach, meaning you're unlikely to see many negative side effects by just leaving Auto HDR on.
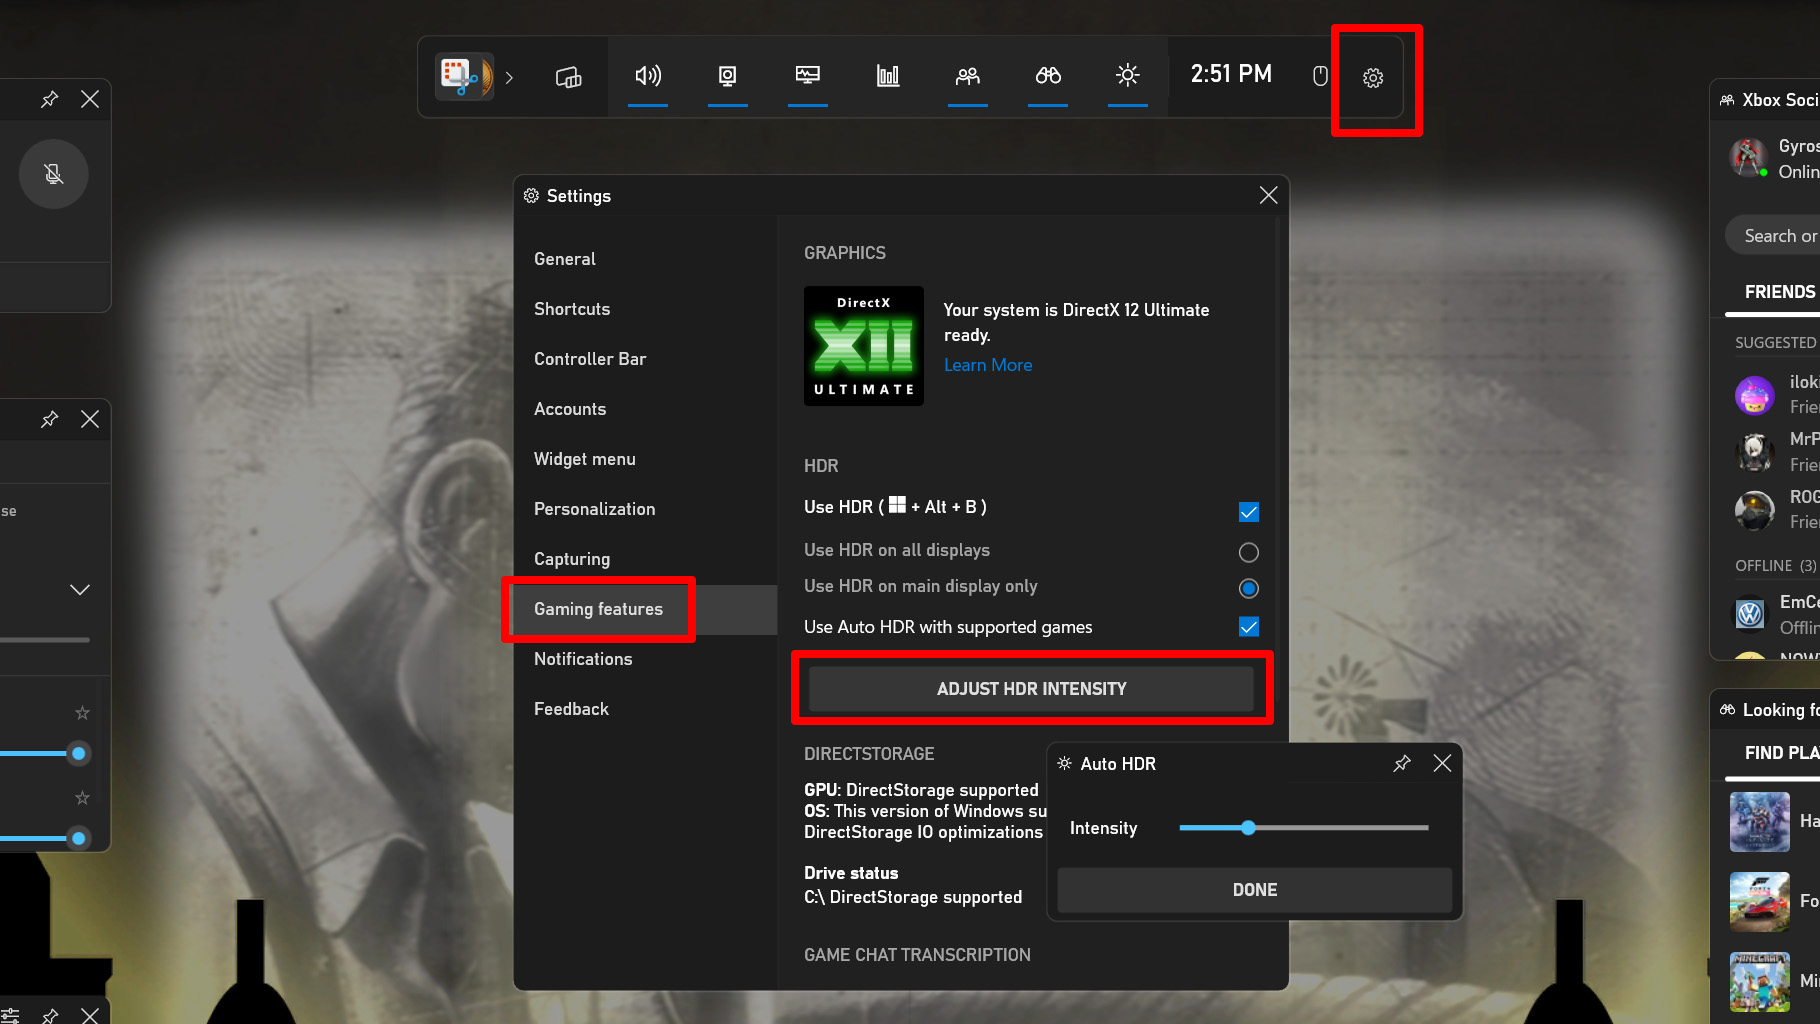
If you'd like to lower the HDR brightness, however, you can open up the Xbox Game Bar with Win+G, click the settings cog along the top, and head to Gaming Features > Adjust HDR Intensity. The lower the slider, the less intense the HDR highlights will be. You can adjust this on a game-by-game basis.
The future is certainly bright for PC gamers in 2022. With the introduction of Auto HDR on Windows 11, more vivid scenes with higher contrast are no longer restricted to games that have been mastered for HDR. With one simple toggle, you can make sure every game looks as good as it possibly can—making Mini LED displays like the PG32UQX all the more enticing.
Author
Popular Post

The ROG XREAL R1 gaming glasses let you game anywhere on a 171-inch 240Hz virtual screen
How to configure your PC's RGB lighting with Aura Sync

Meet the ROG NUC 16: compact power for gaming, AI workloads, and beyond

The 2026 ROG Strix G16 and G18 raise the bar for gaming laptops once again

Prepare for ultra-sharp RGB Stripe OLED imagery with these three new ROG monitors
LATEST ARTICLES

How to clean your OLED monitor
Keeping your OLED monitor looking pristine is surprisingly simple. You just need a microfiber cloth and the right technique.

How to enable Xbox mode to reduce RAM usage when gaming on Windows
Here’s how you can enable Xbox mode for Windows 11 PCs to score a more streamlined, controller-friendly experience.

Zephyrus vs Strix vs Flow: What's the difference between ROG laptops?
ROG builds laptops for every kind of gamer. Find out which one is right for you!