Settings guide: How to set up your gaming monitor
Your PC's monitor is a portal to another world, the window to every game you play. It's easy to get caught up in the specs of your PC and the power of your graphics card, but your display is just as important in determining the final image that reaches your eyeballs—so it's important to set it up properly. Here are all the settings you should tweak when you unbox your new gaming display.
First: Adjust the physical
Once you've put your monitor together and set it on the desk, you'll want to get the stand set to its optimal height and angle. This isn't just for ergonomics (though that's a big part of it)—viewing angles can affect the colors on screen, so you want to make sure the screen is in the best spot for your eyes to accurately interpret the display's color and contrast. If the display is too high or too low, or at a strange angle, the colors may shift or look washed out.
Ideally, you should adjust the height of your monitor so that the top is near or just above eye level. Most ROG monitors support height adjustment (save for a few large format and portable displays where it wouldn't make sense), and this is crucial for a good experience. There's no reason you should have to deal with a monitor that only has tilt support, forcing you to stack it on a bunch of books for proper ergonomics.
Next, adjust the display's tilt so that you're looking at the screen straight on. Try to avoid direct sunlight from windows if you can, though monitors with a high brightness spec (over 300 nits) can help overcome this glare–more on adjusting brightness in a bit.
Finally, ROG monitors also come with cable management built into the stand, so you can keep cables tucked away and out of sight for a super clean battlestation. Again, don't settle for lesser monitors that force your cables into a messy rat's nest. Oh, and use DisplayPort if at all possible—in most cases, it'll support the best resolutions and refresh rates your monitor has to offer, while HDMI may be more limited on certain displays.
Pick Your Preset
ASUS and ROG monitors have a number of presets built-in that determine the contrast, color, and vibrancy of the image on screen. Which one you choose will depend on your goals: do you want colors accurate to the original mastering of the game? Do you want an image that really "pops" with vivid colors? Or do you want a competitive advantage over your opponents above all else? The answer may vary from person to person and even game to game, so don't be afraid to play with different settings as you explore different titles.
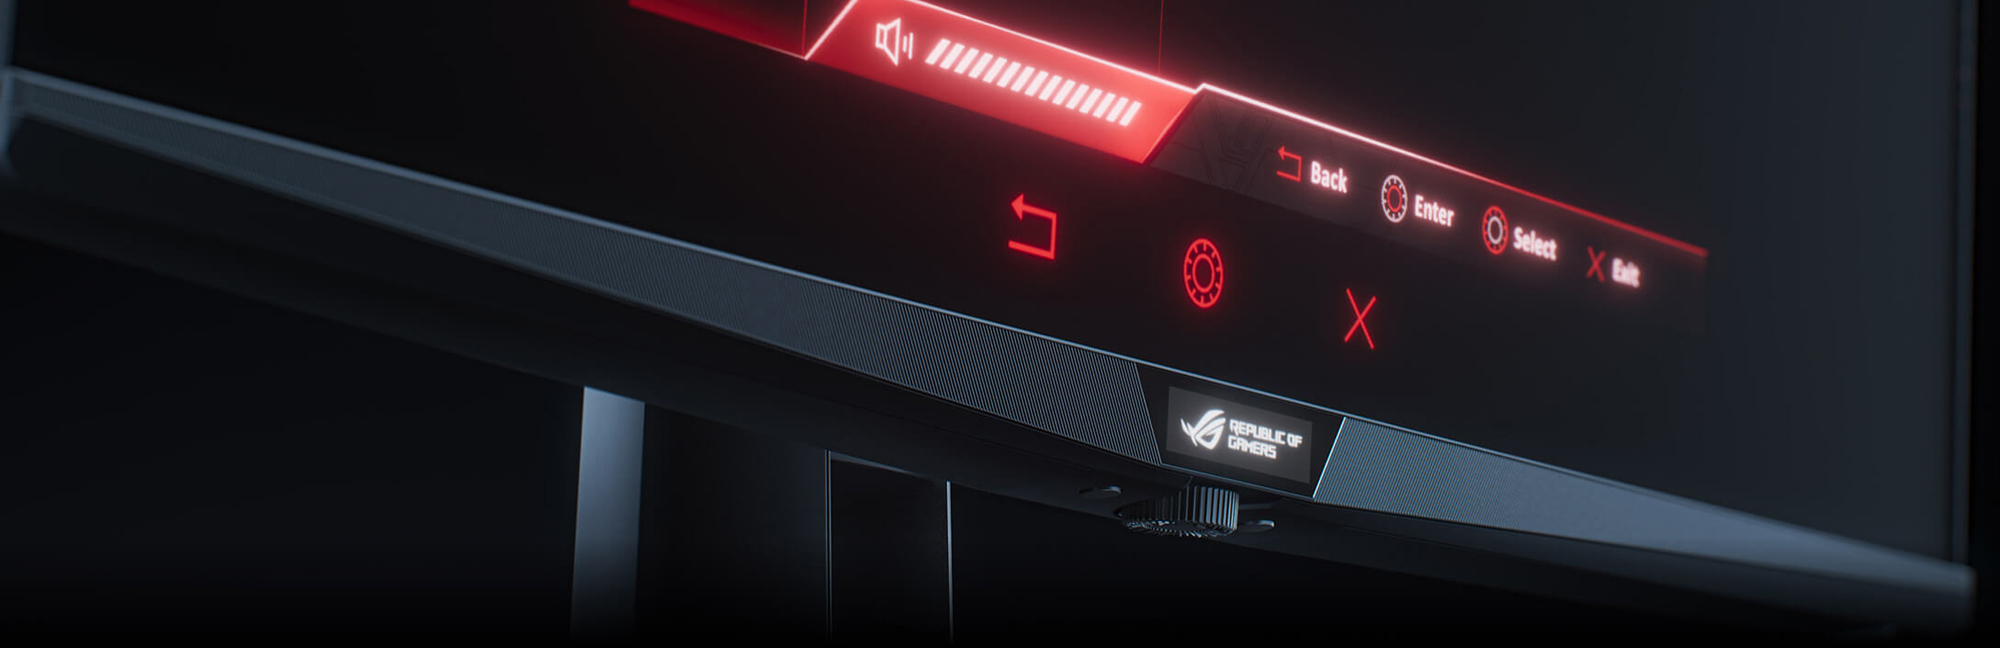
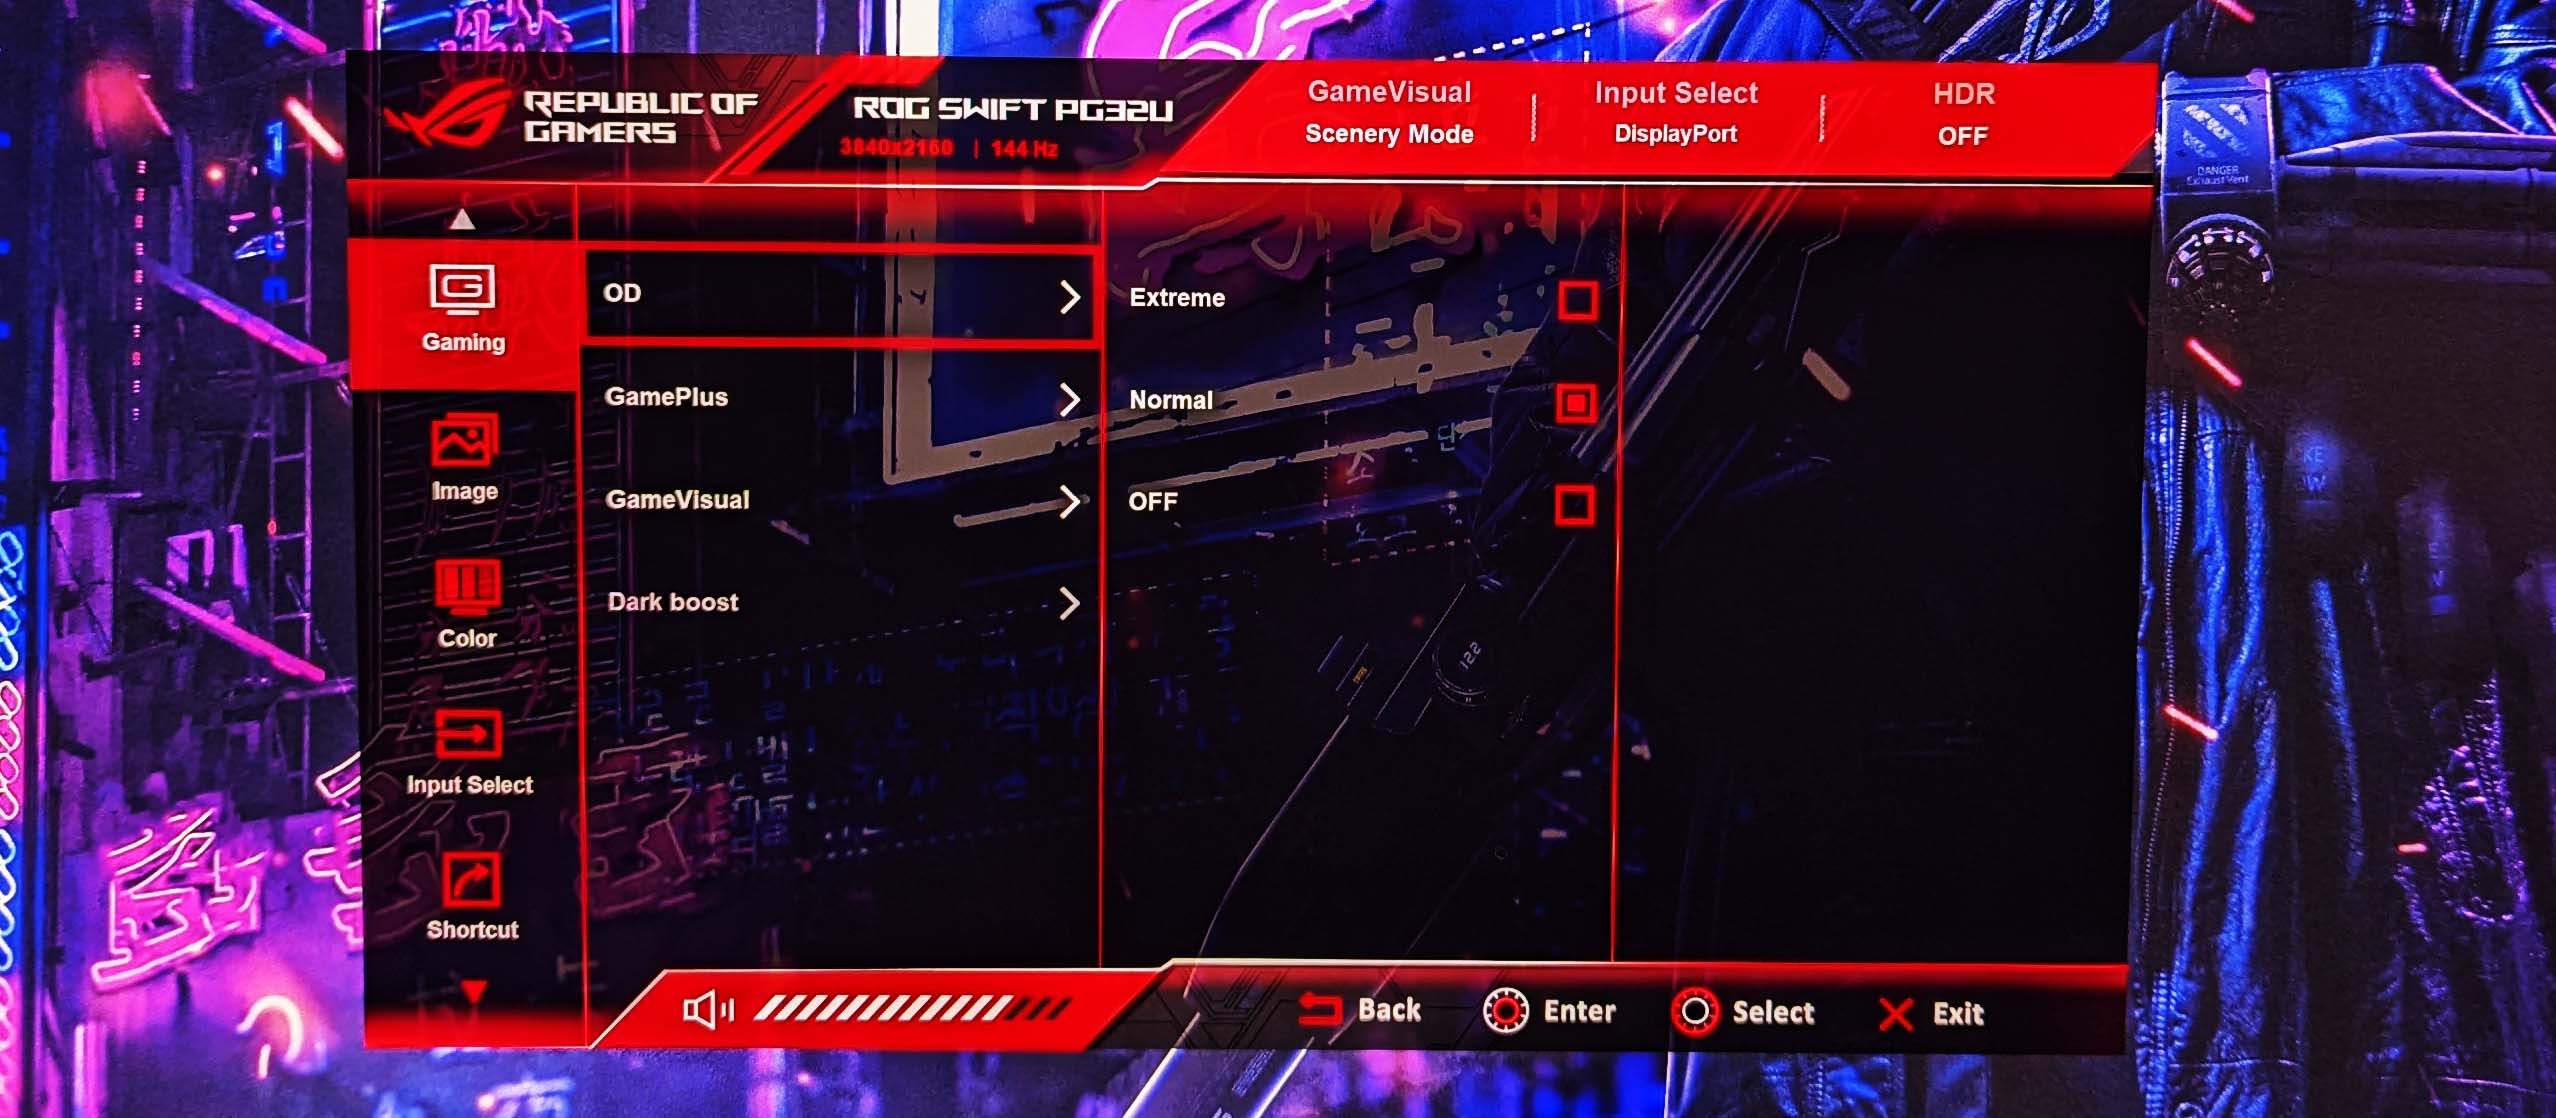
To adjust your monitor's settings, press the settings button, usually located on the back, side, or bottom of your monitor. You'll see an overlay pop up on the bottom of your screen, called the on-screen display (or OSD), which you can navigate with those same buttons. Almost all ROG monitors have a joystick-style control, though, which is much easier to use: you can move it left, right, up, and down to navigate these menus, and press inward on it to select. You'll find the picture presets under the GameVisual category.
Racing is often a great setting to try, even if you aren't playing a racing game–it offers vibrant colors, especially on monitors with a wide color gamut, and has low input lag right out of the box. Many wide gamut monitors also have an sRGB mode, which clamps the colors into a narrower space. sRGB mode is less vibrant, but the colors will actually be more accurate to the game's original design, since games are mastered in this color space (unless you're playing in HDR). This mode is also ideal for content creation, so you know how your photos or video will appear on other displays.
Other settings are designed to suit certain types of games. The MOBA preset enhances the colors of your opponents' health and mana bars, while FPS offers higher contrast to enhance visibility of your enemies. If you like to tweak, you can alternatively go with User mode and adjust the R-G-B white balance by eye, or with a colorimeter.
Once you've picked your base preset, you can adjust the brightness setting to fit your room's needs–low brightness will be fine at night (and offer deeper, darker blacks), but during the day you may need higher levels to overcome sunlight. If your monitor has a Local Dimming or Variable Backlight setting, like our ROG Swift PG32UQX, you're in for a real treat. This allows the backlight to dim down in different zones across the display, allowing for deeper blacks and brighter whites for an image that truly "pops". You can adjust this setting to taste as well—different settings allow for more aggressive dimming and thus deeper blacks, so play with it in-game to see what you like best. Other settings like contrast can usually be left alone, but if a preset isn't quite where you want it to be, you can dial it in to your exact preferences.
All of these settings apply to gaming in standard dynamic range, or SDR. If your monitor is capable of HDR, it should automatically kick in to a separate HDR mode when the monitor detects an HDR signal. Some games require you to flip the “Enable HDR” switch in Windows' HDR settings first, then enable it in game, while other games will do it automatically when you enable HDR in the game's settings. (And a third subset of games support Windows 11's new Auto HDR feature, which requires Windows' HDR setting to be flipped on.) If you aren't sure whether you're playing in HDR, launch the game in question, turn HDR on, and open your monitor's settings–it should say "HDR" somewhere in the OSD if it's detecting an HDR signal.
Set your refresh rate
Every frame counts when you're trying to get the jump on your enemy. So if you're rocking a high-refresh 144Hz, 240Hz, or even 360hz monitor, make sure you're getting every frame you paid for. To start, if your monitor has a refresh rate overclocking setting, like the blazing 270Hz on the ROG XG27AQM, be sure to turn it on for the highest refresh rates. (Again, DisplayPort may be necessary to make the most of this feature.) If you don't enable this overclocking feature in your monitor's OSD, that top-end refresh rate won't appear in Windows' settings to select.
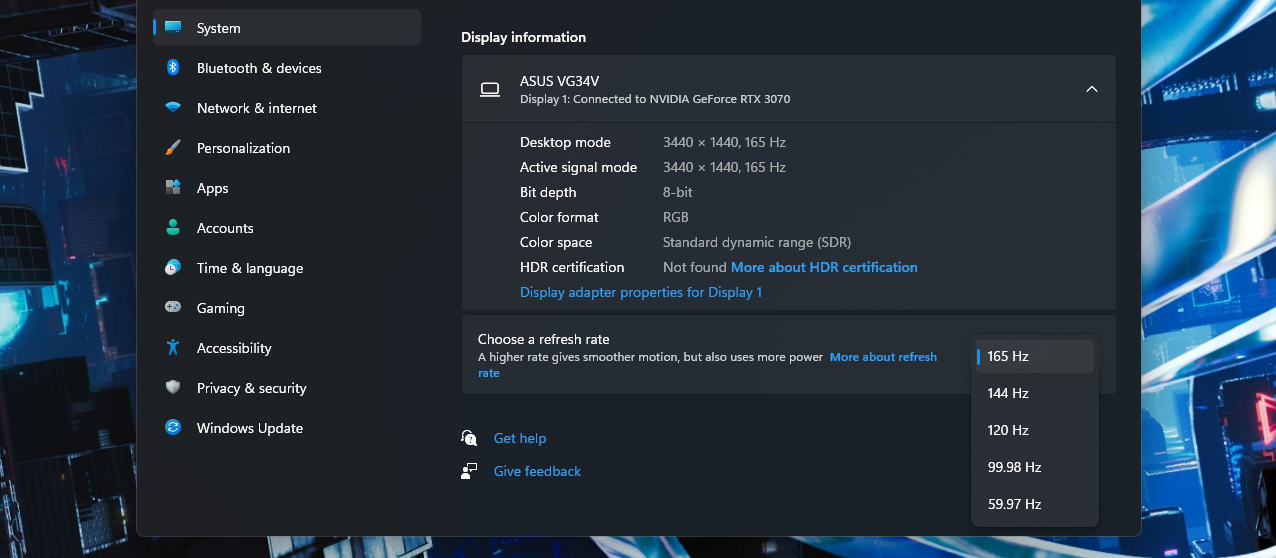
Next, right-click on the desktop and open Windows' Display Settings. Scroll down to Advanced Display Settings and select your monitor from the dropdown at the top (if it isn't selected already). Further down this page, you should see a dropdown marked Refresh Rate–click that, and make sure it's set as high as it will go. The higher your refresh rate, the smoother motion will appear in-game, and the quicker you'll see enemies emerge from cover.
If your display supports Adaptive Sync, you'll want to enable this as well to reduce screen tearing. From your monitor's OSD, find the G-SYNC or FreeSync option and make sure it's turned on. Then, open your graphics driver's options to enable it there as well. If you have an NVIDIA graphics card, right-click the desktop and choose NVIDIA Control Panel, choose Set Up G-SYNC, and check the "Enable" box at the top of the window. Make sure the correct display is selected and, if it's a G-SYNC compatible display (rather than a display with a G-SYNC chip in it), select the "Enable settings for the selected display model" box before clicking Apply. If you have an AMD graphics card, right-click the desktop and select AMD Radeon Software. Click the gear icon in the upper-right corner, choose the Display tab, and set Radeon FreeSync to Enabled.
Put 'er in Overdrive
Not to be confused with the refresh rate or input lag of a monitor, response time determines how fast a display can shift from one color or shade to another. Certain transitions may take longer than others, which can result in "ghosting," or a blurry trail behind moving objects. Certain panel types have faster response times than others–IPS panels tend to be faster than VA panels, with ROG's "Fast IPS" panels being insanely quick, offering lightning-fast response times to match their high refresh rates of 240Hz and beyond.
You can further improve a panel's native response time, however, with the Overdrive setting. As its name suggests, this "overdrives" the pixels to result in faster response times for clearer, smoother motion, which is crucial in fast-paced combat. You don't necessarily want to just set it to its highest setting and call it a day, though. While lower settings can result in a bit more ghosting, setting it too high can cause "overshoot," which can cause inverse ghosting, or a colored trail behind moving objects.
Picking the right overdrive setting is a delicate balance between these two forces, and much of it is personal preference, or may vary from game to game. You may find that the image looks best to you with a higher or lower Overdrive setting than the monitor comes with out of the box, or than your friend uses. You might even find one overdrive setting is better for high framerate gaming, while another is better for low framerate gaming. Our Variable Overdrive feature, available on certain monitors, takes this into account and adjusts your monitor's overdrive based on the framerate of your game.
The Blur Busters UFO Ghosting Test can help you dial in the right setting for you–put that on your screen and flip between overdrive options to see its effect. At the end of the day, though, real gaming content is the final decider of which setting you use, so find a dark scene and test it there as well.
Enable extra features that put you on top
Finally, ROG monitors come with a number of extras designed to give you a competitive advantage over your opponents. Dark Boost, for example, does it exactly what it sounds like: it boosts near-black levels so you can more clearly see enemies hiding in the shadows, so you can strike before they do.
Under GamePlus, you'll also find a Crosshair option, which lets you overlay a crosshair on the screen—useful for training in titles that don't give you an in-game crosshair. (Some may consider this cheating in actual matches, though, so be careful!) You can also enable a timer that lets you track your target game rate in real-time or turn-based strategy games, and see an FPS counter to ensure everything is running smoothly without framerate dips.
Many ROG and TUF monitors support our Extreme Low Motion Blur technology, or ELMB. ELMB inserts black frames in between the frames of your content to reduce motion blur even further, allowing for an extremely clear view of your enemy's position. On many monitors, you may have to disable Adaptive Sync for ELMB to become available, though many premium monitors like the ROG Swift PG329Q support ELMB Sync. ELMB Sync allows you to use both ELMB and Adaptive Sync at the same time, which is crucial for competitive gamers who want the benefits of low motion blur technology and variable refresh rate. Don't settle for just one or the other.
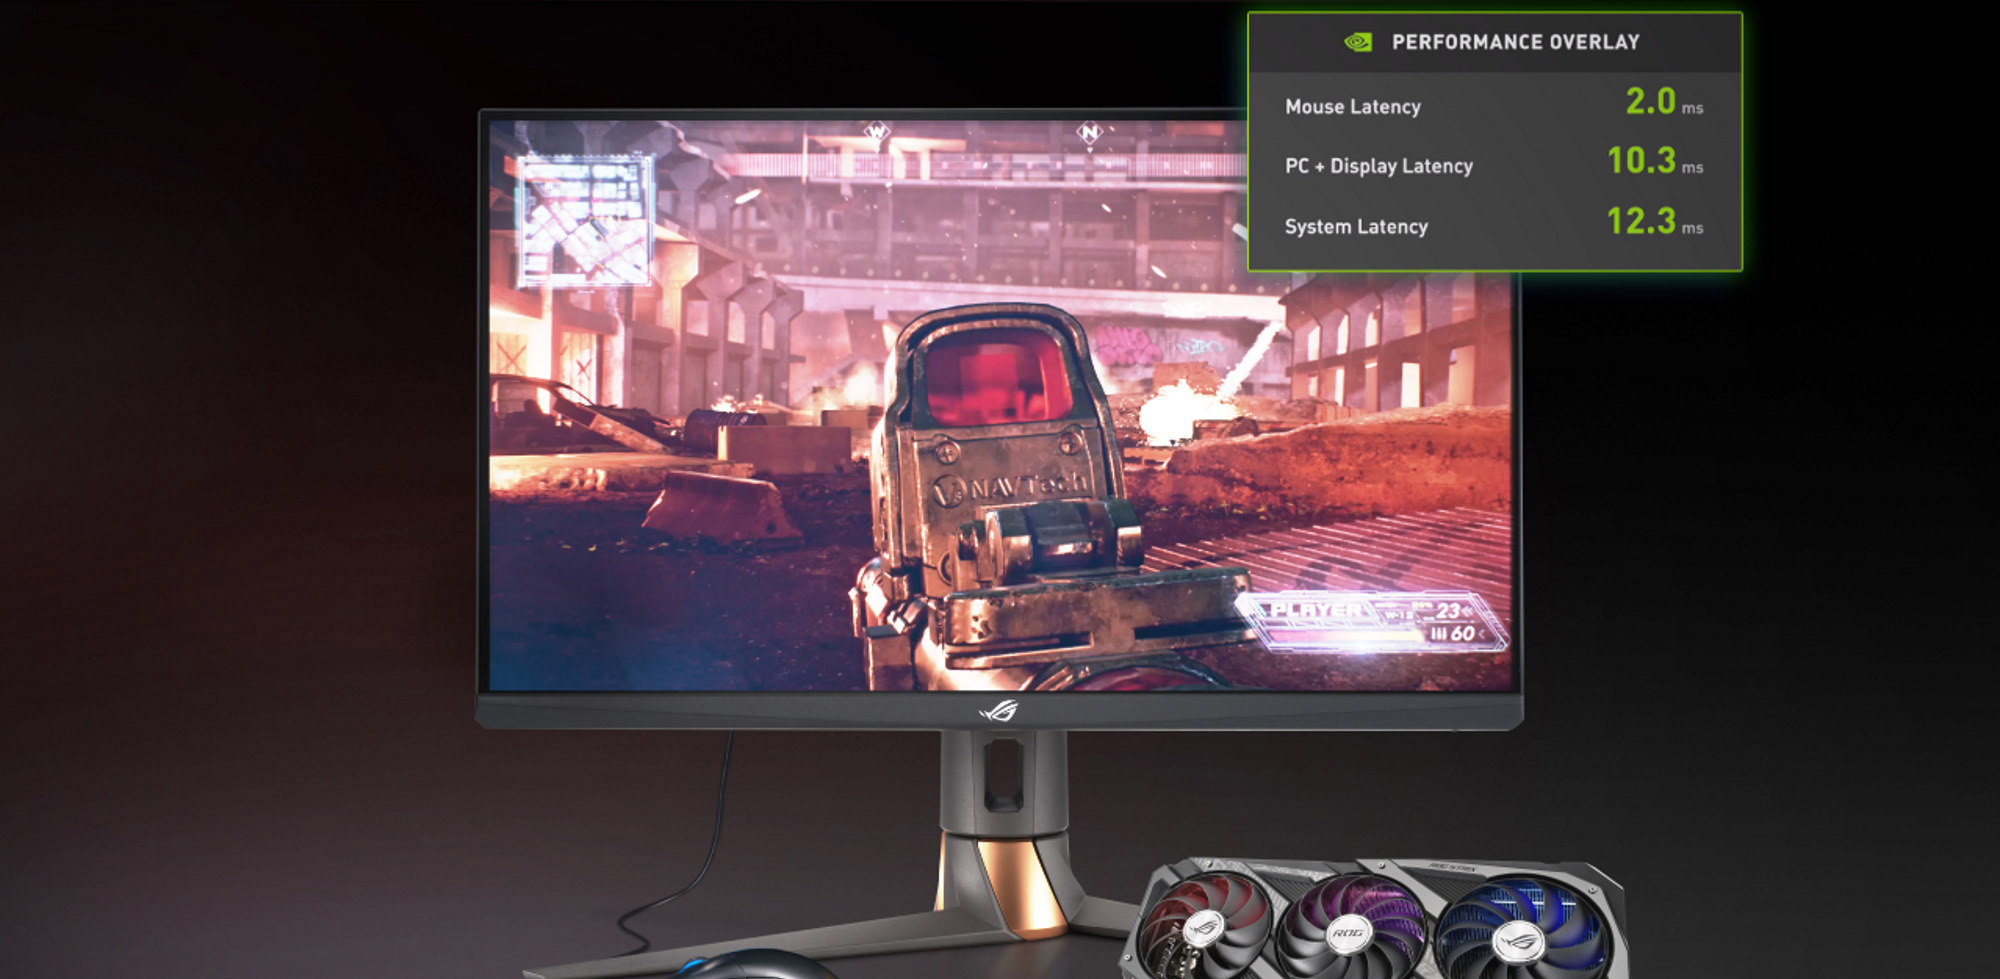
Speaking of competitive gaming, a few of our esports-focused monitors, like the QHD 240Hz ROG Swift PG279QM, even include NVIDIA's Reflex Latency Analyzer. By plugging your mouse and keyboard into the monitor, you can actually measure the button-to-pixel delay of your entire setup, allowing you to dial in the right monitor and in-game settings for minimum input lag.
Finally, don't forget to cap it all off with some sick RGB effects. If your monitor has RGB capabilities, you'll find some basic settings in the monitor's OSD that allow you to choose a color or pattern, and potentially even adjust the speed of the animation. However, by plugging your monitor into your computer using the included USB cable, you'll be able to connect your monitor to Aura Sync through our Armoury Crate software, allowing you to sync up your monitor's RGB with other Aura compatible components and peripherals—like your ROG motherboard, ROG graphics card, or ROG mouse and keyboard.
Create shortcuts to your favorite settings
Finally, if you want to adjust any of these settings on-the-fly for different games, you can customize the shortcuts in your monitor's on-screen display. I, for example, have my first shortcut set to GameVisual, so I can change presets with a few clicks depending on the game I'm playing.
To set up shortcuts, open the OSD and find the Shortcut option, if your monitor supports it. It will give you a few slots that you can assign to a number of different features for quick access. Then, when you want to change that setting (in my case, my GameVisual preset), you can just click the corresponding shortcut button on your monitor. Your monitor may also support Customized Settings, allowing you to create a few "profiles" based on your preferences for different games or activities. These are like the built-in GameVisual presets, but contain all your saved and customized settings.
Once you have everything dialed in just right, make sure you save everything as a customized setting—or snap a few photos so you don't forget the ideal configuration—and jump into your games. With the right settings, you'll find that everything looks a bit smoother, clearer, and more vibrant than ever before.
Author
Popular Post
How to configure your PC's RGB lighting with Aura Sync
Introducing the ROG Astral GeForce RTX 5090 and 5080: a new frontier of gaming graphics

The best AAA games for the ROG Ally and ROG Ally X
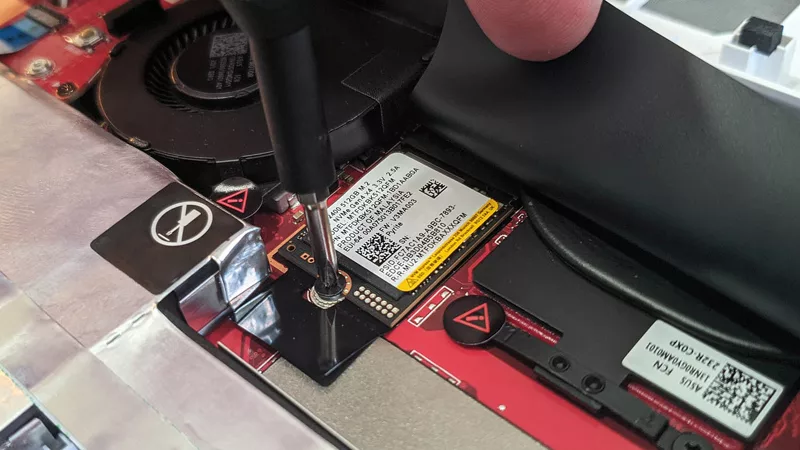
How to upgrade the SSD and reinstall Windows on your ROG Ally or Ally X
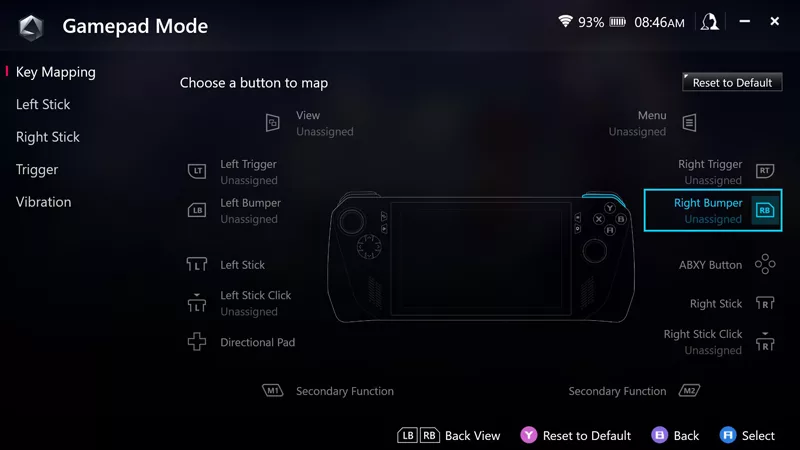
How to remap buttons and create custom game profiles on the ROG Ally or Ally X
Related Products
LATEST ARTICLES
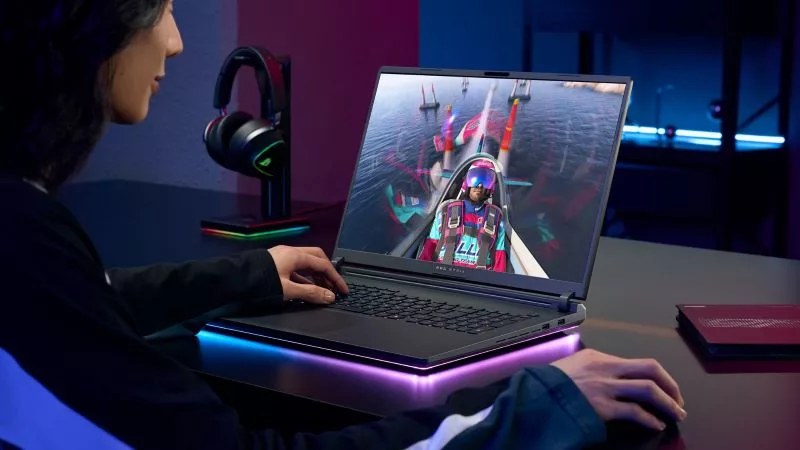
How to choose a gaming laptop: The ultimate 2025 buying guide
Learn how to choose a gaming laptop with our complete guide, ensuring you find the perfect match for your gaming needs and preferences.

Best Laptop for Students and Gaming in 2025: ROG’s Picks for College
No matter which university or major you choose this fall, ROG has the right gaming machine for your campus life.
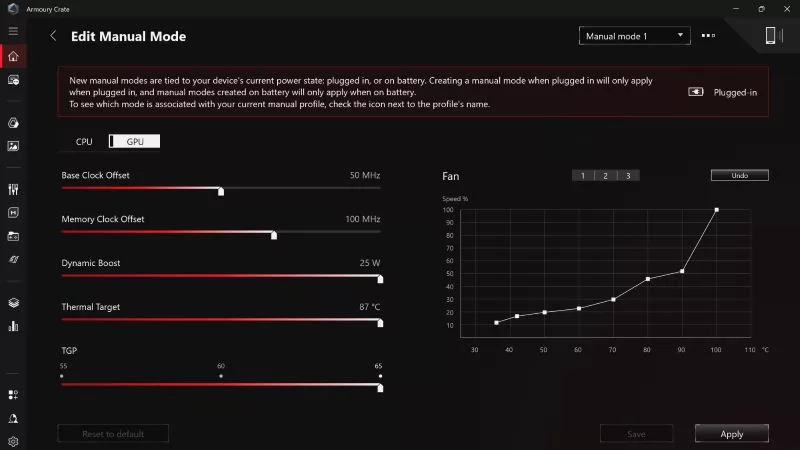
Can I overclock my GPU with Armoury Crate?
If you have an ROG machine — whether it’s a gaming desktop or a gaming laptop — you can control most of its functions from the bundled Armoury Crate software. On laptops, this includes tuning your GPU performance and overclocking your graphics chip. On desktops, you'll need GPU Tweak III as well.
Do I need Armoury Crate on my PC?
If you just bought an ROG desktop PC or gaming laptop, you may be wondering what the preinstalled Armoury Crate software does. Here are its banner features.
How to fix a device that's not showing up in Armoury Crate
If Armoury Crate isn’t automatically detecting your new device, don't worry — you probably just need to download a quick update.
Reintegrated: An ROG stylebook for today's competitive corporate world
Working in a corporate office doesn't necessarily mean that you have to settle for bland, underwhelming PC hardware.