G751 Upgrade Guide
We've been asked about the potential for a G751 upgrade, regarding HDD/SSDs, memory and even replacing the Blu-ray drive. These are user-accessible via a single hatch on the underside and retain the warranty. Further changes require more complete dis-assembly of the G751, and are not recommended (at the very least you lose any remaining warranty), so be sure to check your spec before you buy.
To start, put your G751 on a non-scratch surface and flip it over.

See the tab in the middle, lift it up and reveal the screw underneath. Unscrew and carefully pull away the plastic cover.

Ta-da! In this model we have the M.2 version, but you can also buy a G751 with two HDDs installed. Note the mounting bracket is different for M.2 SSDs (yellow) and 2.5 inch SSDs/HDDs (red). SSD models will be listed "SATA" or "PCIE" in the retail specifications before you purchase. Please purchase a model with "SSD PCIE" listed, otherwise the M.2 bracket cannot be provided for after-sales upgrades sorry.


Here are some close-ups of the first drive bay, where both the M.2 PCI-E x4 slot and SATA ports inhabit. There is no M.2 slot in the second drive bay and M.2 SATA SSDs are not supported, only PCI-E-based (which are better!). M.2 PCI-E SSDs up to 2280 spec (80mm long) can be installed and they are held in by a single retaining screw.
For the 2.5 inch HDD/SDD cage, four screws are required to secure it to the caddy (two are pointed out with red arrows, with two more directly on the opposite side). Pull the tag across to unlock the drive from the SATA connector. A few more screws on the side then to hold in the drive to the caddy.
Two DDR3L (1.35V) SO-DIMMs can be changed out, with two more pre-installed within the unit at time of purchase (highlighted below). Up to 32GB can be installed and if you intend to run this quantity at a later date, be sure to purchase with at least 16GB, so 2x 8GB DIMMs are pre-installed.

The optical drive is retained with a single screw, and the connector is standard SATA:


The battery is non-removable and integrated into the chassis:

Author
Popular Posts

The ROG XREAL R1 gaming glasses let you game anywhere on a 171-inch 240Hz virtual screen

How to Cleanly Uninstall and Reinstall Armoury Crate

Prepare for Tandem OLED splendor with these new ROG gaming monitors

How to adjust your laptop's P-Cores and E-Cores for better performance and battery life
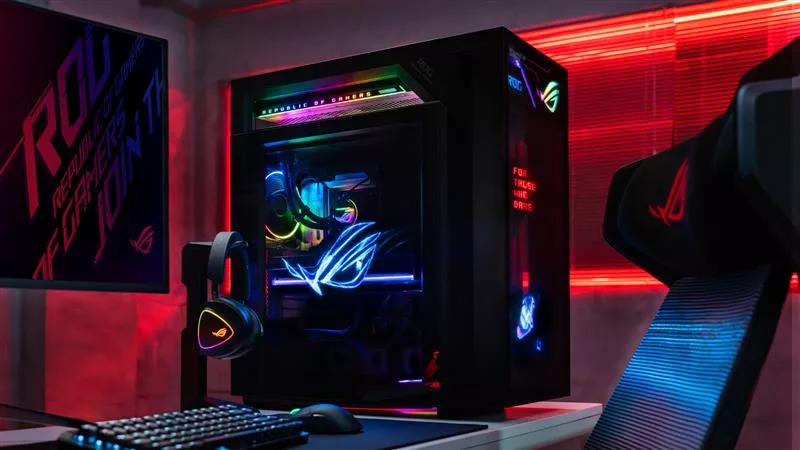
Check out the latest ROG gaming gear revealed at CES 2026
LATEST ARTICLES
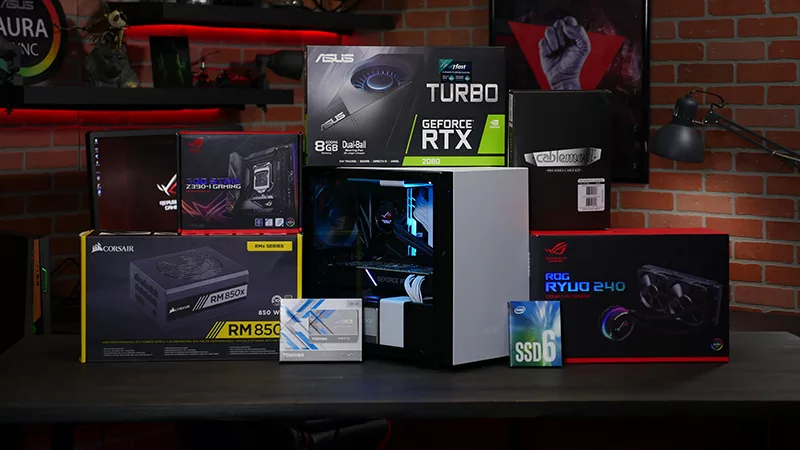
The ROG Strix Z390-I anchors a small yet mighty build
The ROG Strix Z390-I pairs perfectly with the Turbo GeForce RTX 2080 for a pint-sized powerhouse build.
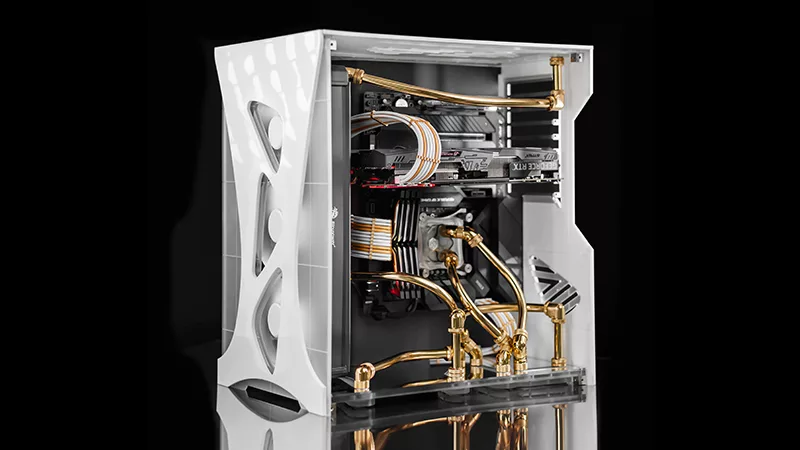
An inside look at Ben Q’s brass-filled Blanco build
Ben Q's brass-filled Blanco build fuses a custom case and cooling hardware with ROG components for a one-of-a-kind PC.
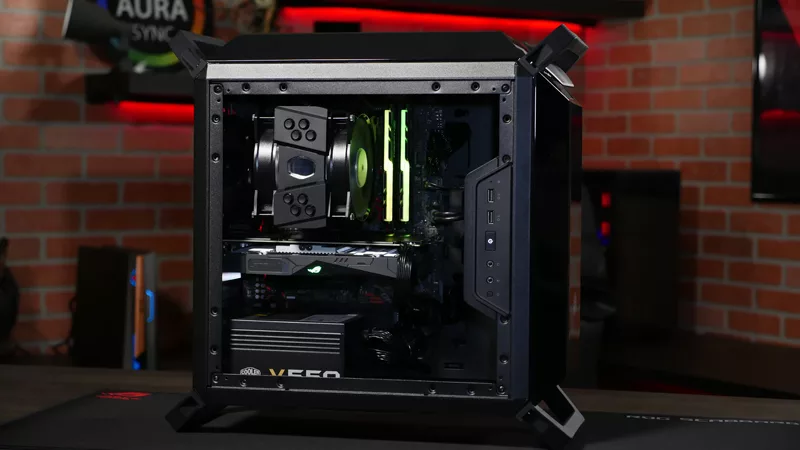
The ROG Strix B360-G Gaming tethers a capable and ominous budget PC
The ROG Strix B360-G Gaming drives our elegant new budget gaming system.

Building a Republic: inside one superfan's shrine to ROG
Vinh Loc spent months building a dream gaming room with custom RGB lights, two ROG PCs, a Zephyrus laptop, and even some ROG throw pillows.
Experience ROG at Computex 2017
Let us bring you to Computex 2017, for one of the most important events of the year for ROG.
The Maximus IX Code and Strix GTX 1080 anchor a beautiful enthusiast build
We built a beautiful machine based on the Maximus IX Code and Strix GTX 1080. See it in all its glory.