Quick Guide: ASUS CPU Installation Tool
Yes, installing a CPU is pretty darn easy, but ASUS understands that not everybody has done it a thousand times. And for the first few times, some may even be holding their breath until the PC boots up without a hitch. Now it has been made so easy that anybody will get it right - every time. Even seasoned pros are susceptible to occasional memory lapses, so with this CPU installation tool, your processor (CPU) and motherboard will be safe from costly disasters. Firstly, if the tool says THIS SIDE UP, then it's probably a good idea to listen. If you look at the bottom left, you will see a small triangle which may or may not be a coincidence that it looks just like the one on the processor. Match them up like so.
Turn them over.
Click in the processor.
Get ready to plop into the socket.
Open up the socket bracket by releasing the lever. Now plop.
Put the cover down and secure into place with the lever, whilst making sure the cover is locked underneath the screw (shown below).
Done!
You have successfully installed the processor and now you are ready to install the cooling. The process is easy and the tool helps to stop thermal grease from dropping into the gap between the CPU and the socket, which could be dangerous (thermal paste and pins don't mix).
Author
Popular Posts
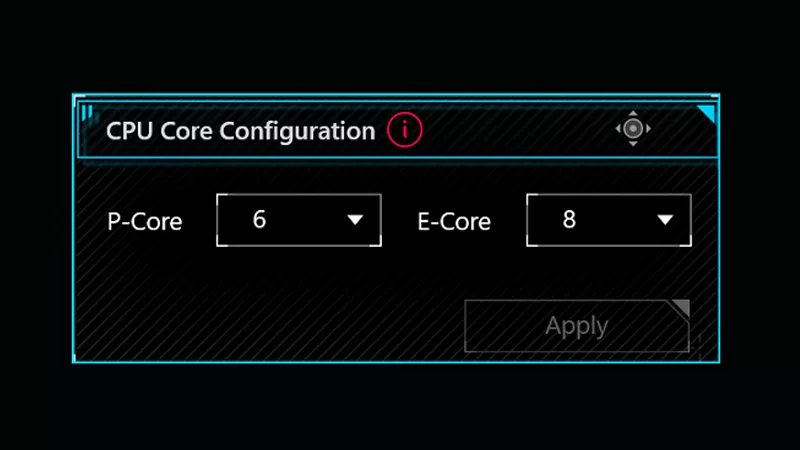
How to adjust your laptop's P-Cores and E-Cores for better performance and battery life

How to Cleanly Uninstall and Reinstall Armoury Crate
How to configure your PC's RGB lighting with Aura Sync

Introducing the ROG Astral GeForce RTX 5090 and 5080: a new frontier of gaming graphics
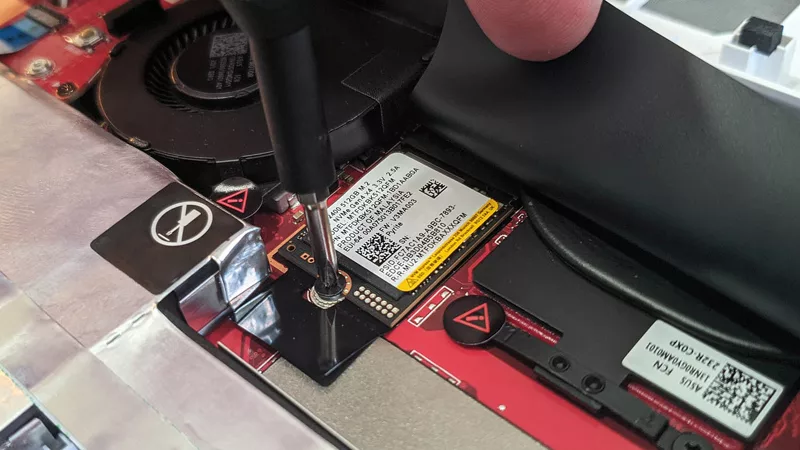
How to upgrade the SSD and reinstall Windows on your ROG Ally or Ally X
LATEST ARTICLES
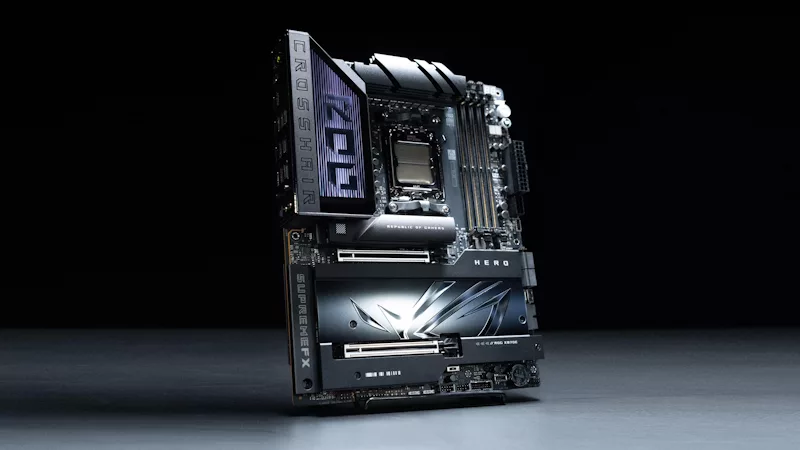
ROG Strix vs Extreme vs Apex vs Hero: What's the difference between ROG gaming motherboards?
When we launch a new generation of motherboards, we don’t just design one model and expect it to meet everyone’s needs. We give you a broad range of options from our ROG Maximus, Crosshair, and Strix lineups so that you can find the board for your next build.
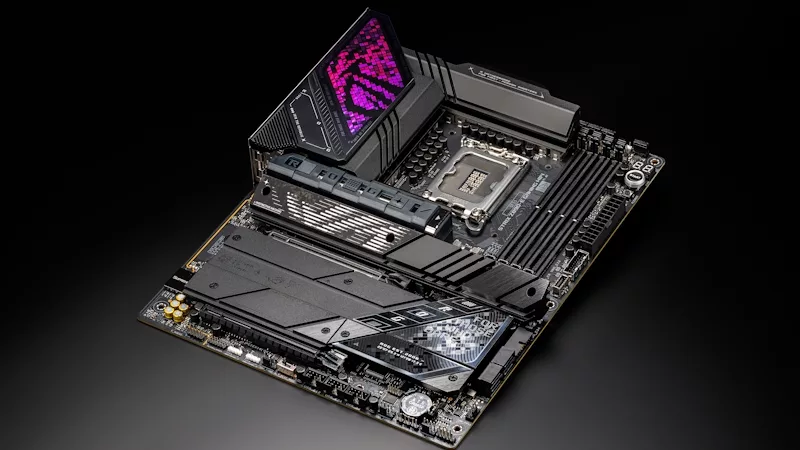
Install up to seven M.2 SSDs on one motherboard with new ROG M.2 PowerBoost tech
Here's how ROG M.2 PowerBoost allows you to install more M.2 drives in one system while enjoying more stable performance.
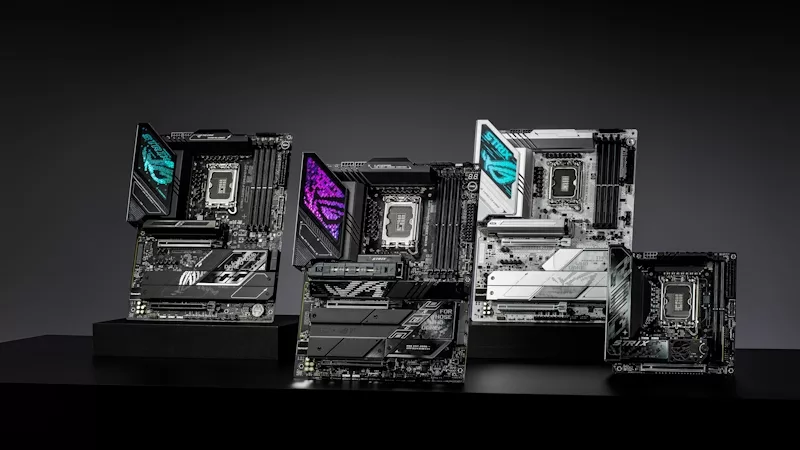
ROG Z890 motherboard guide: meet the new contenders for your next gaming rig
New ROG Maximus and ROG Strix Z890 motherboards stand ready for your Intel Core Ultra (Series 2) CPU.

New Z790 motherboards from ROG pave the way for 14th Gen Intel Core CPUs
WiFi 7 support, more fast storage, front-panel device charging, intelligent controls — our latest Z790 motherboards have it all.

New Z790 motherboards from ROG pave the way for next-gen Intel Core CPUs
WiFi 7 support, more fast storage, front-panel device charging, intelligent controls — our latest Z790 motherboards have it all.
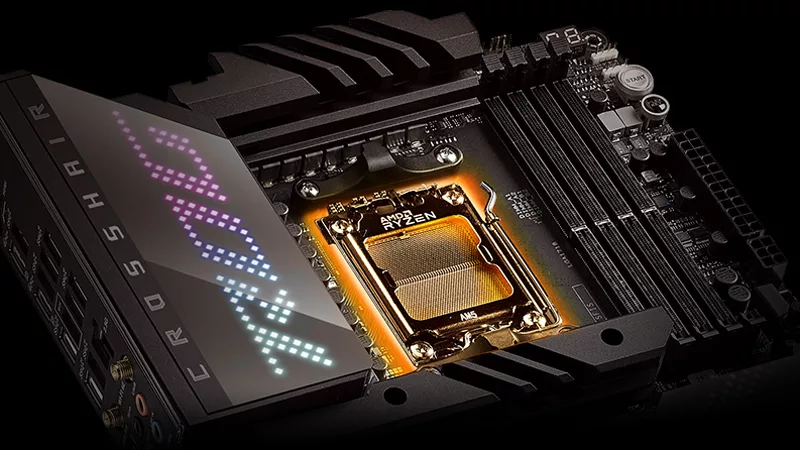
The best motherboards for a Ryzen 9 7950X3D CPU from ROG and TUF Gaming
AMD has released two new processors with 3D V-Cache technology: the Ryzen 9 7950X3D and the Ryzen 9 7900X3D. ROG and TUF Gaming X670 motherboards will provide a rock-solid foundation for these new top-tier chips.


