Upgrade Guide: ROG GL552
While the world is wanting thinner and lighter laptops, it's easy to forget that for a laptop not much larger in size you can usually get the same great specs or better for less money. Not only that, there are generally more ports, no need for external optical drives, the ability to play games or do 3D rendering, best of all - you have room for upgrades! Let's take a look at the ROG GL552 which can be configured with up to a Core i7 processor, 16GB of DDR3L memory, and Nvidia GeForce GTX 950M graphics. Let's see what you are able to upgrade. First, simply unscrew the two screws at the top of the back panel. Lift it up 45° (do not lift it up past 90°) and slide it out upwards.

After removing the back cover, you will see three compartments where you may be able to upgrade (depending on what you already have). You are able to fill up the two slots for memory (up to 16GB), an M.2 slot for PCIe SSDs (best for installing the OS onto), and a 2.5" hard drive bay for even more (HDD) or faster (SSD) storage.

Up to two 8GB sticks of DDR3L (it's important to know L denotes Low-Voltage in case you somehow manage to find sticks of DDR3, which will not work since they are not dual voltage capable) SO-DIMM memory for a total of 16GB. Below you can see two free slots, one is stacked on top of the other so make sure you install the bottom module first. Align the pins to make sure you have the module the right way up, insert the memory into the slot angled at about 30°, use your thumbs and press evenly on both sides to make sure the module goes all the way into the slot, finally, push the top of the module down towards the motherboard until both of the locks on the sides click into place. Repeat the process for the other module.

It's highly recommended to install your OS in the M.2 SSD (even if you already have a SATA III SSD in the 2.5" bay) if you like speed. Installation is as easy as unscrewing the little screw (see below), inserting the M.2 SSD into the slot and pressing down towards the motherboard, and then securing that screw again.

Next to the M.2 bay is the 2.5" hard drive bay, there are four screws (shown in red) you need to remove first.

After removing the screws, slide the bracket to the left (as in the picture below), replace the hard drive with a new one by removing the screws on the bracket. Make sure to purchase a new drive with a SATA III interface (not that you can find an IDE one nowadays, but get SATA III supporting 6Gb/s for best performance), also make sure to put the new drive in the bracket the right way and screw it back in.

Replace the back cover and voila! A new computer! Almost.
*** Please take care when upgrading, any damages caused will not be covered by warranty. If you run into any issues, remember to revert the laptop to its default configuration (what you purchased) before sending it in for RMA. ***
Author
Popular Posts

The ROG XREAL R1 gaming glasses let you game anywhere on a 171-inch 240Hz virtual screen

How to adjust your laptop's P-Cores and E-Cores for better performance and battery life

How to Cleanly Uninstall and Reinstall Armoury Crate

Prepare for ultra-sharp RGB Stripe OLED imagery with these three new ROG monitors
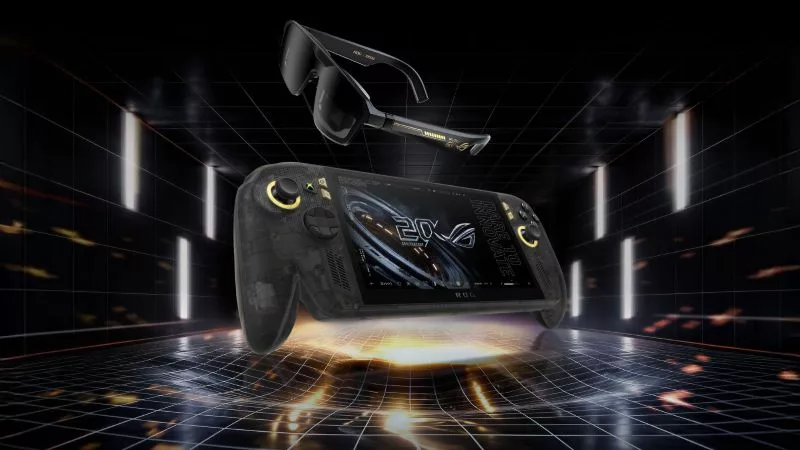
Brighter, bolder, better: The ROG XBOX Ally X20 bundles a larger OLED display with AR gaming glasses
LATEST ARTICLES

The ROG Kithara just benched every other gaming headset I own
Just about everything I ask for in a premium gaming headset, the ROG Kithara does with gusto.

The ROG Raikiri II is my new go-to game controller — and I can’t put it down
I'm a PC gamer who plays on the couch — and the new ROG Raikiri II is the lynchpin of my living room battlestation.

Hands-on: The ROG Raikiri Pro took my couch gaming to the next level
I've been a diehard PC gamer all my life, but I often play on the couch. The ROG Raikiri Pro has improved my living room PC gaming immeasurably thanks to a few useful features and loads of customizability.