Upgrade Guide: ROG Strix GL502
Here is the first ROG Strix laptop, I got to play around with this GL502 with everything maxed out (GL502VY) - Intel Core i7-6820HK processor with 32GB of memory, GTX 980M with 8GB of video memory (GTX 970M on GL502VT), a 4K display and M.2 SSD. Needless to say, this baby handled everything I threw at it, Doom, The Division, and Forza Motorsport 6: Apex to name a few.
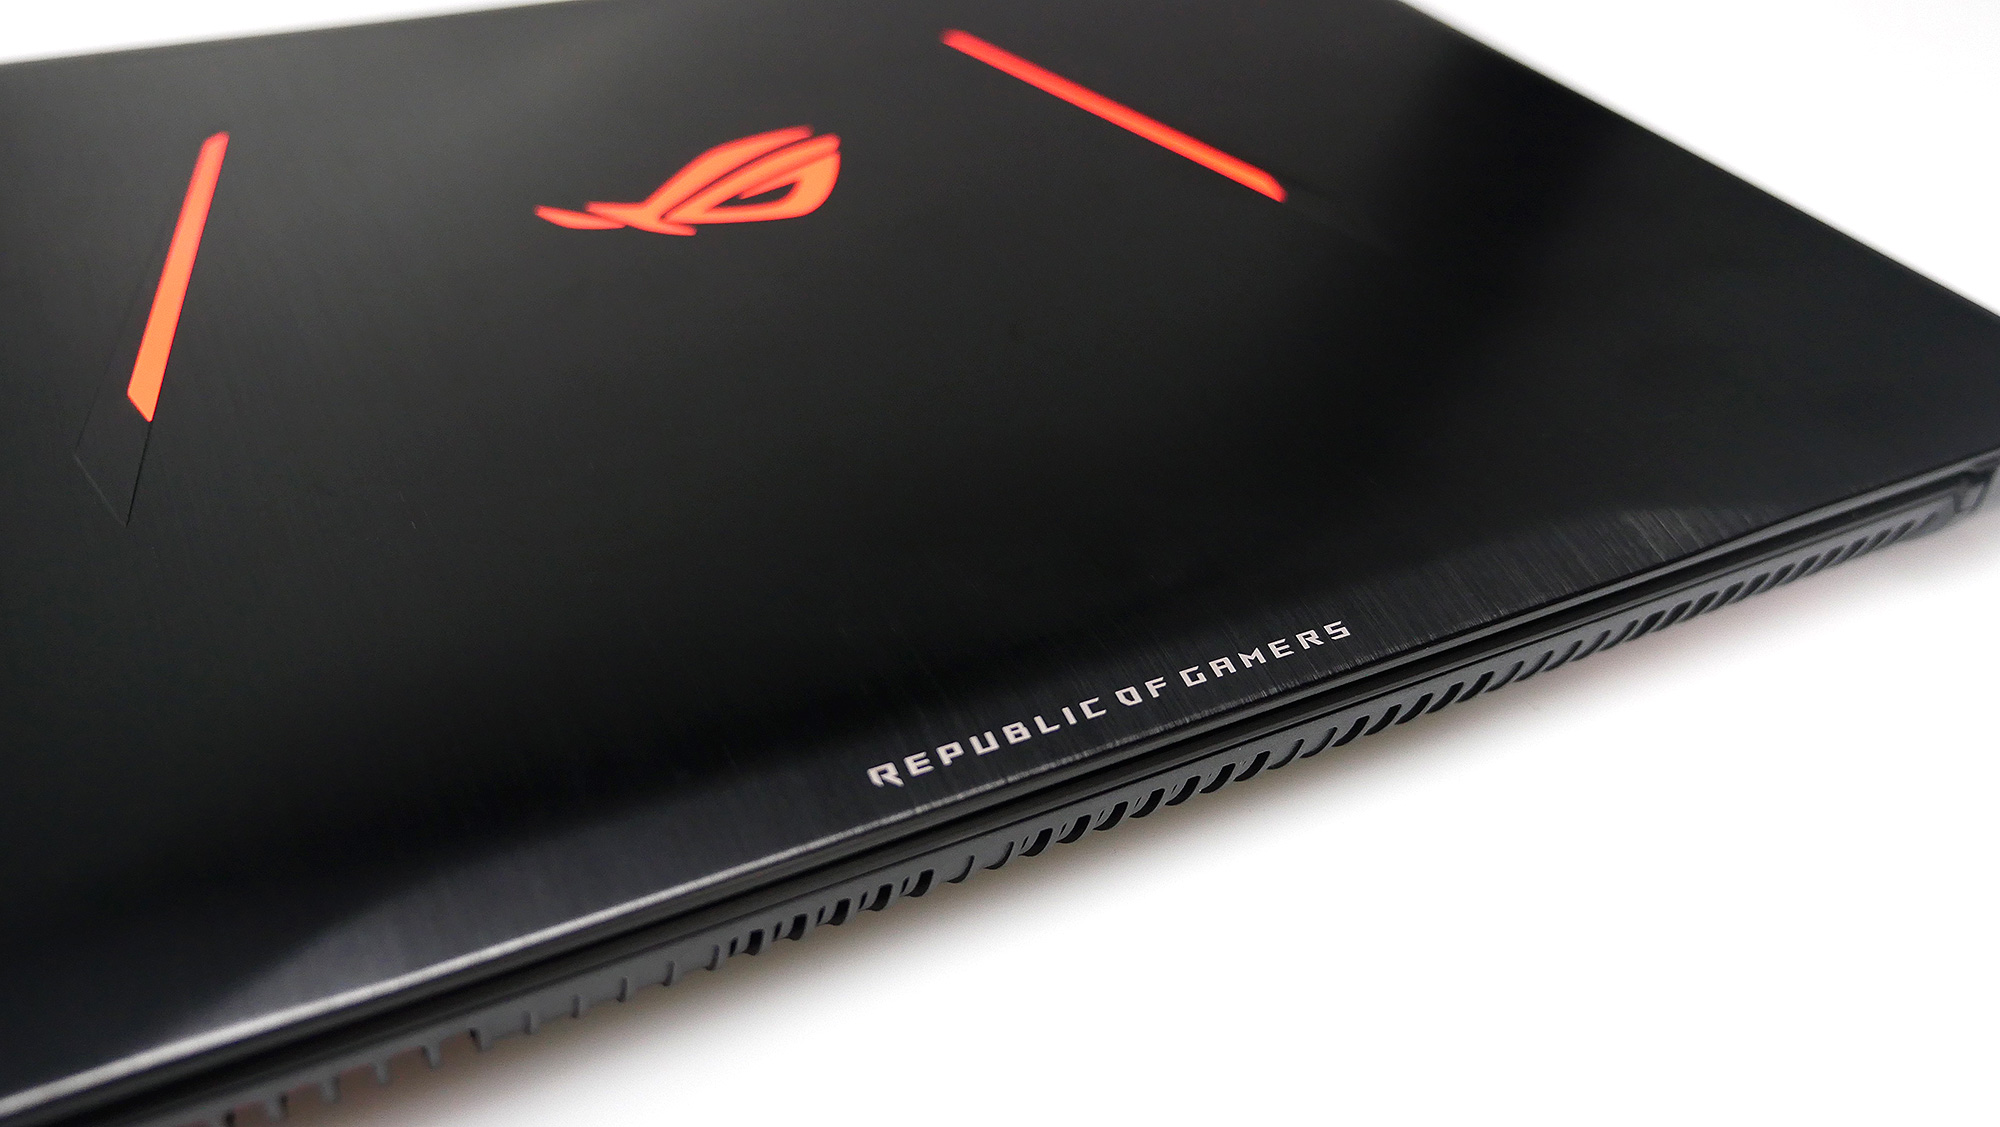
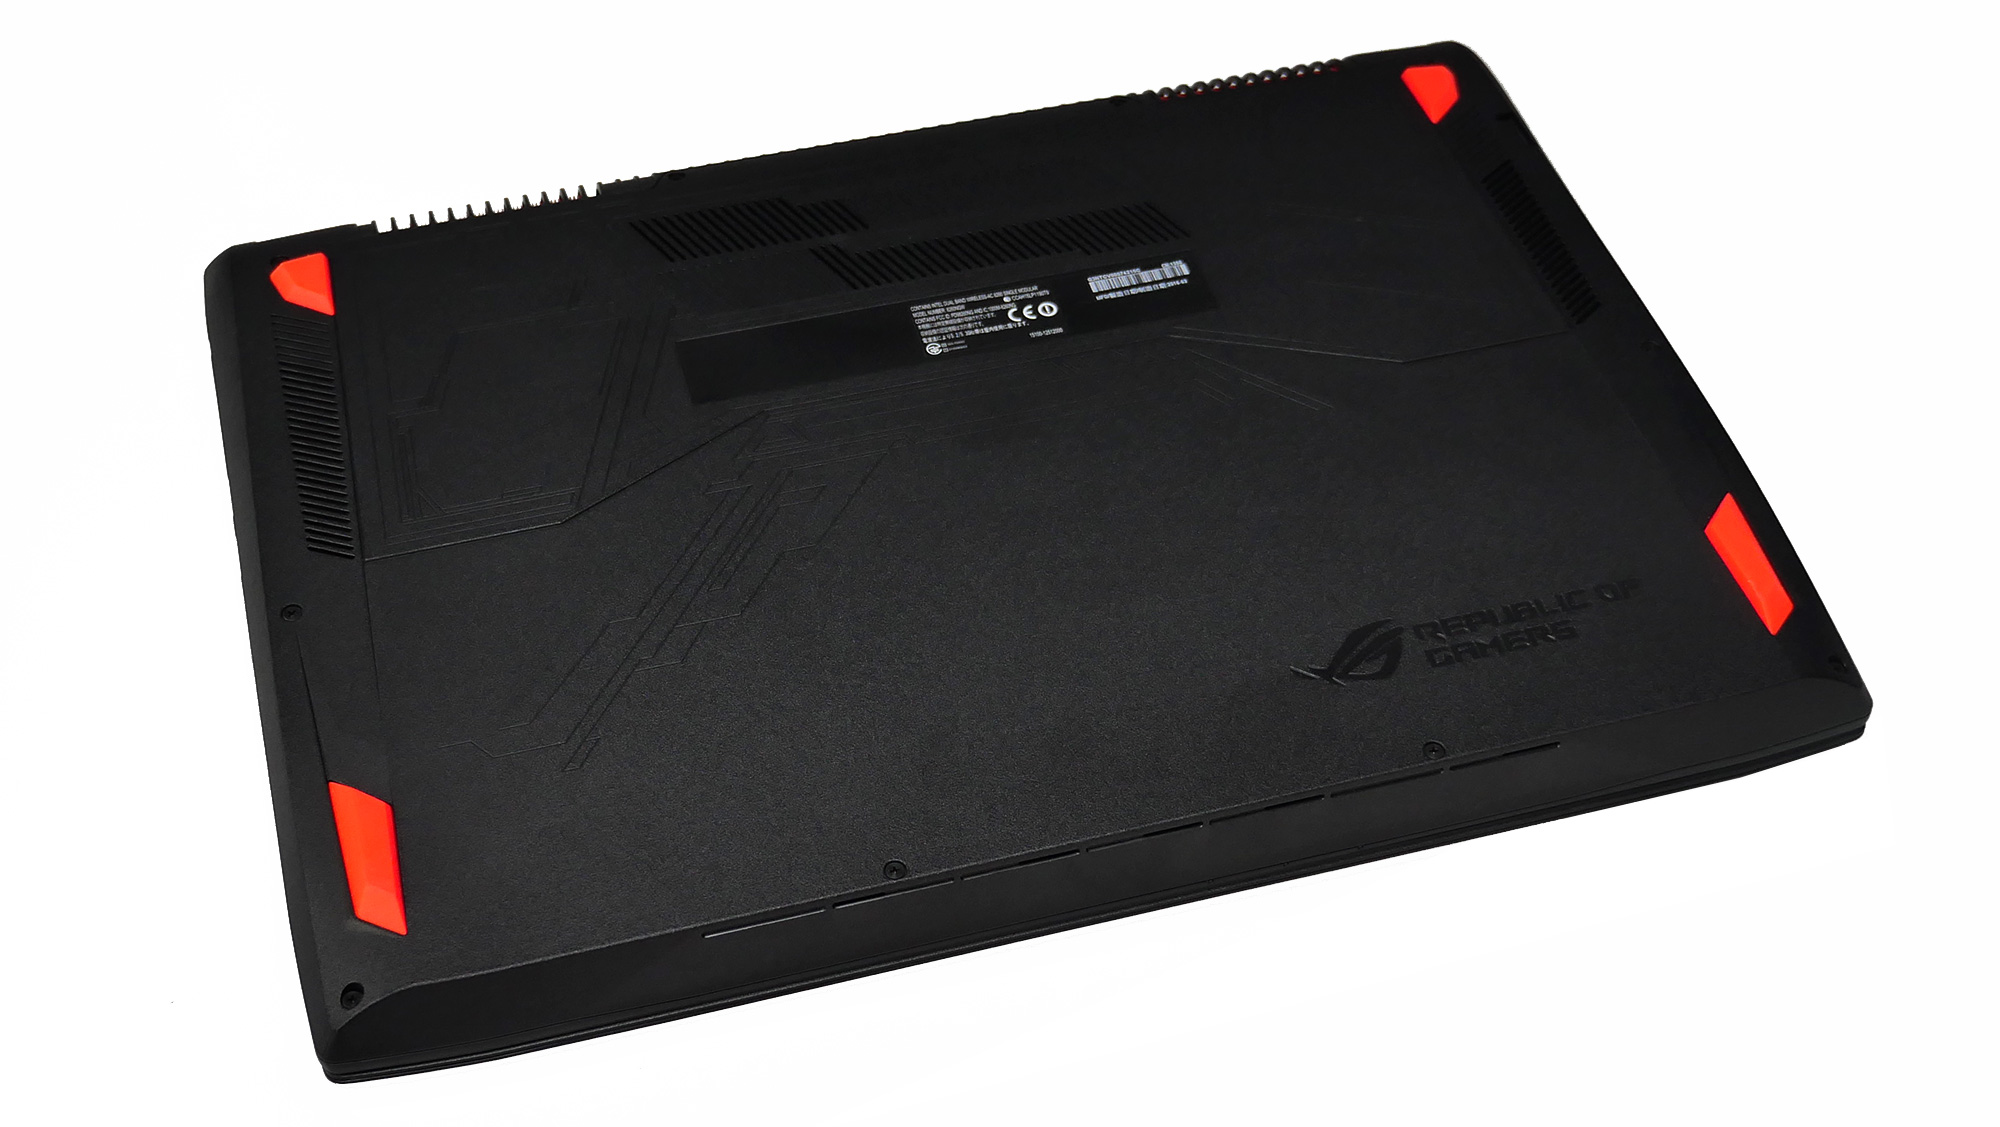
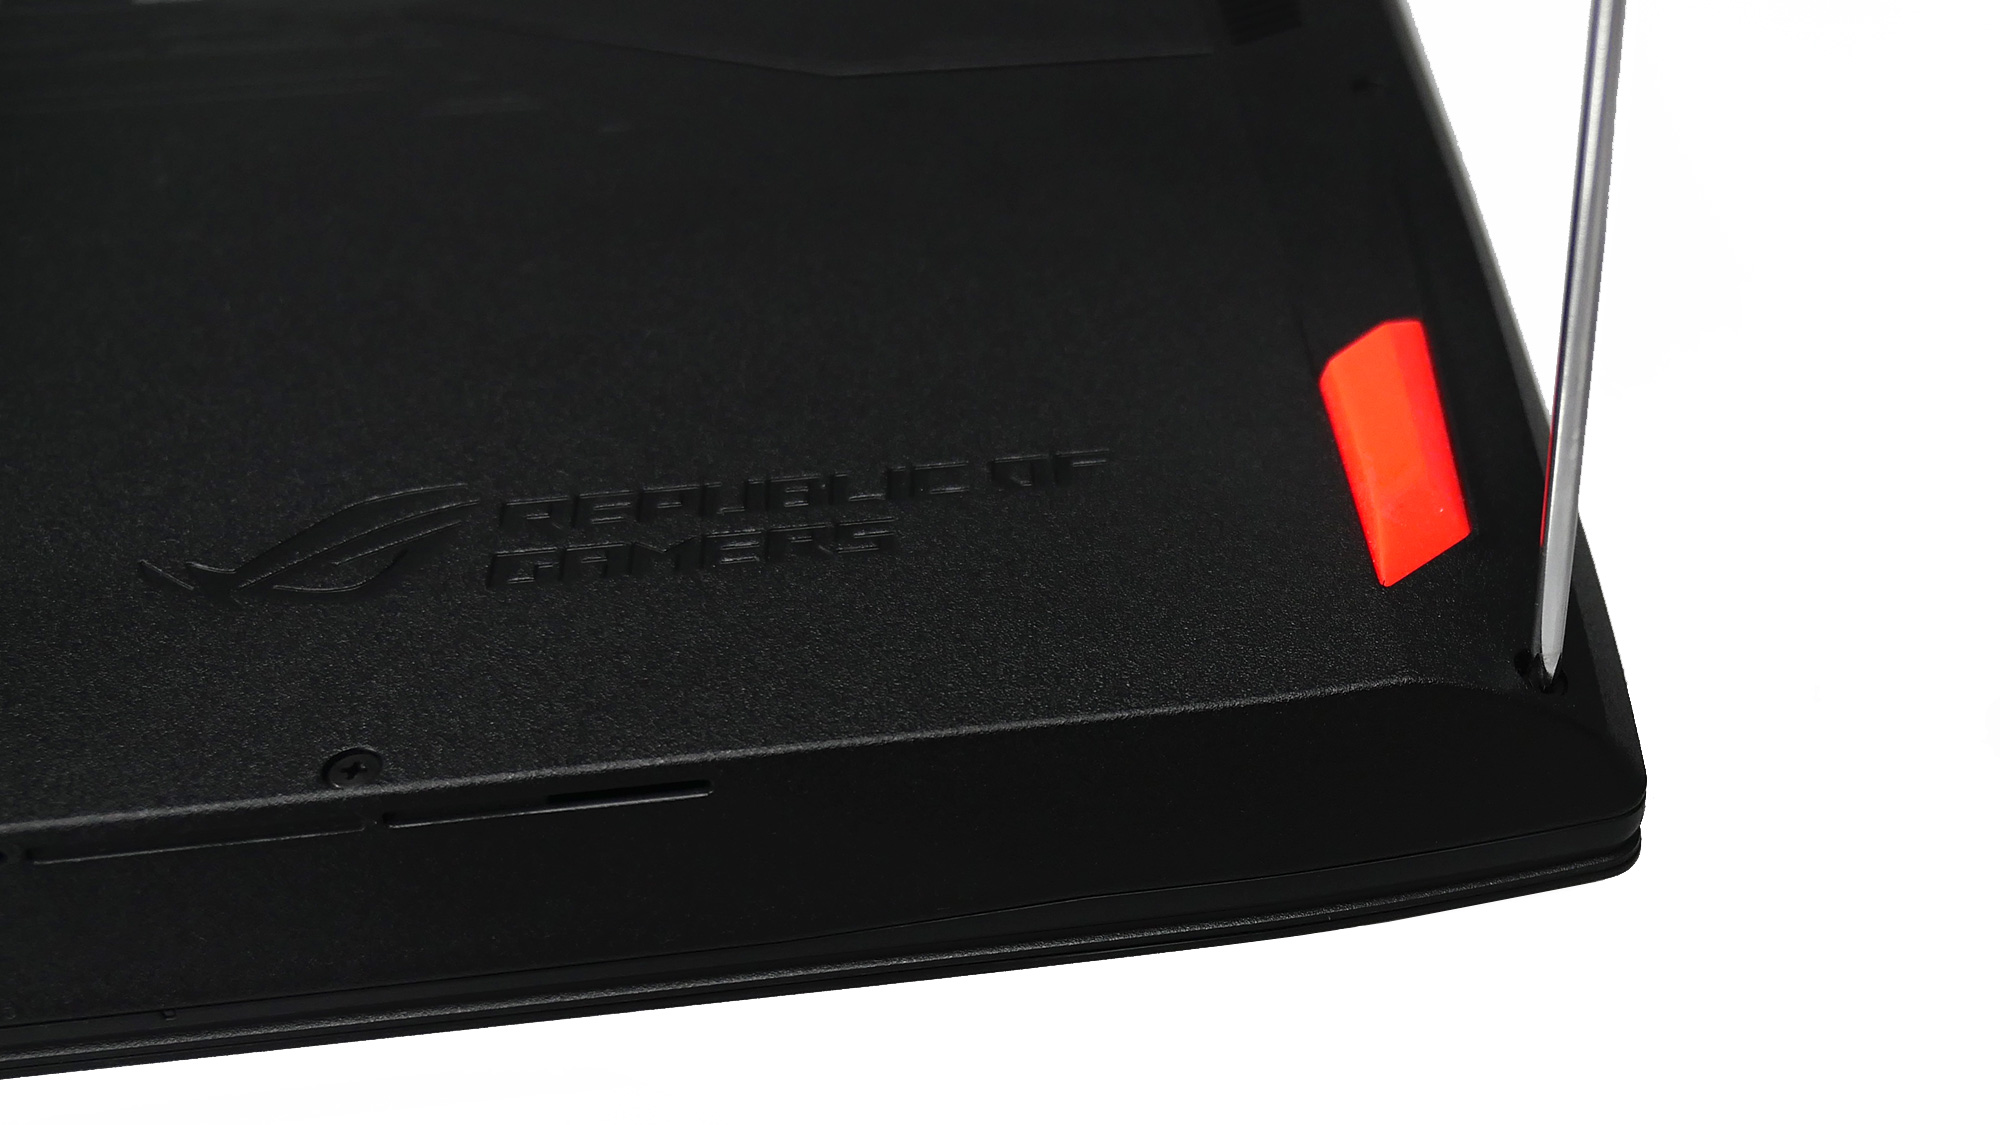
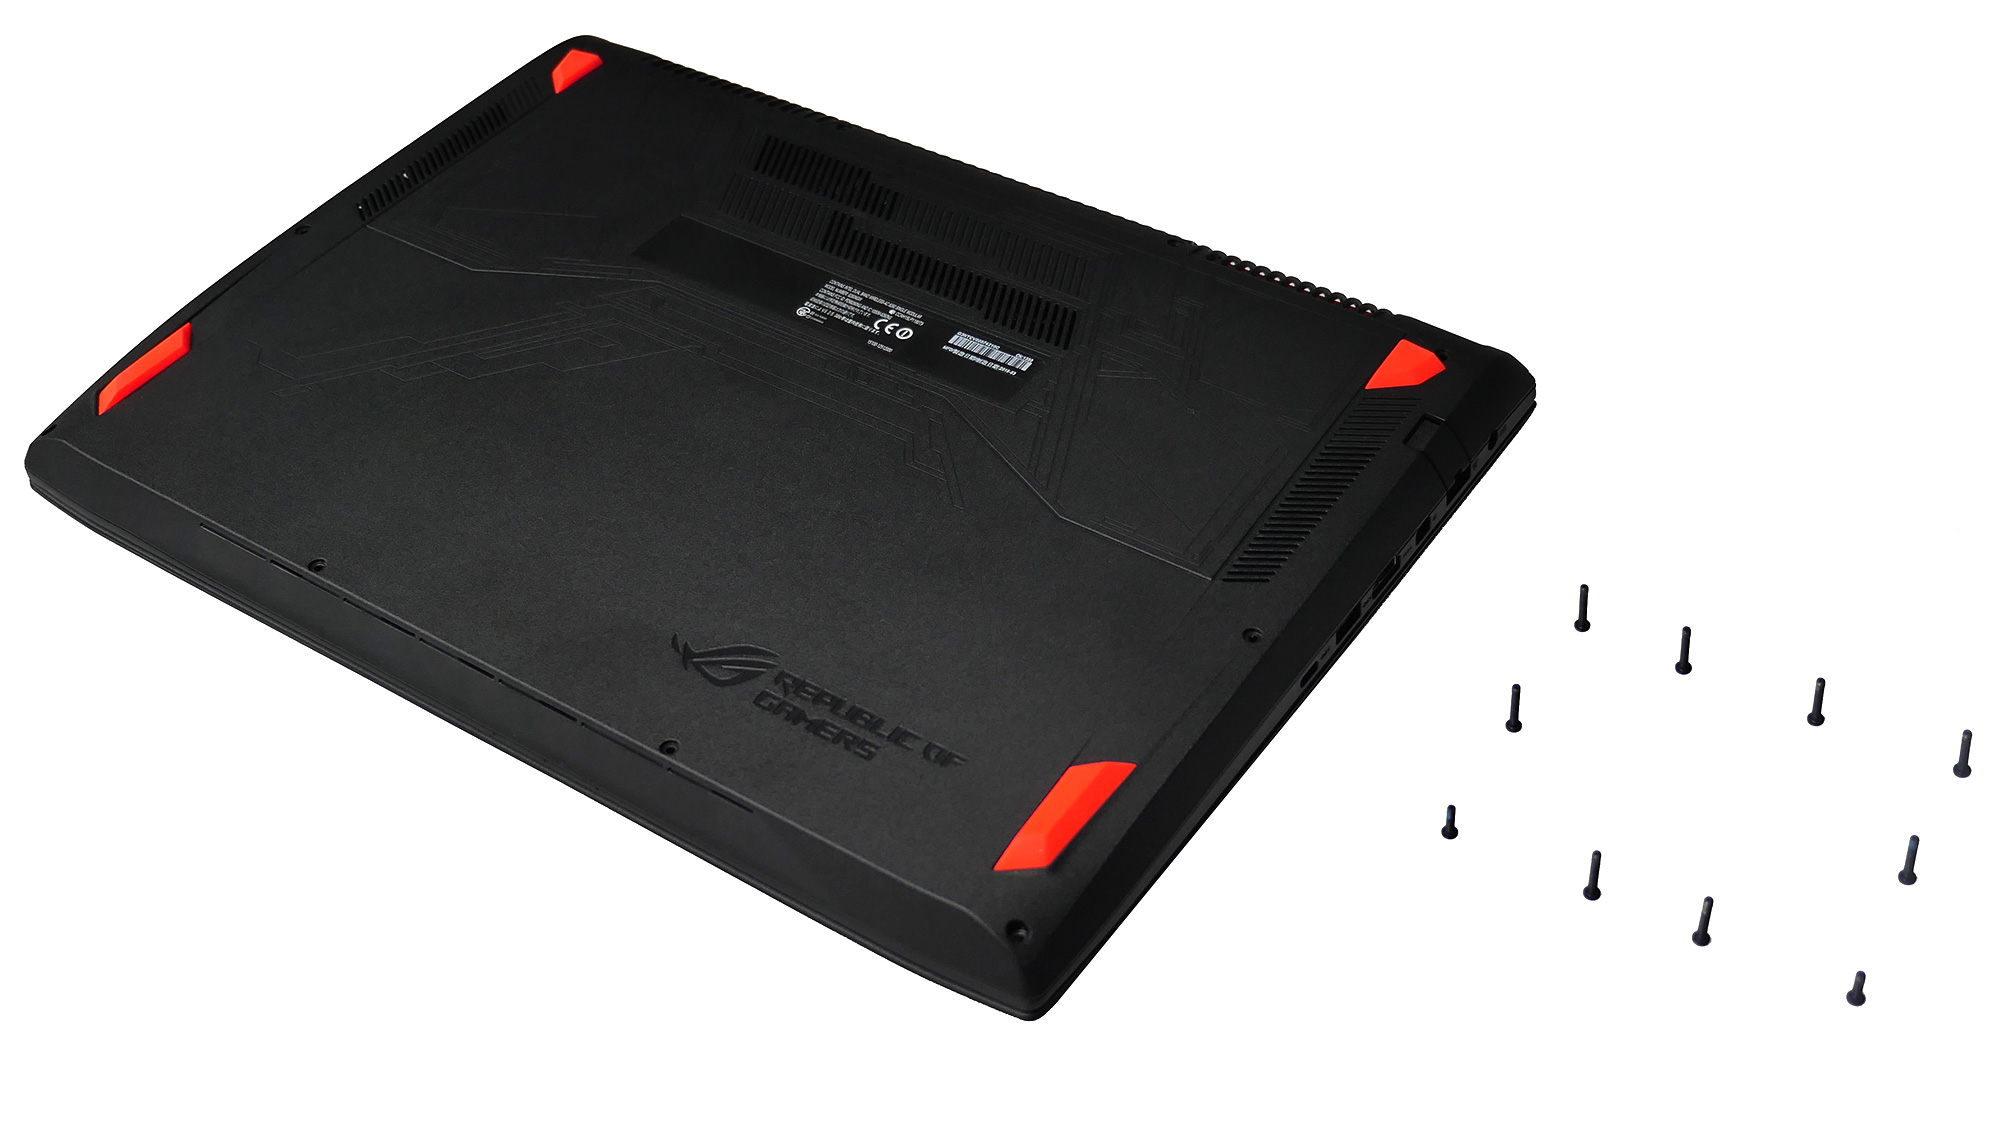
There's not much you can upgrade on this particular model, because it is all maxed out except for storage. But if you want to take a look at what you can upgrade on your GL502, here is a quick guide. First things first, get the back cover off. This is done by turing it over, and removing the ten screws securing the back cover. It is always best to know exactly which screws go where, unless you have photographic memory.
A good way to make sure you put all the screws back where they were, lay them out next to the laptop in the way you took them out. You notice that two of the screws are shorter, and so it's better if you don't stuff a longer screw in one of those holes and screw until it emerges out the other side. Sometimes screws may be the same length, but not width.
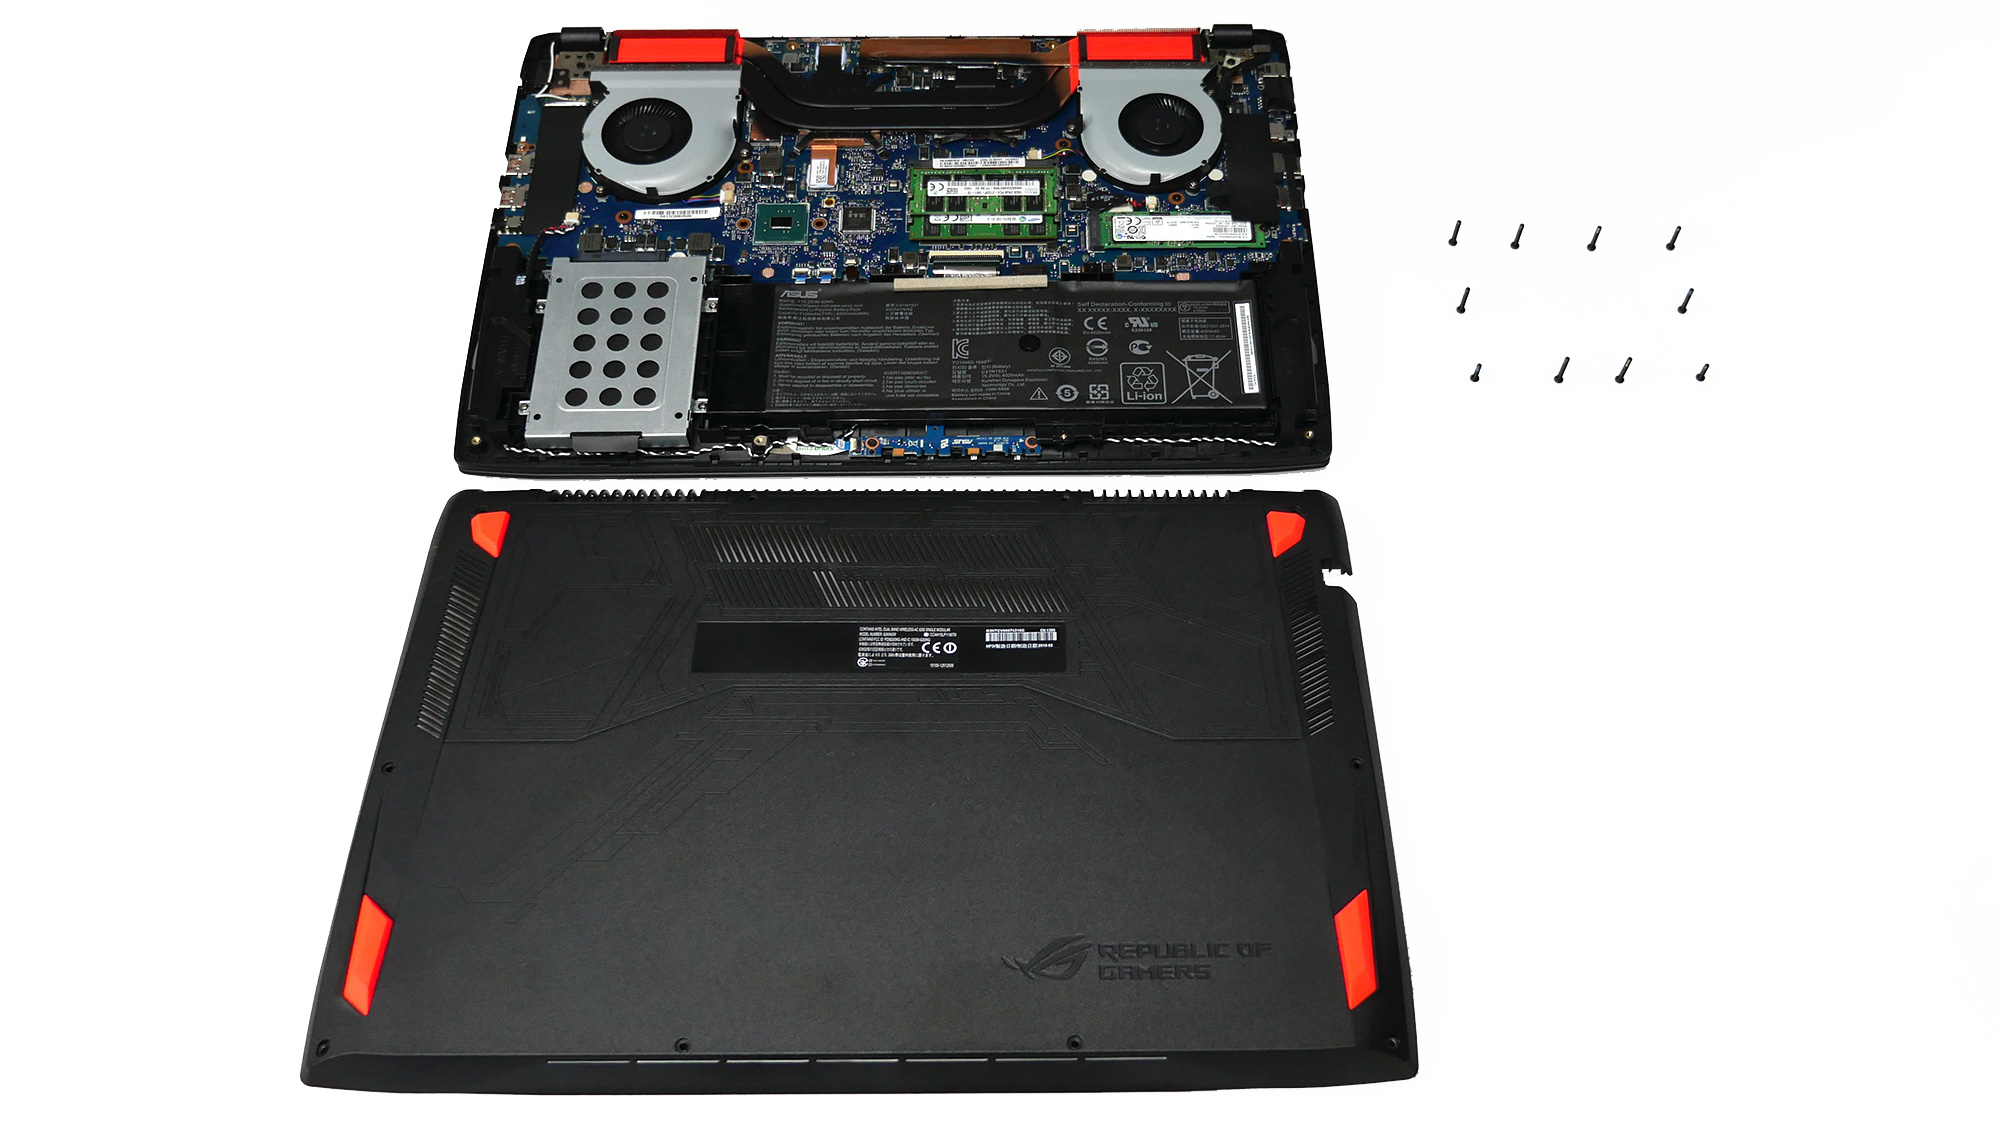
When you open it, the first thing to catch your attention is the Hyper Cool Duo-Copper cooling system to cool the processor and GPU independently.
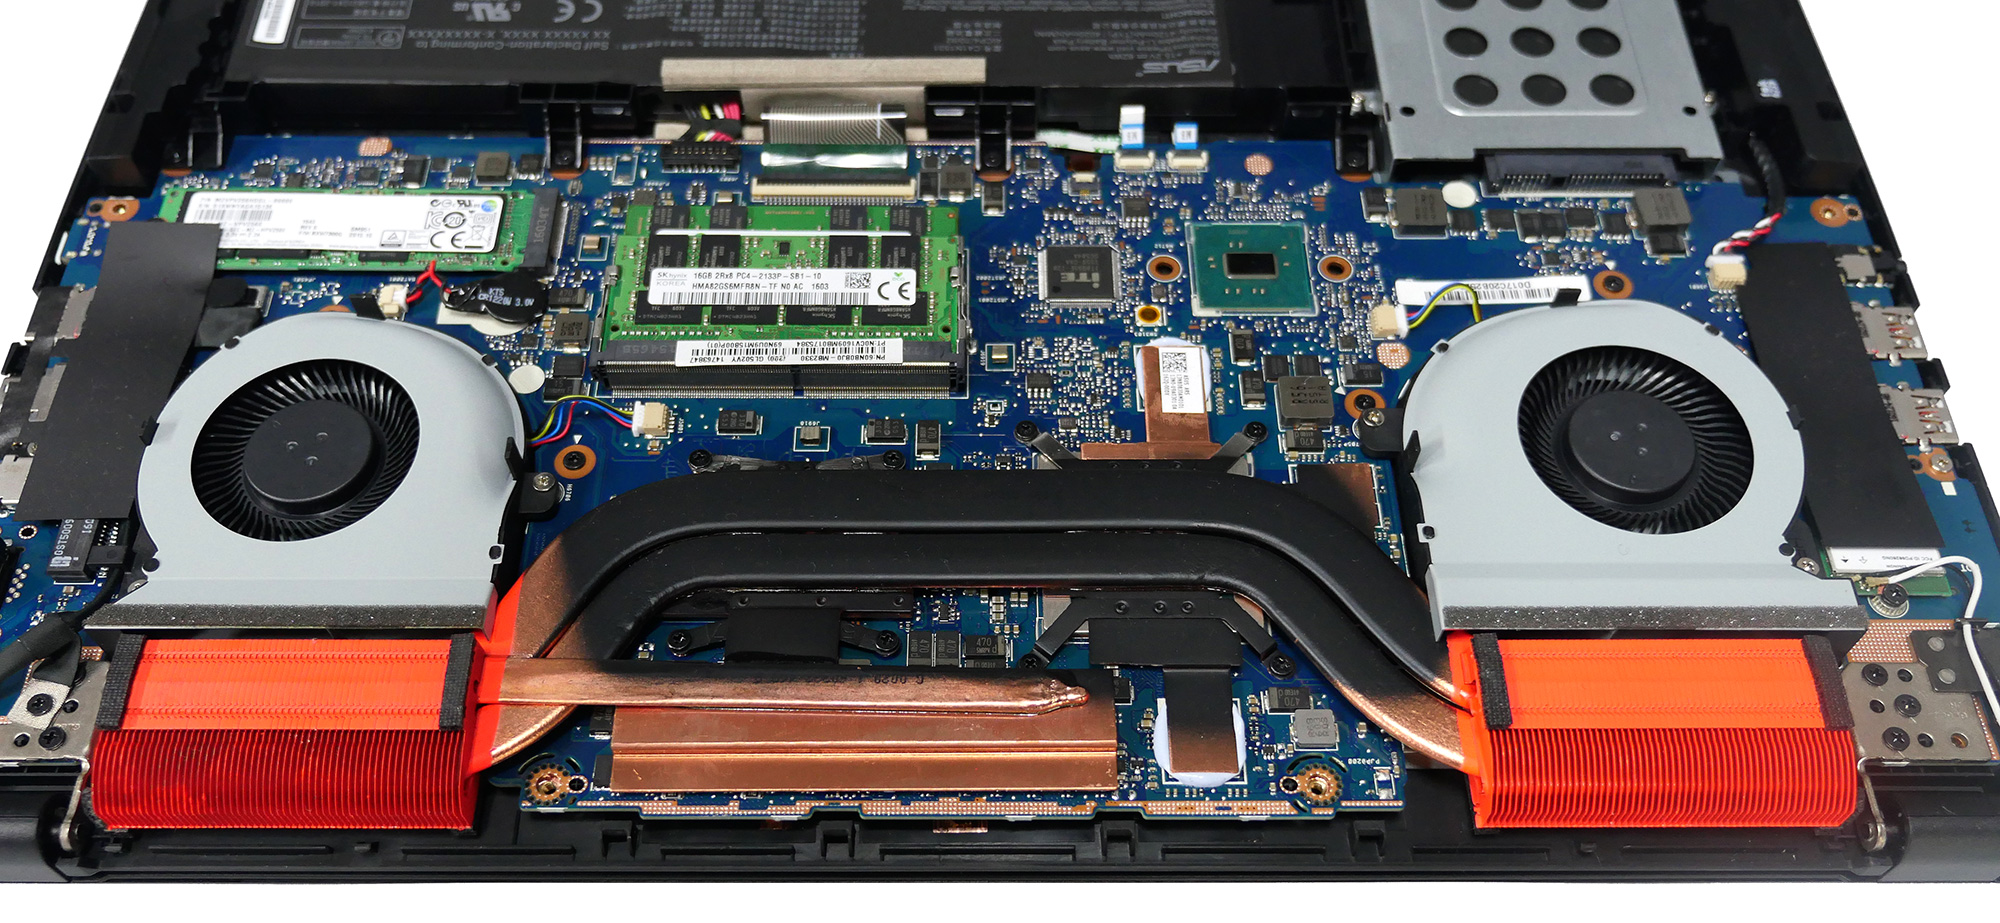
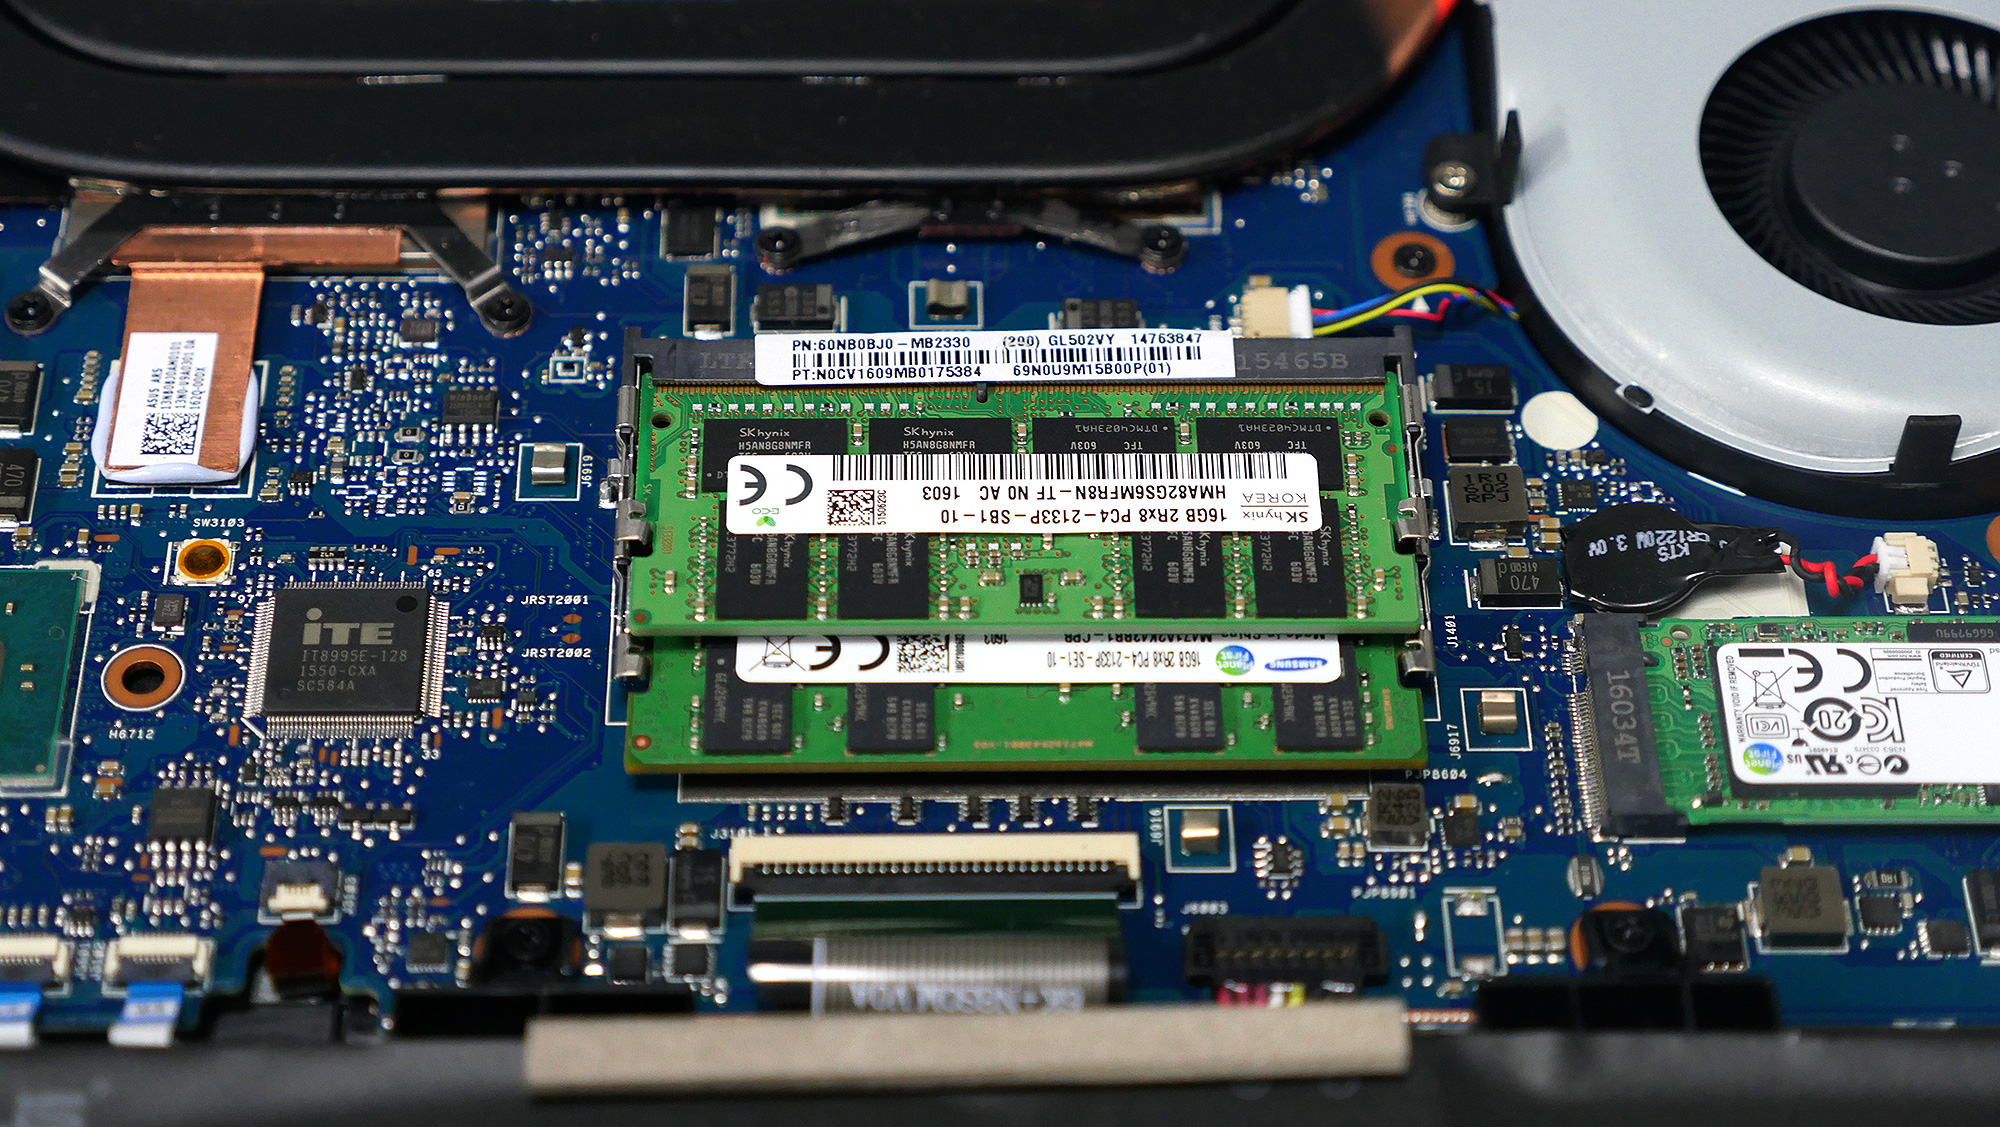
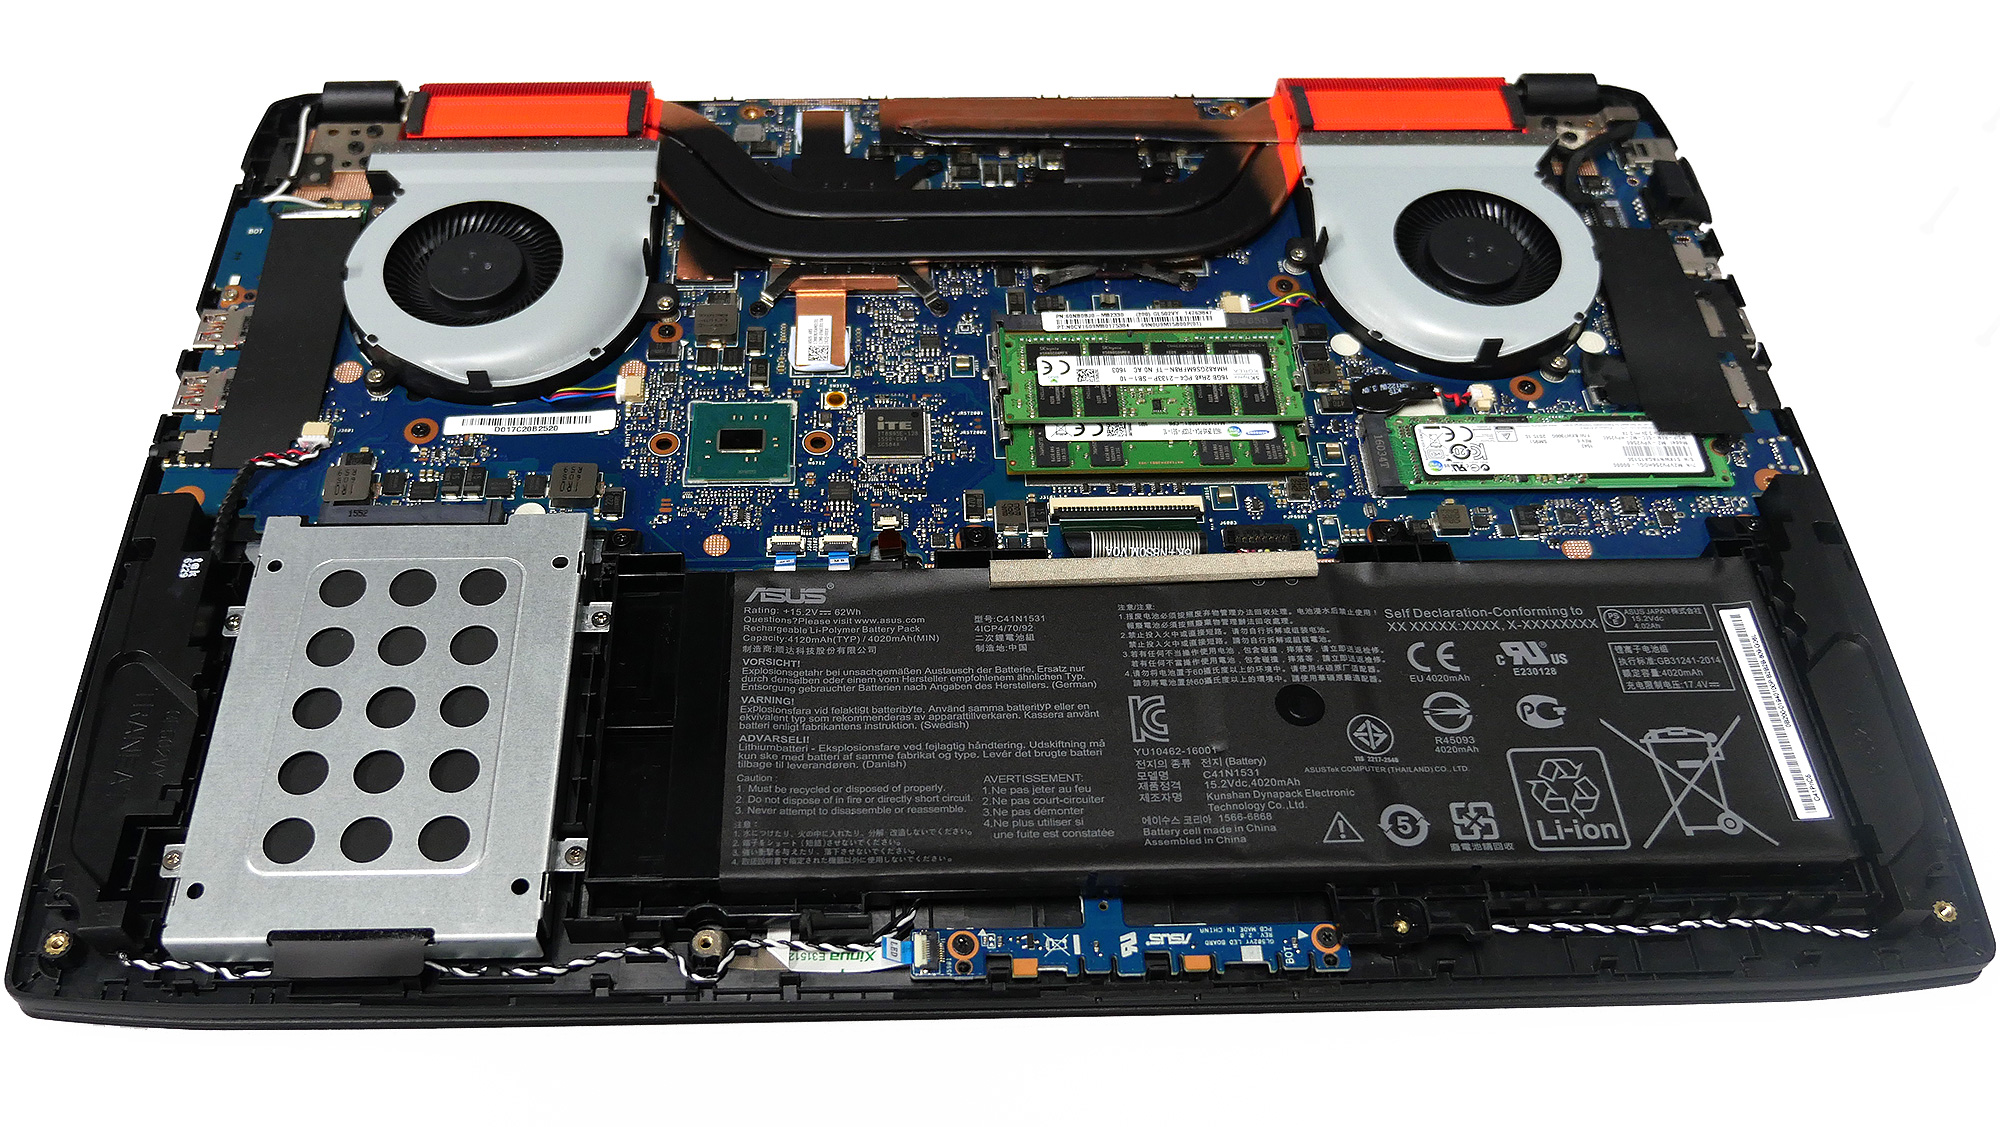
Let's take a gander at the layout and what you can upgrade. Memory is at the center just below the processor and GPU, M.2 slot on the right, and a SATA bay on the bottom left.
Memory
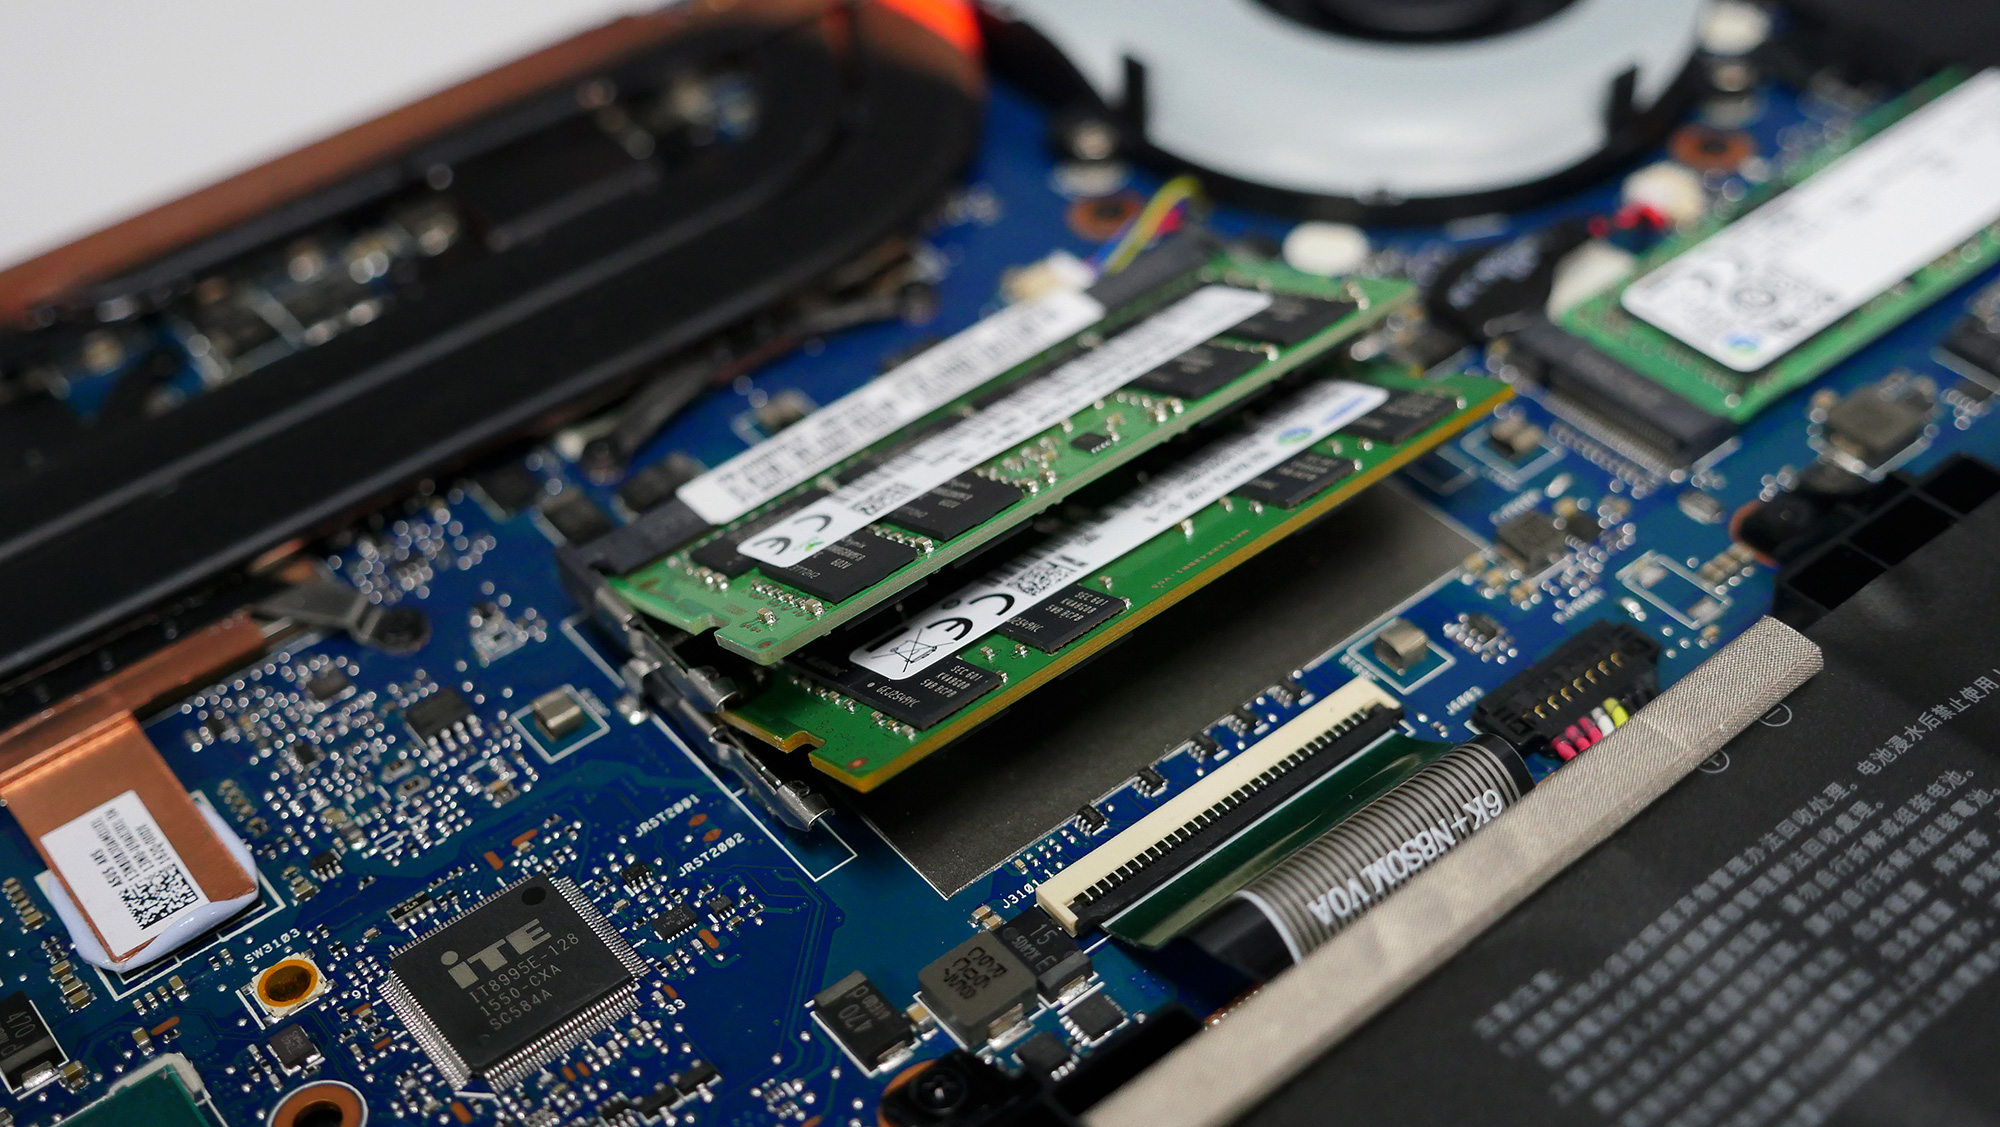
ROG Strix GL502VY supports up to 32GB of DDR4 (2133 MHz) SO-DIMM memory (two 16GB modules) memory, while GL502VT supports up to 16GB (two 8GB modules). One is stacked on top of the other so make sure you install the bottom module first. Align the pins to make sure you have the module the right way up, insert the memory into the slot angled at about 30°, use your thumbs and press evenly on both sides to make sure the module goes all the way into the slot, finally, push the top of the module down towards the motherboard until both of the locks on the sides click into place. Repeat the process for the other module. Be sure to fire up the laptop to check if the correct amount of memory shows.
M.2 SSD
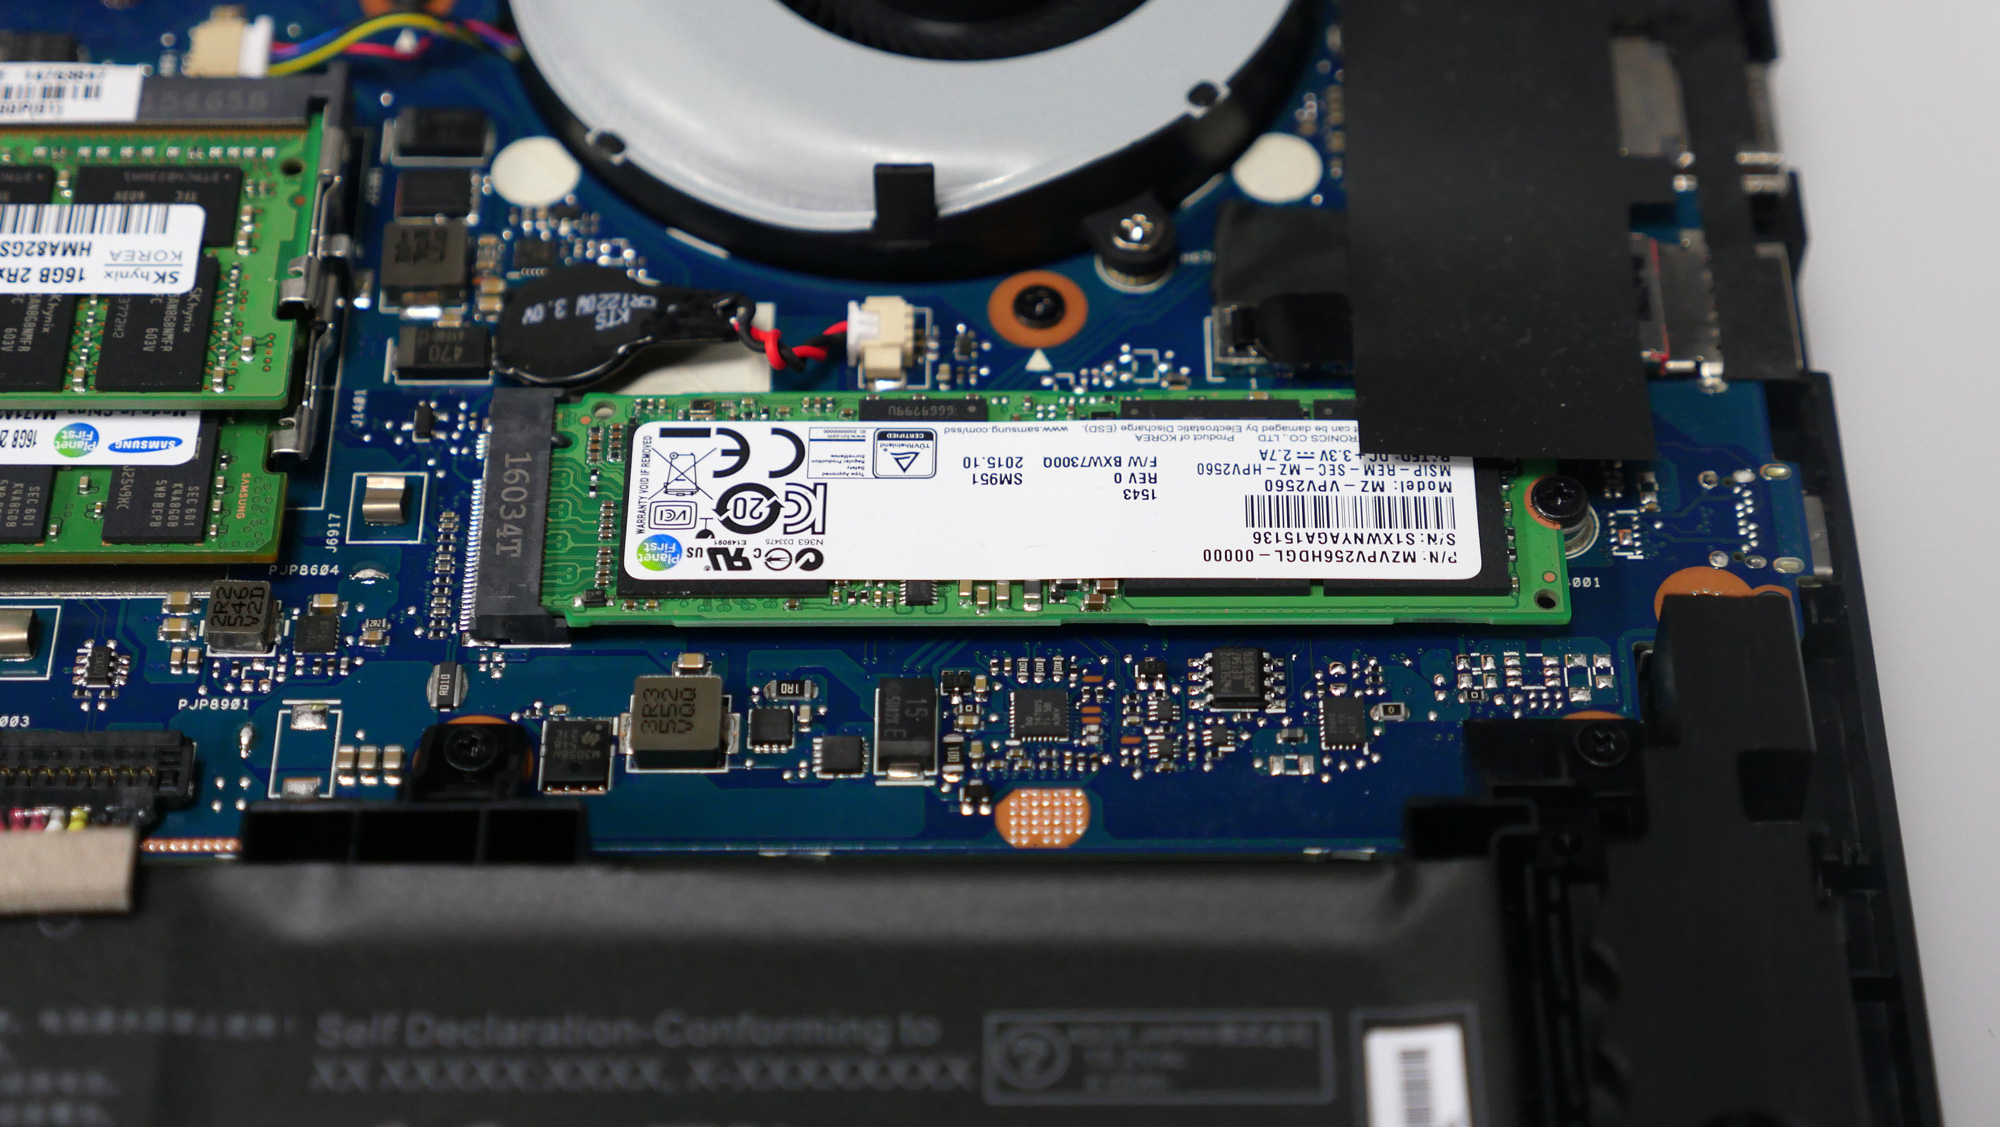
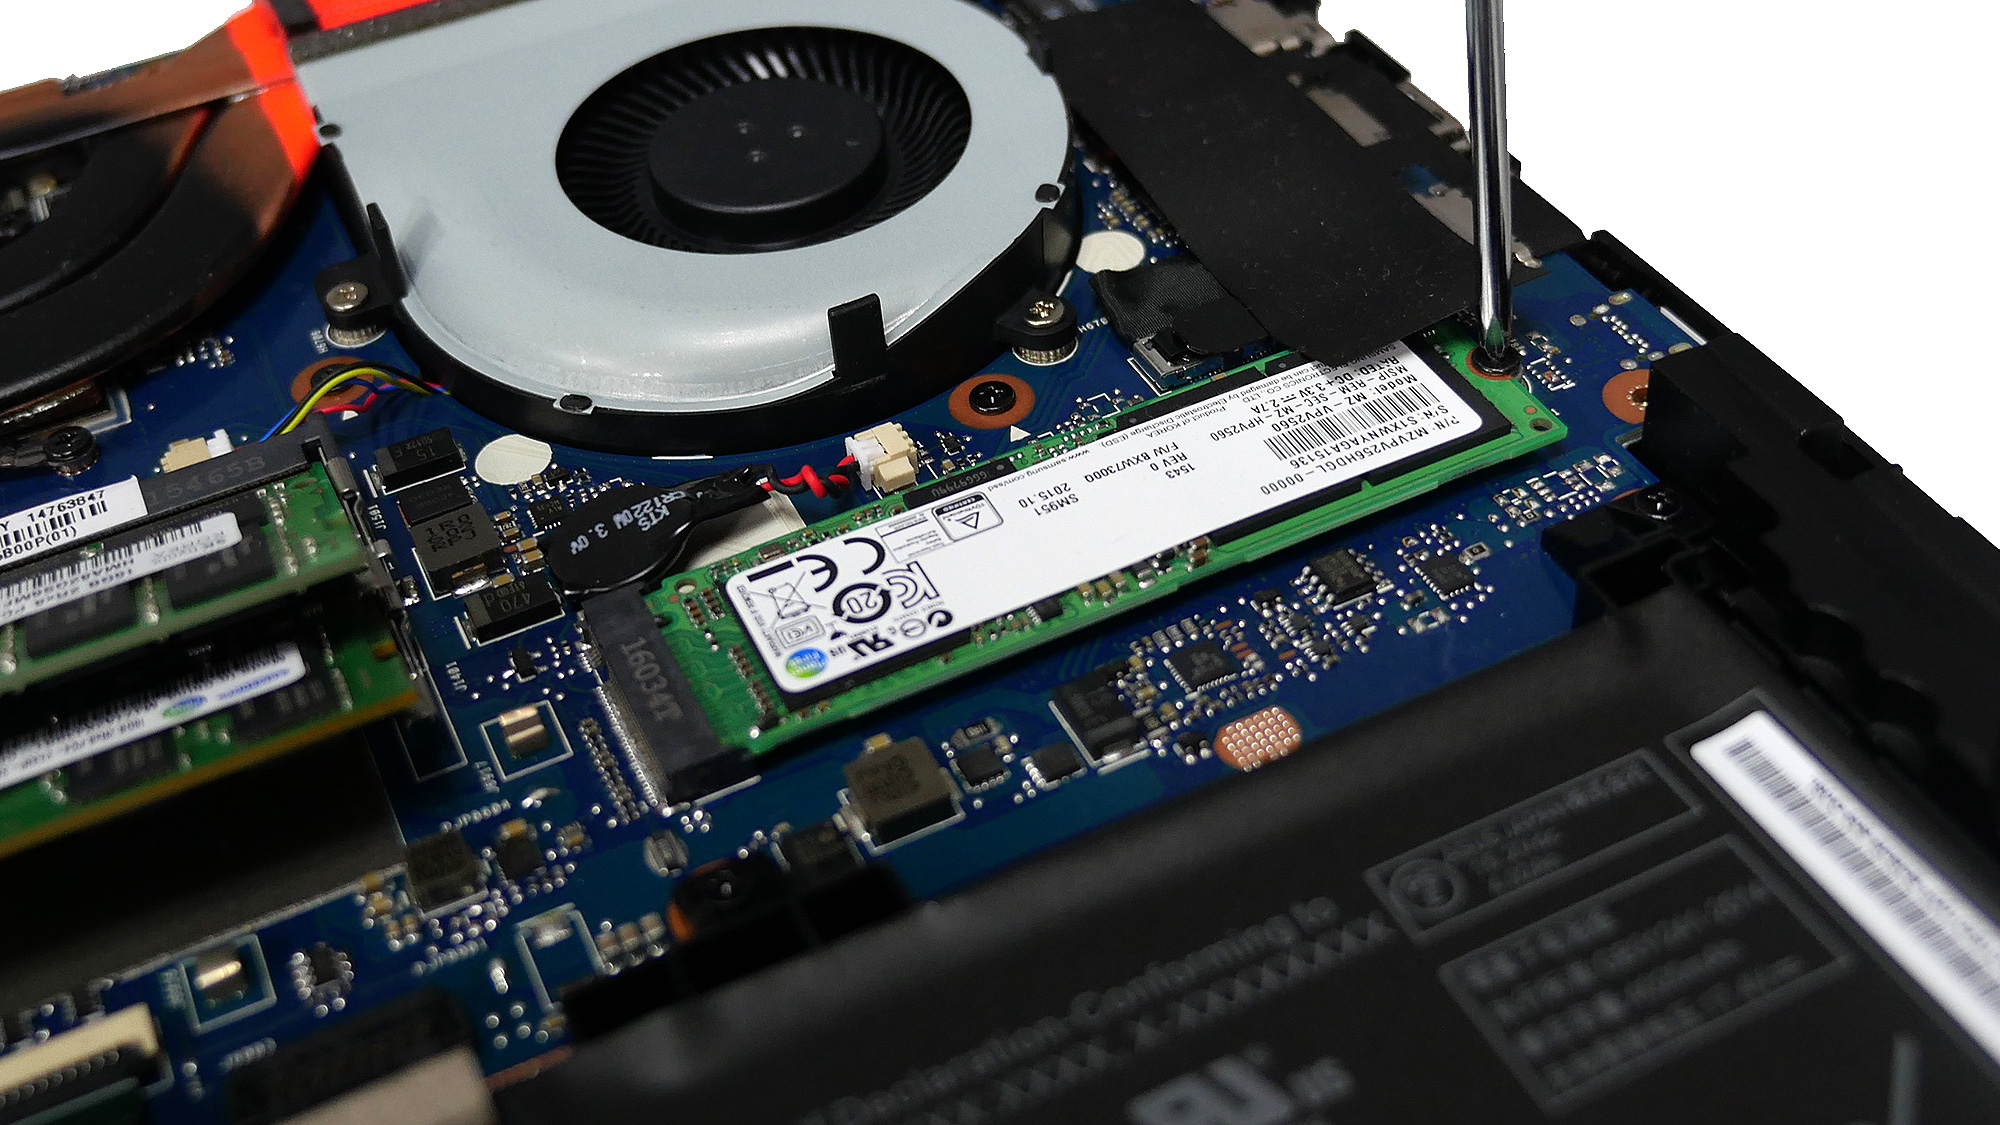
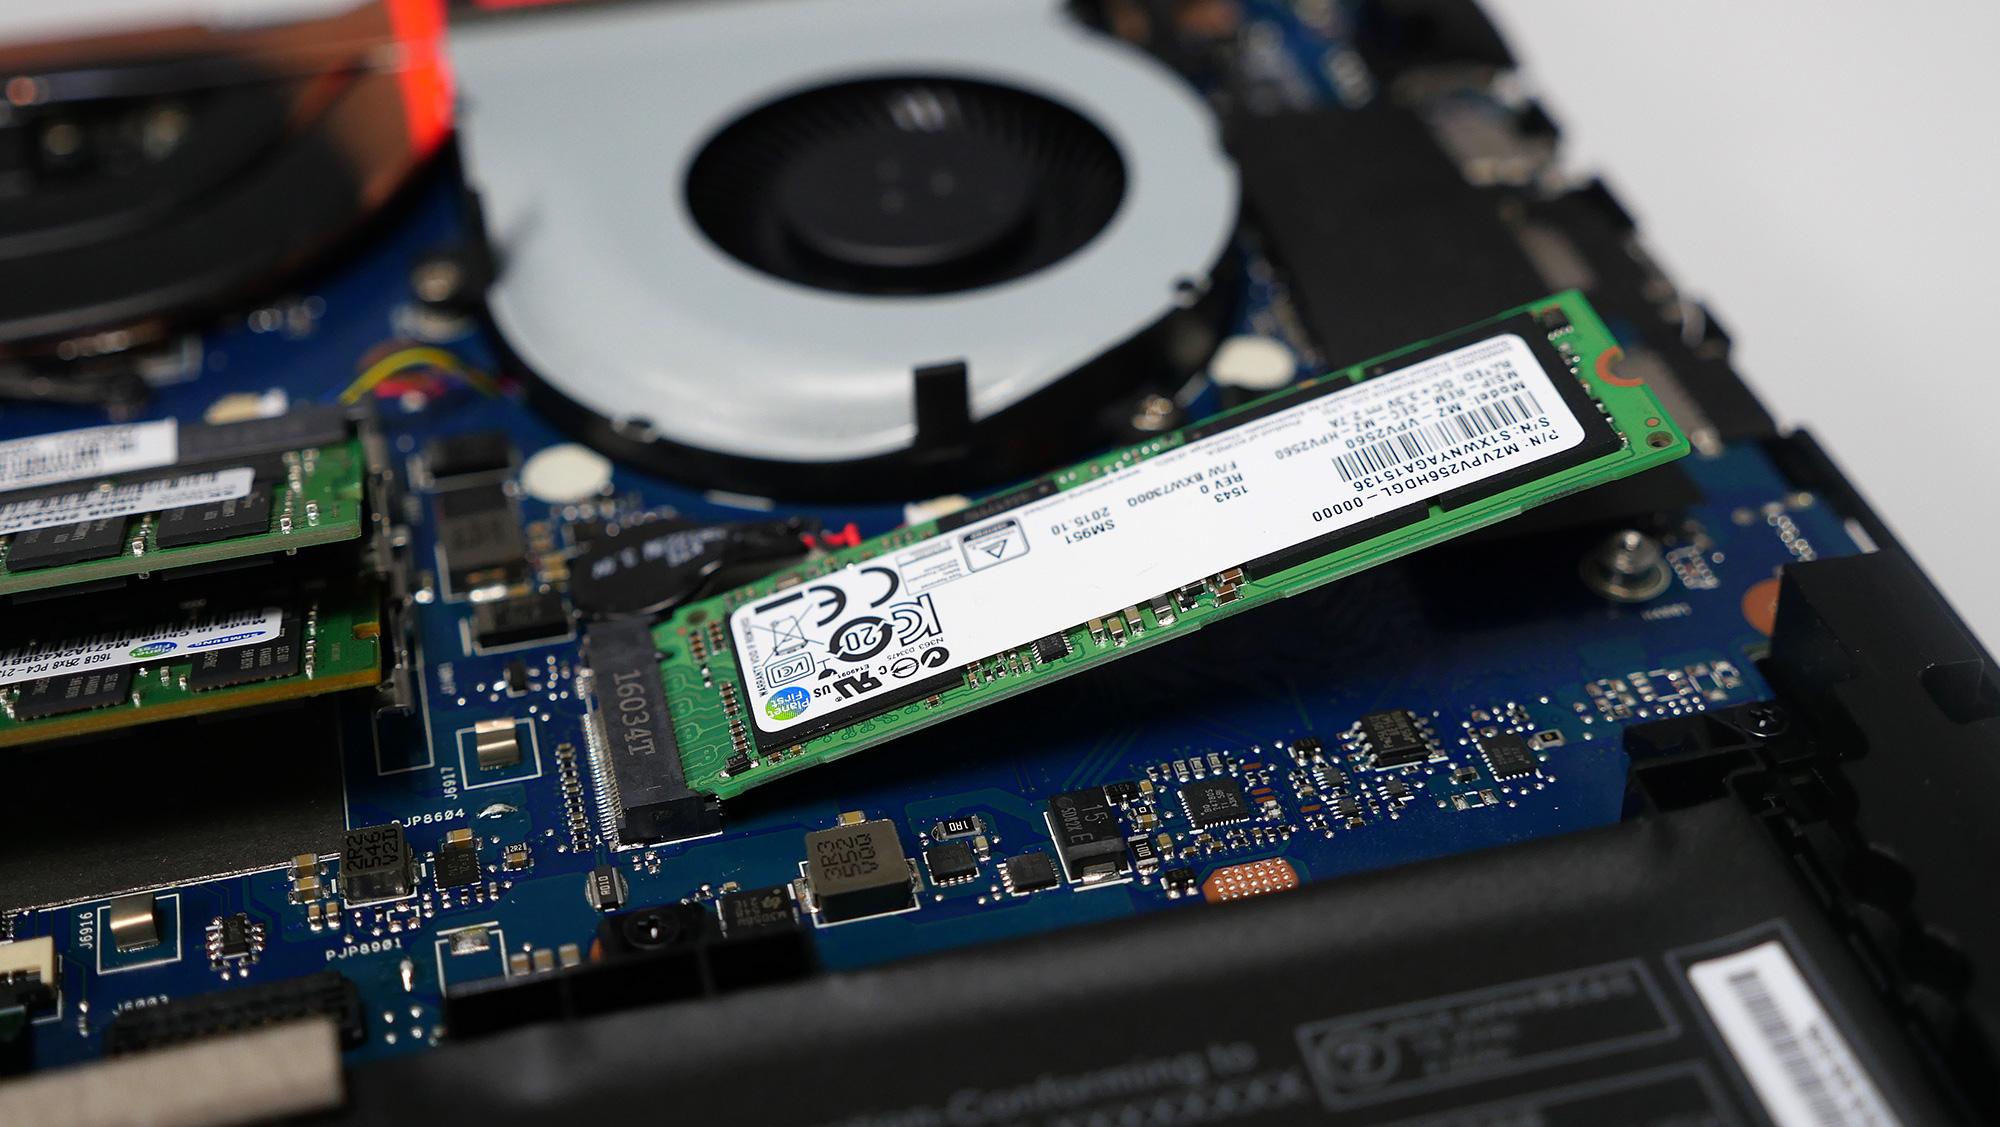
Installing an M.2 SSD is similar to installing memory, the locking mechanism however is a screw. GL502 allows for an NVME M.2 PCIe 3.0 X4 SSD which could be up to more than three times faster than SATA SSDs, so definitely use this as the boot drive and to hold your favorite games! Simply slide the SSD into the slot and secure it with the screw.
SATA SSD
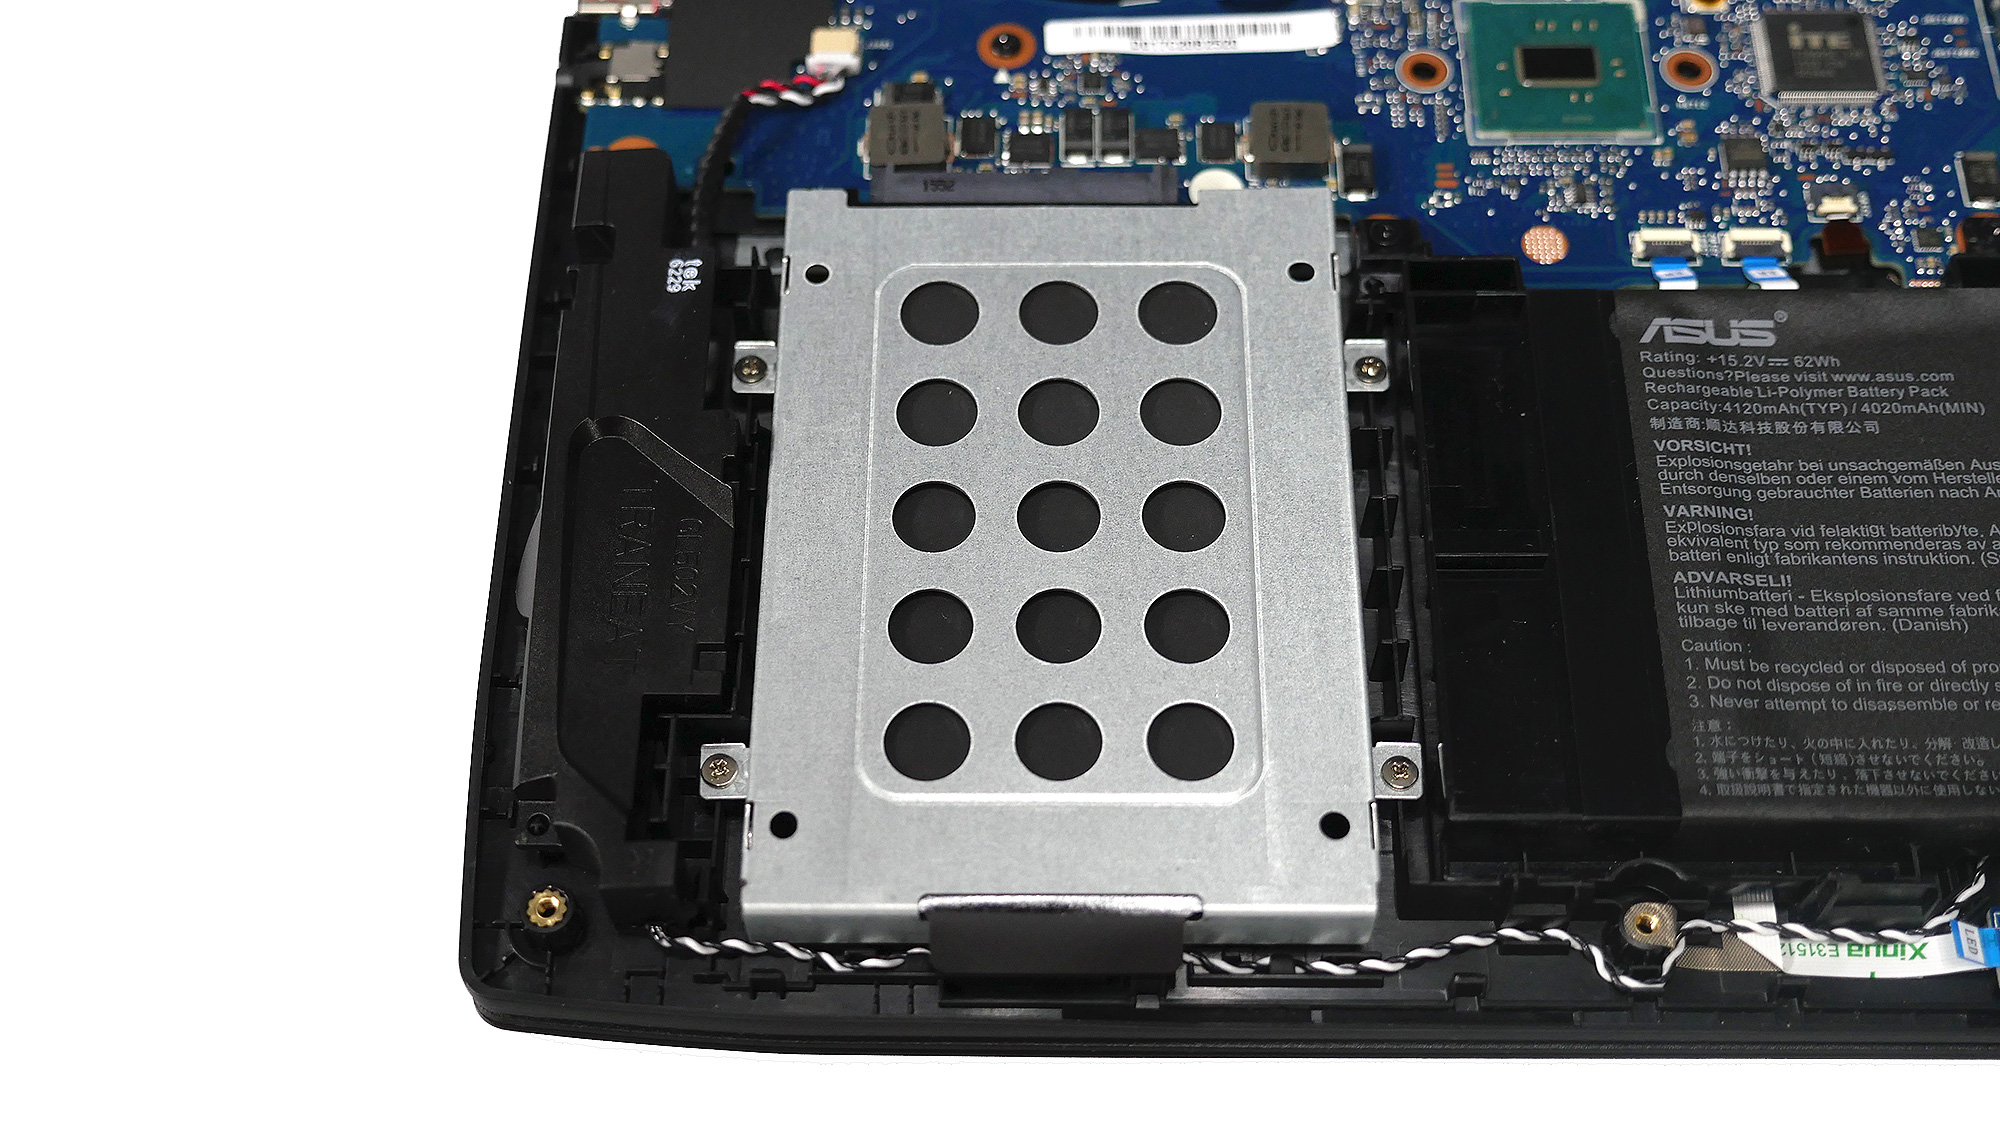
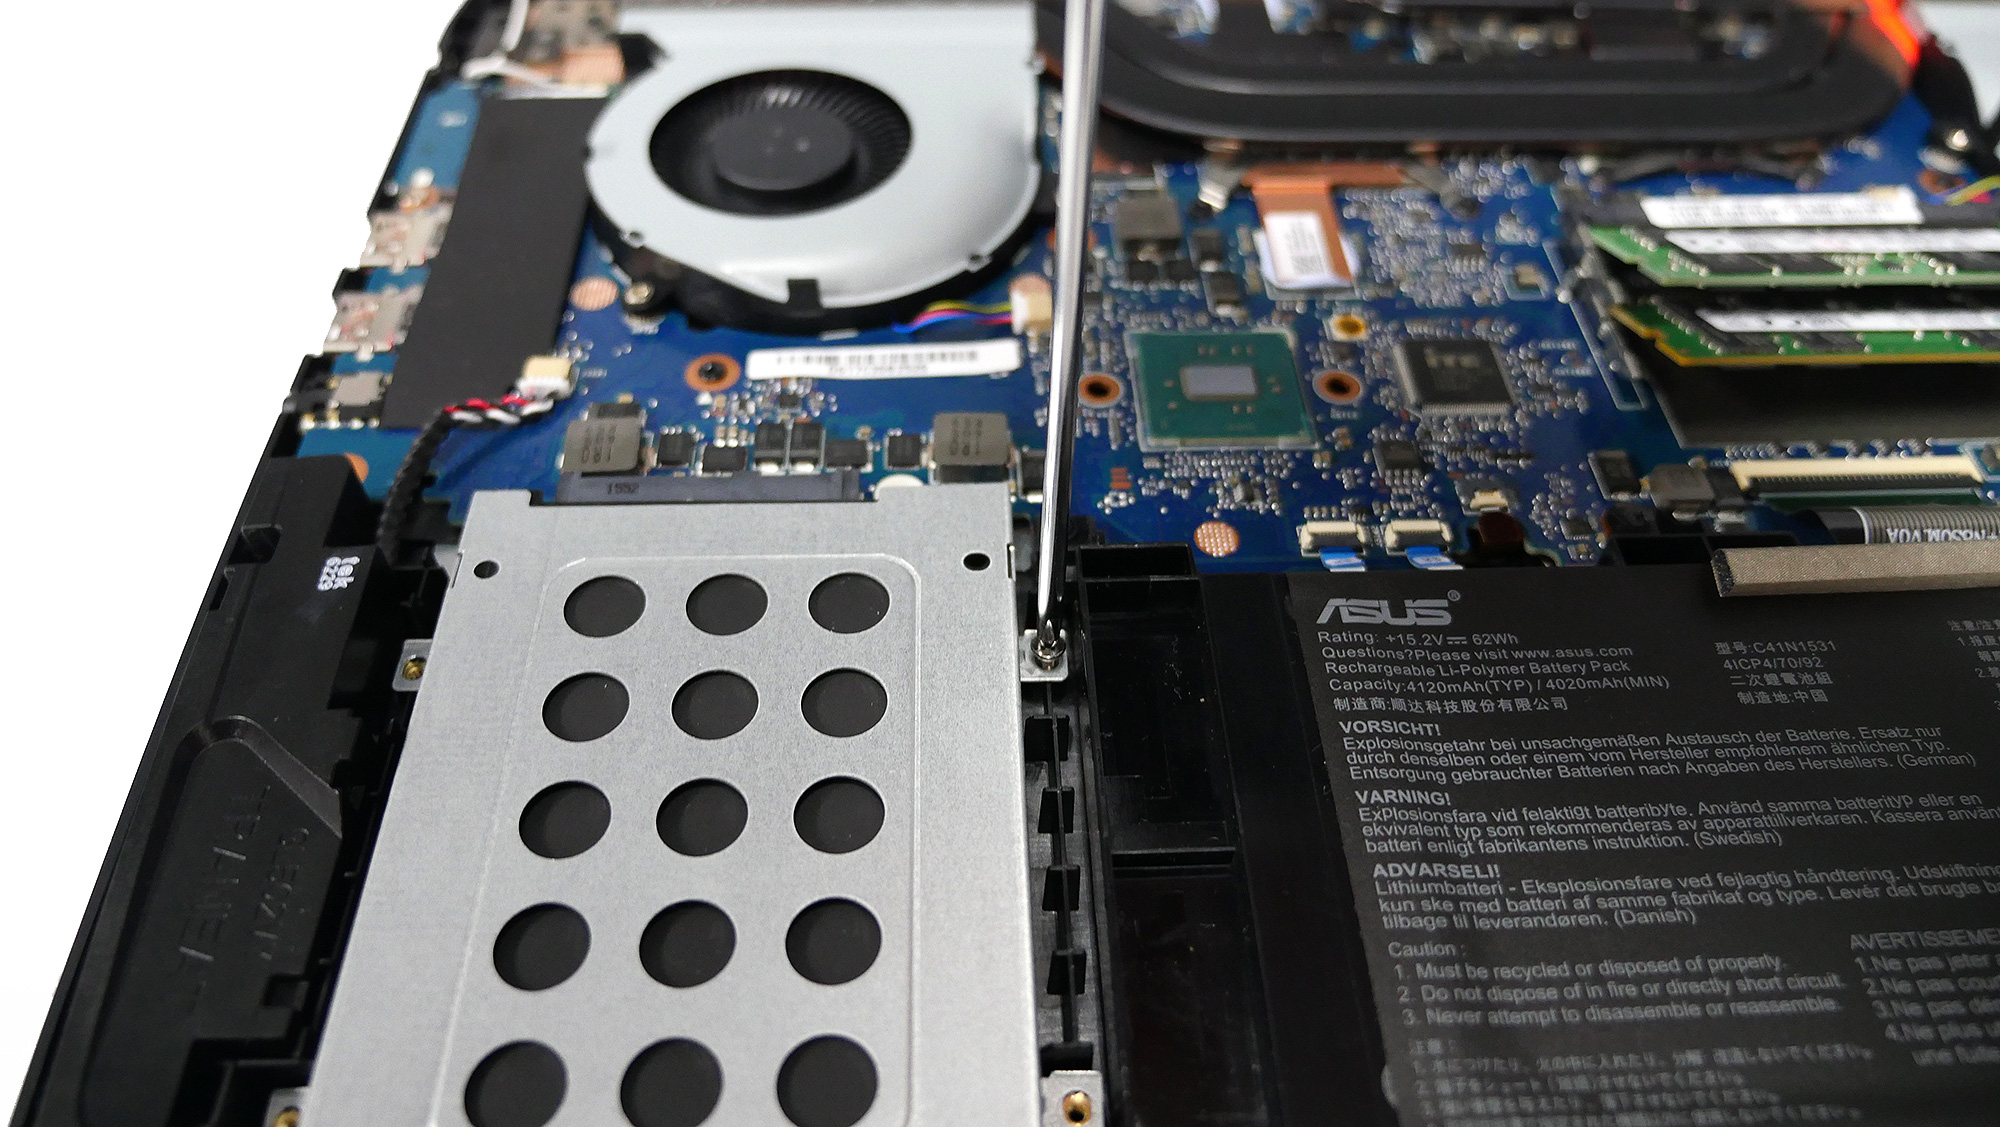
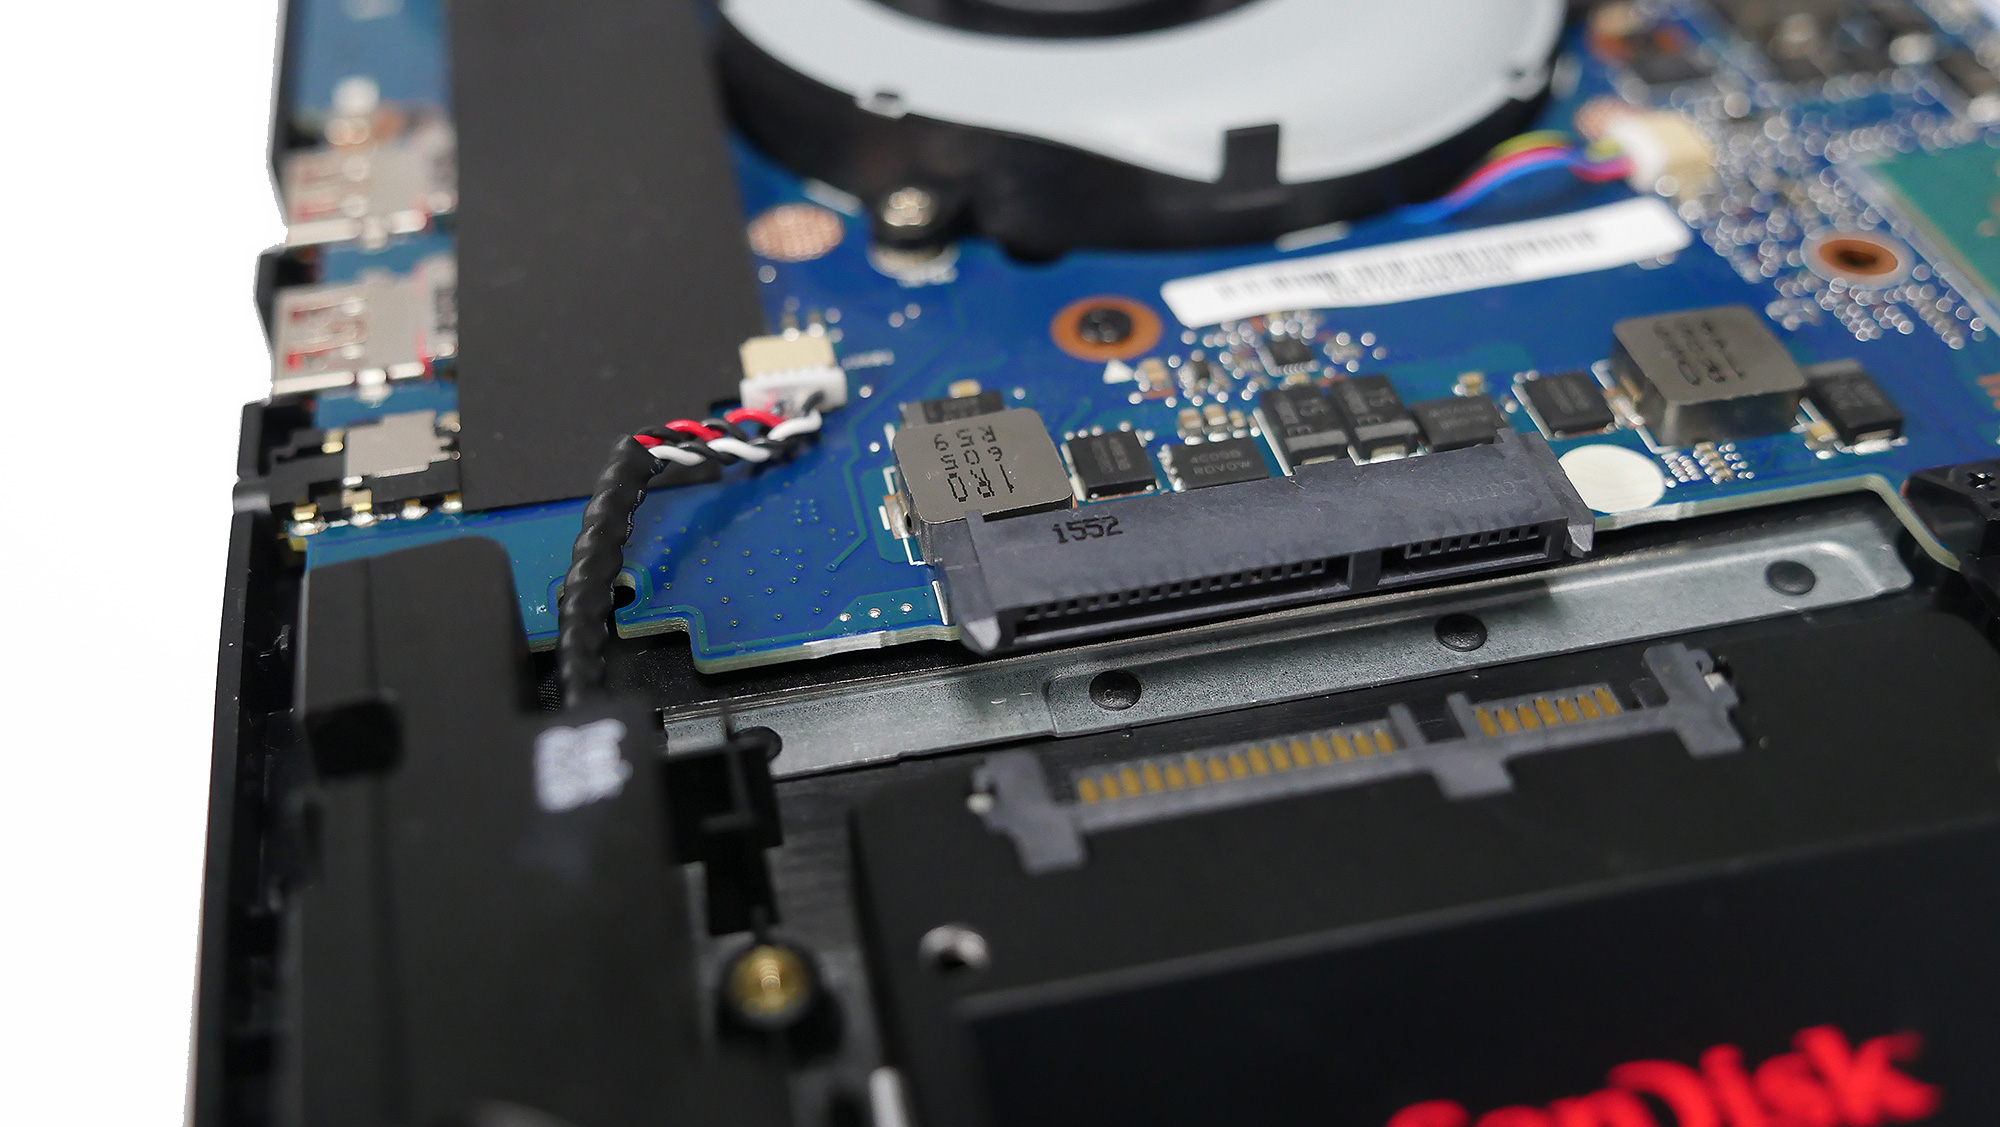
The 2.5” SATA III hard drive can be replaced with a larger and/or faster hard drive or SSD. To do this, remove the four screws holding the bracket. Slide the bracket towards you to remove. Before you secure your new SSD into the bracket, make sure it is the correct way up by looking at the connector to check if they match up. If it's all good, secure the bracket with the SSD back into the GL502.
Check to see if everything is okay before securing the back cover with all the screws.
*** Please take care when upgrading, any damages caused will not be covered by warranty. If you run into any issues, remember to revert the laptop to its default configuration (what you purchased) before sending it in for RMA. ***
Author
Popular Posts
How to adjust your laptop's P-Cores and E-Cores for better performance and battery life
Introducing the ROG Astral GeForce RTX 5090 and 5080: a new frontier of gaming graphics
How to Cleanly Uninstall and Reinstall Armoury Crate
How to configure your PC's RGB lighting with Aura Sync
How to upgrade the SSD and reinstall Windows on your ROG Ally or Ally X
LATEST ARTICLES
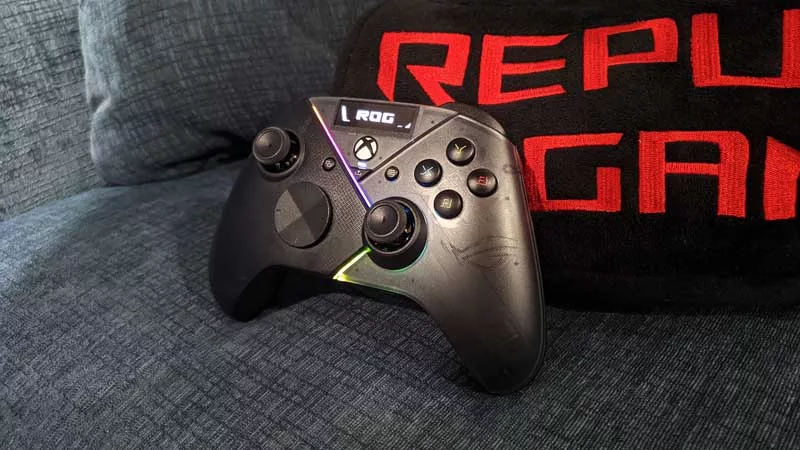
Hands-on: The ROG Raikiri Pro took my couch gaming to the next level
I've been a diehard PC gamer all my life, but I often play on the couch. The ROG Raikiri Pro has improved my living room PC gaming immeasurably thanks to a few useful features and loads of customizability.
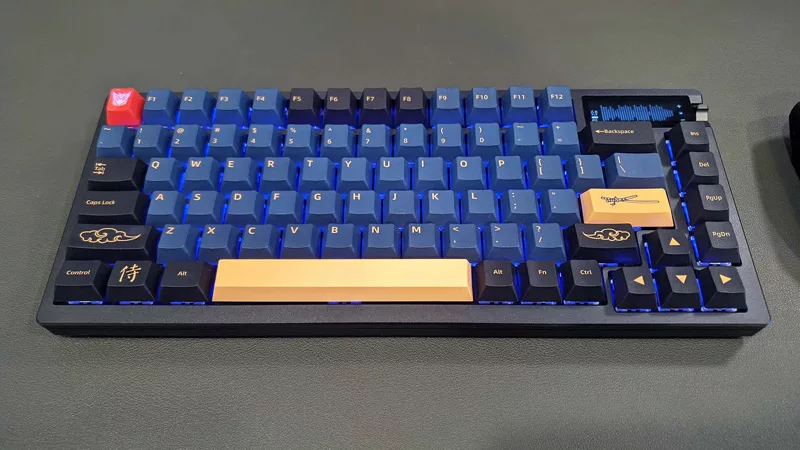
Hands-on: The ROG Azoth became the canvas for the keyboard of my dreams
Ever since I bought my first mechanical keyboard, I’ve been on a mission to mod and upgrade, mod and upgrade. But I think the ROG Azoth may actually be my endgame.
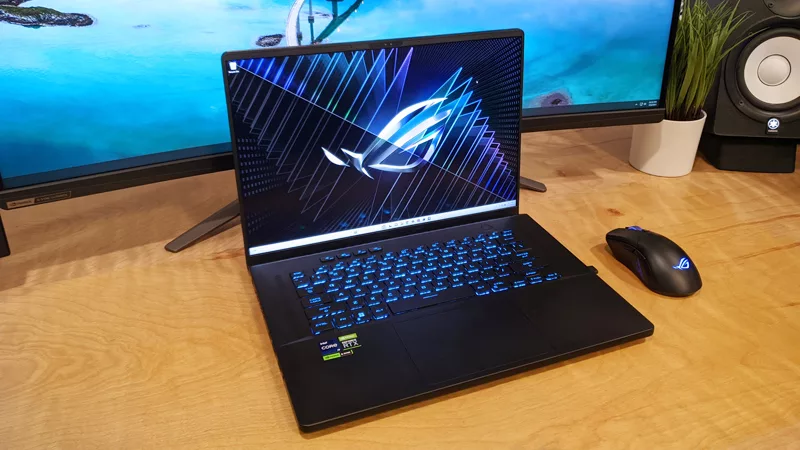
The Zephyrus M16 blends outstanding HDR gaming performance with undeniable luxury
The new ROG Zephyrus M16, with its Nebula HDR display, is like bringing a high-end home theater gaming setup with you wherever you go.
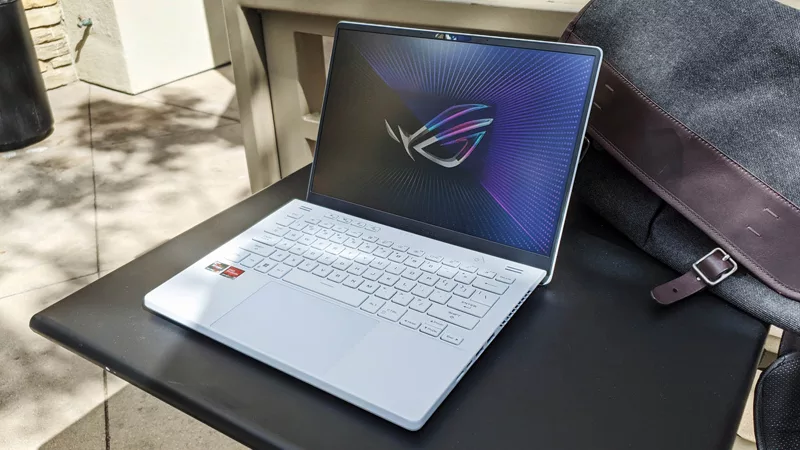
Radeon graphics and a stellar new display reinvigorate 2022 ROG Zephyrus G14
For a long time, I had to choose between underpowered ultraportable laptop and large laptops capable of gaming. But the ROG Zephyrus G14 puts admirable gaming chops into an ultra portable machine that travels anywhere.
Ready to rumble out of the box: Hands-on with the ROG Strix SCAR 15
Living on the move or in a smaller space isn't a roadblock to high-end gaming. The ROG Strix SCAR makes portable powerful.
The ROG Zephyrus S17 is an outstanding mixture of power and portability
The S17 has it all: top-tier hardware in a slim package with all the bells and whistles.
