G55VW Upgrade Guide
Hot on the heels of our G75VW upgrade guide, I've got my hands on its 15 inch brother - the G55VW - for another upgrade guide. In this article I'll cover exactly what you can (and can't) upgrade on the G55VW, so you know exactly how to plan your purchase and upgrades. 
Opening it up:
Firstly, flip it over:  Like the G75VW, there is a single access port on the bottom held on by a couple of Philips head screws - grab the right sized screw driver to take them out, and with a little tug lift off the cover.
  The G55VW has a total of one 2.5" HDD bay, one mSATA socket and four DDR3 SO-DIMM slots. The area just opened allows access to two of the DDR3 SO-DIMM slots and the single HDD bay. The mSATA socket and two additional SO-DIMM ports are not user-accessible (if you want to retain your warranty) so should be upgraded by an official ASUS rep or decided on before purchase. If you consider yourself technically capable and don't care for your warranty they are upgradeable, but I warm you that it's a mammoth task to get into the inner workings. See this thread on notebook review for more details. The mSATA socket is here and there's also a standard mPCIe socket used for the WiFi card too. Both the mSATA and HDD SATA sockets are SATA 6Gbps capable, and both can be tied together with Intel RAID by simply enabling the RAID option in the BIOS.
  Alternatively a small mSATA drive can be setup as a caching drive to support the larger 2.5" HDD, or a larger mSATA drive (128GB are available at the time of writing) can be setup to house the entire OS and recovery partition, leaving the 2.5" HDD space free for a future upgrade (or left empty to save power and weight). If your G55VW wasn't spec'd from the retailer with an mSATA SSD installed, the installed 2.5" HDD contains your Windows and recovery partitions (if you didn't know, you can press F9 during boot up to restore the factory default OS), so if you're swapping it out for another you'll want to clone its contents via another PC. The connectors for 2.5" drives are standard SATA power and data, so they will connect to any PC SATA ports or fit in an external SATA drive caddy. Below is the G55 with the HDD and both user accessible SO-DIMMs removed. The HDD is held in a small, metal case and secured down with three screws. This metal case must be swapped to the replacement HDD before reinstallation.
  Officially 16GB 1600MHz memory is supported via 4x4GB DIMMs, although unofficially 32GB memory (8GBx4) can be installed (remember you need to use Windows 7 Pro or Ultimate to take advantage of >16GB of memory). The first two SO-DIMMs populated are installed at the factory/by the retailer in the non-user serviceable area so you don't have to worry about them, however if you want to absolutely maximize the G55's memory capacity, it also means it's strongly advised to plan your needs and arrange your purchase beforehand. For most gamers however, the standard 8-16GB installed is plenty and the two extra SO-DIMM slots (shown above and below) give an extra 8-16GB of capacity on top of the two installed at the factory, which should see you through into the future.
  The optical drive can be removed by a single screw at the back if it needs replacing or upgrading, while the battery can be simply unclipped and swapped out without the need for a screwdriver. The standard battery is an 8-cell 74Whr.
Author
Popular Posts
How to adjust your laptop's P-Cores and E-Cores for better performance and battery life

Introducing the ROG Astral GeForce RTX 5090 and 5080: a new frontier of gaming graphics

How to Cleanly Uninstall and Reinstall Armoury Crate
How to configure your PC's RGB lighting with Aura Sync
How to upgrade the SSD and reinstall Windows on your ROG Ally or Ally X
LATEST ARTICLES
Hands-on: The ROG Raikiri Pro took my couch gaming to the next level
I've been a diehard PC gamer all my life, but I often play on the couch. The ROG Raikiri Pro has improved my living room PC gaming immeasurably thanks to a few useful features and loads of customizability.
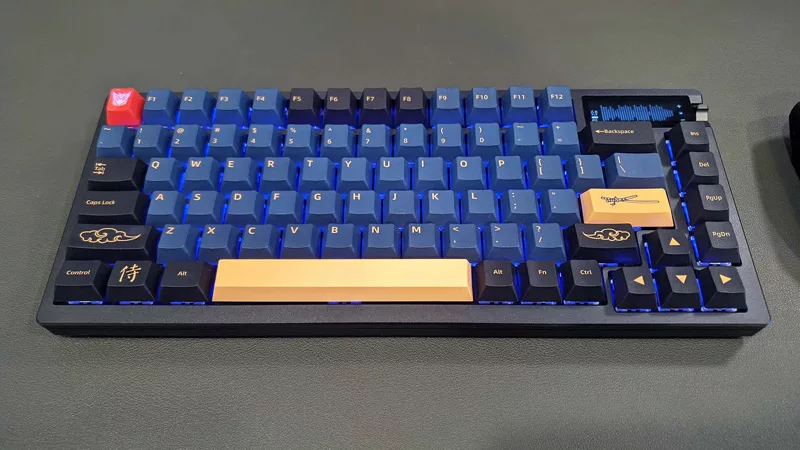
Hands-on: The ROG Azoth became the canvas for the keyboard of my dreams
Ever since I bought my first mechanical keyboard, I’ve been on a mission to mod and upgrade, mod and upgrade. But I think the ROG Azoth may actually be my endgame.
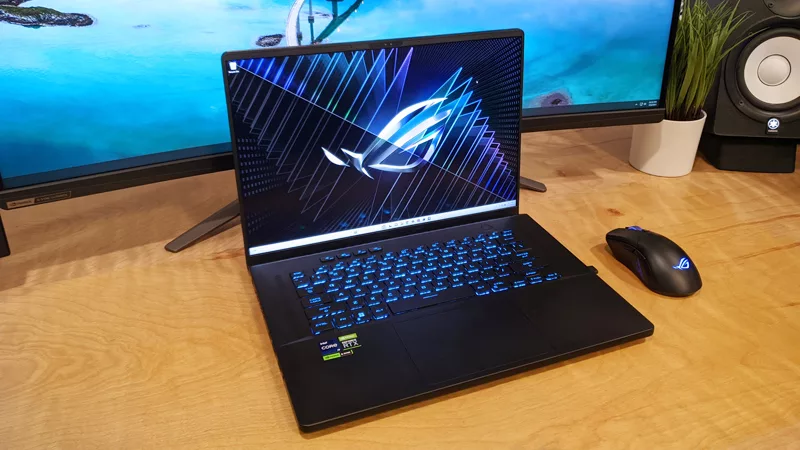
The Zephyrus M16 blends outstanding HDR gaming performance with undeniable luxury
The new ROG Zephyrus M16, with its Nebula HDR display, is like bringing a high-end home theater gaming setup with you wherever you go.
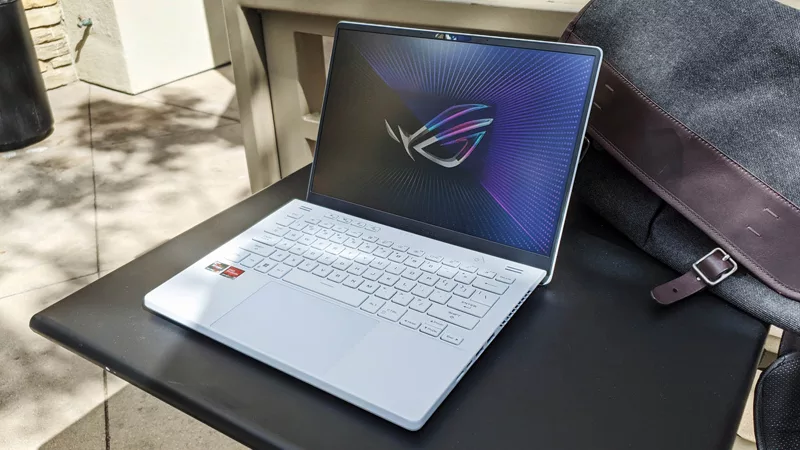
Radeon graphics and a stellar new display reinvigorate 2022 ROG Zephyrus G14
For a long time, I had to choose between underpowered ultraportable laptop and large laptops capable of gaming. But the ROG Zephyrus G14 puts admirable gaming chops into an ultra portable machine that travels anywhere.
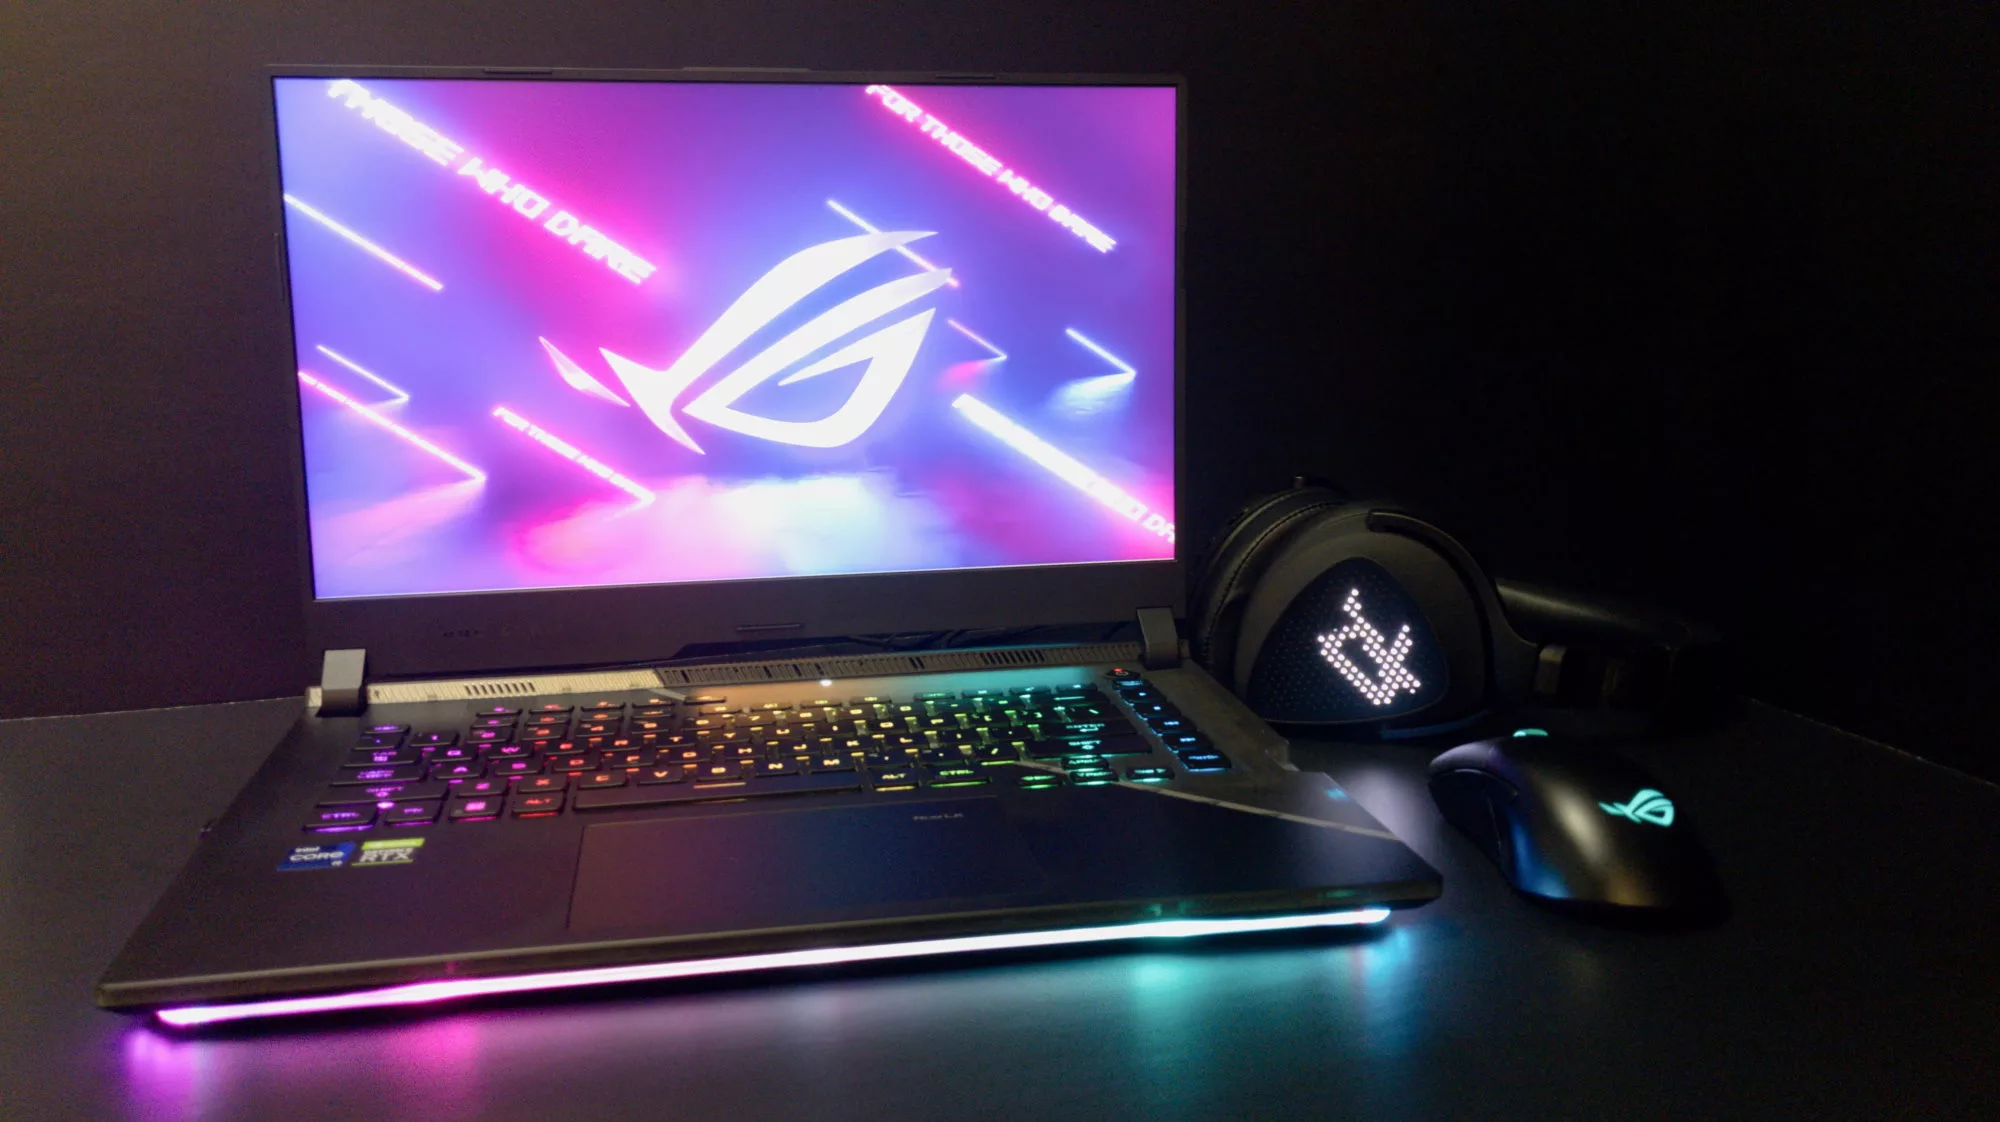
Ready to rumble out of the box: Hands-on with the ROG Strix SCAR 15
Living on the move or in a smaller space isn't a roadblock to high-end gaming. The ROG Strix SCAR makes portable powerful.
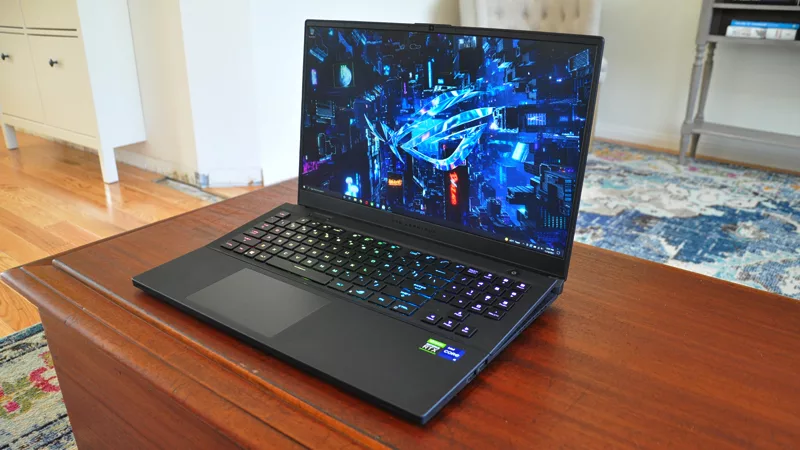
The ROG Zephyrus S17 is an outstanding mixture of power and portability
The S17 has it all: top-tier hardware in a slim package with all the bells and whistles.