Guide: Overclocking FX-8350 To 4.8GHz On Crosshair V Formula-Z
It's been a year since our FX-8150 and Crosshair V Formula overclocking guide, so we've updated it for our AMD fans to cover ROG's Crosshair V Formula-Z and the new FX-8350 CPU, overclocked to 4.8GHz. As ever, overclocking is never guaranteed. Your mileage will vary depending on the components, such as level of cooling, quality of power and memory and environment (humidity and ambient temperature etc) and of course, the CPU you use as despite having the same FX-8350 name, not all silicon is made equal. If you've got further overclocking questions join us in our OC forum, or if you have problems with your Crosshair V drop into to the Crosshair forum.
Installing the CPU
- Release the CPU socket arm, and lift it into an upright position
- Install the CPU. No force is required, just drop it into the socket in the correct orientation, and the CPU’s pins will sink all the way in. Match the golden triangle on the corner of the CPU to the marker on the CPU socket. Don’t force the CPU; breaking any of the pins will kill it!

- Lower the socket arm and lock the CPU in place
- Add thermal paste in a thin layer across the top (as necessary). Use a flat edged item such as an old credit or debit card to smooth the thermal paste flat and even.

- Fit your CPU cooler of choice – Overclocking an FX-8350 to 4.8GHz WILL require a high end cooler. We’ve used a Corsair H80i here, but any similar liquid cooler will work too. You'll notice we've dropped in a pair of memory DIMMs as well.

A word on power
The Crosshair V Formula-Z is equipped with an additional 4-pin CPU power connector. While fitting it isn’t necessary, it can help the stability of high-level overclocks such as the one we’re attempting here. If your PSU doesn't have one spare, don't worry! 
Before we start
Be sure to download the latest version of the board’s BIOS and extract it to the root directory of a flash drive. You can then use the EZ Flash utilty in the BIOS Tool menu to easily update the latest version.  You should also download (or install from your driver disk) Asus’ AI Suite II. The thermal sensor on the FX-8350 is not read by some thermal monitoring programs. We’ll be using AI Suite II to monitor temperatures and voltages, CPU-Z to monitor CPU status/frequencies and Prime95 to check the stability of the overclock.
Make sure everything works
As always, before you start overclocking, you should Install/boot windows and make sure everything works first.
- Start the system and enter BIOS (image BIOS welcome)
- Press F5 to load optimized BIOS defaults (image reset to defaults)
- Hit F10 to save the BIOS and restart
- Boot Windows
- Open CPU-Z and AI Suite II
- Run Prime95 and select the CPU intensive Small FFT test – the CPU should clock up to 4.0GHz, the maximum clock speed of this chip.
- As you can see, at its default clock speeds the FX-8350 runs quite happily at a temperature of 49°c. This was performed in a room with an ambient temperature of 24°C, so a 25°C delta-T is great.
 Over on page 2 it's time to tweak!
Time to Tweak
While there can be significant variation between CPUs, the AMD FX-8350 is pretty reliable in its limits and required voltages; most samples should be capable of this 4.8GHz overclock given sufficient cooling. That said, there’s always the random sample element in any overclocking; if you’re unsuccessful, just drop the multiplier in single increments until stable, and then dial back the voltage to match.
- First make sure the UEFI BIOS into its Advanced mode. ROG boards should automatically default to this view.
- Select the first Extreme Tweaker tab
- Set the CPU Ratio to 24; you’ll notice the target CPU speed at the top increase to 4,800MHz (image CPU ratio to 24)

- Set the Memory Frequency to your desired setting; we’re using DDR3-1,600MHz here.

- Scroll down the page to CPU & NB Voltage – ensure it’s set to Manual Mode
- Set the CPU Manual Voltage to 1.5V. It will show up red, but this is fine; just don’t go pushing it too much further.


- Go back and select the DIGI+ Power Control Menu
- Set CPU Load Line Calibration to Ultra High

- Next, look to the top line menu buttons and click on Advanced.
- Select the CPU Configuration menu

- Here, set Cool ‘n’ Quiet to Always Disabled.

- Make sure that C1E is set to Disabled.

- You may also wish to disable Core C6 State, which controls core idling
- Be sure to save the overclock as a Profile in the Tool menu, so you can load it quickly should anything happen
- Finally, hit F10 to save your changes and restart


Stress Test
With the overclock applied, boot back into Windows and repeat the earlier stress test, running AI Suite II to monitor temperatures and CPU-Z to check frequencies. In CPU-Z the CPU should now report as running at 4.8GHz (or marginally higher depending on baseclock fluctuations). However, you’ll also notice the CPU temperature has increased a lot too; our setup here recorded a delta T of 49°C. This is hot, as expected, but still within the TJMax of the chip though.  Is that all stable? Good. The voltage we've applied here of 1.5V can now be reduced. Go back into the BIOS and try small voltage drops without reducing the clock speed. This chip was able to run stable with a voltage of 1.49V, but reducing it further caused instability as indicated by Prime95 errors. You can also further reduce power draw by attempting to drop the Load line Calibration setting to Extreme or High, but again, there is likely only minimal room for this if you want to achieve a stable 4.8GHz.

Author
Popular Posts

How to adjust your laptop's P-Cores and E-Cores for better performance and battery life

How to Cleanly Uninstall and Reinstall Armoury Crate
How to configure your PC's RGB lighting with Aura Sync
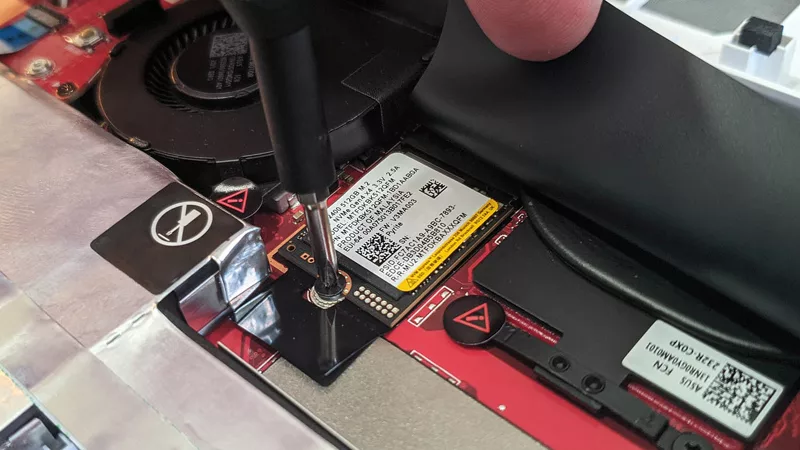
How to upgrade the SSD and reinstall Windows on your ROG Ally or Ally X
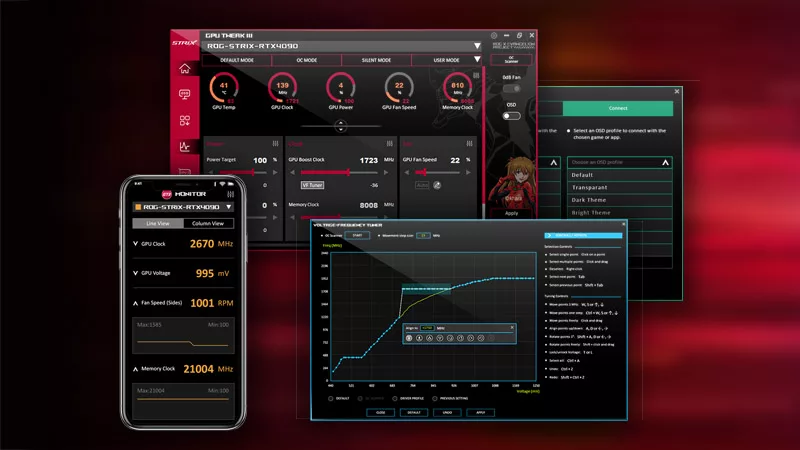
ASUS GPU Tweak III: The ultimate tool for advanced GPU tuning
LATEST ARTICLES

Hands-on: The ROG Raikiri Pro took my couch gaming to the next level
I've been a diehard PC gamer all my life, but I often play on the couch. The ROG Raikiri Pro has improved my living room PC gaming immeasurably thanks to a few useful features and loads of customizability.
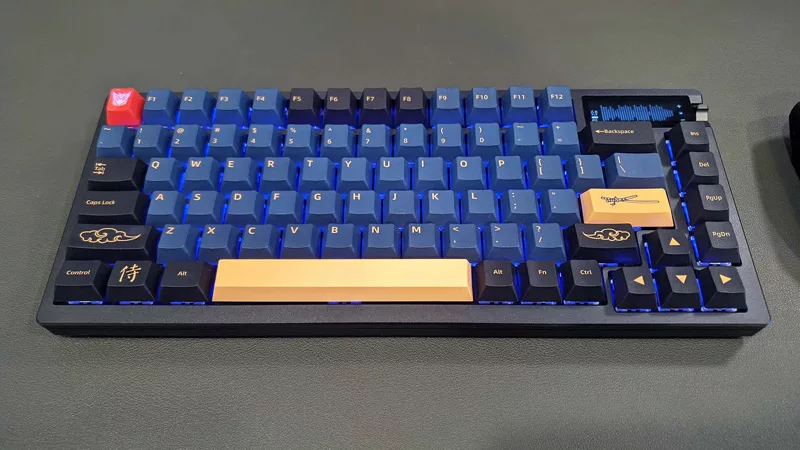
Hands-on: The ROG Azoth became the canvas for the keyboard of my dreams
Ever since I bought my first mechanical keyboard, I’ve been on a mission to mod and upgrade, mod and upgrade. But I think the ROG Azoth may actually be my endgame.

The Zephyrus M16 blends outstanding HDR gaming performance with undeniable luxury
The new ROG Zephyrus M16, with its Nebula HDR display, is like bringing a high-end home theater gaming setup with you wherever you go.

Radeon graphics and a stellar new display reinvigorate 2022 ROG Zephyrus G14
For a long time, I had to choose between underpowered ultraportable laptop and large laptops capable of gaming. But the ROG Zephyrus G14 puts admirable gaming chops into an ultra portable machine that travels anywhere.

Ready to rumble out of the box: Hands-on with the ROG Strix SCAR 15
Living on the move or in a smaller space isn't a roadblock to high-end gaming. The ROG Strix SCAR makes portable powerful.
The ROG Zephyrus S17 is an outstanding mixture of power and portability
The S17 has it all: top-tier hardware in a slim package with all the bells and whistles.