Guide: Using ASUS AI Recovery Utility & DVDs To Backup & Restore A G75
Firstly, a huge thanks to ROG forum member, Cecil_2099, for putting this guide together. We've modified it only slightly from the original forum thread, which can be found here for further discussion.
Using ASUS AI Recovery Utility To Backup A G75
- Firstly - make sure you update the AI Recovery Utility to at least 1.0.24 to enable to support for >1TB hard drives. See the G75 product page (download tab --> utilities) for the update.
- If you haven't already, use the AI Recovery Utility to version 1.0.24 or newer to burn your ASUS Recovery DVDs. You should do this prior to uninstalling any software prior to reformatting/wiping/re-partitioning your hard drive. For example, on the Best Buy G75VW-BBK5 you will end up with three (3) DVDR/DVDRWs.
Using ASUS AI Recovery DVD To Restore A G75
- A few notes/assumptions prior to starting: - Your computer is off and no DVDs are in the optical drive. - You have only one drive connected to the G75 on the right-hand drive bay (based on the drive caddy letter) and that is the drive you want to restore TO. - It doesn't matter if the drive is an HDD or SSD and the size does not matter.
- Start up your computer and immediately press the 'Esc' key until you see the following screen appear:

- Place the first ASUS Recovery DVD into your optical drive.
- Select your optical drive (on my G75VW-BBK5 that is the HL-DT-ST drive) and hit 'Enter' key.
- You will get a black screen with the words "Windows is loading files..." above a grey bar at the bottom, that will eventually fill white:

- Windows will load and you will get a dialogue box titled "AI RECOVERY" saying "Are you ready to restore this image?" Click the 'OK' button.
- You will get another "AI RECOVERY" dialogue box, this time telling you "Restoring will overwrite your hard drive. Do you want to continue?" Click the 'OK' button.
- If you are using the ASUS Recovery DVDs to restore onto a new hard drive, you may get another "AI RECOVERY" dialogue box saying "Your disk layout has been changed. AI Recovery needs to partition your disk again. You will lose all the data in your disk if you continue with the data recovery operation." (Bold highlight is my own). Click the 'OK' button.
- Otherwise you will see an "AI Recovery Restore" dialogue box that says "This DVD/BD will help you recover a hidden partition. Check the AC adapter connection and do not interrupt the restoration process." This will now show a progress indicator.
- The computer will automatically eject the first DVD and prompt you to insert the second DVD, then later the third DVD.
- When that is complete, the last DVD will eject and an "AI RECOVERY" dialogue box will tell you that it has "Successfully restored the disk from the ASUS Recovery DVD/BD. Elapsed time: XX:XX:XX". Click 'OK'. (It took me 00:43:23 (43 minutes) to restore the recovery partition.)
- The computer will restart and you'll get another black "Windows is loading files..." screen.
- Windows will then start and you will get a menu screen followed by an "ASUS Preload Wizard" dialogue that asks you to select your language to continue. Pick your language and click the 'Next >' button.
- Click through the next screen.

- On the next screen you can choose which ever option you feel is best.

- Click through the next screen.

- Click 'Finish' to start the process.

- There is no further input required, so simply leave the computer alone to install Windows. You will see a series of loading screens and the computer will restart itself at least 6 times. Whatever you do, do not disturb the process. It doesn't matter if it prompts you for something or restarts on its own, it's best just to leave it alone to finish everything.
- When you see the following screen, you know the recovery process has completed successfully. Congratulations, your G75 is now back to it's factory-like condition!

In total, it took about 1.5 hours to complete: 43 minutes to recreate the recovery partition from the DVDs and another 50 minutes to restore back to factory state.
Author
Popular Posts
How to adjust your laptop's P-Cores and E-Cores for better performance and battery life
How to Cleanly Uninstall and Reinstall Armoury Crate
How to configure your PC's RGB lighting with Aura Sync
Introducing the ROG Astral GeForce RTX 5090 and 5080: a new frontier of gaming graphics
How to upgrade the SSD and reinstall Windows on your ROG Ally or Ally X
LATEST ARTICLES

Supercharge your play with the new ROG Strix SCAR 17 X3D
For the first time, we’re proud to announce that 3D V-Cache has come to an ROG laptop to create one of the most powerful gaming laptops in existence. Meet the ROG Strix SCAR 17 X3D.

ROG and ACRONYM collaborate once again to reshape the future of mobile computing
ROG and renowned technical apparel firm ACRONYM have joined forces again to leverage their design expertise for an all-new project.
RAM chips are changing. Here's how 2021 ROG laptops are affected
It takes more than a few benchmarks to tell the whole story.
ROG reveals the first 300Hz gaming laptops at IFA Berlin 2019
Our display leadership continues at IFA 2019 with demos of the fastest gaming laptop panels in the world.
New ROG Zephyrus and Strix laptops chill out in Glacier Blue
Out with the black and in with the blue. See the cool new color we're bringing to gaming laptops.
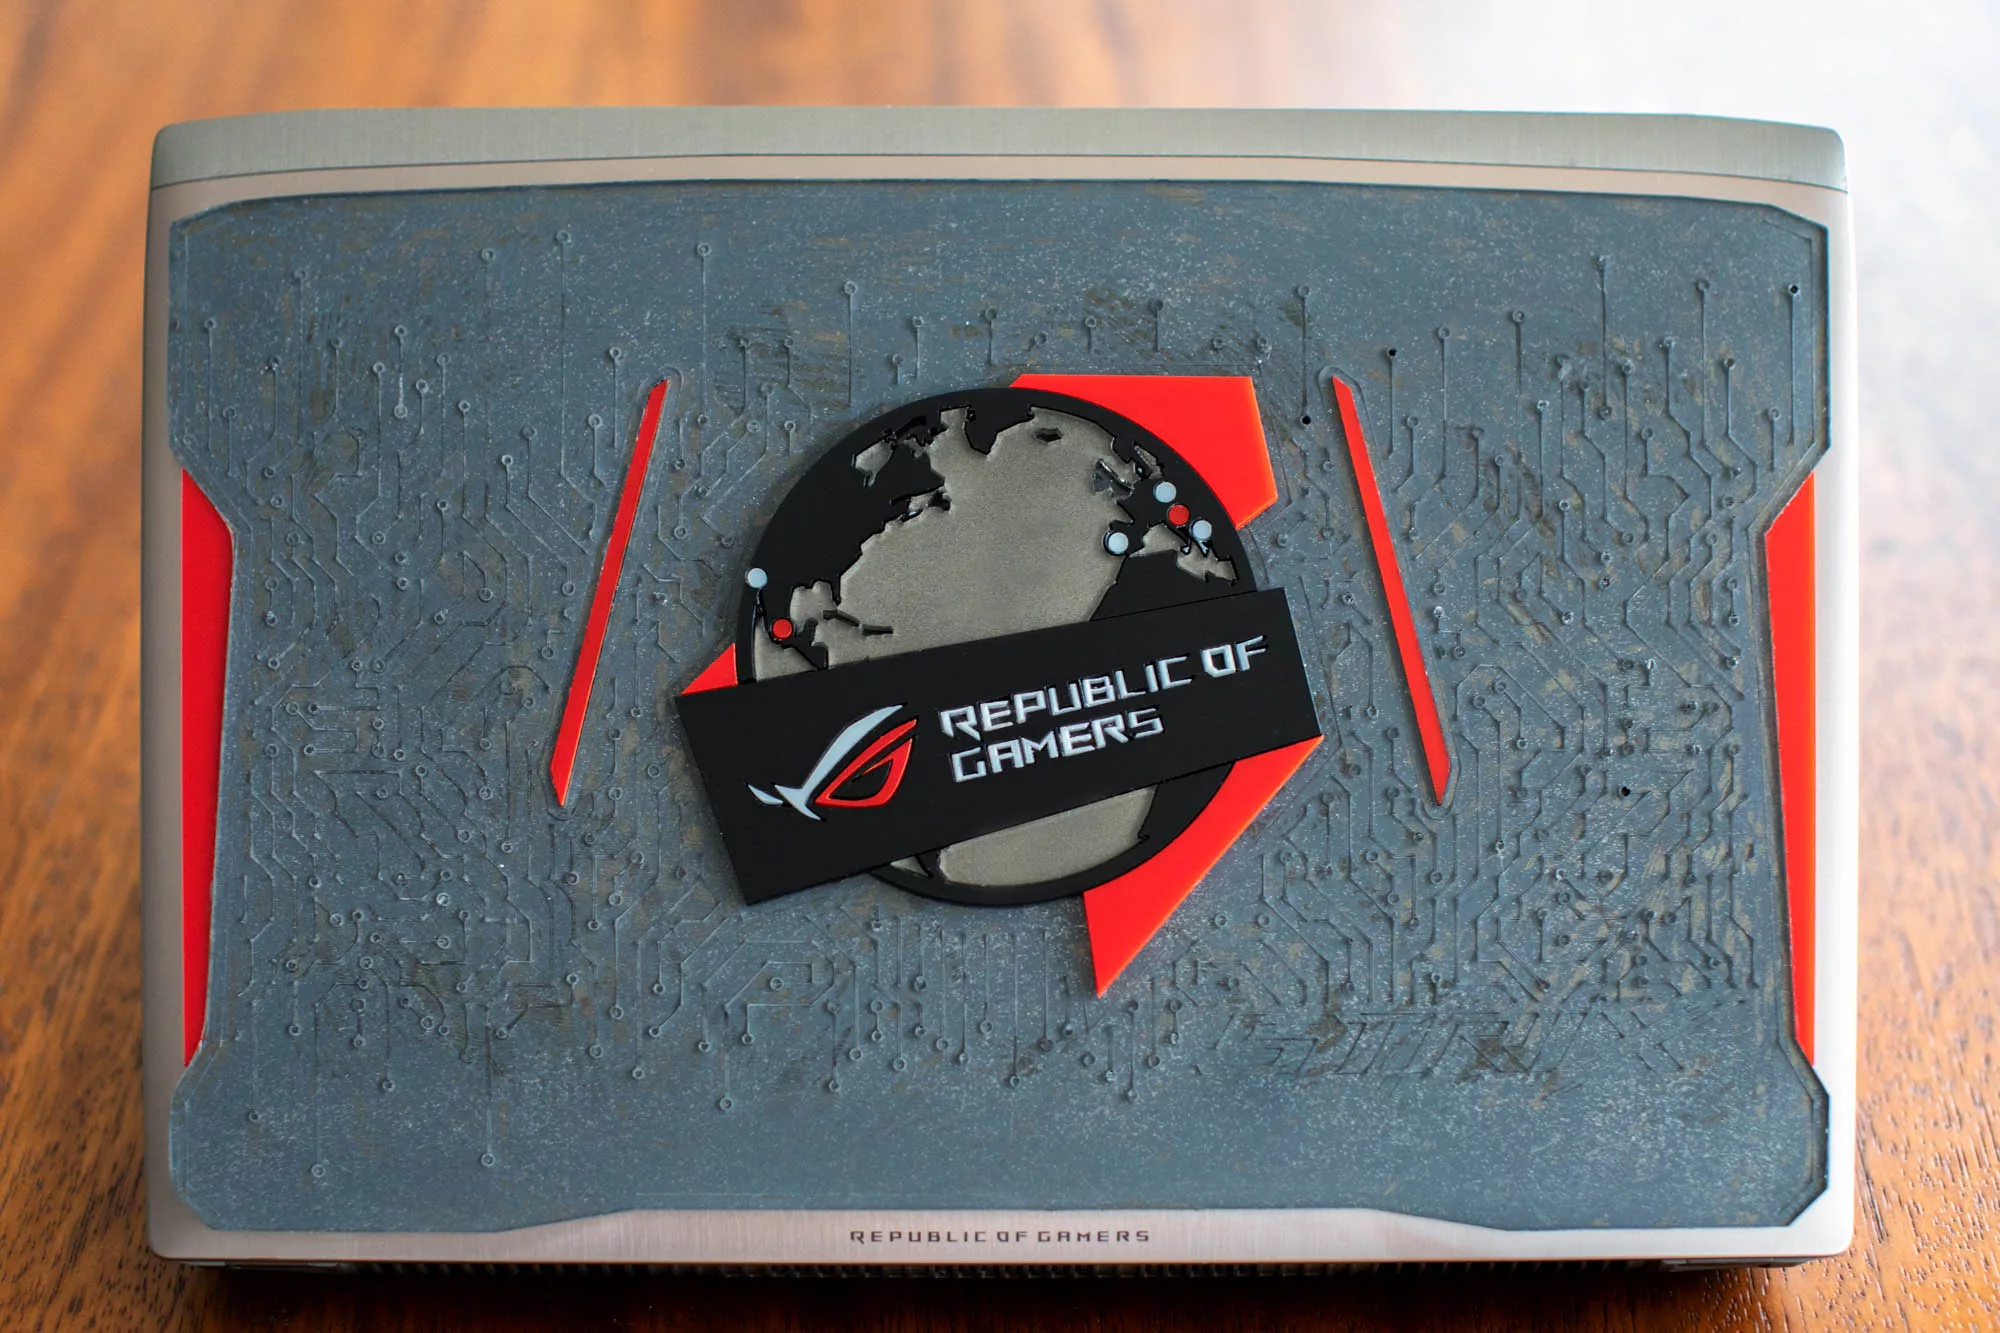
Celebrating the globetrotting ROG Strix GL502VS with Mexico’s makerspace movement
We take an inside look at Mexico's quickly growing makerspace movement, including 3D printing ROG case mods and designing our very own custom GL502VS cover.