Intel Smart Response Technology User Guide
 SSD 'Smart Response Technology' is simply using a small SSD drive to cache system data, while still having all your files actually stored on a traditional mechanical hard drive (HDD). What that means is you get the best of both worlds: speed and capacity. Great access speeds for day to day usages via the SSD as it fills with commonly used files, and the bulk storage benefits of your traditional HDD for all your applications and files.
SSDs do not suffer from the noticeably latency that hinders mechanical hard drives as any data in their NAND Flash chips can be accessed instantly. Comparatively, just think of a HDD as an old vinyl album, where the pick up arm has to physically travel to a precise point on a particular track before it can play the song.
Installing and setting up a SSD as your system cache is simple and this guide will walk you through the process in logical steps. The first couple of steps are done in the BIOS and the reminder will be completed in your Operating System. To enable Smart SSD cache will requires that the SATA controller be set to RAID mode via the system BIOS. And that you install the Intel Smart Response Technology which is an Intel Rapid Storage Technology (RST) caching feature. It allows a user to configure computer systems with an SSD used as cache memory between the hard disk drive and system memory.
System Requirements
For a system to support Intel Smart Response Technology it must have the following as a minimum requirement:
- Intel Z68, X79* and future 7 series Express Chipset-based desktop board
- LGA 1155 or LGA 2011 Intel Core Processors compatible with the above chipset.
- System UEFI BIOS with the SATA mode set to RAID
- Intel Rapid Storage Technology software 10.5 version or later
- Single hard disk drive or multiple drives in a single RAID volume
- Solid State Drive (SSD) with a minimum capacity of 18.6GB (post format)
- Operating system: Microsoft Windows* Vista 32-bit Edition and 64-bit Edition, Microsoft Windows* 7 32-bit Edition and 64-bit (here at ROG we always recommend Windows 7 64-bit given the choice)
*Requires an Intel driver update due 2012.
Part I: Configuring the UEFI BIOS
1. Press the F2 or Delete key during boot up to enter the BIOS setup menu.
2. Go to the Advanced Tab and SATA Configuration.
3. Select the setting for SATA Mode and change the value to RAID.
4. Press the F10 and select yes to save settings and restart the system.
Part 2: Operating System
5. You may now begin installation of the operating system on the drive (or RAID volume).
6. Install all required device drivers.
7. Install the Intel Rapid Storage Technology software version 10.5 or later.
Part 3: Intel RST Settings
8. Run the Intel RST software through the All Programs menu or the task bar icon.
9. Click Enable acceleration either under the Status or Accelerate menu.
10. Select the SSD to be used as a cache device.
11. Select the size from the SSD to be allocated for the cache memorybetween 18.6 and 64 GB
12. Select the drive (or RAID volume) to be accelerated. It is highly recommended to accelerate the system volume or system disk for maximum performance.
13. Select the acceleration mode. By default, Enhanced mode is selected. There are two options, Enhanced mode: Acceleration is optimized for data protection, and Maximized mode: Acceleration is optimized for input/output performance.
14. Click OK. The page refreshes and reports the new acceleration configuration in the Acceleration View.
Your system is now successfully configured with the Intel Smart Response Technology.
Author
Popular Posts
How to adjust your laptop's P-Cores and E-Cores for better performance and battery life

How to Cleanly Uninstall and Reinstall Armoury Crate
How to configure your PC's RGB lighting with Aura Sync

Introducing the ROG Astral GeForce RTX 5090 and 5080: a new frontier of gaming graphics
How to upgrade the SSD and reinstall Windows on your ROG Ally or Ally X
LATEST ARTICLES
ROG Strix vs Extreme vs Apex vs Hero: What's the difference between ROG gaming motherboards?
When we launch a new generation of motherboards, we don’t just design one model and expect it to meet everyone’s needs. We give you a broad range of options from our ROG Maximus, Crosshair, and Strix lineups so that you can find the board for your next build.
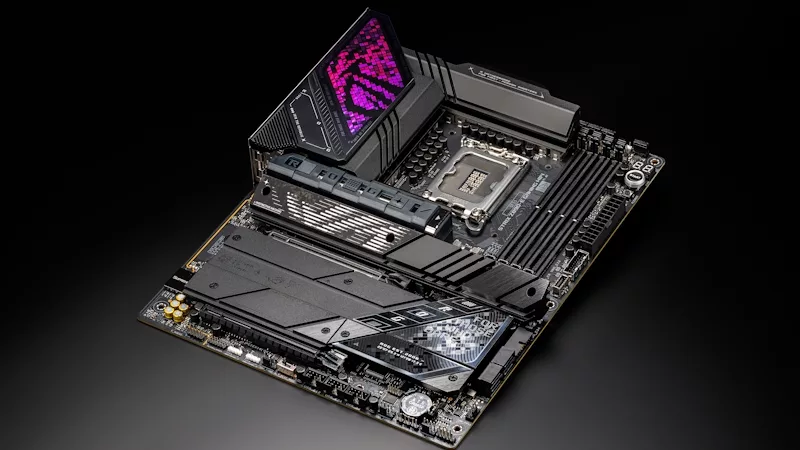
Install up to seven M.2 SSDs on one motherboard with new ROG M.2 PowerBoost tech
Here's how ROG M.2 PowerBoost allows you to install more M.2 drives in one system while enjoying more stable performance.
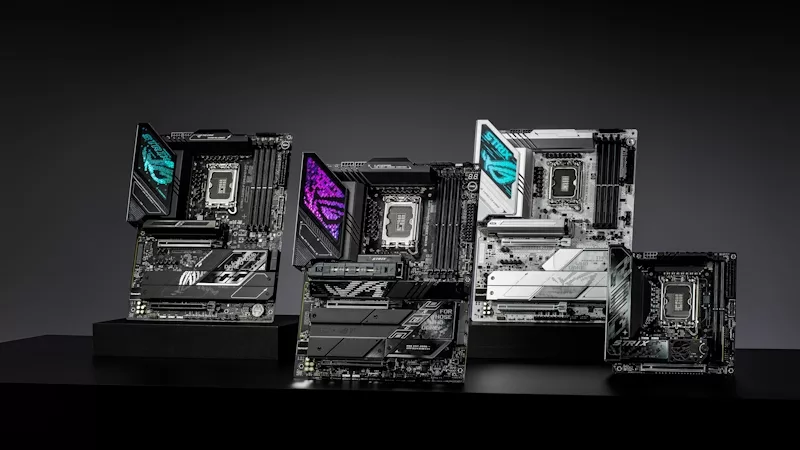
ROG Z890 motherboard guide: meet the new contenders for your next gaming rig
New ROG Maximus and ROG Strix Z890 motherboards stand ready for your Intel Core Ultra (Series 2) CPU.

New Z790 motherboards from ROG pave the way for 14th Gen Intel Core CPUs
WiFi 7 support, more fast storage, front-panel device charging, intelligent controls — our latest Z790 motherboards have it all.
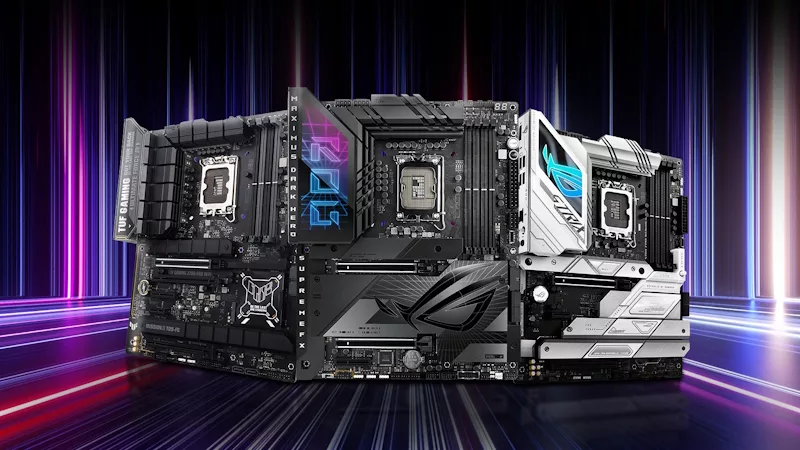
New Z790 motherboards from ROG pave the way for next-gen Intel Core CPUs
WiFi 7 support, more fast storage, front-panel device charging, intelligent controls — our latest Z790 motherboards have it all.
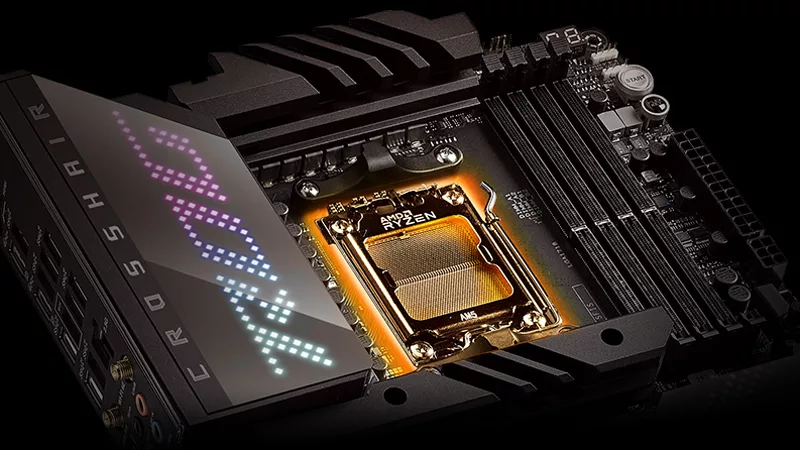
The best motherboards for a Ryzen 9 7950X3D CPU from ROG and TUF Gaming
AMD has released two new processors with 3D V-Cache technology: the Ryzen 9 7950X3D and the Ryzen 9 7900X3D. ROG and TUF Gaming X670 motherboards will provide a rock-solid foundation for these new top-tier chips.


