Rampage IV UEFI Boot Installation Guide On Windows 7 or 8
UEFI installation is primarily needed for two things. The first is getting TRIM to work under RAID using the original, unmodified ASUS UEFI BIOS (i.e. without a patched OROM) as BIOS version 3404 on the Rampage IV series has the Intel UEFI driver. The second reason is speeding up Windows boot as only with a UEFI installation you can completely disable CSM (compatibility support module).
1. What is the 'UEFI Mode'?
The UEFI specification defines a "boot manager" as a 'firmware policy engine' that is in charge of loading the OS loader and all necessary drivers. The boot configuration is controlled by a set of global NVRAM variables, including boot variables that indicate the paths to the loaders.
OS loaders are a class of UEFI applications. As such, they are stored as files on a file system that can be accessed by the firmware. Supported partition table schemes include MBR and GPT. Note that UEFI does not rely on a boot sector.
Boot loaders can also be auto-detected by firmware, to enable booting on removable devices. Auto- detection relies on a standardized file path to the OS loader, depending on the actual architecture to boot (\EFI\BOOT\BOOT[architecture name]. EFI, e.g. \EFI\BOOT\BOOTx64.EFI).
It is common for UEFI firmware to include a user interface to the boot manager, to allow the user to select and load the operating system among the possible options. In the Rampage IV BIOS it's as shown below:
"Windows Boot Manager" is the boot manager that comes with Windows when it is installed in UEFI mode. This Boot Manager is accessible and viewable in the UEFI menu and at F8 Boot options.
2. What is Secure Boot?
The UEFI 2.2 specification adds a protocol known as Secure boot, which can secure the boot process by preventing the loading of drivers or OS loaders that are not signed with an acceptable digital signature.
When secure boot is enabled, it is initially placed in "Setup" mode, which allows a public key known as the "Platform key" (PK) to be written to the firmware. Once the key is written, secure boot enters "User" mode, where only drivers and loaders signed with the platform key can be loaded by the firmware.
Additional "Key Exchange Keys" (KEK) can be added to a database stored in memory to allow other certificates to be used, but they must still have a connection to the private portion of the Platform key.
Secure boot can also be placed in "Custom" mode, where additional public keys can be added to the system that do not match the private key.
ASUS UEFI has two settings:
- "Windows UEFI": This setting turns Secure Boot on. This opens a sub-menu that allows "Custom" mode as described above.
- "Other OS": This setting turns it off and contrary to what the name suggests this is what you should set if you use or plan to use Windows in UEFI mode and don't want Secure Boot.
3. UEFI Mode Requirements
Windows installation in UEFI mode has four basic requirements:
- A UEFI enabled platform (the Rampage IV motherboards in this case.)
- A x64 Operating System that supports it (Windows 8 or 7 in this case.)
- Installing to GPT partitioned disk or RAID array that includes an "EFI System Partition" or ESP for short.
- Booting the installation media in UEFI mode:
(See the the DVD drive in the screenshot has 2 entries, one starting with "UEFI:" and one with "P3:". Both of these are the same drive. The difference is the option with the UEFI prefix "UEFI:" boots in UEFI mode. Which means that it starts a UEFI bootloader. If a UEFI Bootloader is not present on the disk/flash drive, then this option will not be available.)
4. What is CSM and how UEFI Drivers and Legacy Option ROMs interface with the UEFI.
Wiki on CSM: Compatibility Support Mode
The CSM provides additional functionality to UEFI. This additional functionality permits the loading of a traditional OS or the use of a traditional OpROM. The CSM operates in two distinct environments:
Booting a traditional or non-EFI-aware OS. Loading a UEFI-aware OS a device that is controlled by a traditional Option ROM.
The first operation, booting a traditional or non-EFI-aware OS, is the traditional environment. It is expected that traditional OpROMs will be around long after traditional OSs have been replaced by EFI-aware OSs. The code that is required to load a UEFI-aware OS is a subset of the code that is required to boot a traditional (non-EFI-aware) OS.
To make things simple, a device ideally (eg the onboard RAID controller) has a native UEFI driver but for compatibility with an older/non-UEFI aware operating system, the CSM allows the loading of the old style PCI Option ROMs we are all familiar with. You need either one or the other. If you load a UEFI driver, the legacy PCI Option ROM is not used. The CSM also allows you to boot operating systems that have no idea what UEFI is.
The ASUS UEFI has these options for CSM:
- "Auto" (Self Explanatory).
- "Enabled" (This allows you to manually set priorities for different types of devices eg "UEFI first" means that if both are available, the UEFI driver will be chosen.)
- "Disabled" This disables CSM entirely with all its functions and runs in UEFI-only mode. This option boots a lot faster because it doesn't load or wait for any legacy components. If your graphics cards and any other expansion cards etc fully support UEFI, you can just turn it off (this is how I set it).
5. Setting up RAID and preparing for installation
Suggested installation UEFI options (for the reasons explained above):
- Secure Boot: Other OS
- CSM: As shown in the screenshot above.
RAID arrays can be set up either via the normal Intel Matrix utility prior to switching everything to "UEFI first" or disabling CSM, or they can be set up afterwards from inside the UEFI.
If you want to have native TRIM under RAID (that means without my BIOS patch), then the only thing you have to do is that you follow this guide to install in UEFI mode. It doesn't matter which method you use to create the array or if you have an existing array.
6. Pros and Cons
As with everything, there are pros and cons to this method of installation.
Pros:
- Native UEFI installation offers very fast boot up times and better integration with the hardware.
- UEFI is the future. It is what will be supported in the long run. Legacy BIOS' will eventually become entirely phased out.
- GPT partitions do not have the size limitations of their older MBR based counterparts.
- GPT and UEFI are the future!
Cons:
- Many backup and recovery utilities do not properly support GPT or do not properly support it under RAID configurations. There are working solutions though.
7. Installing Windows 7/8 in UEFI Mode?
I will be using screenshots from Windows 8, but the important parts shown here are the same for Windows 7 as well.
1) Boot your installation media with the "UEFI:" prefixed option of your drive as described above. The operating system will load and you'll come to this screen:
Set your locale settings and proceed as usual until you come to the partitioning screen:
At this point if you are using a RAID array you need to click "Load Driver" and provide the F6 Intel RAID RST driver (11.6+) in a FAT32 formatted USB flash drive (or a USB floppy drive if you still have one of those).
2) If your disk or RAID array is new and had no other operating system on it, it will show up as unallocated space, like the screenshot above. If partitions do exist, delete them all until it shows as unallocated space. Now press "New" and select the maximum space (or as much as you like) and hit apply. You will see this window:
Press OK. If all is correct then Windows will automatically partition the drive/array to GPT and you will see this partition structure:
If it is not as above then something is wrong with the partition table and you should skip to step 3. Otherwise you are done. Press next and Windows will start installing:
3) (Troubleshooting Step) There are many ways to troubleshoot and do things manually if Windows installer won't make GPT automatically but the easiest, hassle free procedure is this:
Press Shift-F10 and a command prompt window will open:
Enter these commands as shown in the screenshot:
- "diskpart"
- "list disk"
Find the drive/array you are installing to. If you only have 1 drive/array then it will always be Disk 0. If you are unsure, STOP, shutdown, disconnect all drives but the one you want to install to and try again. If you select the wrong drive you WILL LOSE EVERYTHING IN IT.
Assuming that the drive is disk 0, type in the rest of the commands:
- "select disk 0"
- "clean"
Now close the window and reboot to restart the installation. This time your drive/array will show as unallocated and step B will work properly.
8. GPT Tool
(to be continued soon)
For any further questions, drop them in our ROG forum thread.
Author
Popular Posts
How to adjust your laptop's P-Cores and E-Cores for better performance and battery life
How to Cleanly Uninstall and Reinstall Armoury Crate
How to configure your PC's RGB lighting with Aura Sync
How to upgrade the SSD and reinstall Windows on your ROG Ally or Ally X
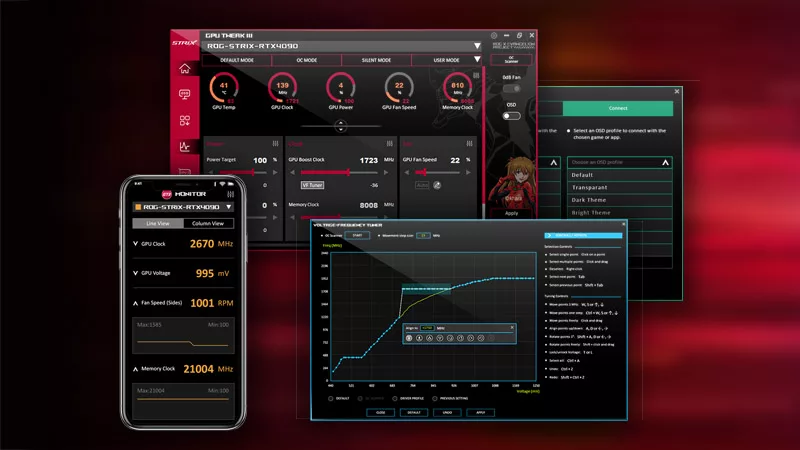
ASUS GPU Tweak III: The ultimate tool for advanced GPU tuning
LATEST ARTICLES

Hands-on: The ROG Raikiri Pro took my couch gaming to the next level
I've been a diehard PC gamer all my life, but I often play on the couch. The ROG Raikiri Pro has improved my living room PC gaming immeasurably thanks to a few useful features and loads of customizability.
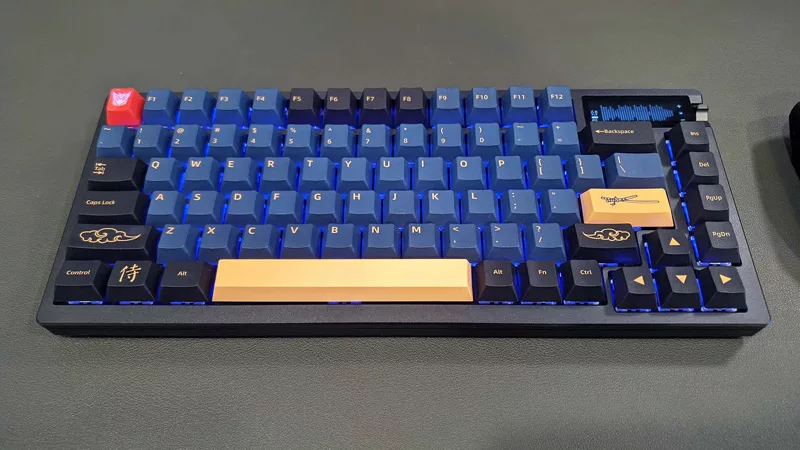
Hands-on: The ROG Azoth became the canvas for the keyboard of my dreams
Ever since I bought my first mechanical keyboard, I’ve been on a mission to mod and upgrade, mod and upgrade. But I think the ROG Azoth may actually be my endgame.
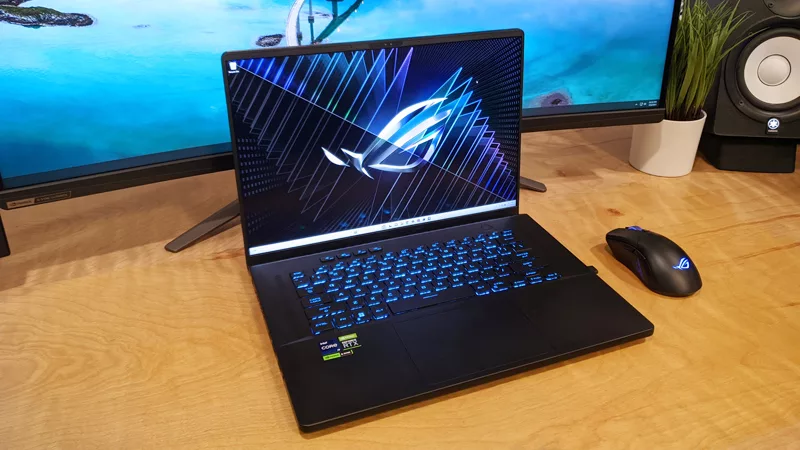
The Zephyrus M16 blends outstanding HDR gaming performance with undeniable luxury
The new ROG Zephyrus M16, with its Nebula HDR display, is like bringing a high-end home theater gaming setup with you wherever you go.
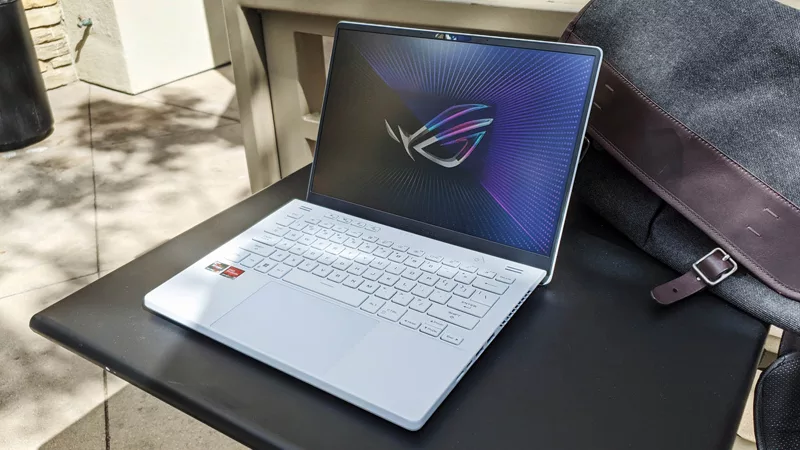
Radeon graphics and a stellar new display reinvigorate 2022 ROG Zephyrus G14
For a long time, I had to choose between underpowered ultraportable laptop and large laptops capable of gaming. But the ROG Zephyrus G14 puts admirable gaming chops into an ultra portable machine that travels anywhere.
Ready to rumble out of the box: Hands-on with the ROG Strix SCAR 15
Living on the move or in a smaller space isn't a roadblock to high-end gaming. The ROG Strix SCAR makes portable powerful.
The ROG Zephyrus S17 is an outstanding mixture of power and portability
The S17 has it all: top-tier hardware in a slim package with all the bells and whistles.


