Upgrade Guide: ROG Strix GL702
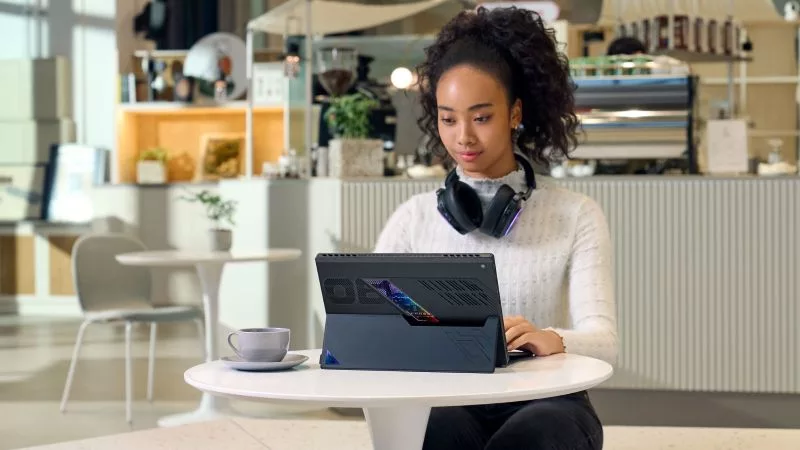
While the 15-inch ROG Strix GL502 was created to be a perfect balance between power and portability, the definition of perfect depends on who you're talking to, especially if you can hold a basketball in one hand like I would a tennis ball and my neck hurts just from having a conversation with you (btw no, I'm not that short). ROG Strix GL702VM here is the big brother with a larger 17-inch display, but otherwise the same configuration inside as a GL502VM.
Many people who need to carry their laptops around all day would instantly dismiss something like this (particularly gaming laptops) when they hear 17", you'll be glad to know this is just 0.5mm thicker and 0.5kg heavier than the compact GL502!

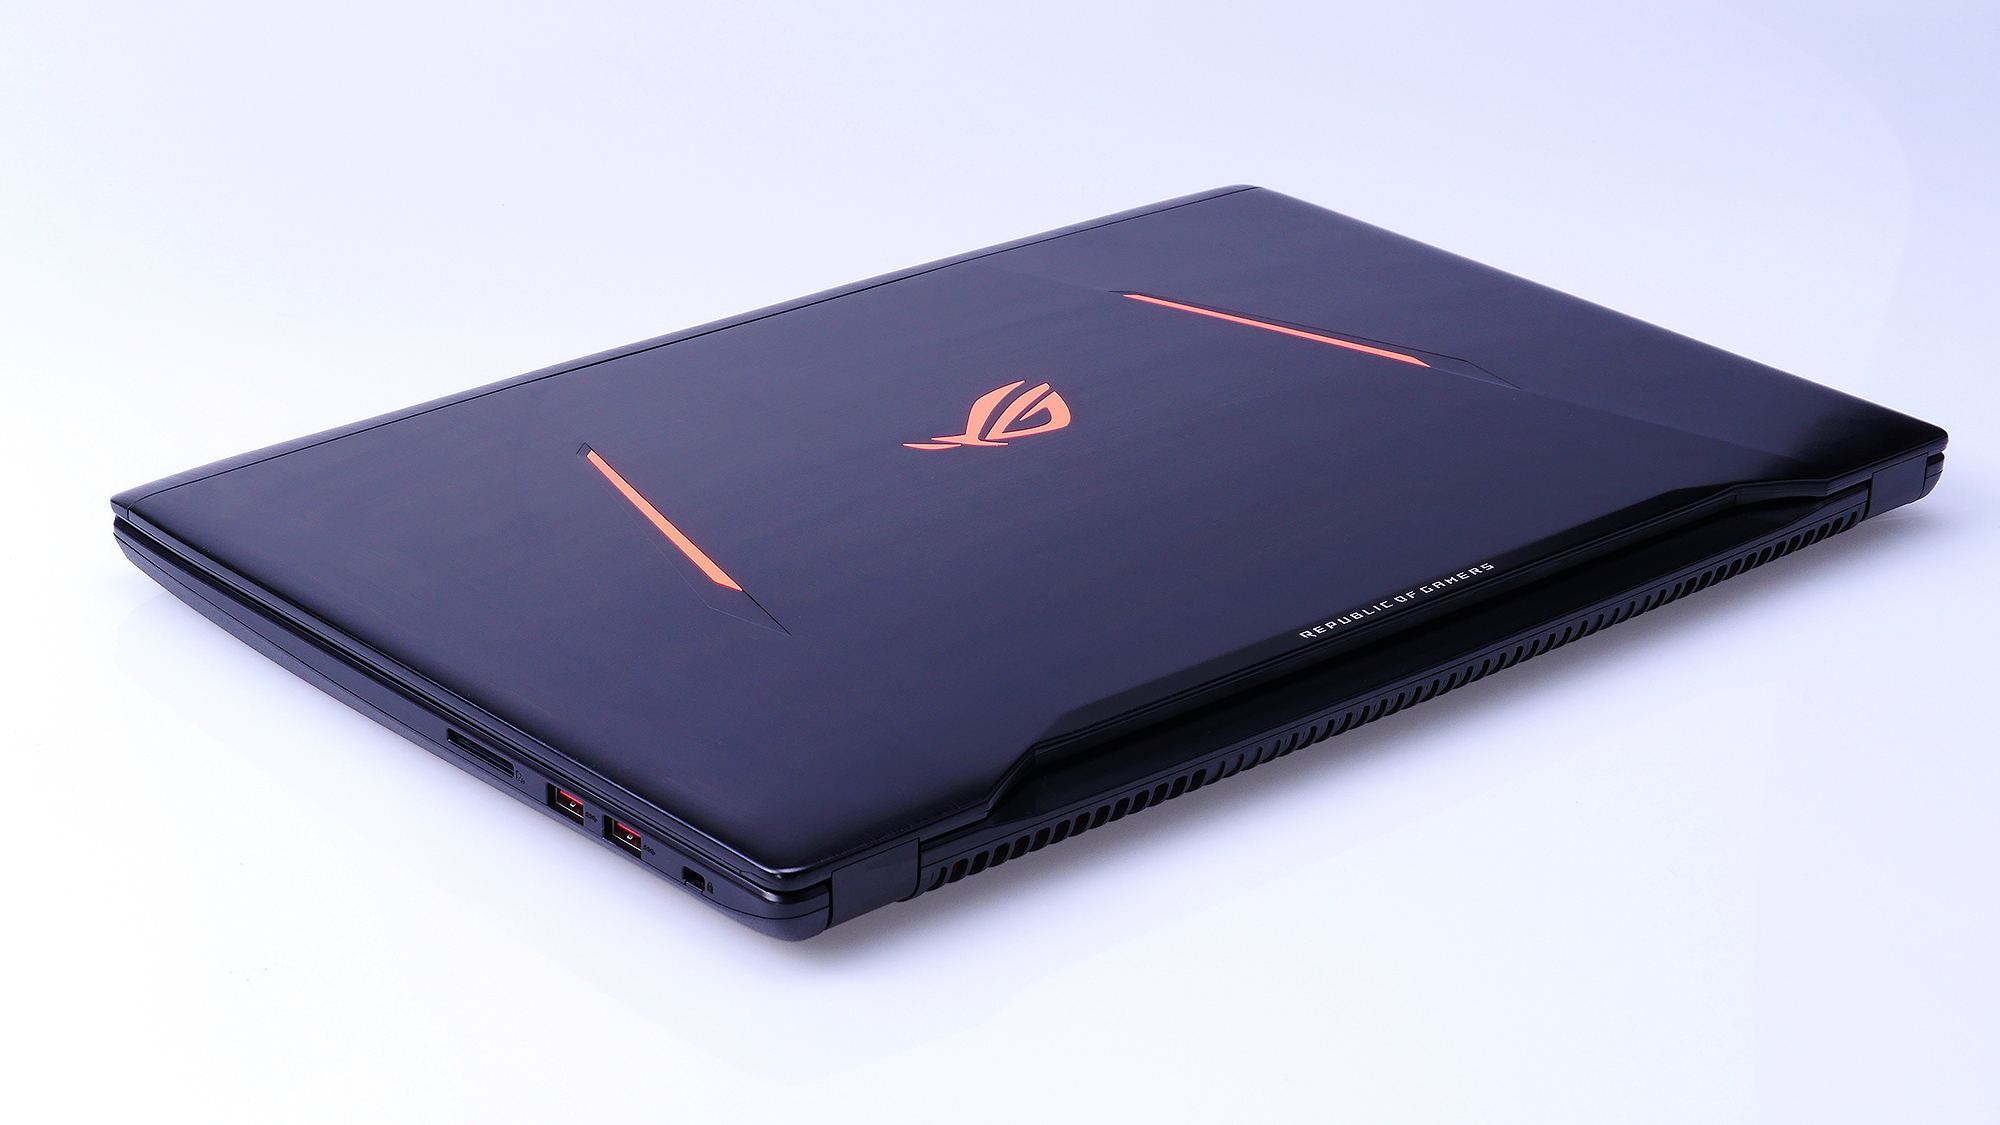
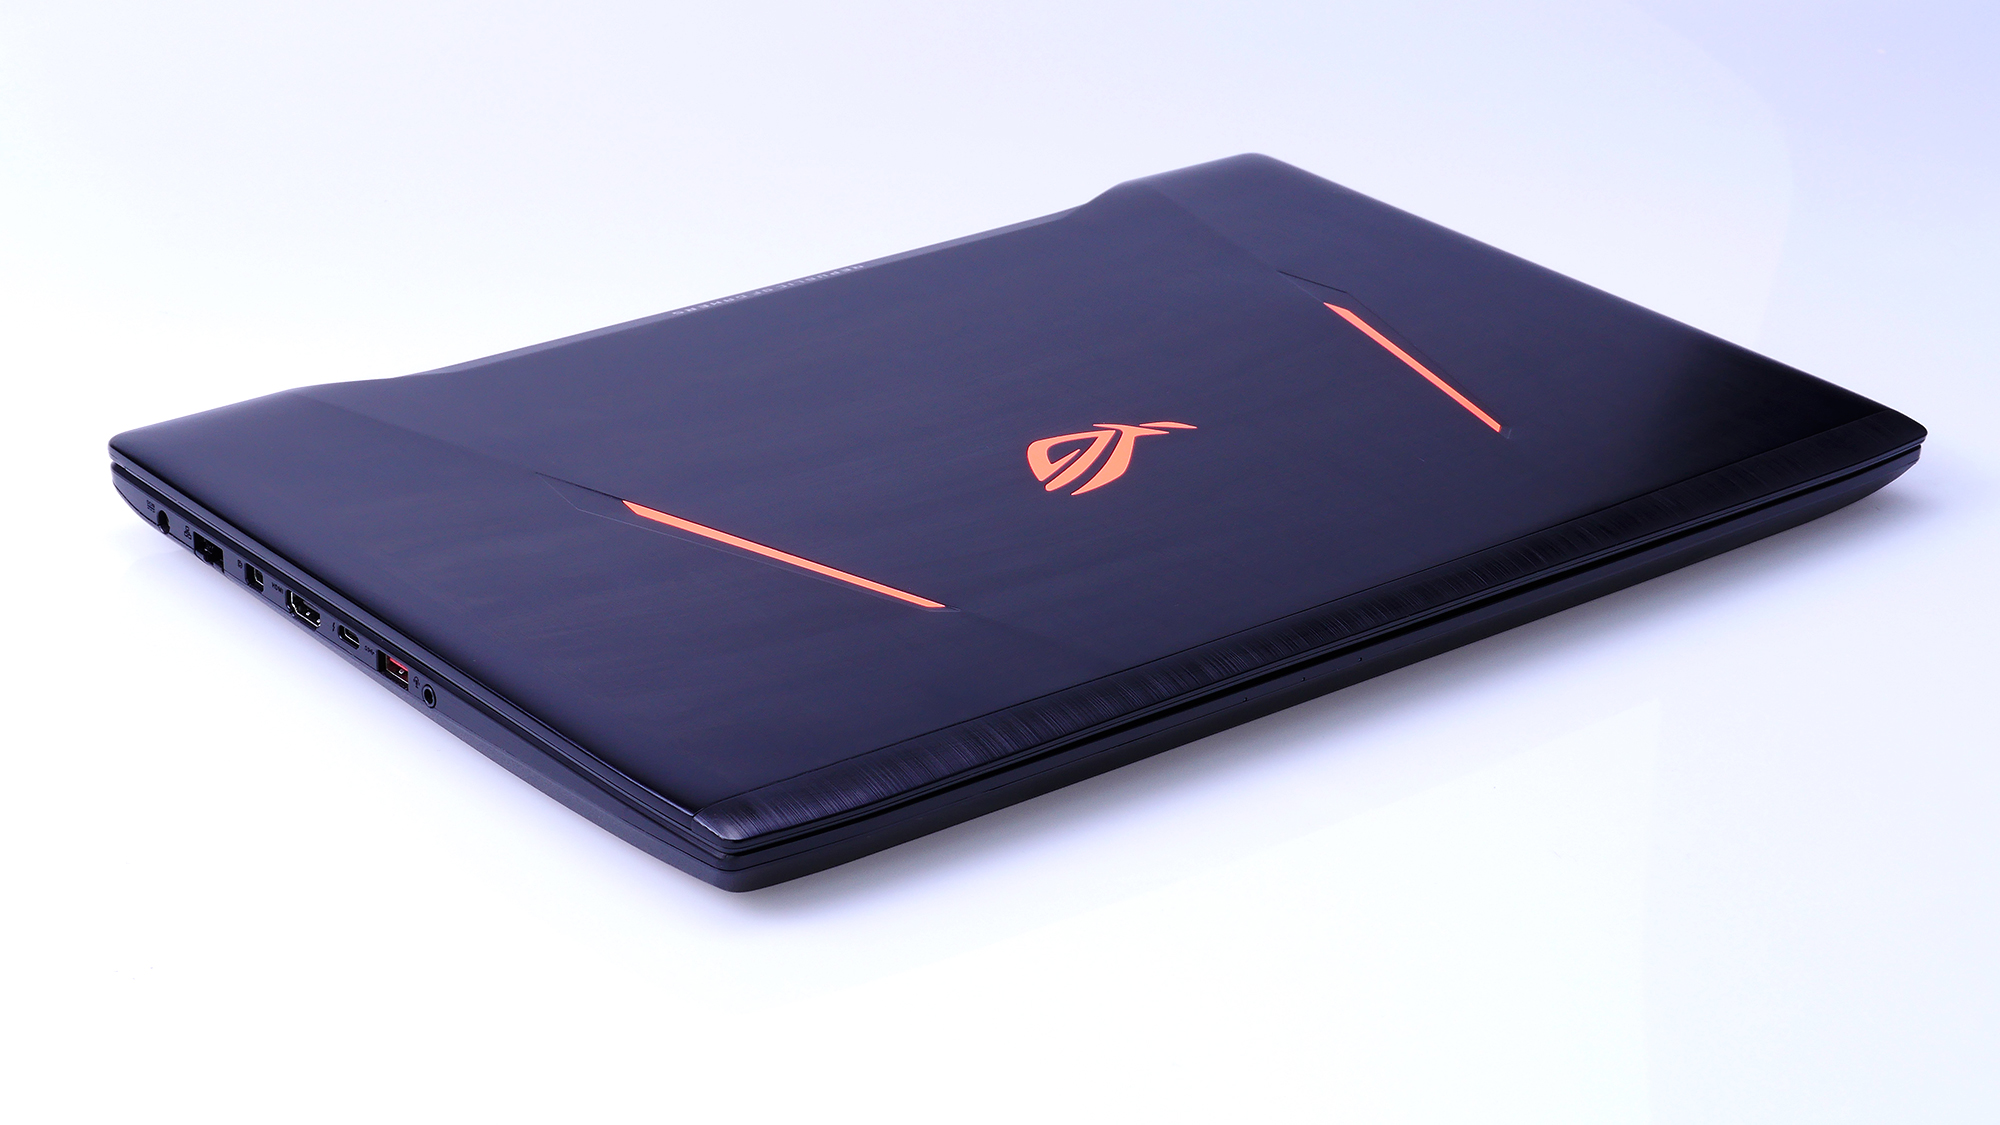
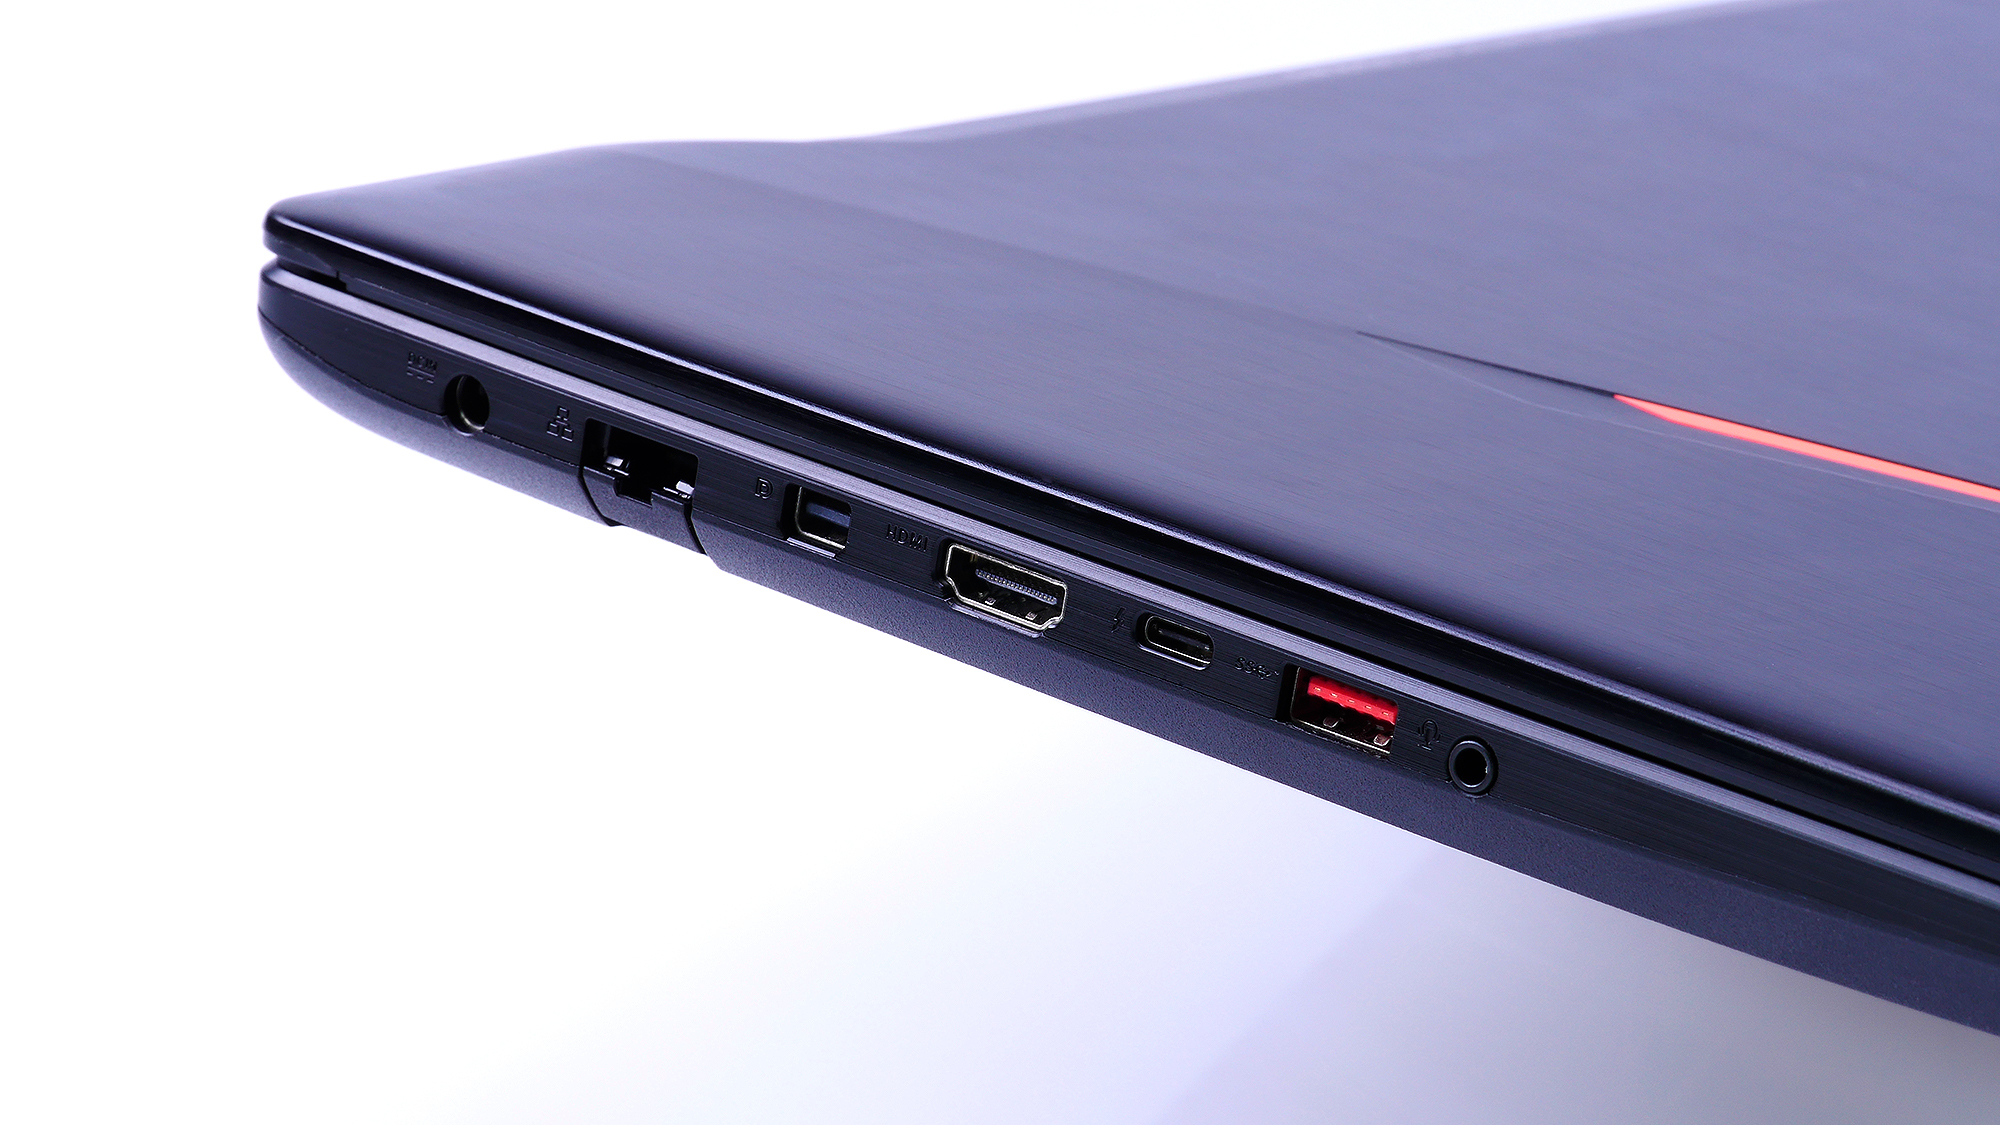
Despite the compact size and light weight, you can configure this with up to an Intel Core i7-6700HQ processor, 32GB of DDR4 memory and the power of a GTX 1060 with 6GB of GDDR5 will let you play VR (virtual reality) games properly on a laptop. The best thing about bigger laptops is the upgradability and connectivity, on the right of the laptop you'll find two USB 3.0 ports, an SD card reader and the Kensington lock, on the left you'll find the earphone jack, another USB 3.0 port, USB 3.1 Type-C/Thunderbolt 3 port, HDMI port, mini DisplayPort, LAN and power.

Depending what configuration you get, you may be able to upgrade a few things, let's begin by taking off the back cover. You can do this by removing the ten screws shown below.
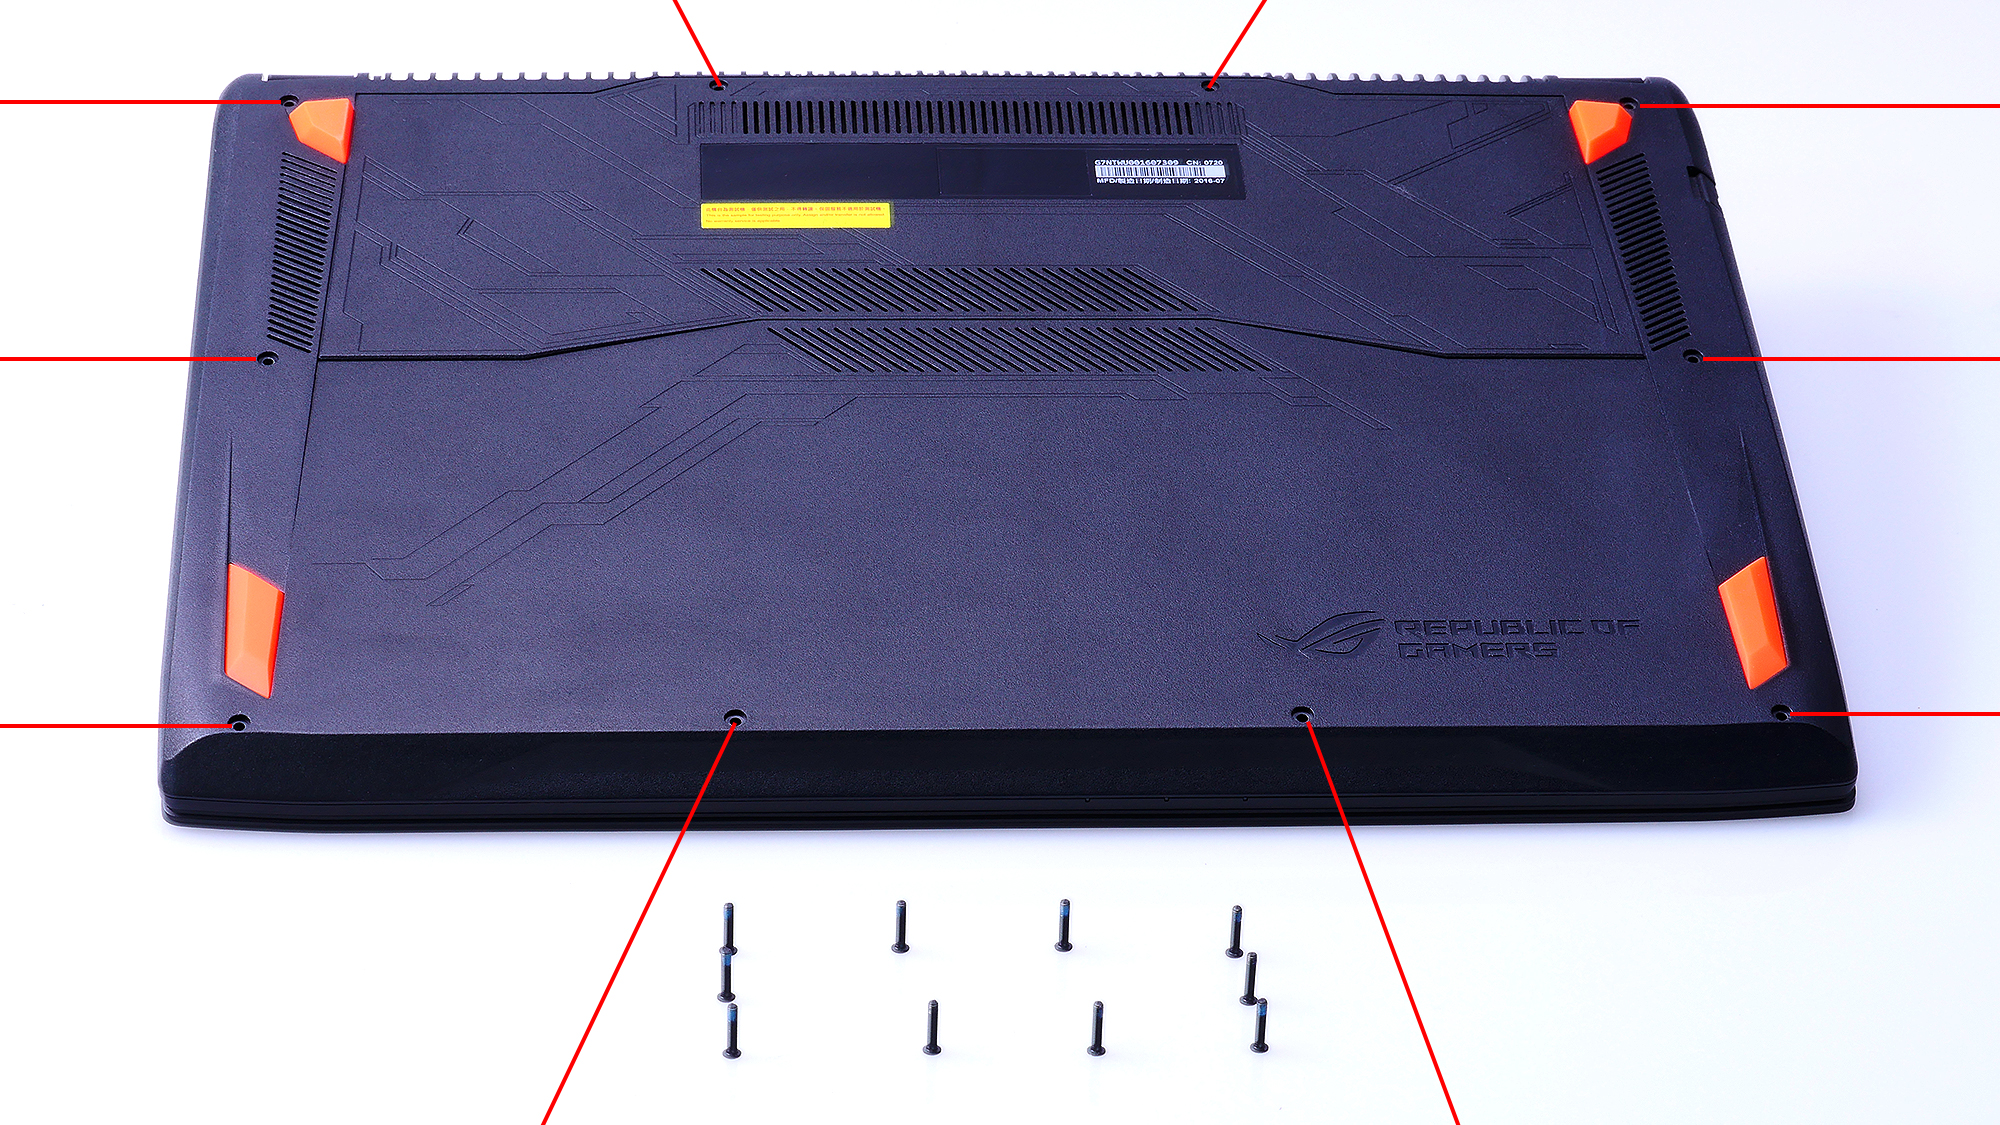

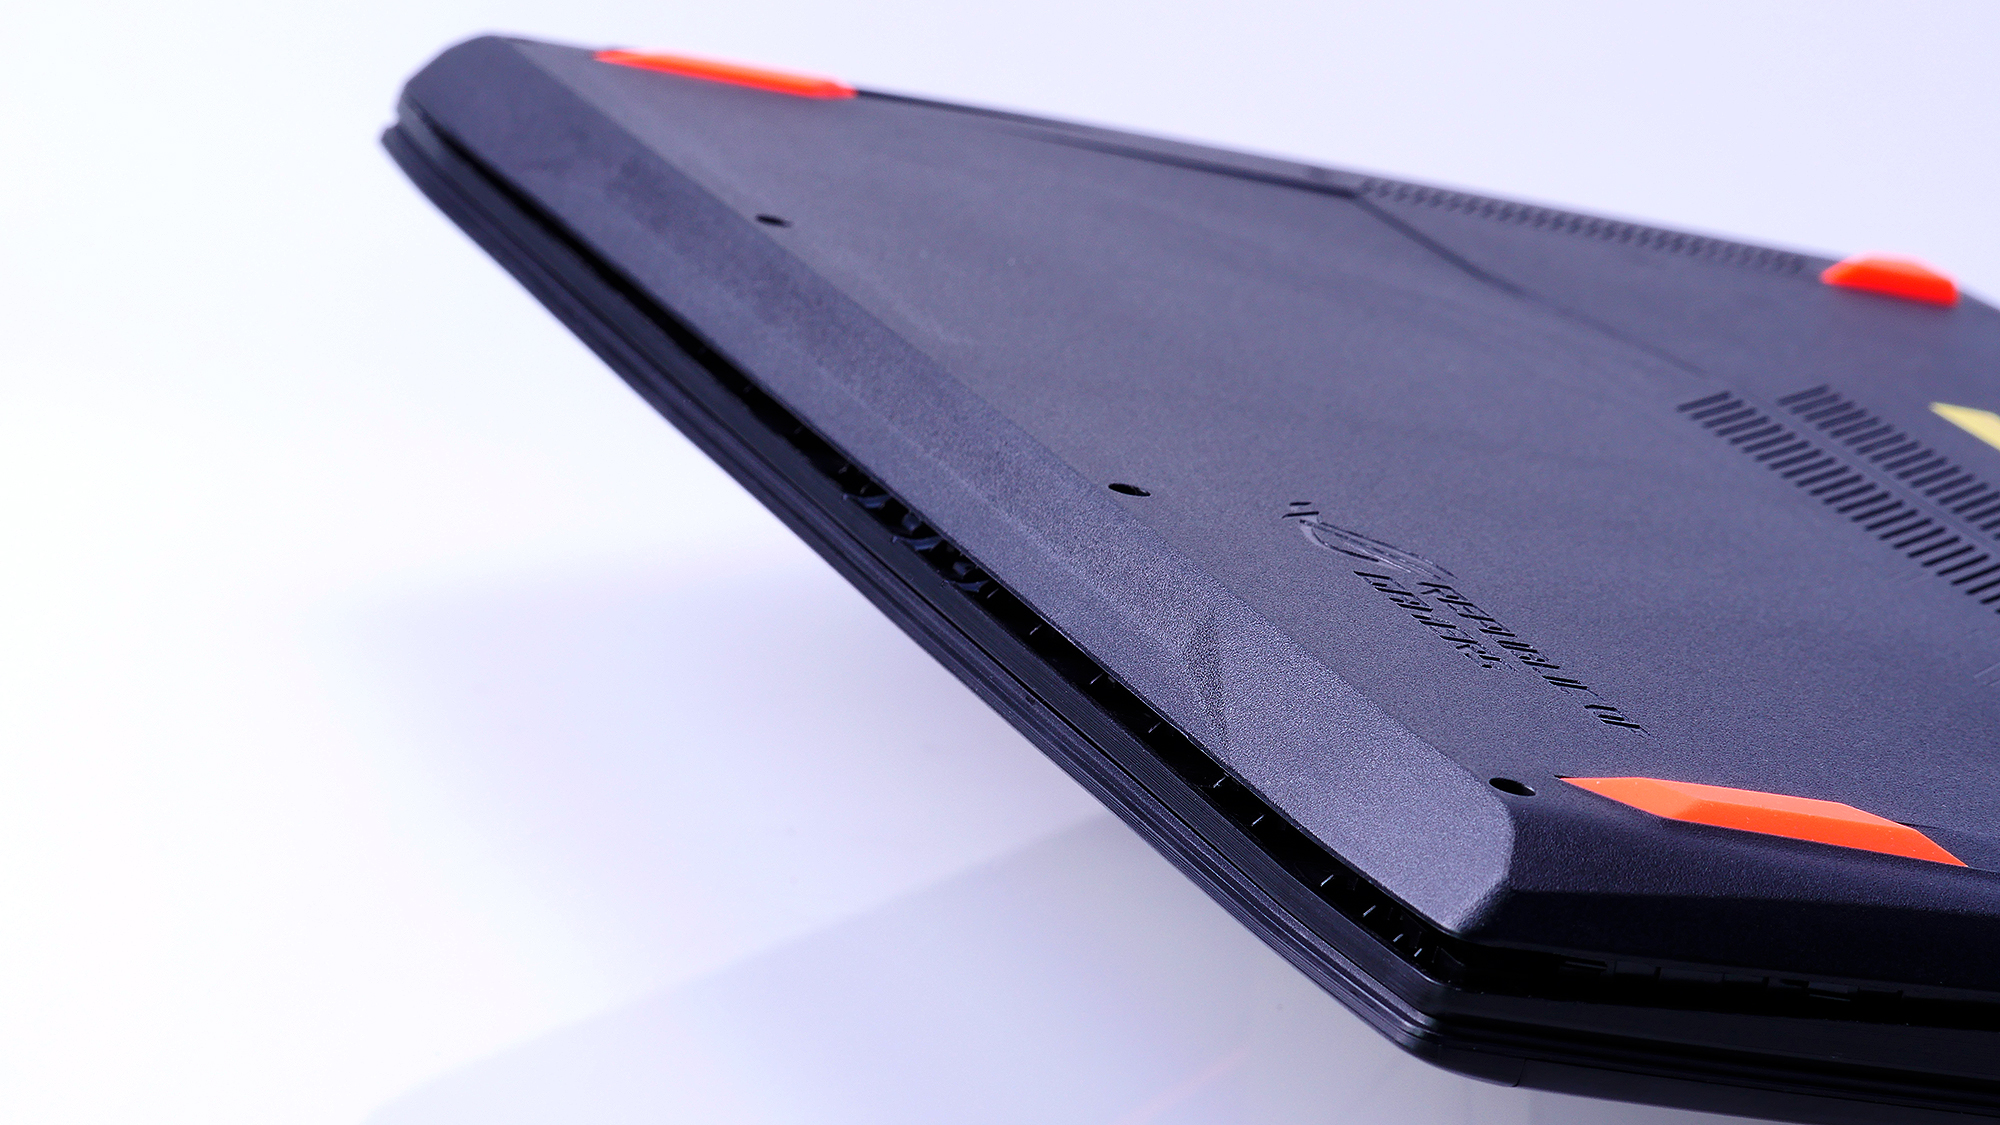
Once you remove the screws, the back cover will still not come off because ROG wanted all the edges to be secured tightly for this large and thin chassis (much like how many smartphones are constructed). What you need to do is dig your fingers into the gap (please don't use a screwdriver!) and carefully open it gradually from one corner to the next, as there are several clips on every side, you need to do this all the way round.
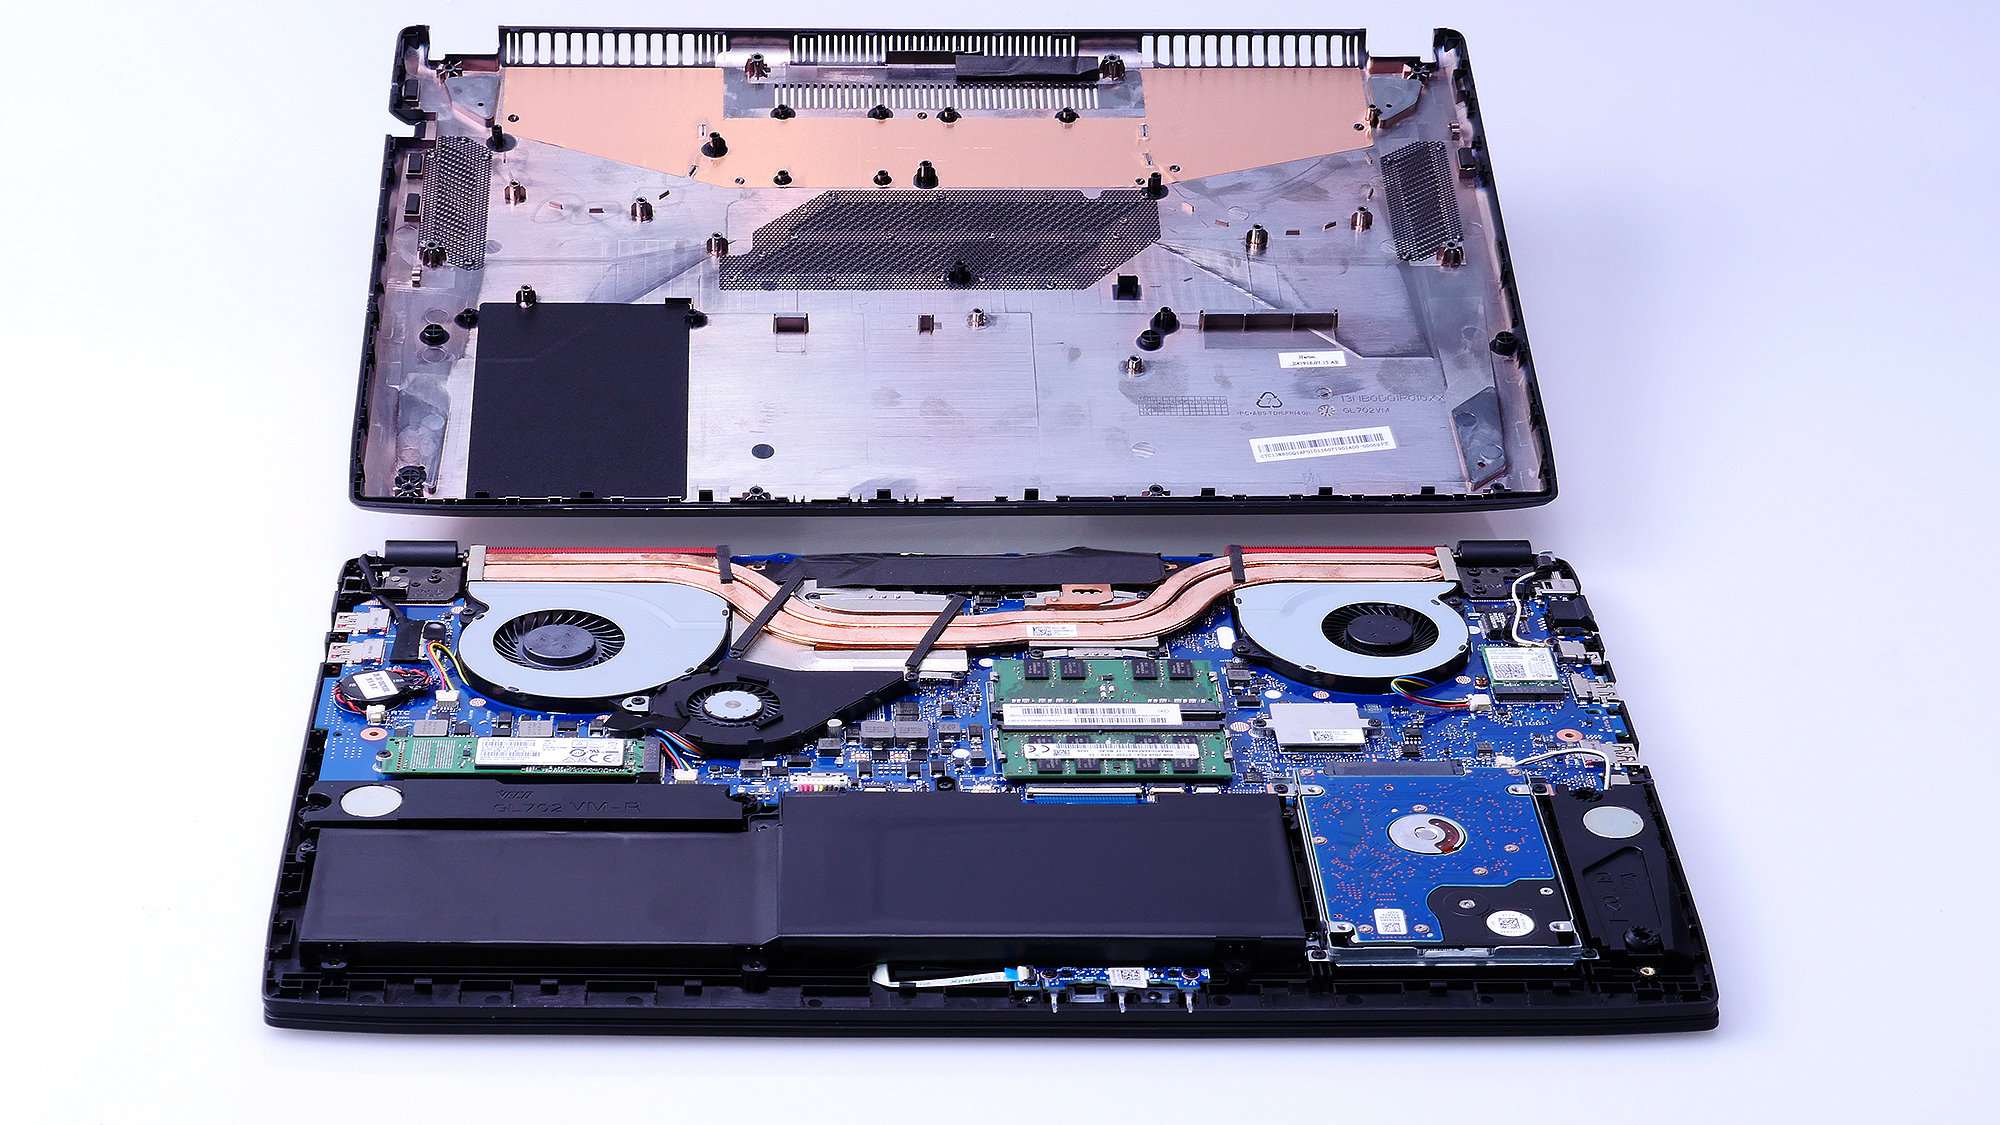
The most noticeable thing you will see is the 3-fan cooling unit for the processor and GPU, which is an upgrade over the GL502.
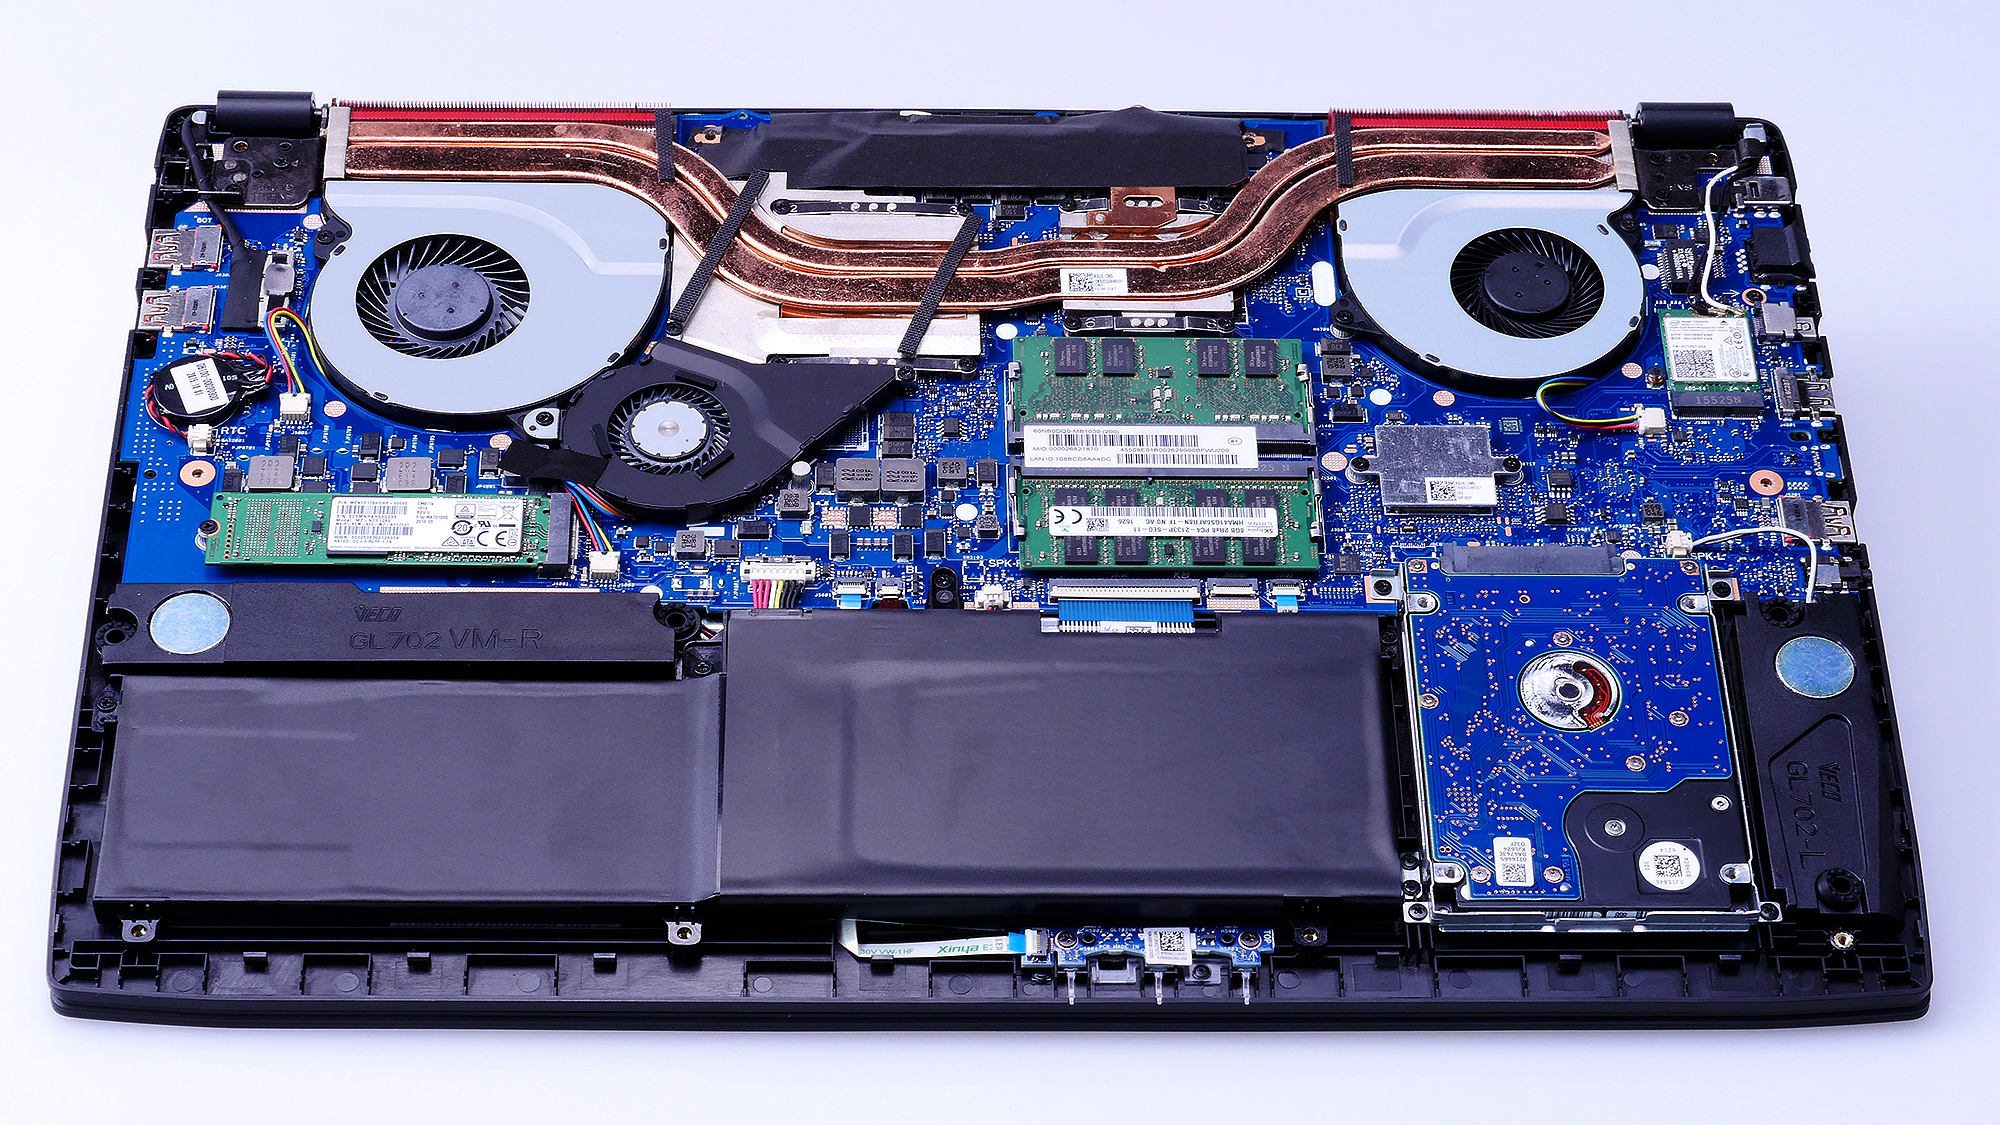

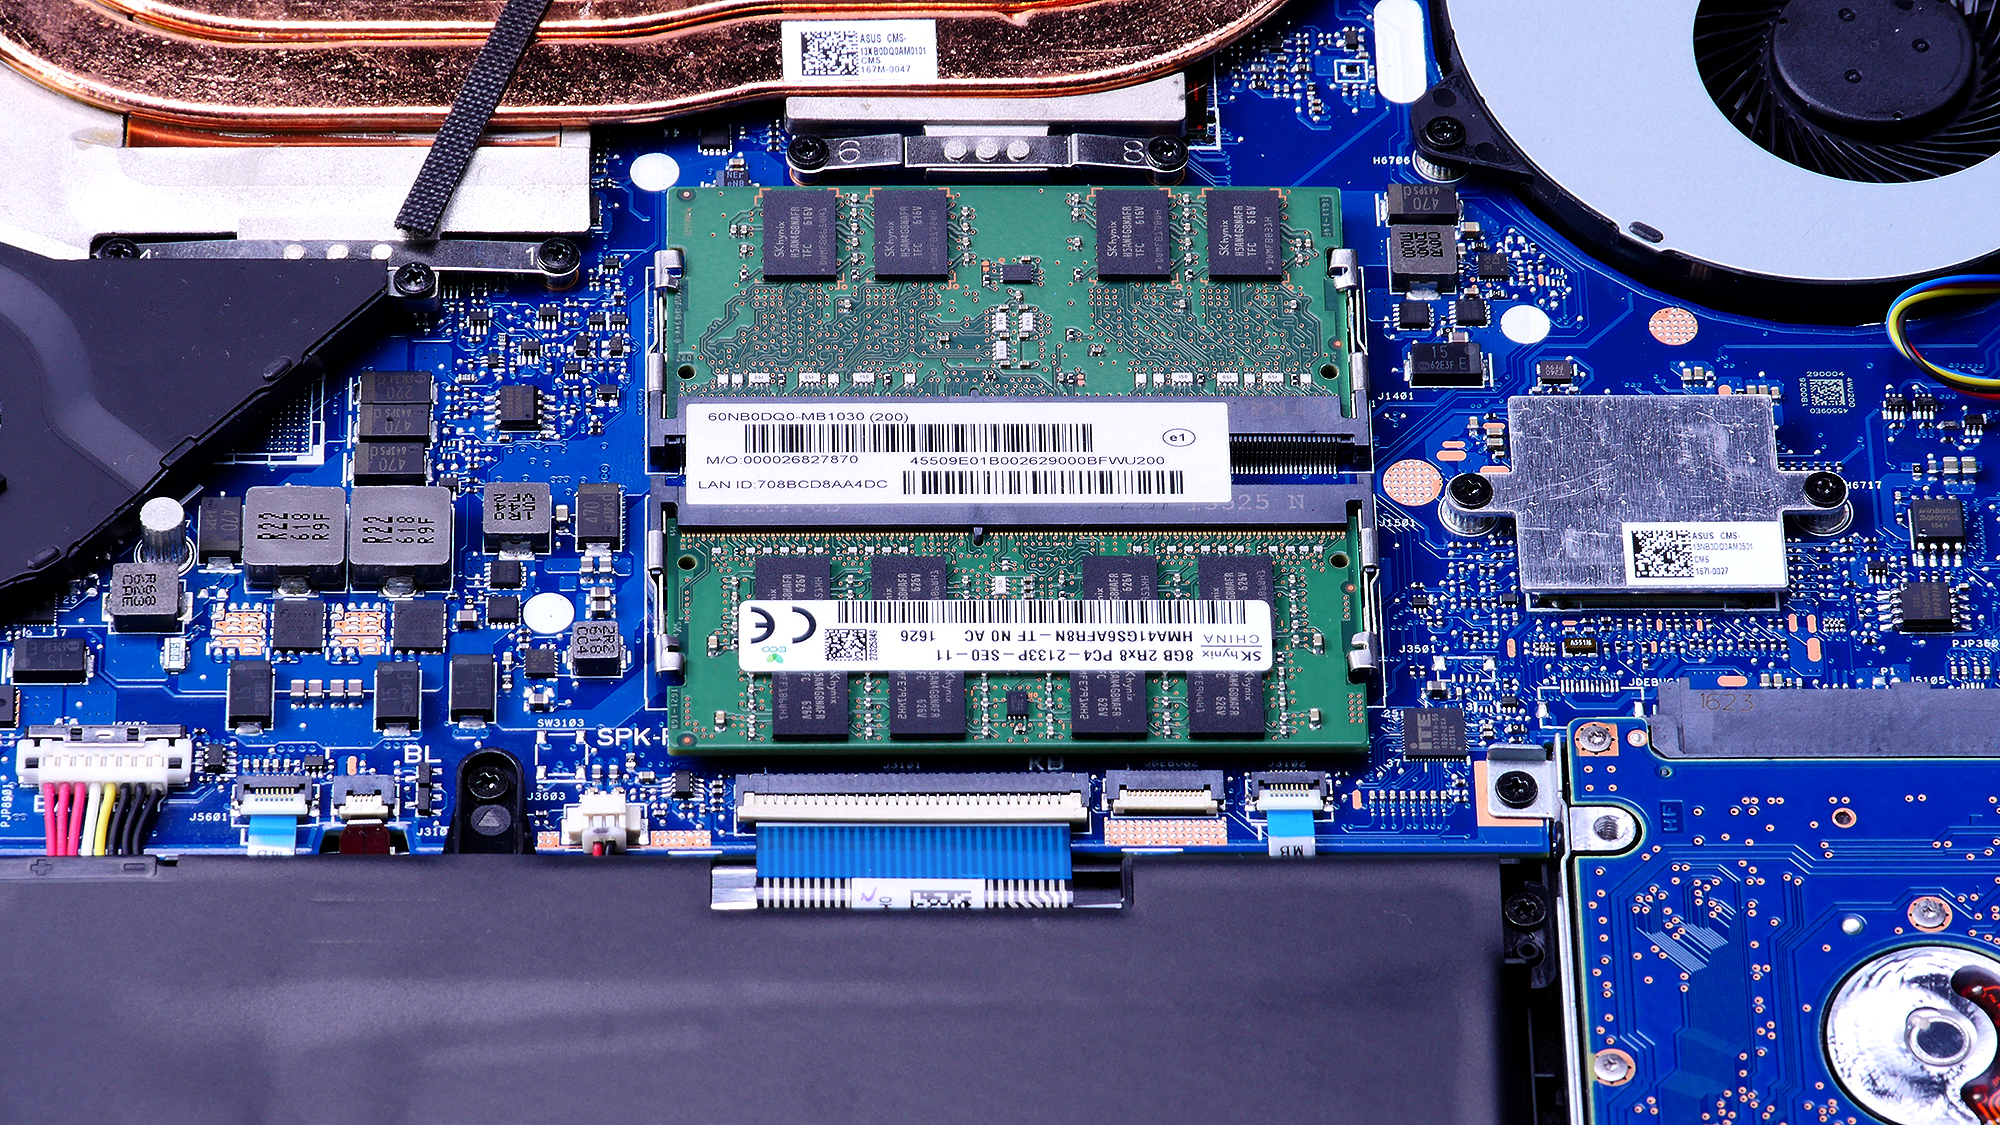
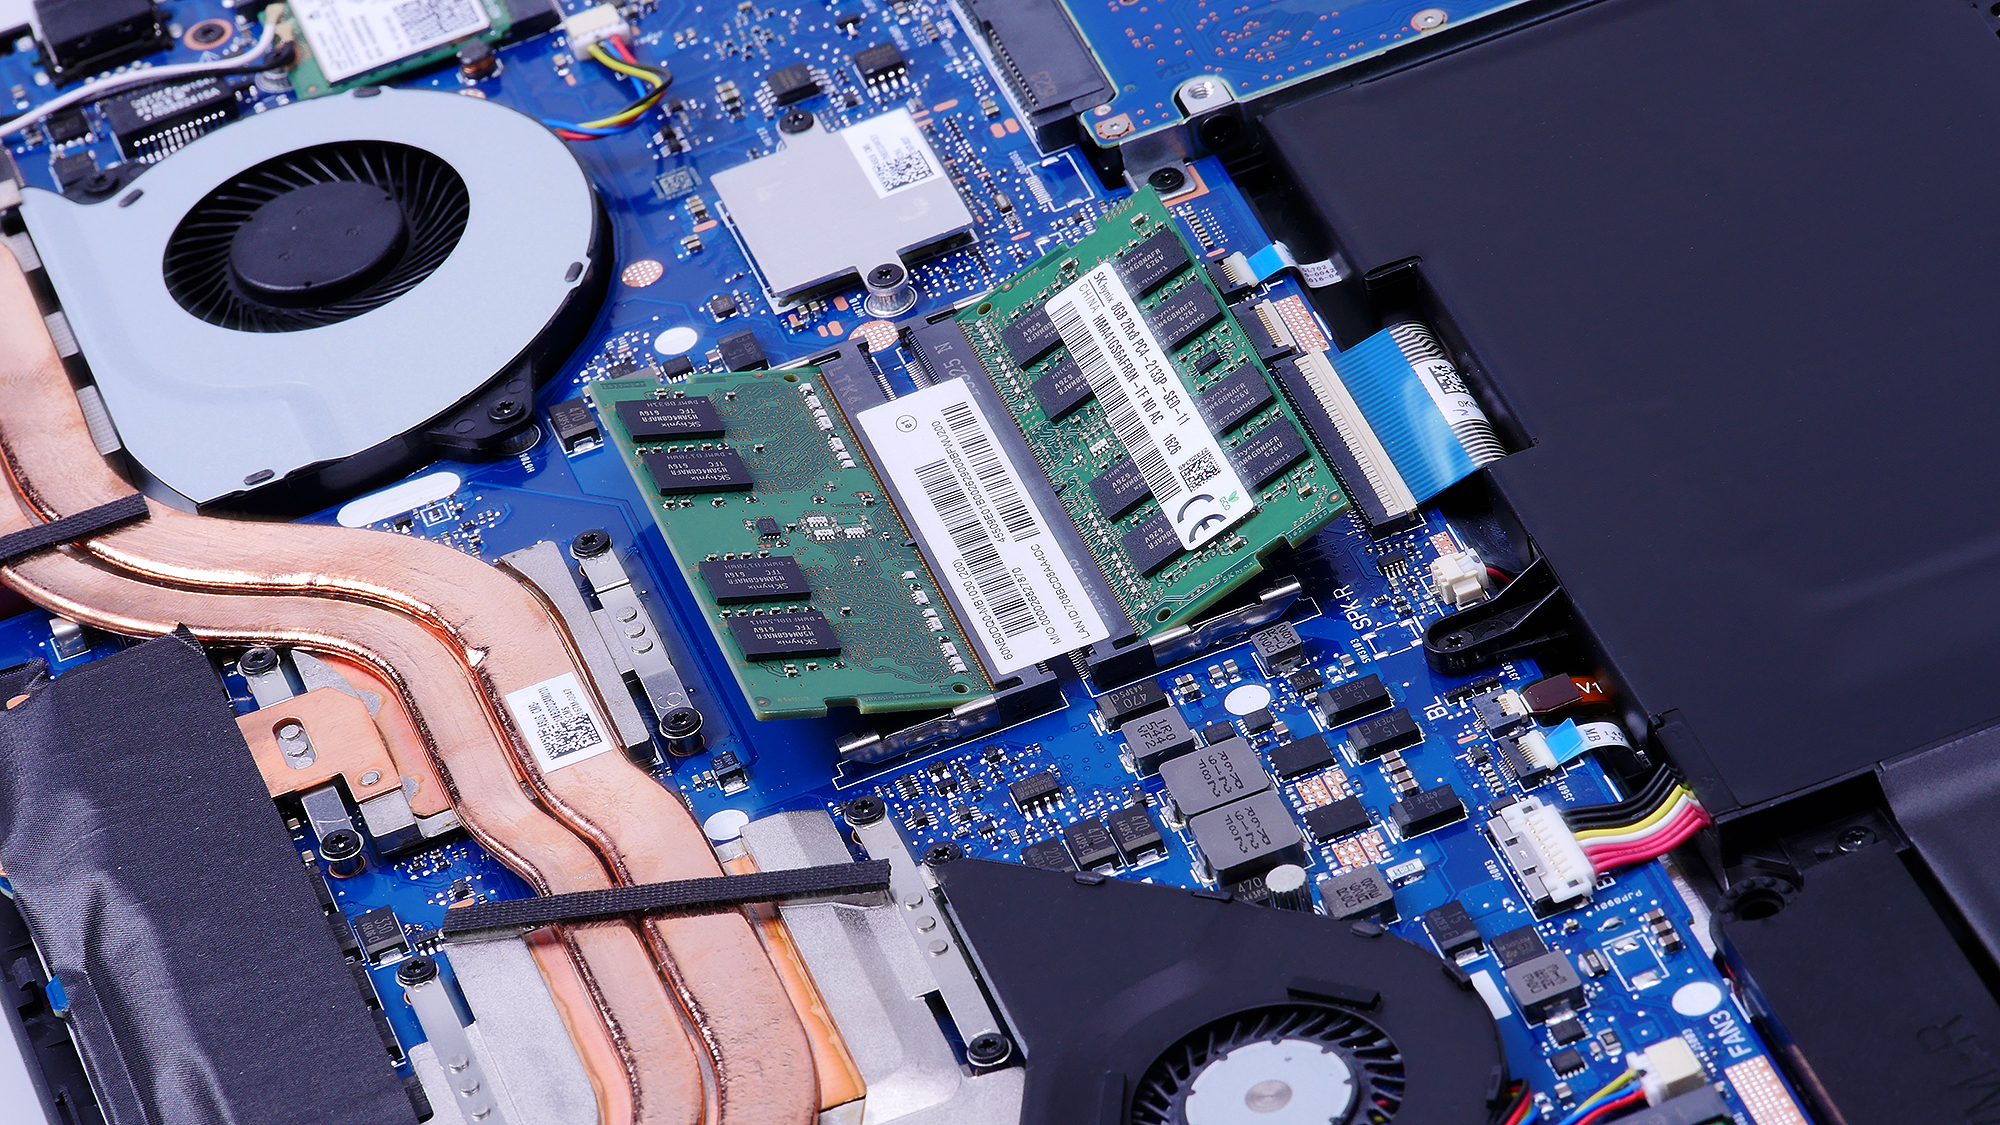
Memory
ROG Strix GL702VM supports up to 32GB of DDR4 (2133 MHz) SO-DIMM memory (two 16GB modules) memory. Align the pins to make sure you have the module the right way up, insert the memory into the slot angled at about 30°, use your thumbs and press evenly on both sides to make sure the module goes all the way into the slot, finally, push the top of the module down towards the motherboard until both of the locks on the sides click into place. Repeat the process for the other module. Be sure to fire up the laptop to check if the correct amount of memory shows.
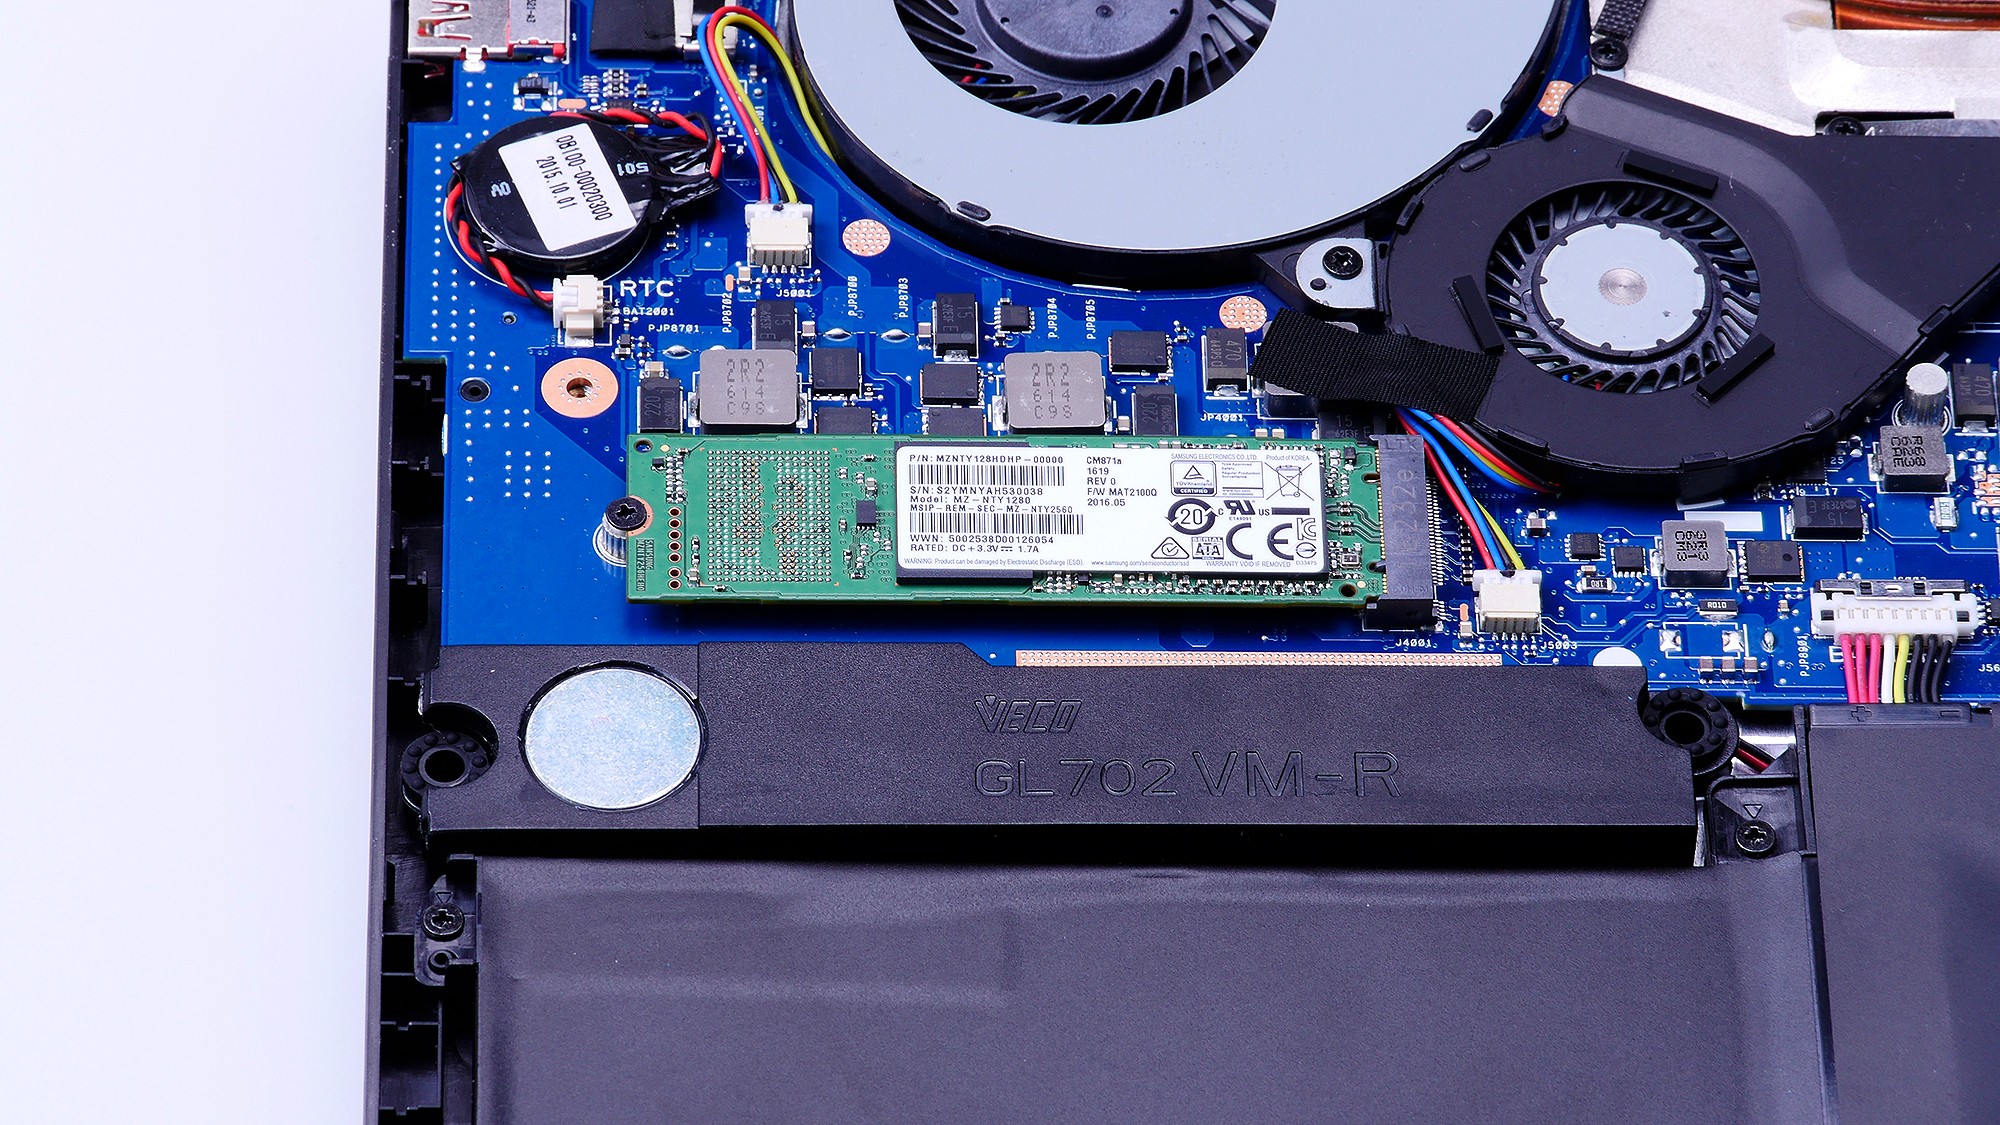
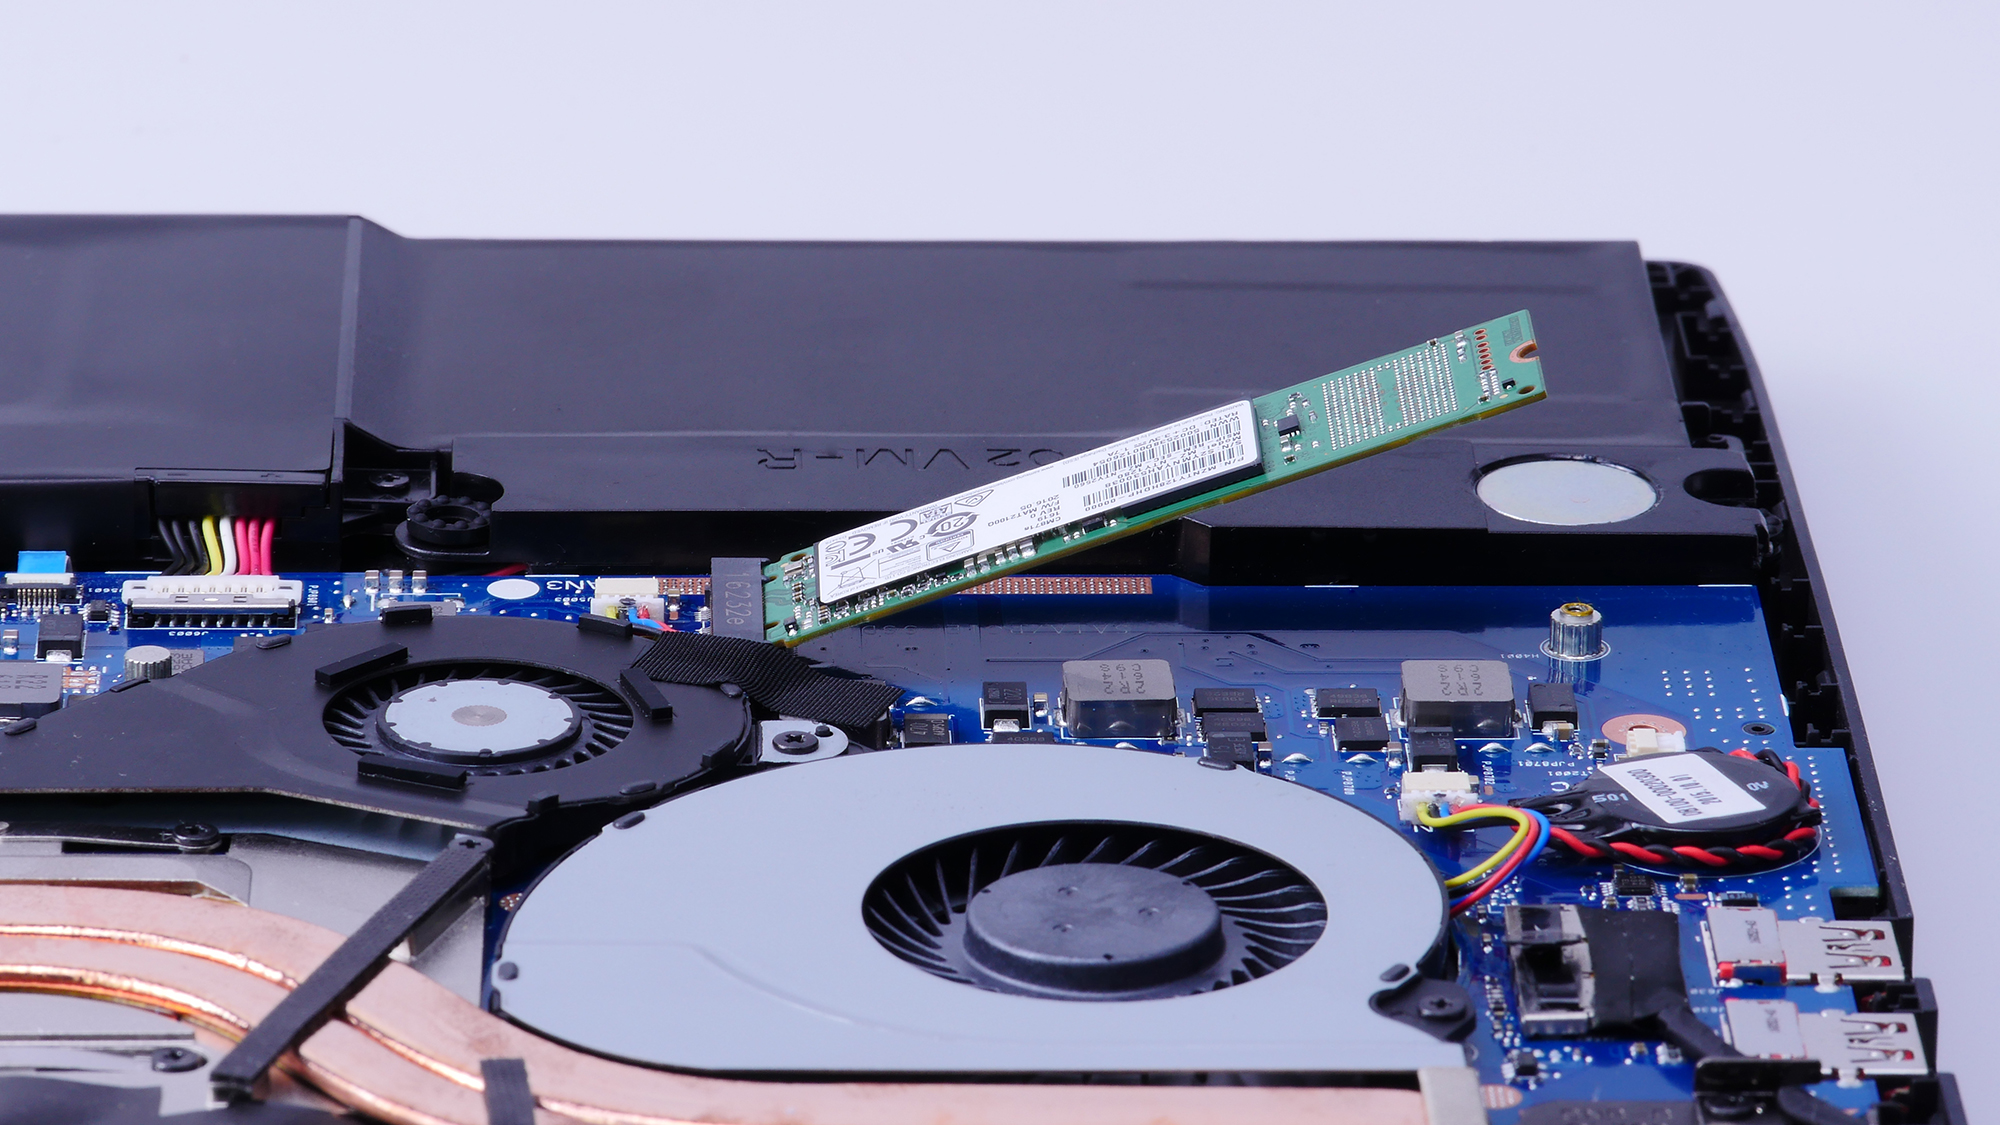
M.2 SSD
Installing an M.2 SSD is similar to installing memory, the locking mechanism however is a screw. GL502 allows for an NVME M.2 PCIe 3.0 X4 SSD which could be up to four times faster than SATA SSDs, so definitely use this as the boot drive and to hold your favorite games! Simply slide the SSD into the slot and secure it with the screw.
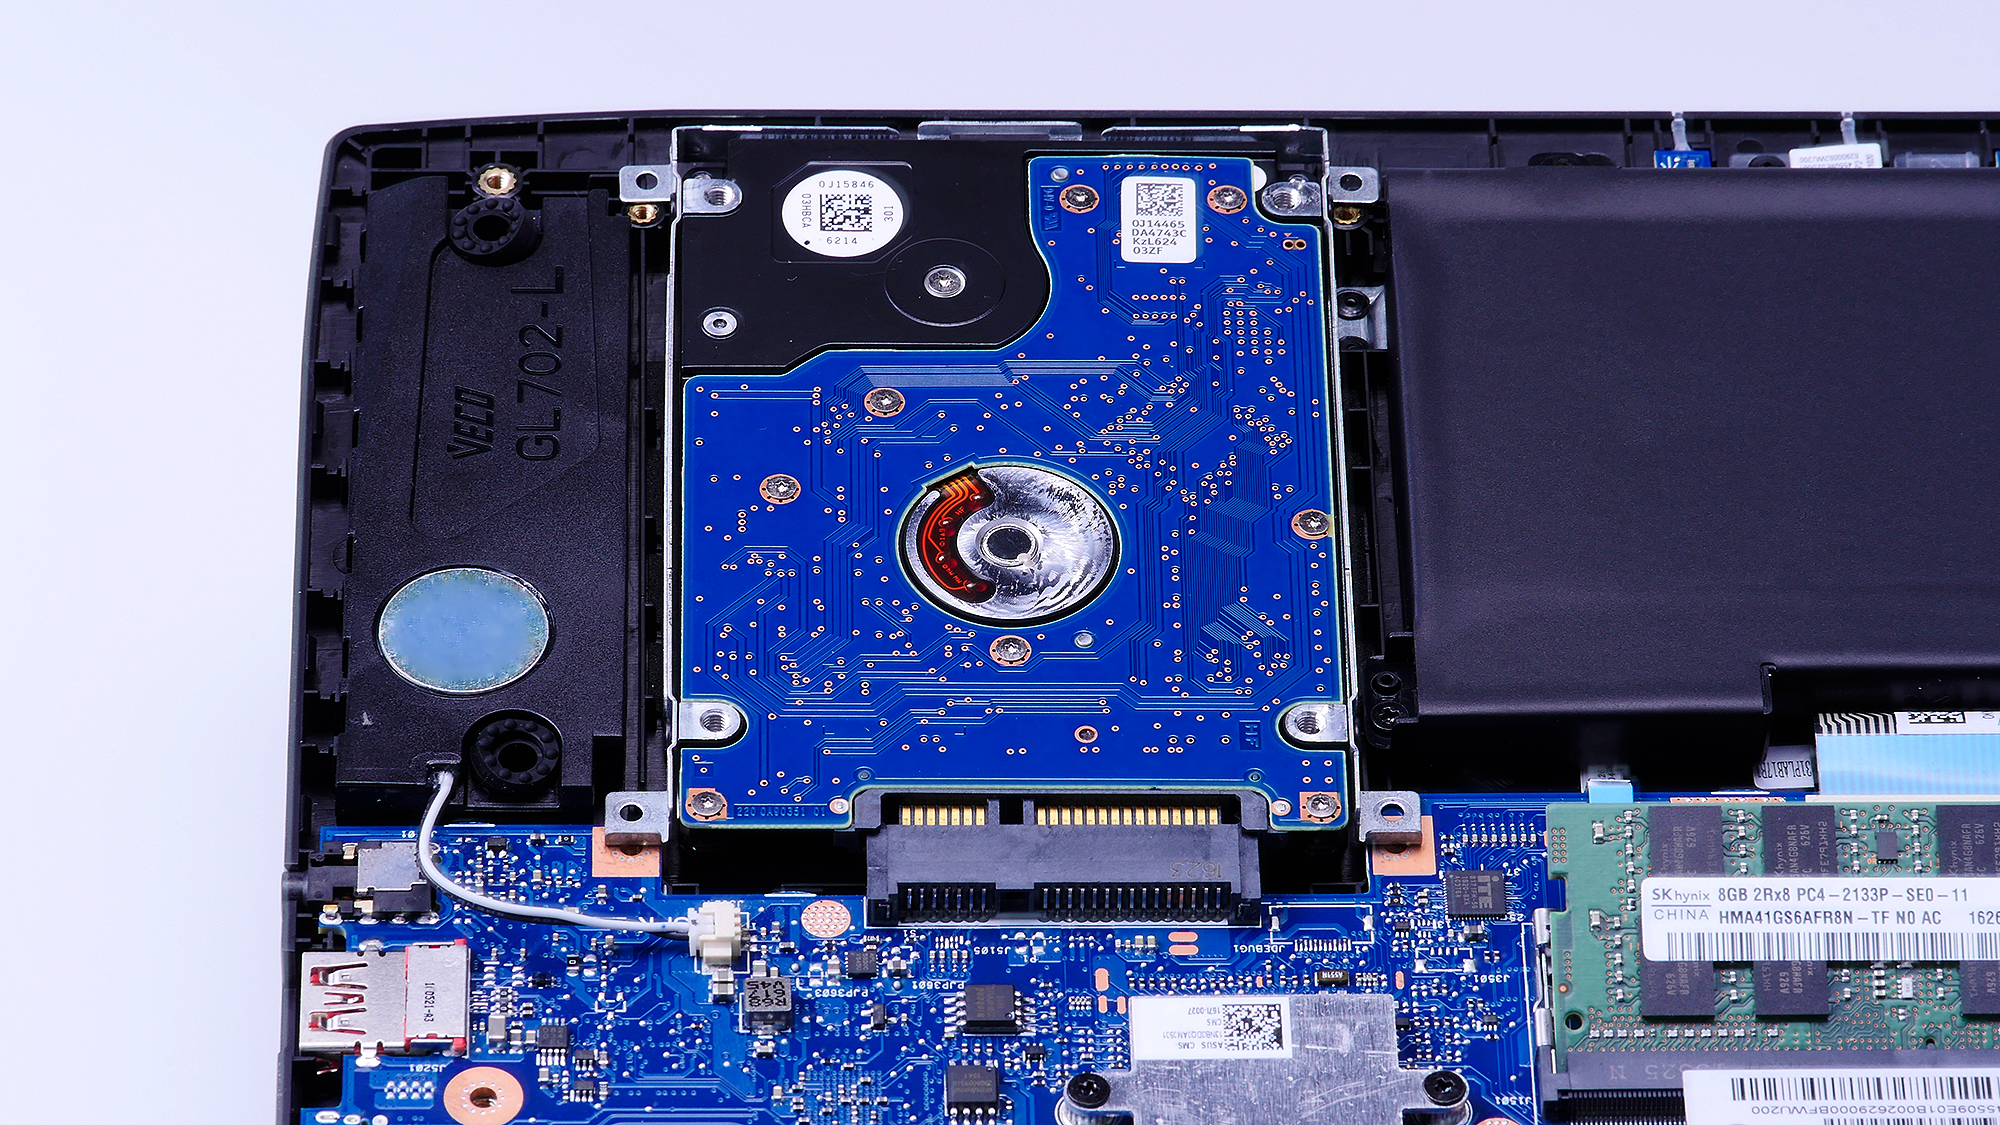
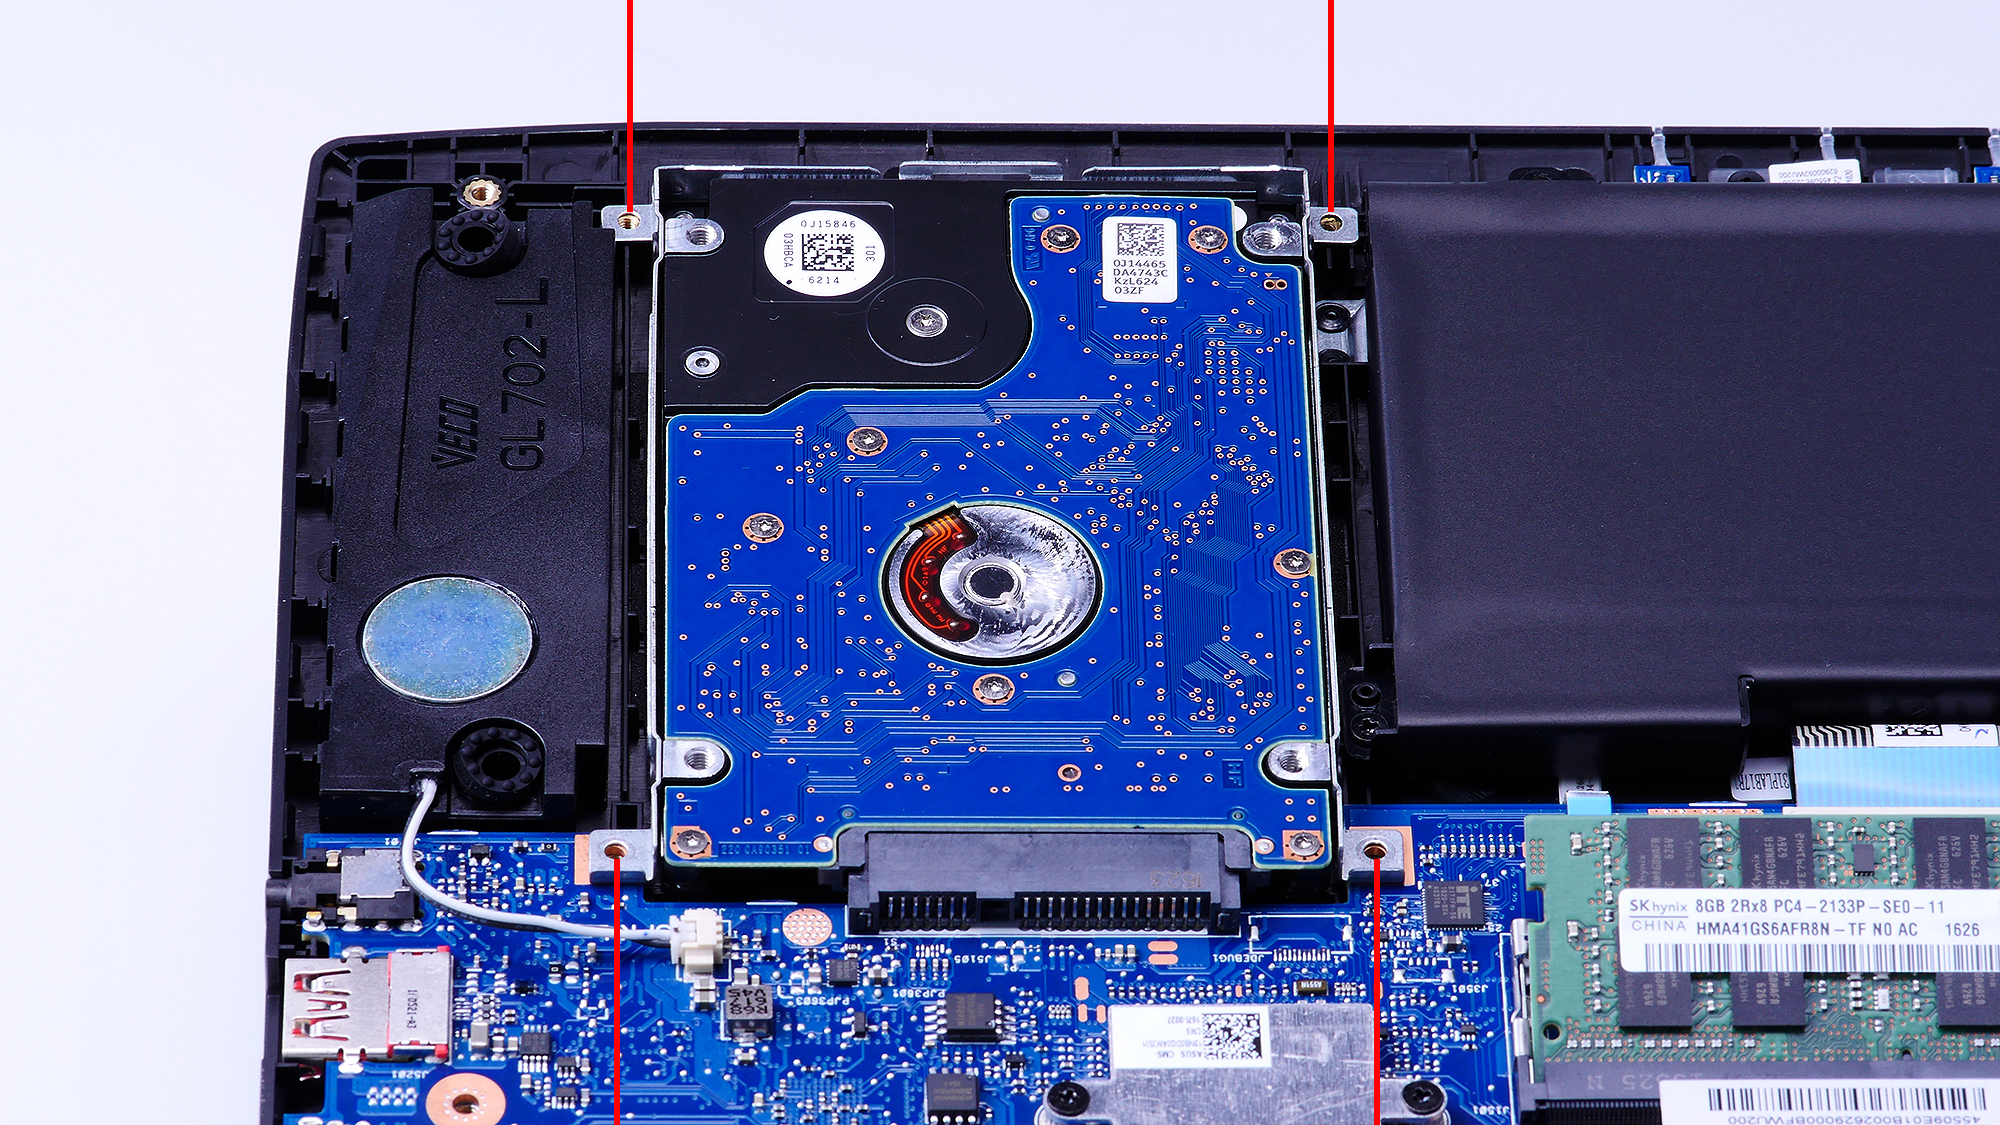
SATA SSD
The 2.5” SATA III hard drive can be replaced with a larger and/or faster hard drive or SSD. To do this, remove the four screws holding the bracket. Slide the bracket and lift to remove. Before you secure your new SSD into the bracket, make sure it is the correct way up by looking at the connector to see if they match up. If it's all good, secure the bracket with the SSD back.

Check to see if everything is okay before securing the back cover with all the screws.
*** Please take care when upgrading, any damages caused will not be covered by warranty. If you run into any issues, remember to revert the laptop to its default configuration (what you purchased) before sending it in for RMA. ***
Author
Popular Posts

The ROG XREAL R1 gaming glasses let you game anywhere on a 171-inch 240Hz virtual screen

How to adjust your laptop's P-Cores and E-Cores for better performance and battery life

How to Cleanly Uninstall and Reinstall Armoury Crate

Prepare for ultra-sharp RGB Stripe OLED imagery with these three new ROG monitors
Brighter, bolder, better: The ROG XBOX Ally X20 bundles a larger OLED display with AR gaming glasses
LATEST ARTICLES

How to clean your OLED monitor
Keeping your OLED monitor looking pristine is surprisingly simple. You just need a microfiber cloth and the right technique.

How to enable Xbox mode to reduce RAM usage when gaming on Windows
Here’s how you can enable Xbox mode for Windows 11 PCs to score a more streamlined, controller-friendly experience.
Zephyrus vs Strix vs Flow: What's the difference between ROG laptops?
ROG builds laptops for every kind of gamer. Find out which one is right for you!