How to make OC Panel Work on Rampage V Edition 10
A Grand Master from the ROG Forum - Chino, has made a definitive guide on how to make the OC Panel or OC Panel II to work on the latest ROG Rampage V Edition 10 motherboard. Whether you are already a proud owner or in the market for one, this will be a handy guide for reference. Let's get cracking!
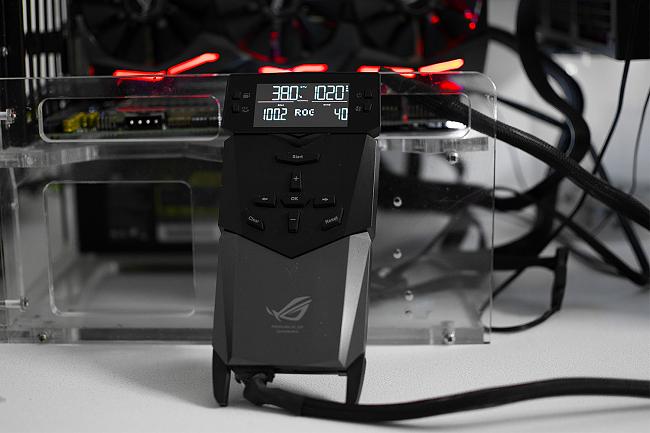
The OC Panel is one of the niftiest device that has ever been invented to complement a motherboard. Overclockers love it because it lets them do on-the-fly overclocking without having to go inside the BIOS every single time. Hardcore enthusiasts love it as well since they can monitor the motherboard’s vitals in real-time. Frankly I don’t know how anyone can live without the OC Panel. Well, maybe you can, but do you really want to?
The OC Panel is normally bundled with the highest-end ROG motherboards like the Maximus Extreme or the Rampage models. So I know a lot of you are probably disappointed that ROG didn’t decide to include it with their limited Rampage V Edition 10. But don't be disheartened. You can probably find users on eBay who are eager to sell you theirs. Getting the OC Panel to work with the Rampage V Edition 10 motherboard is as simple as flashing a specific firmware for it. So let’s do it!
Determining Which OC Panel You Own/Bought
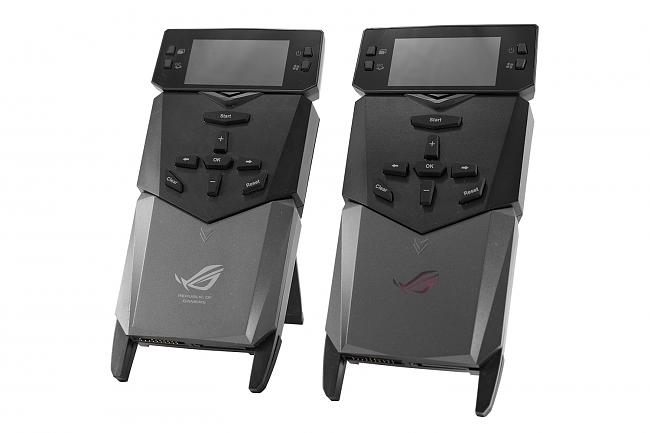
Before we start with the flash process, it is of utter importance to identify which OC Panel you own. Flashing the wrong firmware can certainly brick the device. Upon inspection, original OC Panel has a simple white ROG logo on the cover while the OC Panel II has a translucent red ROG logo on the cover that lights up when the motherboard is turned on.
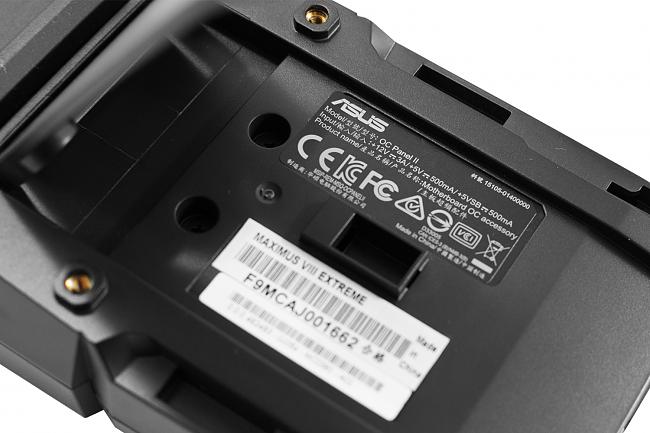
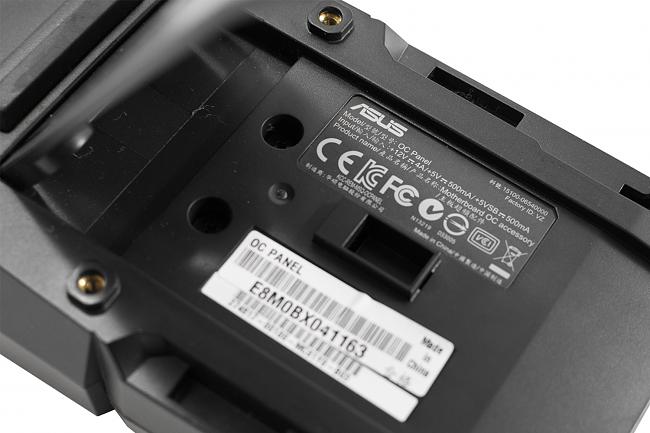
If you bought the OC Panel from a third party seller, it would be wise to examine the sticker that’s on the back of the device. Better safe than sorry.
Checking The OC Panel’s Firmware
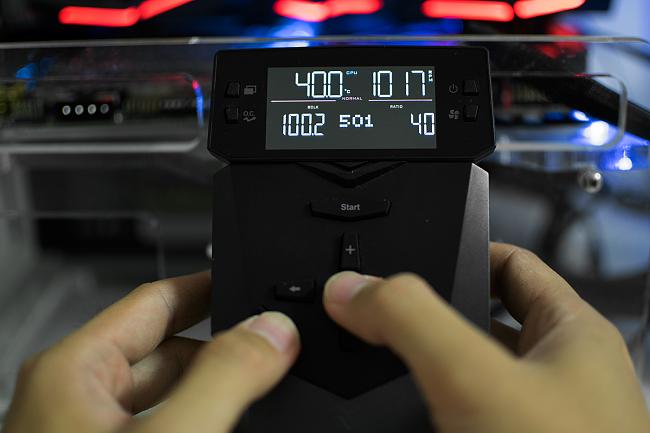
In order to check your OC Panel’s firmware, you need to have it connected to the motherboard and your system must be on so that the device is getting power. Then proceed to push and hold the OK and Clear buttons for approximately 7 seconds. The current firmware will appear on the display.
For the OC Panel and OC Panel II to work with the Rampage V Edition 10, they need to be running firmware 0603 and 0109 respectively. If your device complies with that requirement, then you’re good. If not, proceed to download the Firmware Update Tool along with the firmware that corresponds to your OC Panel.
- Firmware Update Tool
- Firmware 0603 for OC Panel
- Firmware 0109 for OC Panel II
Flashing the OC Panel/OC Panel II Firmware
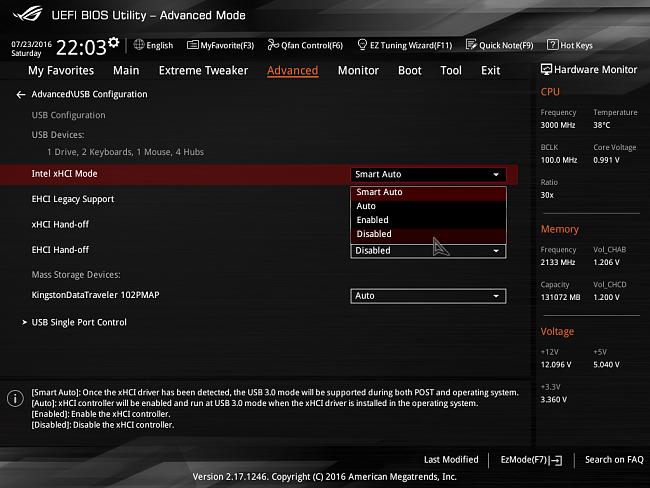
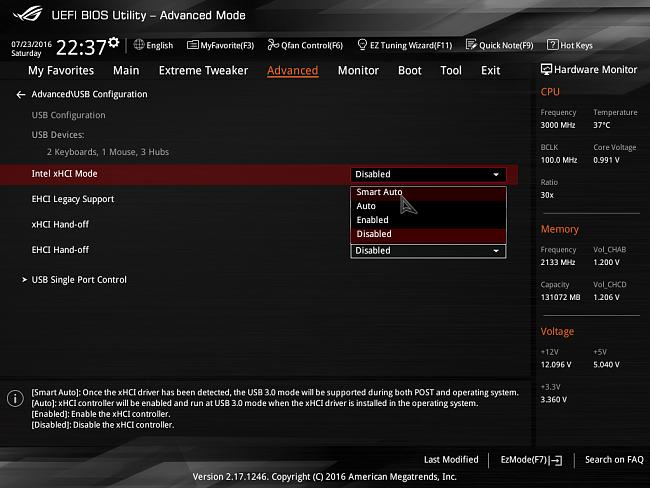
This step might be different depending on which motherboard you own. You need to enter your BIOS and disable the Intel xHCI Mode option. This option is normally found under the USB Configuration section in the Advanced tab.
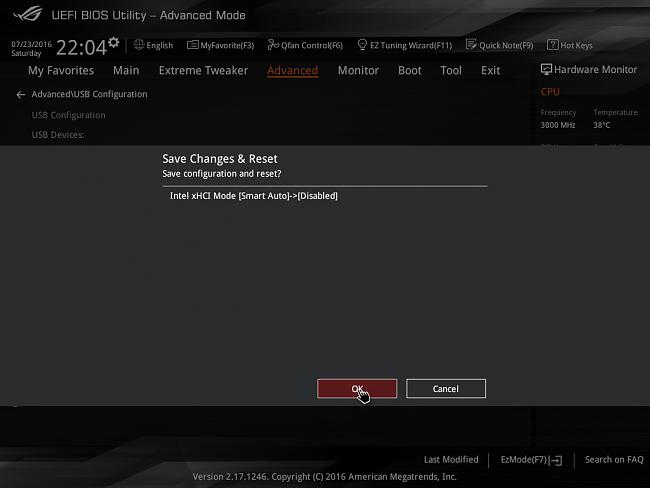
After you’ve disabled the option, press F10 to save your changes and exit the BIOS. Your system will restart and go on to load your OS.
When you’re inside Windows, locate the compressed Firmware Update Tool and Firmware files. Extract both. If you look inside the Firmware folder, you will see another compressed file with a HEX termination. Extract that file into the Firmware’s root folder like the image below.
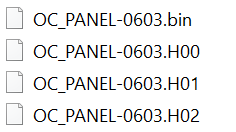
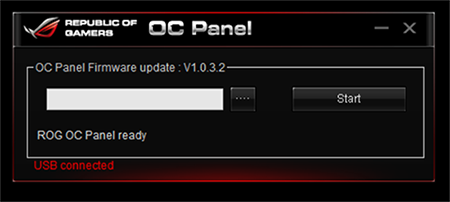
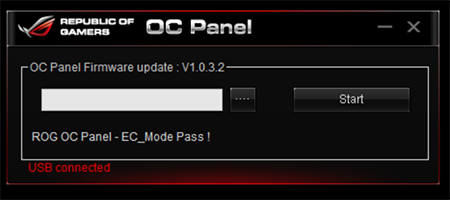
Run the Firmware Update Tool with administrator privileges. Then click the … button and look for the file that has the H00 termination. Click the Start button to initiate the flash process.
The process should finish in a matter of seconds. If the flash is done correctly, you will see the EC_Mode Pass! message at the end.
Time to go back into the BIOS and change the Intel xHCI Mode option back to Smart Auto.
Press F10 once more to save your changes and exit the BIOS. Enjoy your newly flashed OC Panel / OC Panel II on your Rampage V Edition 10.

For more guides from Chino:
Overclocking i7-6700K to 4.6GHz
Liquid Cooling GTX 980 Ti Poseidon
Author
Popular Posts

Prepare for Tandem OLED splendor with these new ROG gaming monitors

How to adjust your laptop's P-Cores and E-Cores for better performance and battery life

How to Cleanly Uninstall and Reinstall Armoury Crate
How to upgrade the SSD and reinstall Windows on your ROG Ally, ROG Xbox Ally, or ROG Xbox Ally X
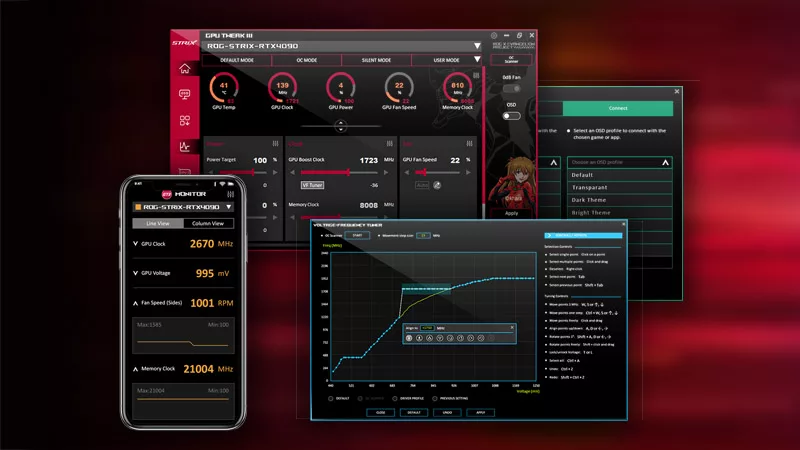
ASUS GPU Tweak III: The ultimate tool for advanced GPU tuning
LATEST ARTICLES

Hands-on: The ROG Raikiri Pro took my couch gaming to the next level
I've been a diehard PC gamer all my life, but I often play on the couch. The ROG Raikiri Pro has improved my living room PC gaming immeasurably thanks to a few useful features and loads of customizability.
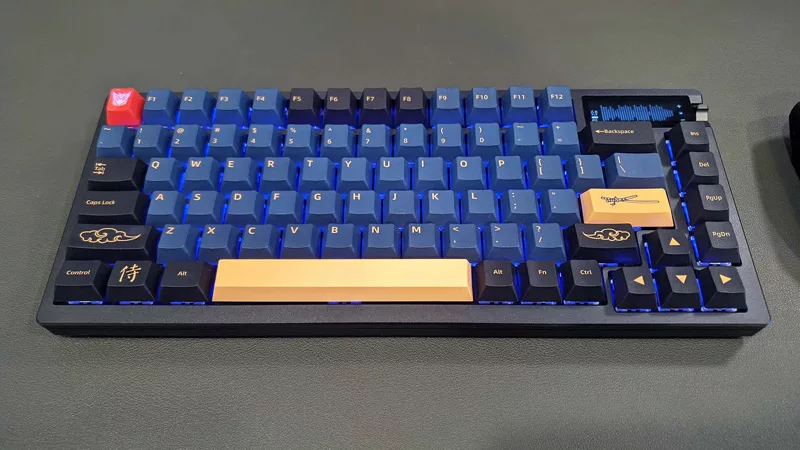
Hands-on: The ROG Azoth became the canvas for the keyboard of my dreams
Ever since I bought my first mechanical keyboard, I’ve been on a mission to mod and upgrade, mod and upgrade. But I think the ROG Azoth may actually be my endgame.

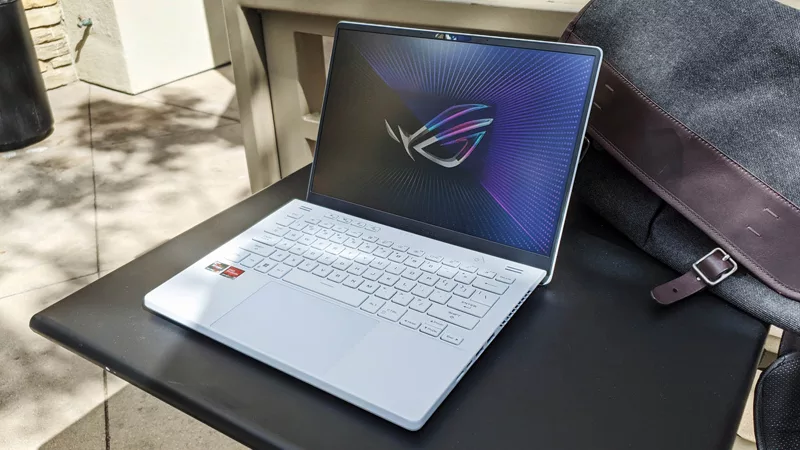
The Zephyrus M16 blends outstanding HDR gaming performance with undeniable luxury
The new ROG Zephyrus M16, with its Nebula HDR display, is like bringing a high-end home theater gaming setup with you wherever you go.
Radeon graphics and a stellar new display reinvigorate 2022 ROG Zephyrus G14
For a long time, I had to choose between underpowered ultraportable laptop and large laptops capable of gaming. But the ROG Zephyrus G14 puts admirable gaming chops into an ultra portable machine that travels anywhere.

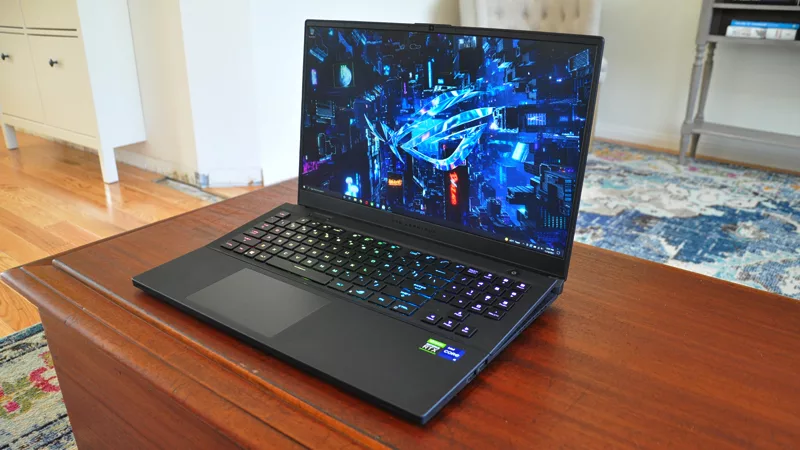
Ready to rumble out of the box: Hands-on with the ROG Strix SCAR 15
Living on the move or in a smaller space isn't a roadblock to high-end gaming. The ROG Strix SCAR makes portable powerful.
The ROG Zephyrus S17 is an outstanding mixture of power and portability
The S17 has it all: top-tier hardware in a slim package with all the bells and whistles.