How to overclock your system using AI Overclocking
Overclocking your system means dipping into untapped potential for better performance. The idea of pushing your CPU past the stock defaults in pursuit of lofty gains is tempting for anyone, but the process can be daunting for beginners. For years, we've been baking loads of tweaking options into our motherboards, including automated tools like 5-Way Optimization and OC Tuner that make it easy for inexperienced users to test the limits of their systems with just a few clicks. Our latest generation of Z390 motherboards takes automatic tuning to a whole new level with intelligent prediction. AI Overclocking is faster and more efficient than other methods, and it allows you to overclock a system in just a few short steps from the UEFI or desktop. Naturally, we had to take it for a test drive. This guide provides a walk-through for how to overclock your system using AI Overclocking.
Gather intelligence for prediction
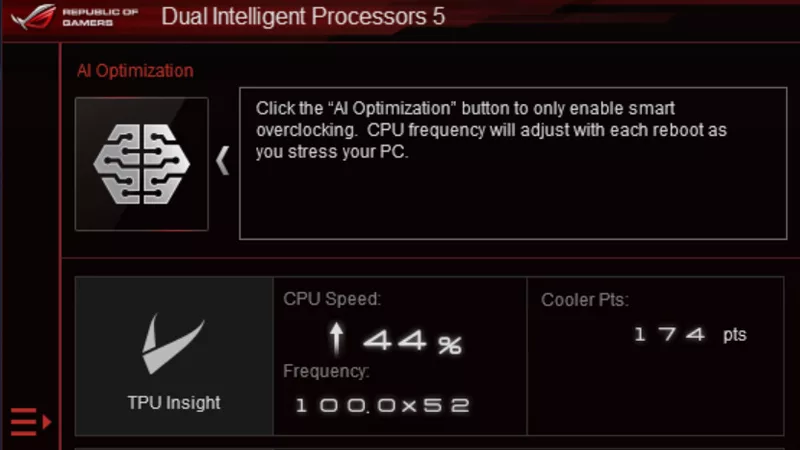
Our new auto-tuner takes all the guesswork out of overclocking your processor. It’s smarter than the pre-baked profiles used by some solutions because it tailors settings to your individual system. Our proprietary algorithm rates the CPU overclocking potential and the cooling capabilities of your PC before producing a score. The resulting Cooler Score forms the basis for the optimized configuration suggested for your rig. Our system's prediction can be seen in the lower right of the UI below.
After applying that config, you can set AI Overclocking to keep training, and it will continue monitoring system vitals like temperature, power draw, and fan speeds to assess the effectiveness of your cooling. If your Cooler Score changes, AI adjusts the overclock accordingly. This safeguard ensures your system remains stable through seasonable temperature changes, component upgrades, and dust buildup that can affect cooling efficiency.
Click here to overclock
We've been working on a brand new build here in the office. It's based on our Strix Z390-I Gaming motherboard and uses Intel's 9th Generation Core i7-9700K CPU. This eight-core processor has a 3.6GHz base frequency, and when all its cores are active, Turbo takes the clock speed up to 4.6GHz. Since we're cooling the chip with our latest ROG Ryuo 240 AIO liquid cooler, we're hoping to push the top speed even higher.
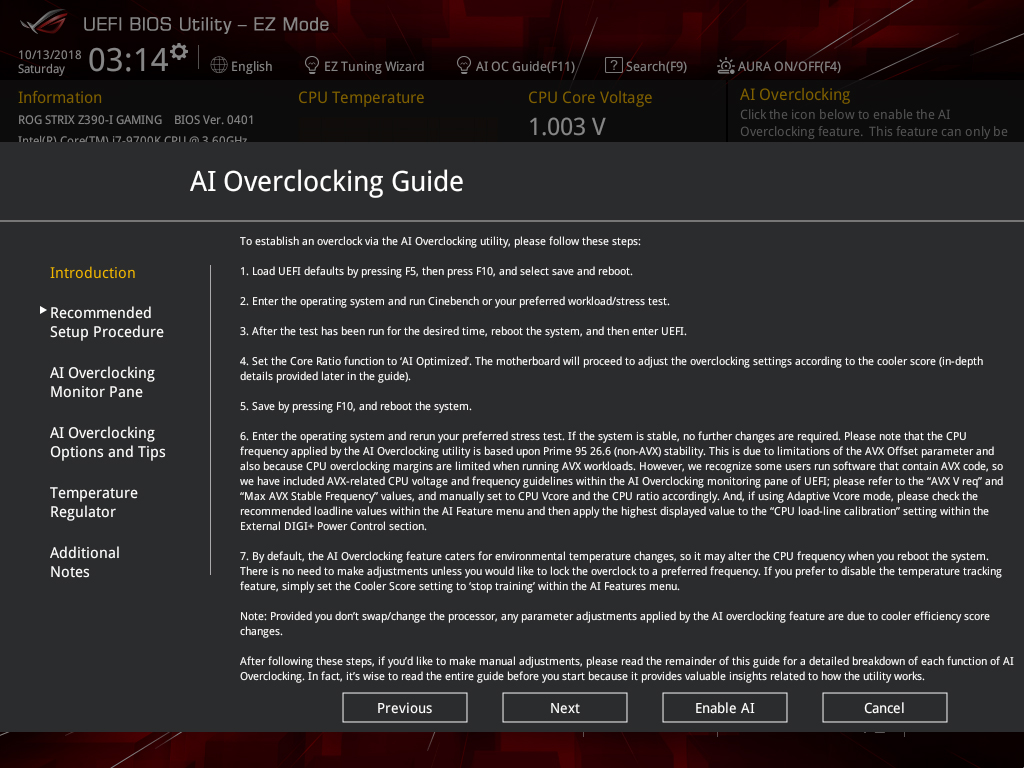
The easiest way to use AI Overclocking is through the UEFI, which doesn't require installing any software. There's even a guide embedded in the BIOS that outlines the process. To see it, enter the UEFI by pressing the Delete key when the system first boots, and then click AI OC Guide at the top of the screen. When you're in the UEFI, pressing F11 also brings up the guide.
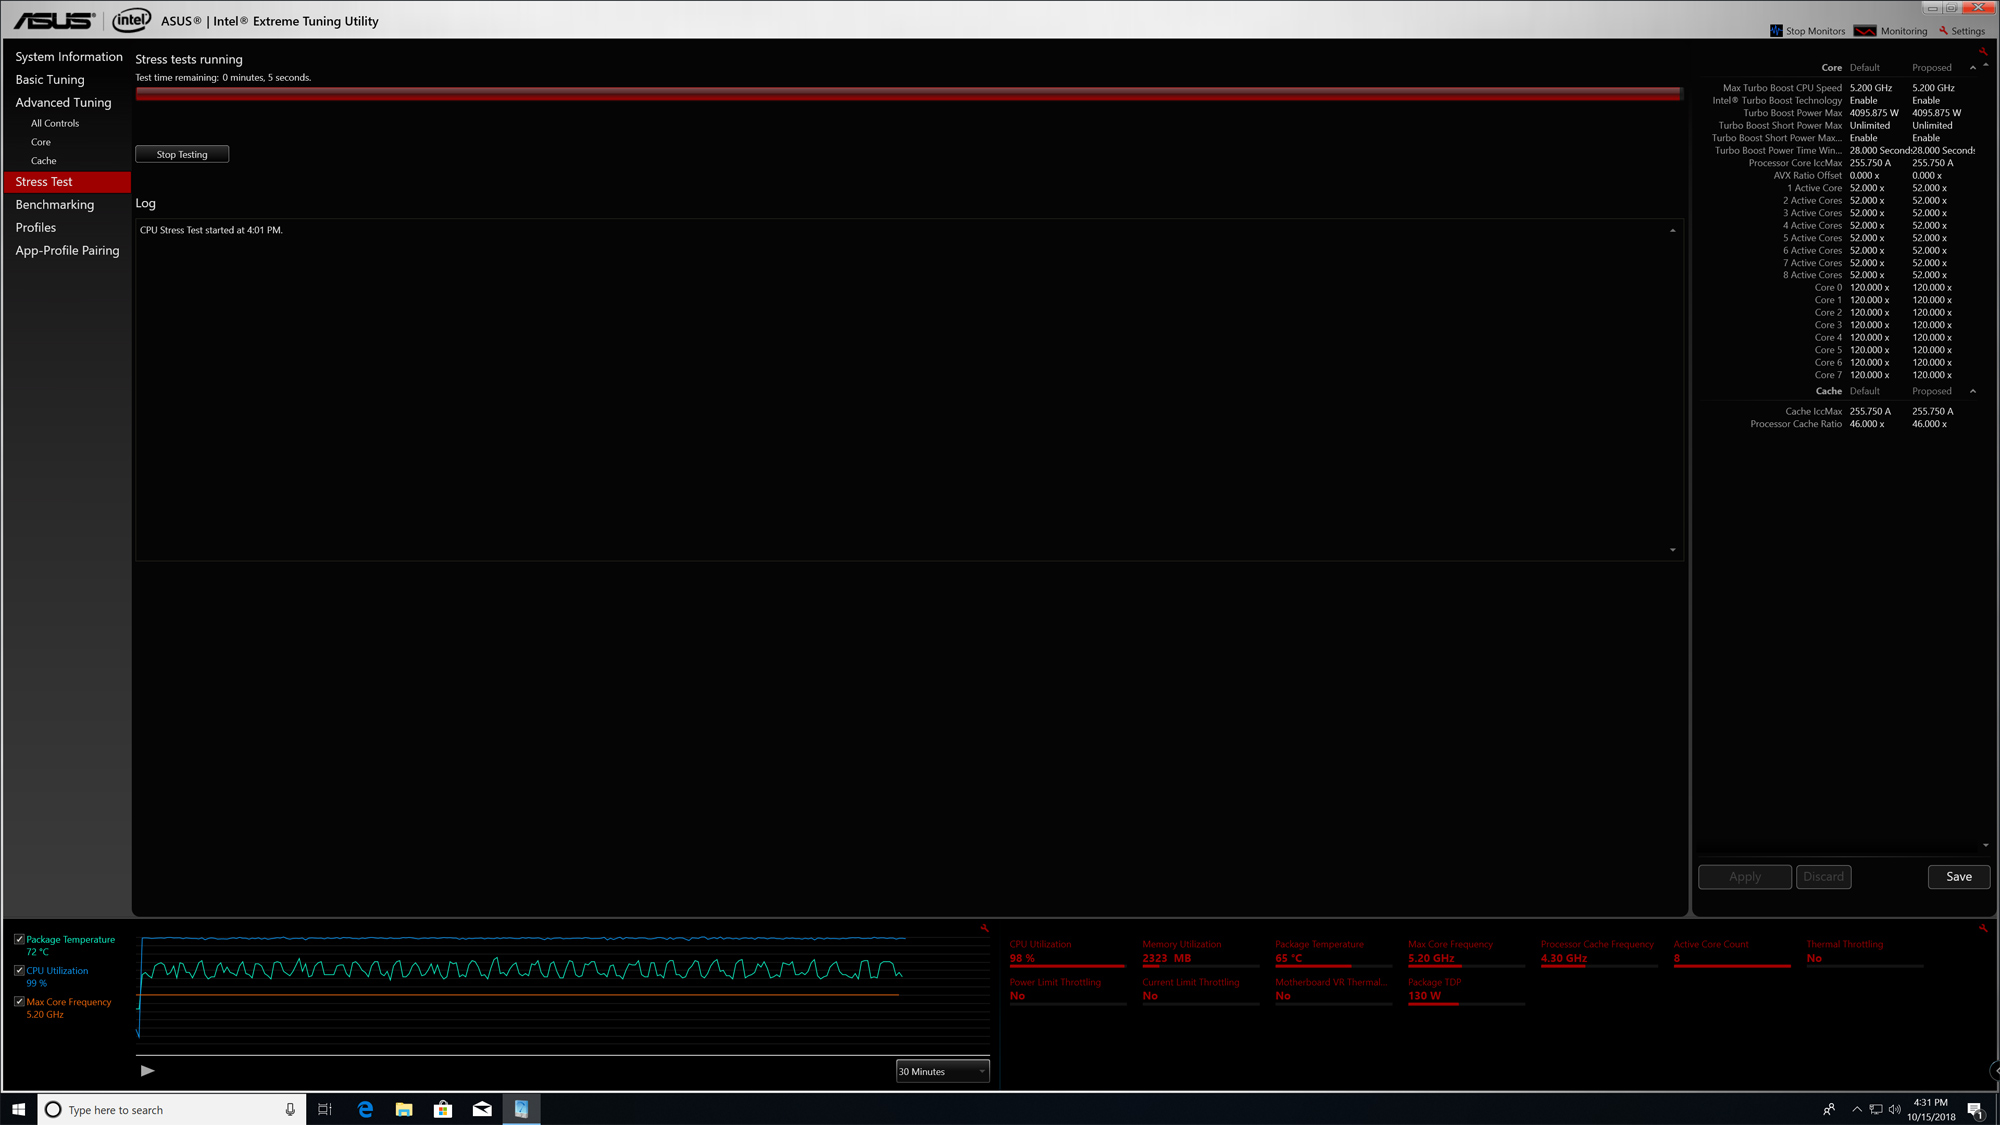
The first step is loading the UEFI defaults by pressing F5, and then F10 to save and reboot. This establishes a stable baseline so that AI OC can evaluate your system. Next, boot into the operating system and run a stress test. You can use Blender, Prime95, Aida64, ROG RealBench, the Intel Extreme Tuning Utility, or anything else that loads up the CPU. AI Overclocking is better able to determine the limits of your machine with longer and more intensive workloads, but that doesn't mean you need to settle in for a full day of stress testing. I chose to use Intel XTU and set the test for 30 minutes, which is long enough to get the system's blood pumping.
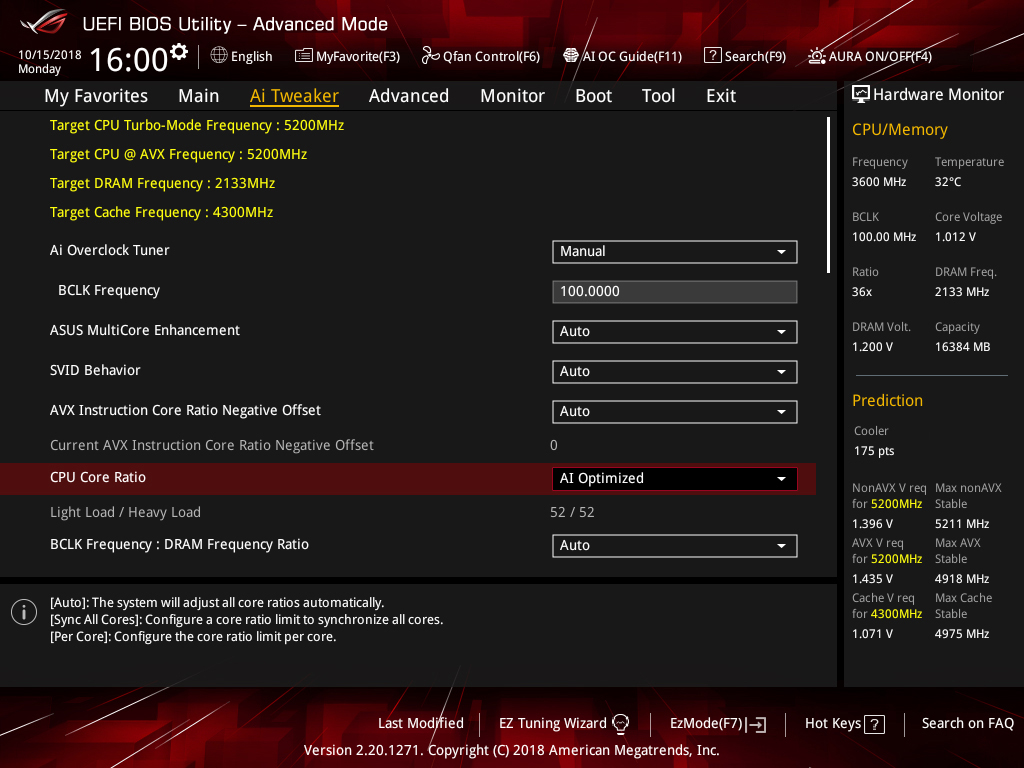
Once the test finished, I headed back to the BIOS and navigated to the AI Tweaker section. Setting the CPU Core Ratio to AI Optimized is all that's required to enable AI Overclocking. The automated intelligence gave our system cooling a score of 175. It predicted an optimal all-core clock speed of 5.2GHz, which is an impressive 600MHz higher than the chip's default frequency when fully loaded. AI Overclocking applies its optimized settings automatically, so all you have to do is hit F10 to save and reboot.
After saving the AI Overclock config, I headed back to the desktop to check stability with another stress test. The system passed with flying colors. Although the CPU temperature briefly reached 80°C, it averaged only 69°C for the entirety of the 30-minute Intel XTU stress test.
And ... That’s all. The process is really easy, and predictions are generated almost instantly. The entire procedure barely took longer than the hour we spent on stress tests. Longer stress tests can provide a more accurate read on your system's limits, but you can also use a shorter test to get a quick assessment and then rely on continuous training to hone the prediction.
It's worth noting that AI Overclocking does not adjust the AVX instruction offset due to limitations associated with this parameter. AVX workloads generate more heat and typically require lower clock speeds, so if you run software that uses those instructions, we recommend manually adjusting the offset value to compensate. The same algorithm that sets the all-core frequency also predicts the maximum stable AVX frequency, so it's easy to check the prediction and modify the offset appropriately. This is also covered in the step-by-step guide included in the UEFI.
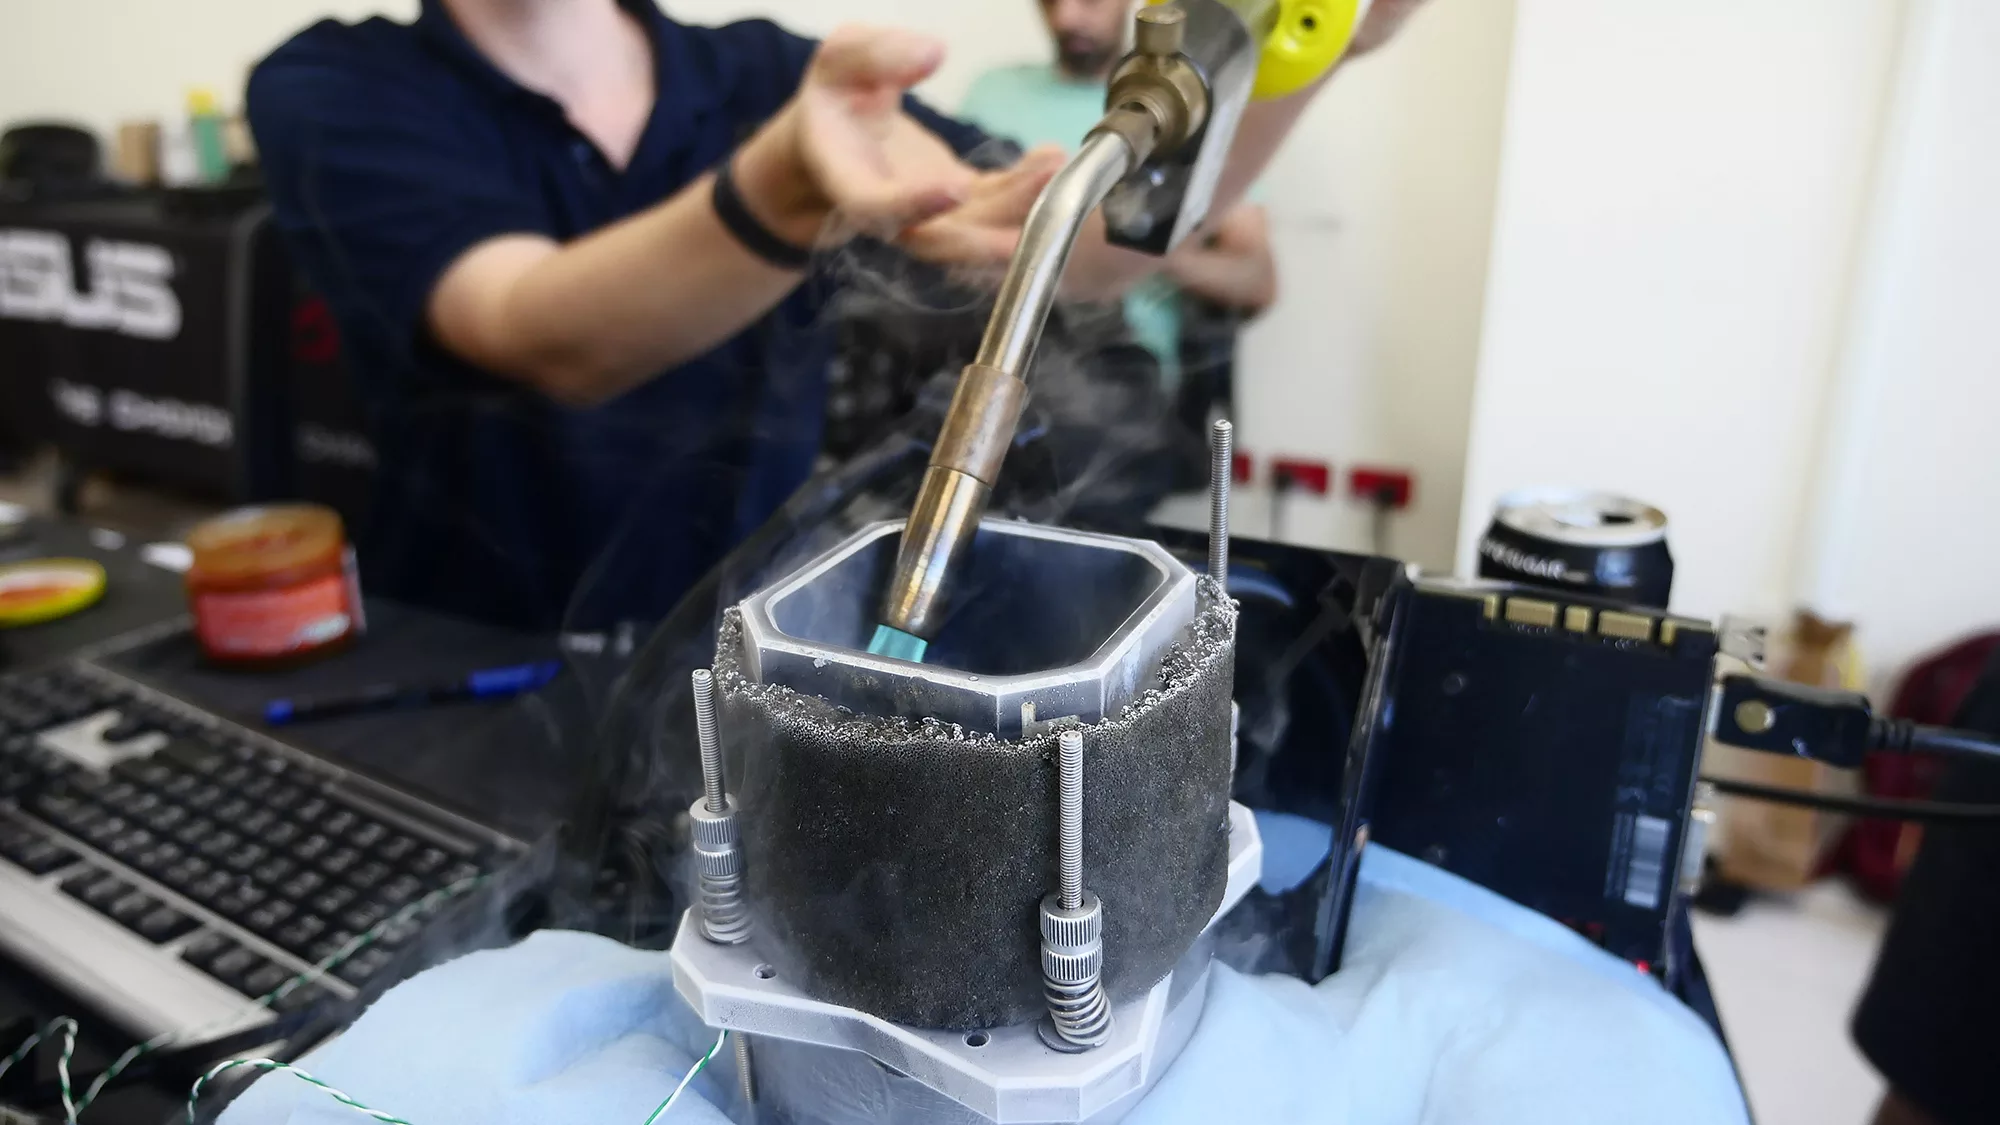
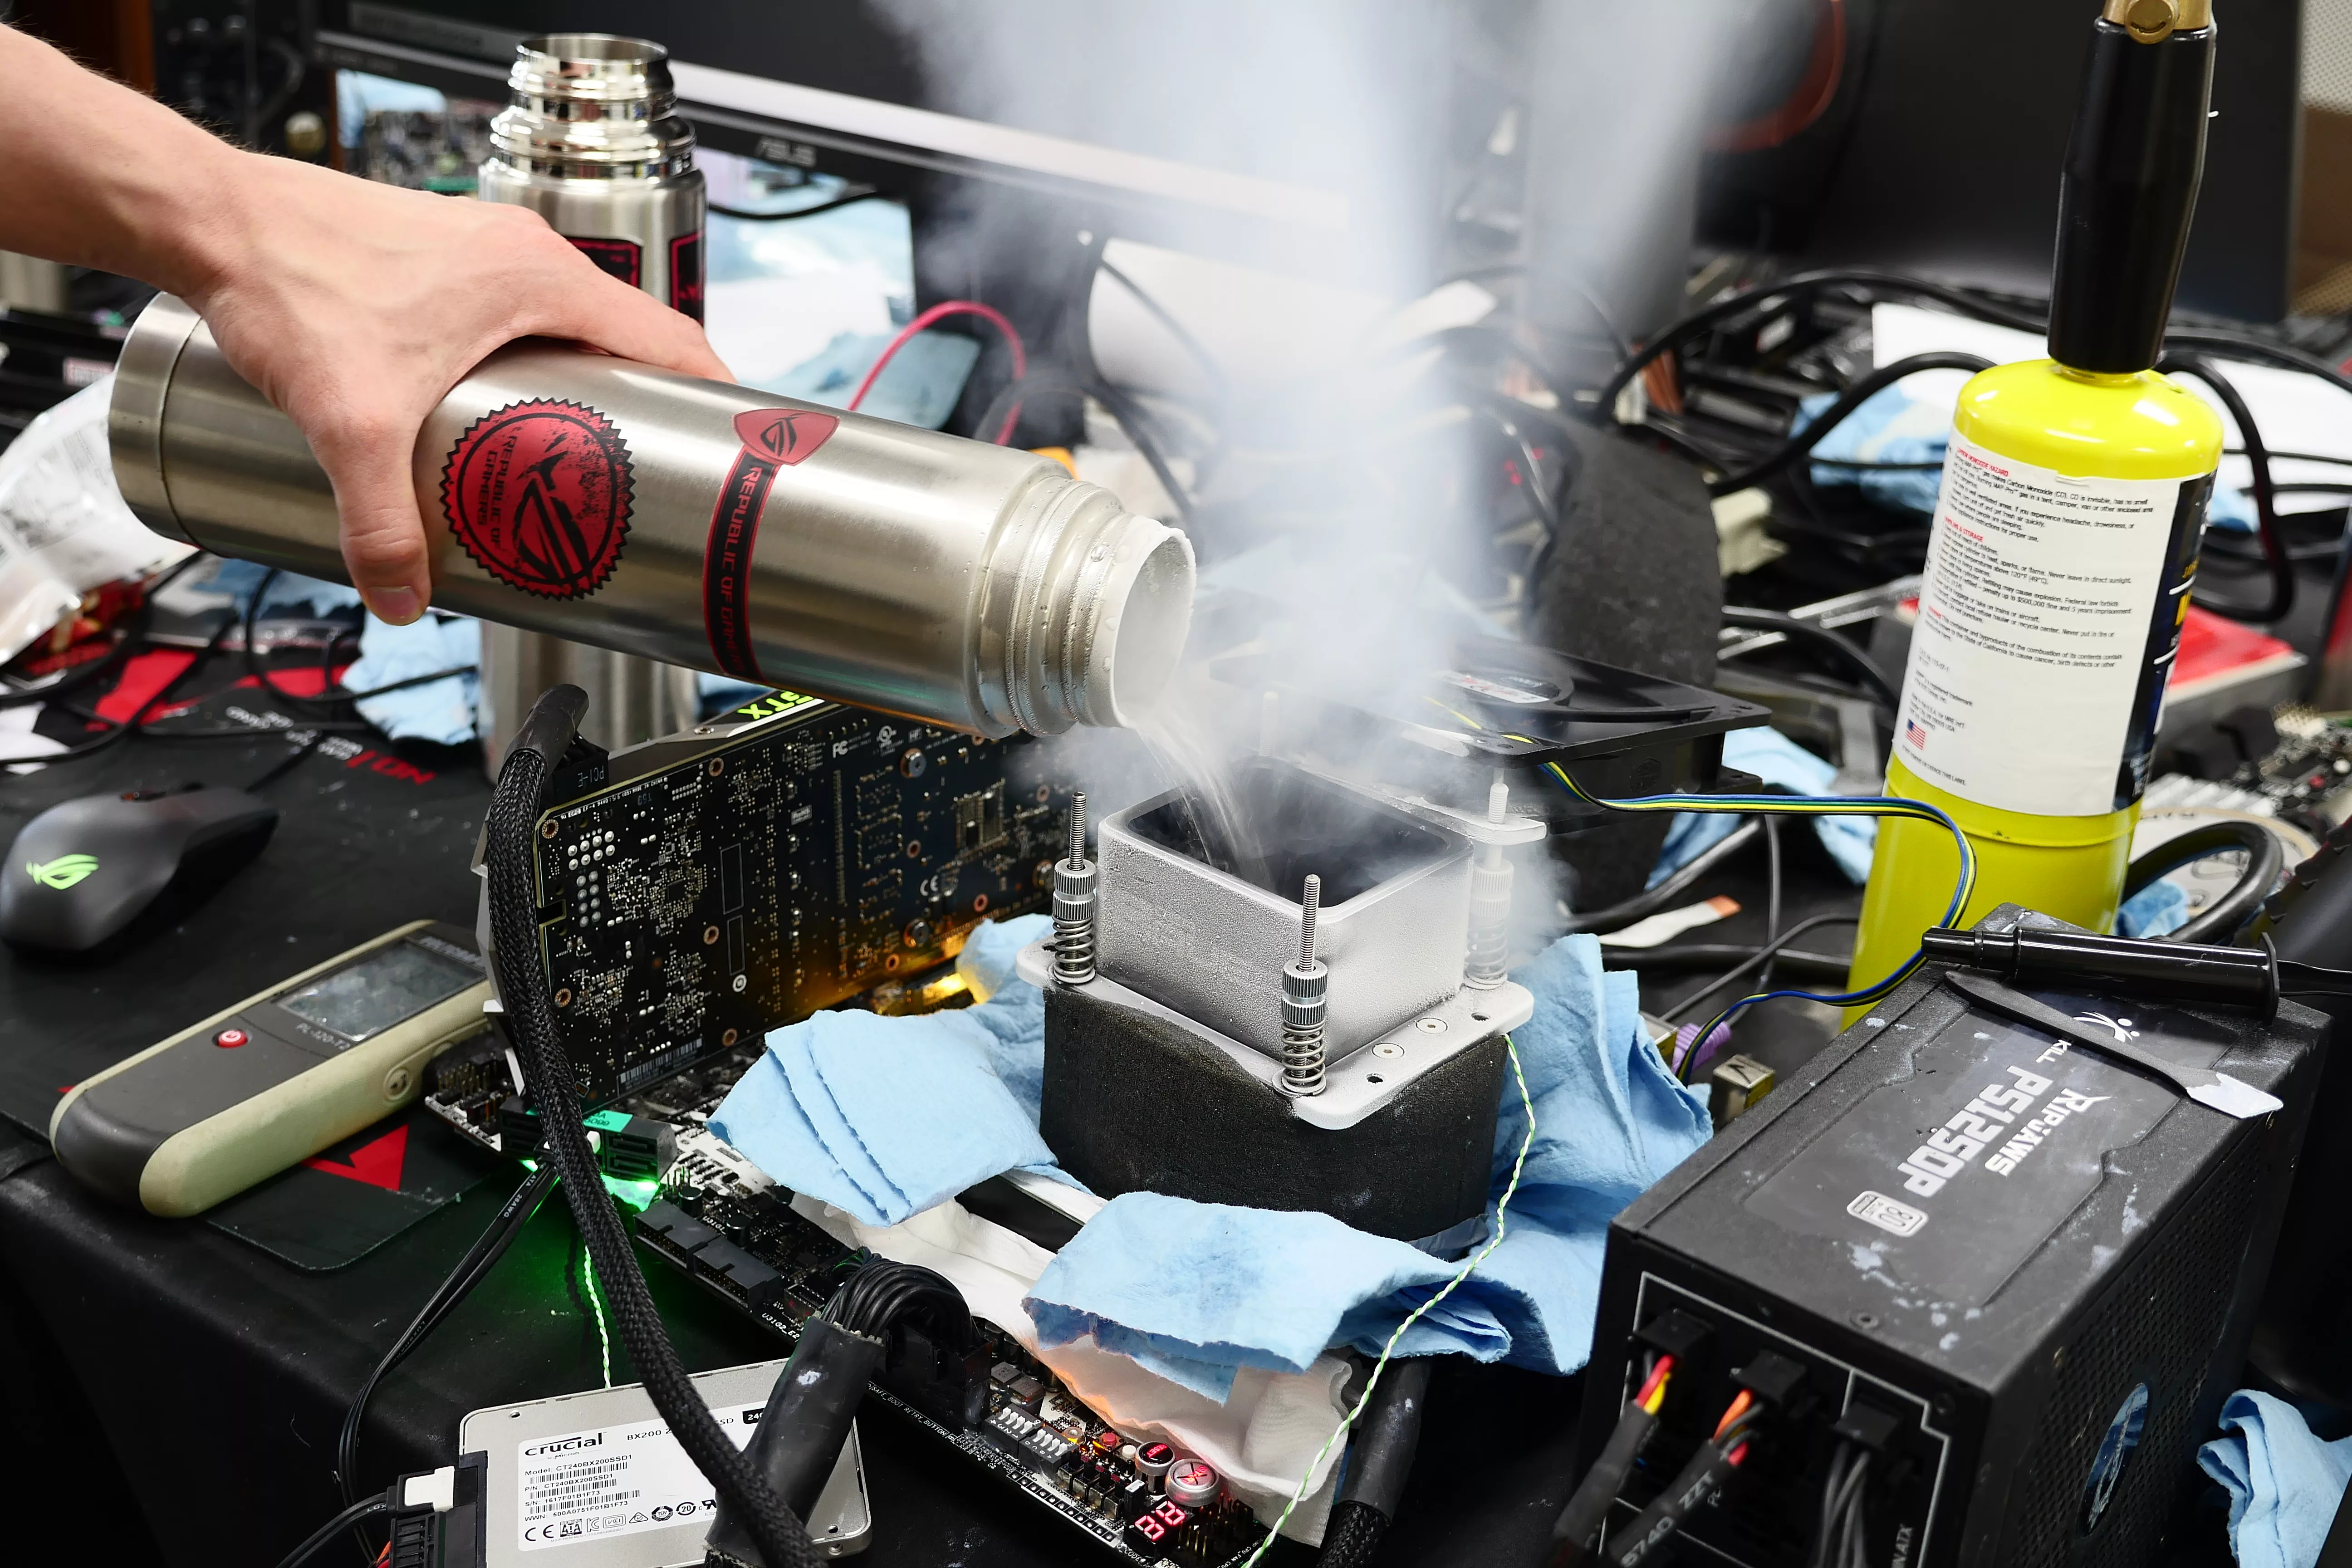
Man vs machine
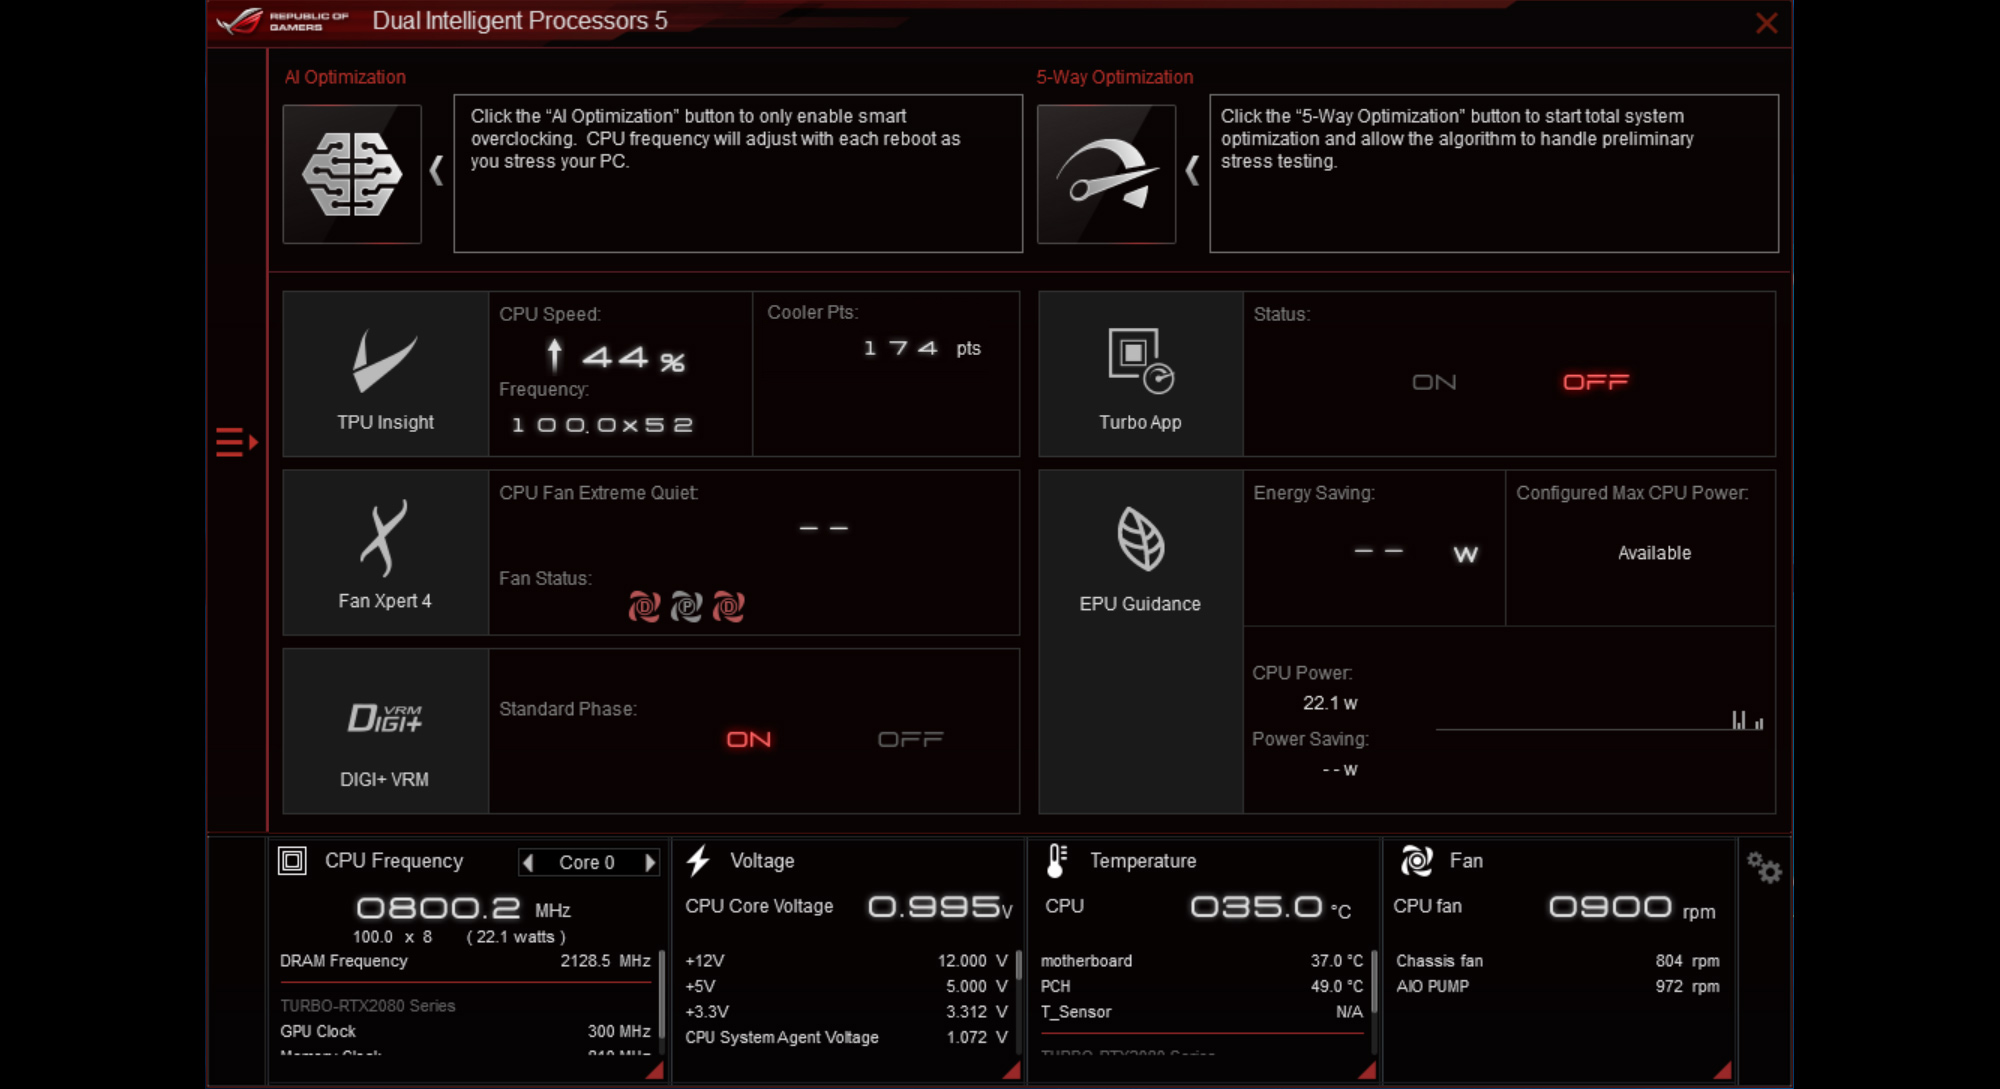
To see if I could do better than our algorithm, I disabled the auto-tuner and tried to reach higher speeds than the 5.2GHz it recommended. This time, I booted back to the desktop for software tweaking with the latest version of AI Suite. I first tried to dial up the multiplier by one step, taking it to 53X for 5.3GHz, but the system locked up. Incrementally increasing the base clock to 101MHz got me to 5.252GHz without issues, but that's only about 1% higher than what AI OC achieved, and it took a lot longer. I tried to push things further by adjusting the voltage but didn't have any success.
AI Overclocking is an amazingly quick tuning utility that goes beyond standard automated overclocking tools and remains vigilant in the face of changing system needs. It's a handy weapon for beginners looking for an easy path to higher speeds and a useful tool for experts who want to get to a stable baseline with minimal fussing, but it's only available on select boards in the ASUS Z390 family. Check out our introduction to Z390 gaming motherboards in the ROG Maximus and Strix families, and don't miss the full ASUS lineup in the complete Z390 motherboard guide at Edge Up. We have boards for everyone from beginners and first-time builders to hardcore enthusiasts and prosumers, and most of them support AI Overclocking.
Author
Popular Posts

The ROG XREAL R1 gaming glasses let you game anywhere on a 171-inch 240Hz virtual screen

How to Cleanly Uninstall and Reinstall Armoury Crate

How to adjust your laptop's P-Cores and E-Cores for better performance and battery life

Prepare for Tandem OLED splendor with these new ROG gaming monitors

Check out the latest ROG gaming gear revealed at CES 2026
LATEST ARTICLES
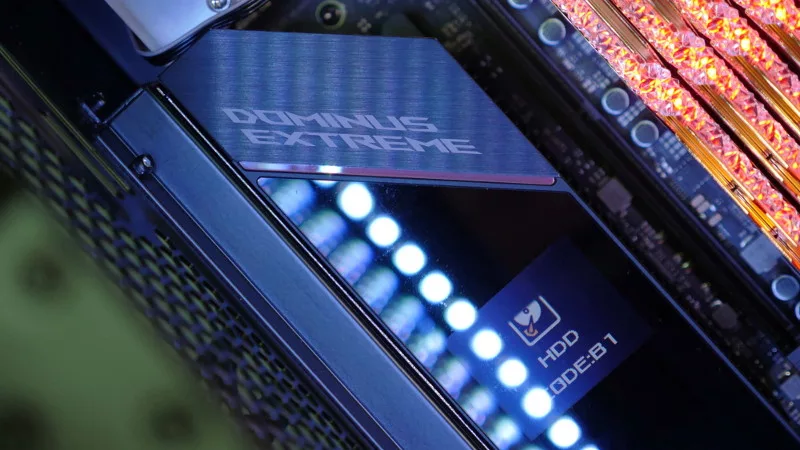
See the mammoth ROG Dominus build that takes Intel's 28-core Xeon W-3175X to the Extreme
The ROG Dominus Extreme pushes the boundaries of PC performance in our awesome CES 2019 build.

Breaking world records with the ROG Maximus XI Gene and the Intel Core i9-9900K
Tasked with pushing performance on the Z390 platform as far as possible, we invited the best overclockers to ROG HQ for a week of extreme overclocking.
How to overclock your system using AI Overclocking
AI Overclocking one-click tuning makes its debut on Z390 motherboards and we have a quick how-to guide to get you started.

HW GURUS win the ROG OC Showdown Team Edition 2
The results are in from our second ROG OC Showdown Team Edition. See who posted the top scores.
Breaking records with the Maximus X Apex and i7-8700K
ROG is obsessed with chasing the highest overclocks and fastest performance, and Coffee Lake is our new muse on the Maximus X Apex.
The Rampage VI Apex claims more performance victories with Intel's new Core i9-7940X and i9-7980XE
After dominating extreme overclocking with the first wave of Skylake-X CPUs, we've taken the latest 14- and 18-core models to sub-zero extremes.