Crosshair IV Extreme: Extensive Overview
This article is an extensive overview for you to get a better understanding on the technology behind the Crosshair IV Extreme. I have written this so that upcoming ROG enthusiasts and even the Pros can find some useful information.
This image is for your reference of the overall board layout.
I have marked off all the key talking points of the board with numbers as a key to the details below in hopes to give you a better understanding of what makes this board so badass.
- The VRM on the board is a 8+2 phase VRM design. This means we have an 8 phase powering the CPU plus 2 phase powering the integrated memory controller and additional 2 phase for the actual system memory.
- The VRM on the board uses higher grade capacitors which each of them are rated at 40 amps which allow us to run more amperage and power delivery to the CPU under extreme condition. Whether that’s under high overclocks under water, dice, ln2, the VRM is designed to allow high level of power to the CPU socket.
- The C4E also uses a SUPER ML CAP. This allows higher current draw and can deliver the same amount of power when compared to 15 normal capacitors. ASUS has gone through extensive testing comparing these to other options like HI-C caps on competitor boards. In the end we decided to stick with SUPER ML CAP for better performance.
- This is a FULL AMD AM3 socket based off the 890fx chipset to support dual core, tri core, quad core, hex core. ASUS has put a lot of focus on the VRM design to get the best performance out of Thuban - 6 core CPUs.
- Extreme OC Zone has 3 physical buttons. The first button is the core unlocker button which allows you to unlock potentially hidden cores in AMD CPU. With a dual core, tri core, or upcoming quad core, you can unlock to a tri core, quad core or potentially hex core. The advantage of ASUS’s core unlocker over some competitors that have "similar" technology is that when this button is pressed it will automatically scan the cache on the CPU, automatically unlocking it. The user does not have to go into the bios, select core unlocking, select the cores, reboot, adjust the voltage, and then restart. This is a huge waste of time and effort. ASUS’s core unlocker will seamlessly unlock all possible cores. This is all dependent on the CPU of course. Some CPU are able to unlock some are not. The test and unlocking process takes about 30 seconds. You want to be sure to turn this feature on before you booth your system and not during. If you clear CMOS, it will disable core unlocker. These are all improvements from previous generation core unlockers from ASUS.
We then have the obvious power and reset buttons. - We also have PCI-E lane dip switches. These allow you to physically turn off the power to each individual PCI-E lane. This can be used in various scenarios such as when overclocking and you want to bench scores on 1 card and quickly switch to 2, 3, 4 cards, all you have to do is flip the switch and you’re ready to bench. No downtime!You can also use these from a diagnostic standpoint to quickly figure out which GPU may be faulty. Especially if you have a watercooled GPU setup, it will be a pain to take out individual cards. This way you can still have the system running without physically taking the card out.The QLED, which has physical LEDs on the board, will indicate the post status of the CPU, DRAM, VGA, or Boot device. If any of those are having issues, the LED will lock on them notifying you there is a problem.
- ProbeIT allows you to use a digital multi-meter at the hardware level to accurately measure the voltages on the board in real time. Under varying types of load or extreme conditions, the voltage can skew so it’s good to monitor that. You can use either the direct contact points or use the belts provided to connect to the multi-meter. Probe IT will be the most accurate way to measure and monitor your voltages.
- Go button/MEM OK serves 2 functions depending on the power state. If you press the go button while in windows, the board reboot and load a preset overclocked profile that the user defined in the bios, then the system will restart. You may find this useful in situations where your system locks and you want to bring your system back to a known profile that is able to boot. You will not need to re-input your bios settings from scratch.When your computer is in the OFF state, by holding down this button, It will turn your system on and you would be activating the MEM OK process. This is used when you are not able to boot or run your system due to memory issues. BEFORE the CPU is initialized, it will attempt to interact with the memory and see if it can post with the pre-detected settings. If it still cannot post, the system will try to adjust the memory timing. If it’s not successful, it will adjust the frequency. If it’s not successful, it will attempt voltage cycling. If it’s still not successful it will try a mixture of all three. In a complete rare event, it will lock the Dram LED and let you know there is an issue with the memory. You may need to try 1 or 2 dimms and other diagnostic measures. Now in some cases, say you have 2000MHZ ram, in some cases the memory frequency will degrade and will not be able to boot at 2000MHZ, but still possible at 1600MHZ. MEM OK will bring the frequency down and let you run your system until you can figure out your RMA or replace it. But at least you will able to use your system.
- Primary slots for the memory dimm are red. Secondary is black.
- 890FX Chipset is AMD’s high end enthusiast chipset. The main advantage is that they have an increased number of PCI-E lanes, allowing X16 x16 Multi GPU configuration. Additionally with the enhanced number of PCI-E lanes, we can provide the additional controllers to the USB 3.0 and retain full performance while having multi GPU configurations, unlike most P55 boards that saturate the bandwidth or like ASUS mainstream boards using a PLX Bridge chip to maintain the full performance. For the best performance when running Multi GPU, you want to utilize slot 1 and 3 for a dual slot configuration. To enable SLI, you have to have your cards in slot 1 and 3, otherwise the Lucid drives will not detect it. These slots have been specifically assigned to work with the Lucid chip.The C4E has also been tuned for memory to take full performance past 2000MHZ, which on AMD is rare, so we are fully maximizing the 890FX chipset.
- 890FX supports SATA 6G natively. All 6 ports are SATA 6Gbps compared to P55 or X58 boards that only support 2 SATA 6Gbps. It also supports RAID 0, 1, 5, and 10. The SATA 6G bandwidth on the 890FX is not capped like intel boards. 890FX does not support USB 3.0 natively so we have included an NEC controller for USB 3.0. There are an additional 2 SATA 3Gbps ports specifically for optical drives so that they are separate from your potential raid configuration.
- ROG Connect Bios flashback has several elements. We have incorporated dual socket bios chips where other competitors have soldered on their chips. The advantage is, if one fails, we can easily replace it.Typically when you have your system ready to run, the user will install the CPU, Memory, and GPU in order to boot and load your bios. With USB bios flashback, you can load the latest bios on a thumb drive, plug it in the vertical ROG connect USB port, and flash the bios by holding down the ROG connect button for about three seconds and wait for the bios light to start flashing which will indicate the bios being written. The only thing you need is standby power connected to the board. The bios “.rom” file must be rewritten depending on the board. For a Crosshair IV Extreme, you must rename the file to “C4E.rom”. If you have a Rampage III Formula, you will rename the file to “R3F.rom”
It will work for either bios chip, you can use the bios switch button to switch between the chips. You can also flash your bios through ROG Connect via notebook.
Both of these features are exclusive to ROG. - The C4E is equipped with a Lucid hydra controller that can run both AMD Crossfire X and Nvidia SLI. In the past you were only able to run single AMD or Nvidia GPU or AMD Crossfire X. With Lucid you are now able to run single, dual or triple SLI configurations. Lucid will also allow you to have a mixed mode. You will be able to mix cards from the same vendor for example; AMD 5870 and 5850 combo or Nvidia GTX480 and GTX460 combo. You also have X mode which will allow you to mix and match Nvidia and AMD cards.
- We also have a PCI slot for some overclockers to run an old PCI VGA card, enough to display video and put as little load on the PCI-E lanes which they tend to overclock PCI-E bus which can potentially cause instability.It can also be used for PCI post diagnostic cards and older generation high end audio cards.
- ROG Connect and ROG connect Bluetooth, is a software application that allows users to tweak various bios features through a notebook. You can adjust various frequencies, voltages, monitor temperatures, voltages, and remotely turn on and off your system and much more. Bluetooth connect allows you to utilize the functions of ROG connect through your android, win mobile, symbian, and iphone. You can also use the Bluetooth module to pair normal Bluetooth connectivity for additional Bluetooth peripherals. To initialize ROG connect, you must press the ROG connect button. To initialize Bluetooth ROG connect, you must press the Bluetooth ROG connect button.
- Intel Ethernet Lan was implemented based on the research and demand from the gaming community as the best supported and best performing network controller. Intel Ethernet is providing the best performance with the least CPU overhead giving you the best gaming performance and compatibility.
- The Extreme series adds additional power support for the GPU. We have added extra power connections for the GPU. There is 1 molex connector behind the audio ports and 1 next to the last PCI-E lane. These are specific to provide additional power to the PCI-E lanes under very extreme load conditions. Even if you are running a full 4 way GPU setup with moderate overclocks under air environment, it is not required for the additional power. Some of you may be wondering, does it matter which molex you connect into depending on how your GPU is setup? No, both molex are going to the same backplane and is not dedicated to specific lanes. If you need additional power, you can choose either molex or both.
- Heatsink design is a uni-heatpipe design, so it goes through the VRM -> 890FX-> Lucid chip-> and the Southbridge. There is a 40mm fan to cool the hottest point of the heatsink.
There are 8, 4pin fan headers on the board with advanced fan control for the CPU, chassis, and the optional controllers. We have one of the most advanced fan controllers on the market as the board can target CPU and chassis temperatures, fan rotational speed. For example, you can set your fans to automatically adjust RPM at a desired speed when your chassis hits 25 degrees, 50 degrees, or whatever degree you decide to set it at.The C4E comes equipped with Q design elements such as: - Q-Dimm – Designed for our Dram slots where only one side of the memory is notched and the other has a retention clip allowing for easier installation and removal. Typically a double sided retention clip can be obstructed by the GPU possibly forcing you to tension your graphics card or having to remove it. With Q-Dimm, you just need to push down on one clip to remove the memory.
- Q-Slot - has a wider switch, which allows easier access when removing graphics cards. The Depression clip is actually wider than the Graphics card so that you can use a probe or pencil to push the clip down and easily remove the card. This Is especially useful when running multi GPU setups. In competitor boards, you would typically have to taking out the first 3 cards in order to remove the 4th card due to the inferior switch design.
- We also have our volt meter LED technology which will indicate the voltage being supplied is normal, high, or CRAZY. It will pretty much tell you if you’re in the danger zone.
The package also comes with 2 thermal probe headers that allow you to include the thermal sensor anyone on the board to get a direct reading.
Rear IO Ports:
- 1 PS2 port; (can use keyboard or mouse)
- 2 USB 2.0 ports
- Clear CMOS; (press it until it turns green)
- 2 USB2.0 ports, ESATA
- TOSS link out/optical
- 2 USB 2.0 port, 1 Firewire, Powered ESATA; (important note; for the 2 ESATA, we are not using a combination port. Some competitors may advertise 8 USB ports, along with 2 ESATA (same as ASUS), but you may not always be able to use the USB and ESATA at the same time. Often Competitors share the bandwidth to use USB OR ESATA, so you are limited to one port or the other. ASUS has dedicated ports allowing you to fully use each and every port that’s advertised.
- Intel Gigabit LAN and 2 USB 3.0 ports
- ROG Connect button
- ROG Connect USB port; (also used as a normal usb)
- ROG Connect Bluetooth module; Once this module is inserted, you will be able to use it to activate ROG Connect via phone or use with normal Bluetooth peripherals.
- 8 channel 3.5mm audio jacks using the Realtek 889 chip.
This article was originally written by Brian @ ASUS.
Author
Popular Posts
Prepare for Tandem OLED splendor with these new ROG gaming monitors
How to adjust your laptop's P-Cores and E-Cores for better performance and battery life
How to Cleanly Uninstall and Reinstall Armoury Crate
How to upgrade the SSD and reinstall Windows on your ROG Ally, ROG Xbox Ally, or ROG Xbox Ally X
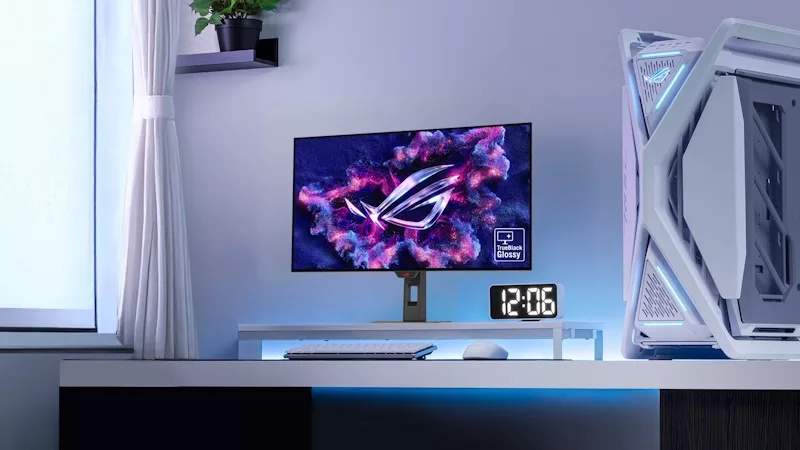
32-inch glossy WOLED panels debut in the ROG Strix OLED XG32UCWMG and XG32UCWG gaming monitors
LATEST ARTICLES
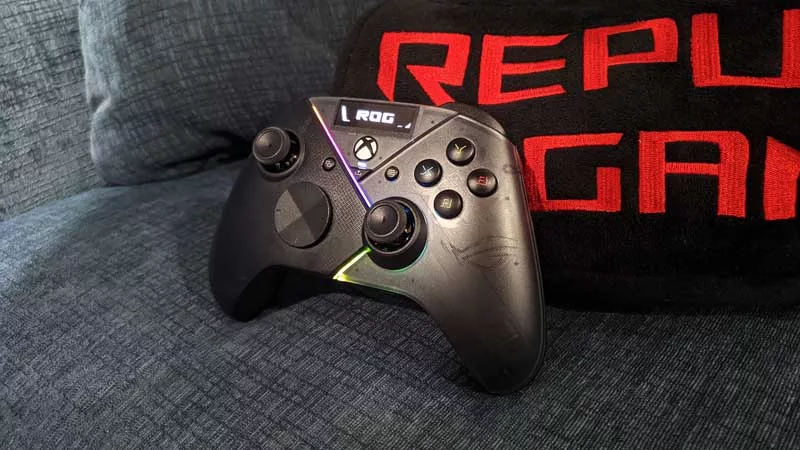
Hands-on: The ROG Raikiri Pro took my couch gaming to the next level
I've been a diehard PC gamer all my life, but I often play on the couch. The ROG Raikiri Pro has improved my living room PC gaming immeasurably thanks to a few useful features and loads of customizability.
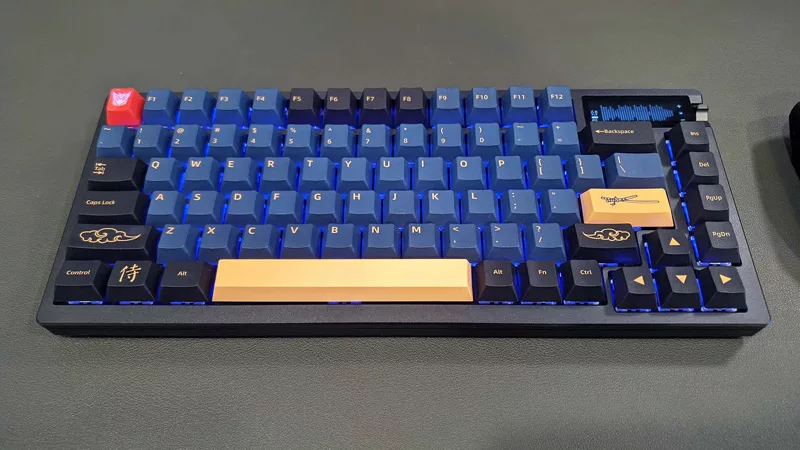
Hands-on: The ROG Azoth became the canvas for the keyboard of my dreams
Ever since I bought my first mechanical keyboard, I’ve been on a mission to mod and upgrade, mod and upgrade. But I think the ROG Azoth may actually be my endgame.
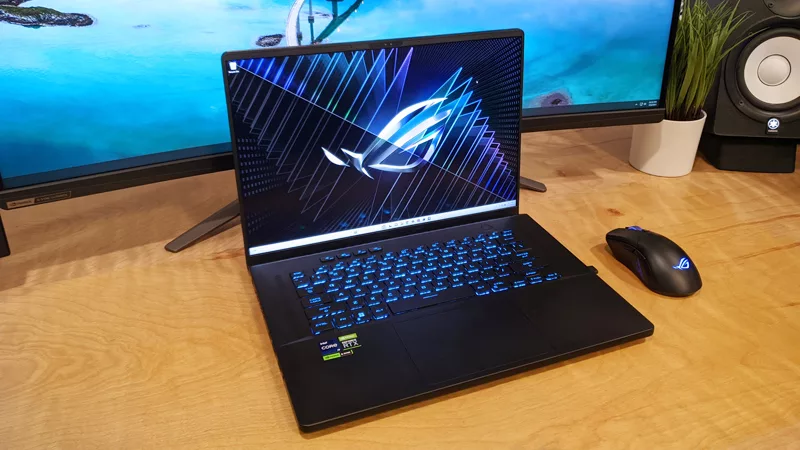
The Zephyrus M16 blends outstanding HDR gaming performance with undeniable luxury
The new ROG Zephyrus M16, with its Nebula HDR display, is like bringing a high-end home theater gaming setup with you wherever you go.
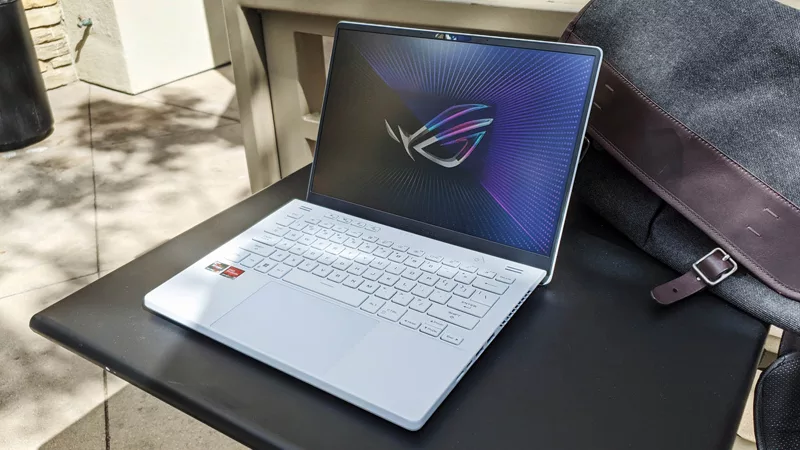
Radeon graphics and a stellar new display reinvigorate 2022 ROG Zephyrus G14
For a long time, I had to choose between underpowered ultraportable laptop and large laptops capable of gaming. But the ROG Zephyrus G14 puts admirable gaming chops into an ultra portable machine that travels anywhere.
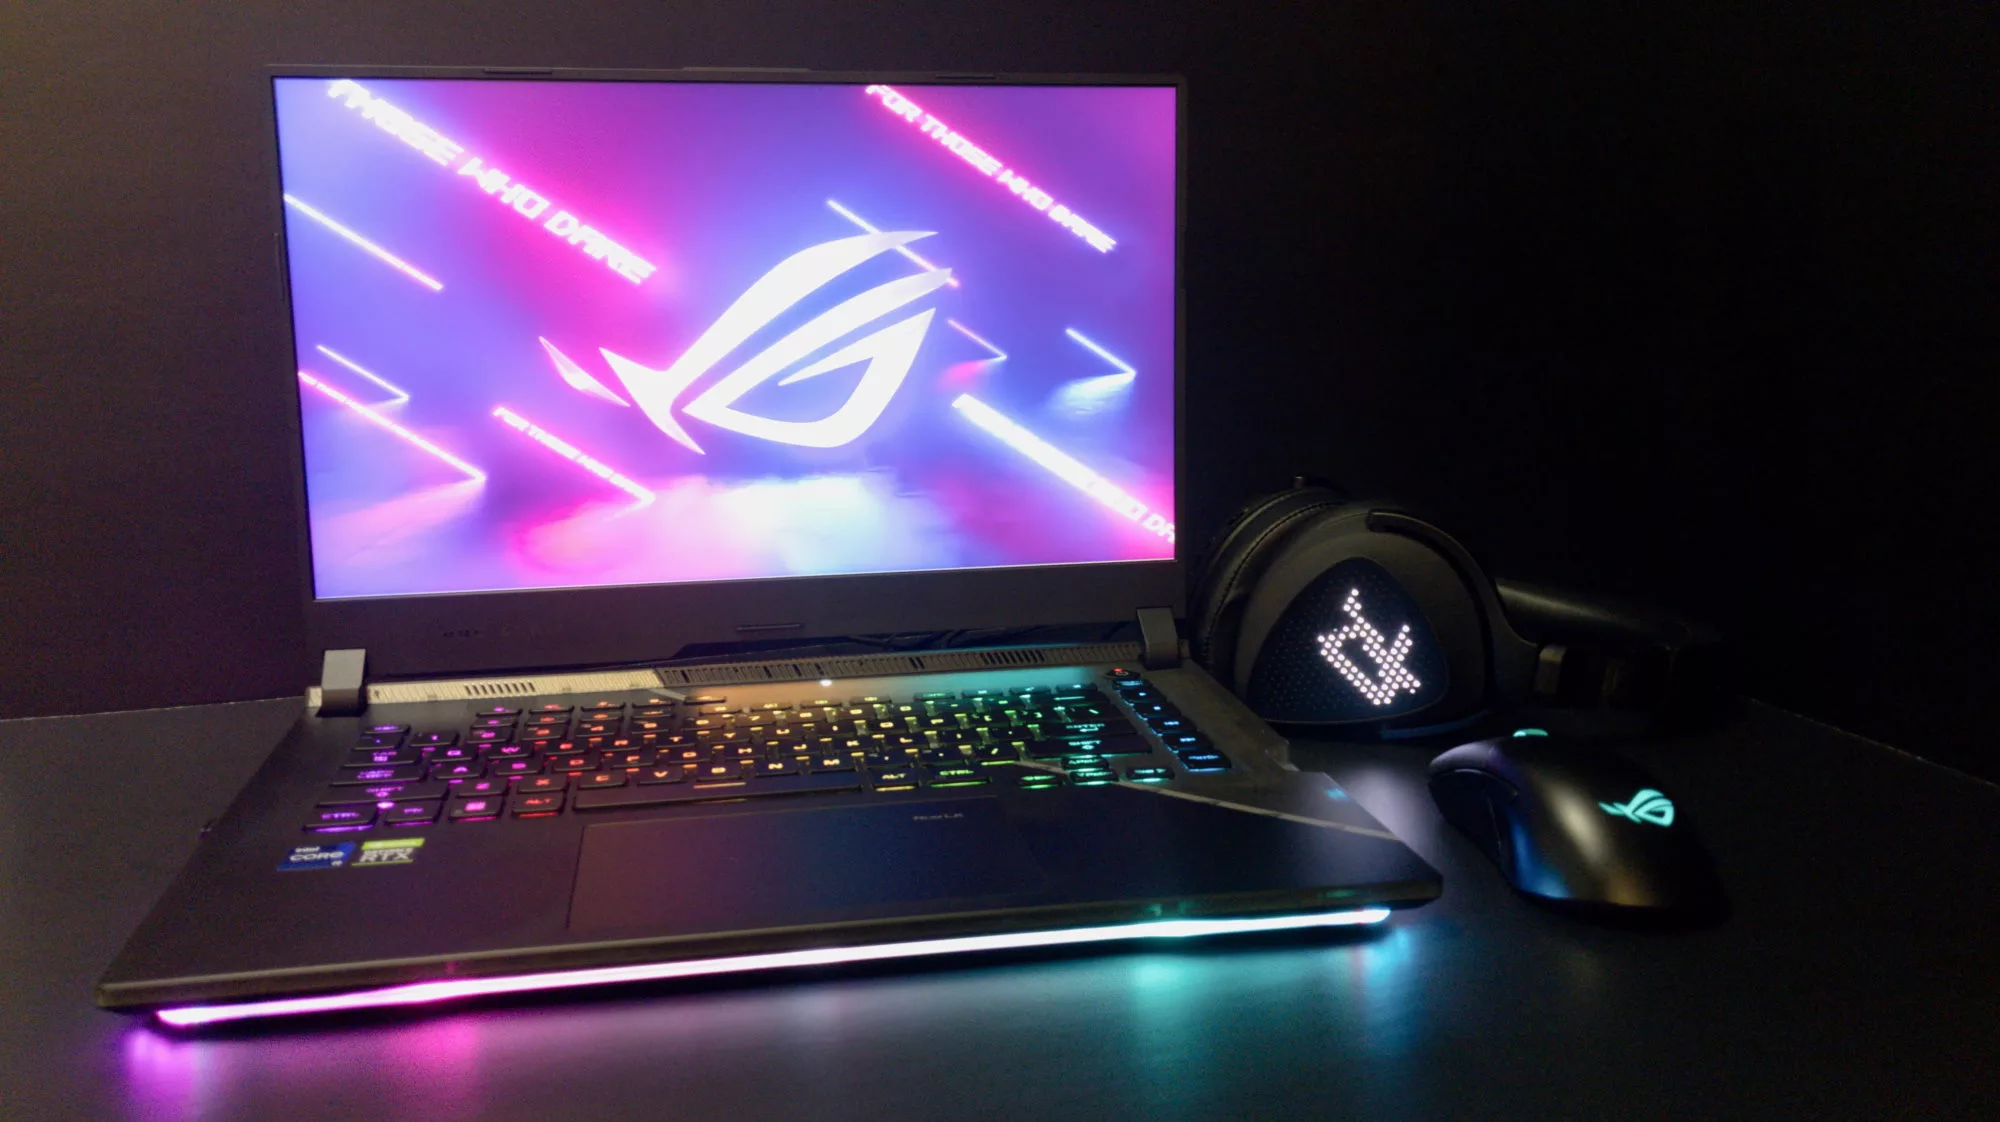
Ready to rumble out of the box: Hands-on with the ROG Strix SCAR 15
Living on the move or in a smaller space isn't a roadblock to high-end gaming. The ROG Strix SCAR makes portable powerful.
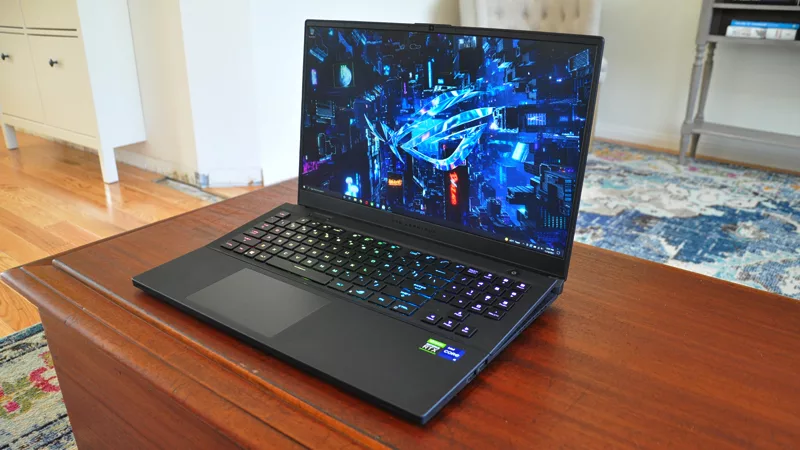
The ROG Zephyrus S17 is an outstanding mixture of power and portability
The S17 has it all: top-tier hardware in a slim package with all the bells and whistles.

