G771 Upgrade Guide
You should be glad to know that you don't have to be computer savvy to upgrade G771 by yourself, and that's great news if you've always wanted to upgrade a PC. Before you know it, you'll be building a liquid-cooling system with sound-activated bling. You'll need a place to work where you won't be losing screws and scratching up the laptop surface. Let's start here by opening up the back cover. Just unscrew where indicated (red), then pull off the cover and now you have successfully voided your warranty, just kidding, if you follow this guide your warranty will be safe. No separate compartments nor multiple screws, just one screw holds the cover securely (the screw is hidden under a rubber stopper which needs to be removed first).
Upgrading RAM
G771 has two SO-DIMM slots right in the middle. If you don't get 16GB of DDR3L 1600MHz RAM pre-installed (two 8GB DIMMs) then it is possible to upgrade. This uses DDR3L RAM which only requires 1.35V. Just gently pull apart the latches (blue), and the RAM will pop up, allowing you to slide them out. Obviously the top one needs to be taken out before you attempt the bottom one.
Voila! Remove the memory and you have a non-working system! Now you can insert any new DIMM(s) by doing some reverse-engineering; insert the new RAM (it only goes in one way), and push down until both latches lock into place.
M.2 PCI-Express SSD
You could get m.2 PCI-Express SSD pre-installed or you can upgrade by removing another cover located below the RAM. In this model, there is an SSD pre-installed and secured by another screw.
Dual Upgradable Drive Bays
There are dual 2.5-inch drive bays on each side of the RAM. In this model there is a hard drive in the first bay on the right, and the left, second bay is available for expansion. These bays will fit any standard 2.5-inch drive, may it be a larger HDD, SSHD, or a pure SSD.
They use the standard mobile SATA connectors you can see below.
Upgrading the Optical Drive
In the unlikely case that you have maxed out both bays and the PCI-Express slot with storage and STILL need more, you can remove the optical drive. Again, there is only one screw (yellow) needed to secure it, just unscrew and slide the optical drive out (as illustrated). G771 uses a standard mobile SATA connector for the optical drive which allows you to easily upgrade it or use the bay for anything else. With a 3rd-party caddy that's a total of four storage devices possible.
Battery Swap
If you are going on a 12 hour flight or long gaming session without access to a power socket, an optional second battery could come in handy. It is easy to lock and load, well, actually it is more like unlock (slide the locking mechanism) and reload. No you cannot replace the battery with another hard drive...
Author
Popular Posts
How to adjust your laptop's P-Cores and E-Cores for better performance and battery life
Introducing the ROG Astral GeForce RTX 5090 and 5080: a new frontier of gaming graphics
How to Cleanly Uninstall and Reinstall Armoury Crate
How to configure your PC's RGB lighting with Aura Sync
How to upgrade the SSD and reinstall Windows on your ROG Ally or Ally X
LATEST ARTICLES
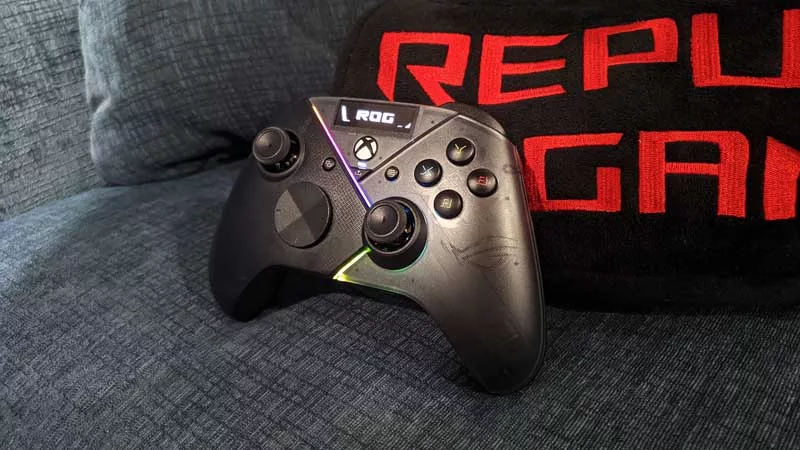
Hands-on: The ROG Raikiri Pro took my couch gaming to the next level
I've been a diehard PC gamer all my life, but I often play on the couch. The ROG Raikiri Pro has improved my living room PC gaming immeasurably thanks to a few useful features and loads of customizability.
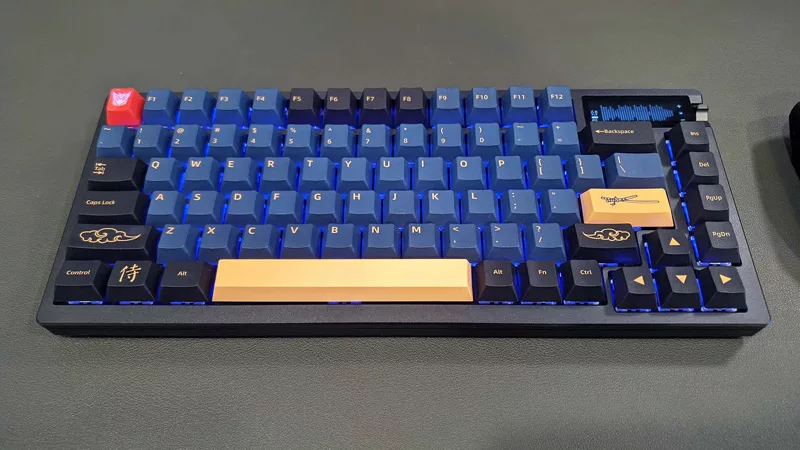
Hands-on: The ROG Azoth became the canvas for the keyboard of my dreams
Ever since I bought my first mechanical keyboard, I’ve been on a mission to mod and upgrade, mod and upgrade. But I think the ROG Azoth may actually be my endgame.
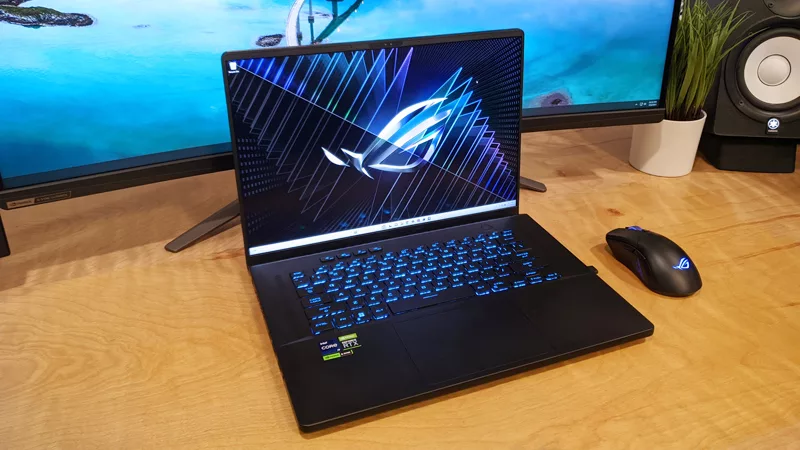
The Zephyrus M16 blends outstanding HDR gaming performance with undeniable luxury
The new ROG Zephyrus M16, with its Nebula HDR display, is like bringing a high-end home theater gaming setup with you wherever you go.
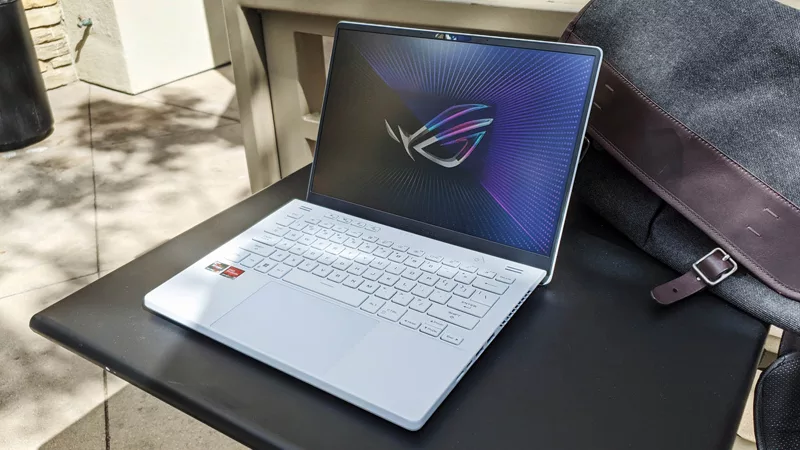
Radeon graphics and a stellar new display reinvigorate 2022 ROG Zephyrus G14
For a long time, I had to choose between underpowered ultraportable laptop and large laptops capable of gaming. But the ROG Zephyrus G14 puts admirable gaming chops into an ultra portable machine that travels anywhere.
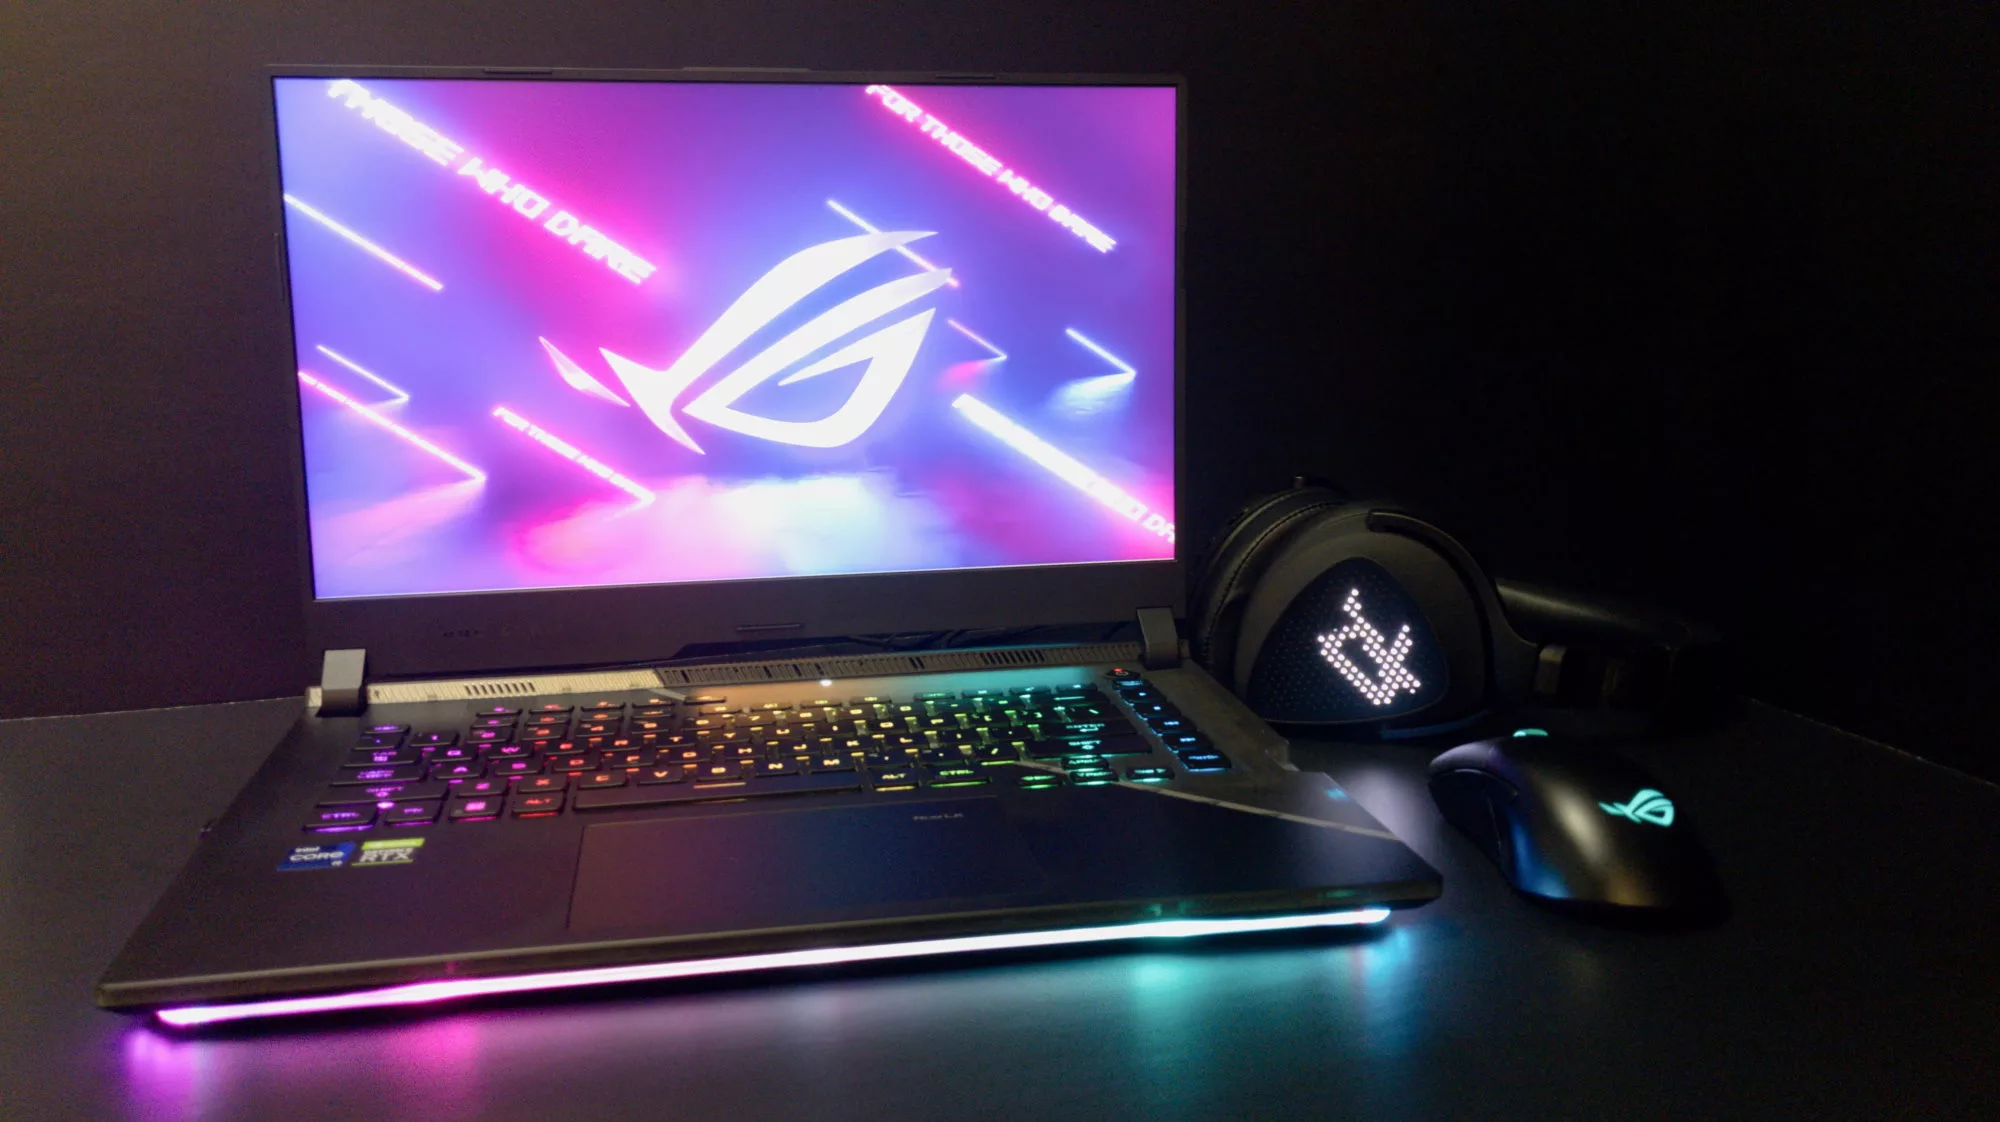
Ready to rumble out of the box: Hands-on with the ROG Strix SCAR 15
Living on the move or in a smaller space isn't a roadblock to high-end gaming. The ROG Strix SCAR makes portable powerful.
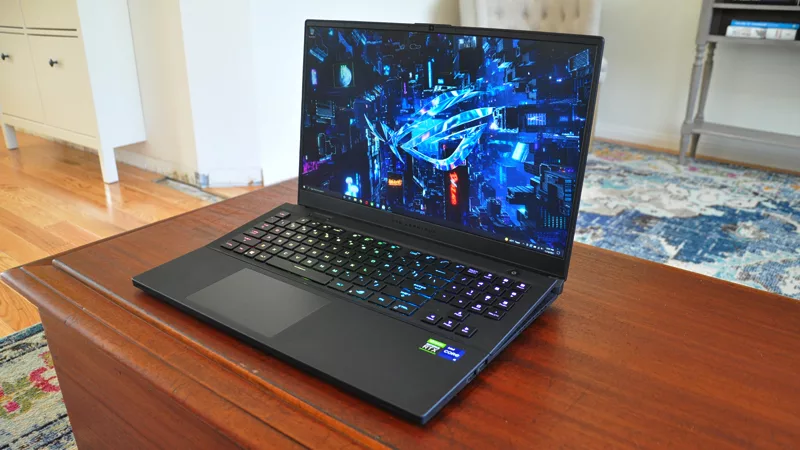
The ROG Zephyrus S17 is an outstanding mixture of power and portability
The S17 has it all: top-tier hardware in a slim package with all the bells and whistles.


