Guide: Overclocking A10-7850K With Crossblade Ranger
So you've bought yourself a Crossblade Ranger and an A10-7850K to go with it: now it's time to turn up the dials! Typically you can expect a mid-4GHz overclock with reasonable 'every-day' voltages, but your mileage will vary depending on the luck of the silicon draw. We'll approach overclocking in two parts - the basic BIOS setup, then nudging the system to find its limits from within Windows AI Suite III, so be sure to install the latest version from the Crossblade product page before you start.
Since the Crossblade Ranger is an ATX motherboard with plenty of PCIe slots, we're assuming you're not using the integrated Radeon APU graphics in preference of something higher performance in R7-R9 PCI-Express (or CrossFireX). For reference, we're using a Cooler Master Seidon 120M liquid cooler which is high performance and affordable, but not the absolute best cooler you can buy, yet we still ran with good temperatures when overclocked. Your own mileage will vary depending on factors like your ambient temp, fan speed settings and (luck of) quality of silicon in your A10-7850K.
BIOS Setup
From the default settings, let's prepare the BIOS first:
- Advanced - CPU Features - disable SVM (virtualization), APM Master and IOMMU.
In addition we left AMD PowerNow on but disabled C6, because even though we want the CPU to reduce its clock-speed and voltage to save power when idle, sometimes the very low C6 power state can cause instability and potentially limit the total overclock. Similarly APM Master was disabled because we don't want to limit the APU to its 95W power limit as we push its limits. In normal circumstances the APU should not exceed 95W with CPU cores alone, but at high voltage and frequency, and with the GPU cores active (with an OpenCL-enabled program, or with HSA for example) an APU can pull above 100W (AI Suite III shows the power draw in real-time). Depending on your happiness with power use versus performance desire, you can experiment with leaving C6 on/off or enabling APM Master, as both can potentially save power .

Aiming for 4.5GHz
- Set the Ai Overclock Tuner to manual and enter 43 as the multiplier. 4.3GHz is a decent starting point as it should be attainable for most 7850K APUs. Set the memory frequency to match your installed DDR3 memory. Here we are using 2x4GB 2400MHz G.Skill RipjawsZ.

- Set the offset voltage so your CPU hits roughly 1.4V, set the memory voltage to match your DDR3 memory.

- Within DRAM Timing Control, enter the DDR3 memory values displayed on your DIMMs. If you're unsure about any value leave it Auto.

- Within DIGI+ Power Control, we recommend trying High LLC for a every-day overclock. Note that Extreme can work better than attempting to raise voltage offset in some cases, but again, this is something to test for yourself.

- Tools --> ASUS Overclocking Profile --> Save the changes you've just made into an OC profile to allow easy settings recall, just in case things require a Clear CMOS later. For those who are pushing the limits for benchmarking, then inevitably you'll be clearing the settings, so we recommend saving two separate profiles ('every-day OC' and 'benchmarking OC') to save effort. As you can see below we've saved several with custom descriptions.


- F10 --> double check your changes --> OK!

AI Suite III
If your PC booted into Windows OK, from within AI Suite III let's push the system a little further. If at anytime the overclock fails, restart, (if necessary reload the OC profile) and try again! Your mileage will vary depending on your CPU.
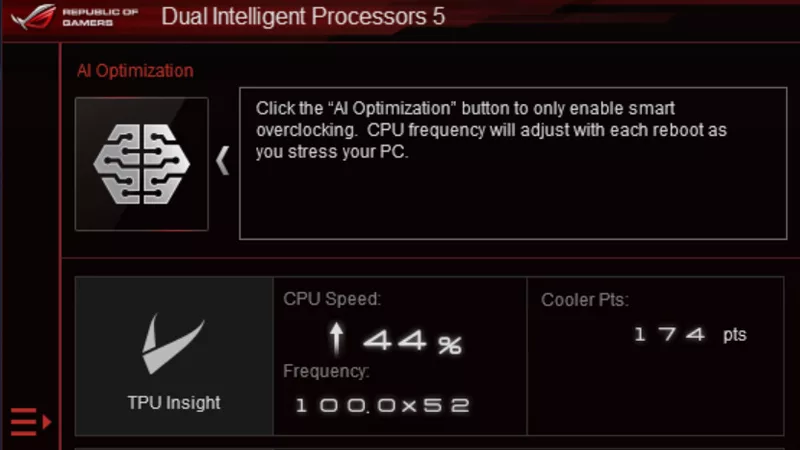
- Click on the TPU icon to load the overclocking functions.

- Alternate between adding +1 to the CPU ratio and more voltage, making note of where the system crashes to compensate next time. For an every-day overclock we don't recommend higher than 1.45V - the lower the better to save power, heat and the life of your silicon - however going a bit higher just to check some settings for a short time won't hurt.

Once you've settled on a final, stable overclocked frequency, you can now begin to lower the voltage to check when the system crashes. This gives you an operating boundary to do further tests to find the best stable overclock : voltage ratio for your APU, in order to save the most power.
Stress Testing
Let's use Realbench to check stability - first run a standard benchmark. Realbench will test your whole system - single thread/multi thread/memory and IO. Does it complete it OK?
 Our Realbench 2.2 result with a 4.6GHz A10-7850K at 1.4375V.
If yes, click Stress Test and run it for an hour; this will really test the system. If it passes this it will be stable in almost all scenarios. If it's not possible, turn the multiplier down a notch and try again.
Try the Base Clock
With our A10-7850K we hit a wall around 4.6GHz, but we wanted to find the fine grained limit between 4.6-4.7GHz, so we nudged the base clock up a few MHz as well. The whole system uses the base clock as a reference for its own clock frequencies, so the DDR3 memory frequency and PCI-Express will change also. To compensate, lower the DDR3 memory frequency setting or add more DDR3 memory voltage. We used 2400MHz DDR3 memory, so we dialed it back to 2133MHz before pushing the base clock upwards. Use CPU-Z (can launch from the Realbench About menu) to follow DDR3 memory frequency changes.
- Please note that version 1.7 upwards is required to read FM2+ CPU core voltage correctly.
Starting from 44x we used AI Suite III again to push the base clock from 100MHz to 104 - 105 - 106 etc.
[gallery include="" size="large" link="file" template="file-gallery" columns="2"]
Pushing the limits for benchmarking
As it describes itself, an 'every-day' overclock has to potentially run reliably all-day, every-day, with voltages that are not going to cause long-term damage. Finding the limits for benchmarking, however, is about pushing the settings as high as possible, but for a very short period. Note that even in short periods very high voltage still causes damage, but if you want to test your skills and have some fun to compare and compete with others, this is the way to do it. To get started, we recommend these general guidelines, however getting involved in AMD overclocking forums/communities to chat about exact settings and techniques is highly recommended too!
- The best cooling you can manage. Add as many fans as you can to the VRMs and CPU area.
- Max out all the DIGI+ Power control settings in the BIOS.
- Turn off all power savings options in CPU Features.
- Turn off all motherboard extra functions you're not using, like sound and networking.
- Use a high quality power supply to provide stable voltages.
- Providing you can control the temperature, prepare to use a very high CPU voltage. This is a time of experimentation that should be fun, but before you start ask yourself "can I afford to kill my hardware?" if not, don't do it!
- If you are using faster than 2400MHz memory, you will need to increase the CPU base clock to achieve its frequency.
- Increasing CPU NB frequency can give the edge in benchmark results, but it can require some considerable voltage (up to ~1.35V). See this thread results as a reference.
Our best A10-7850K CPU frequency result was 4.9GHz, with just 4.71GHz stable enough to run 1M SuperPi.

Author
Popular Posts

How to adjust your laptop's P-Cores and E-Cores for better performance and battery life

How to Cleanly Uninstall and Reinstall Armoury Crate
How to configure your PC's RGB lighting with Aura Sync
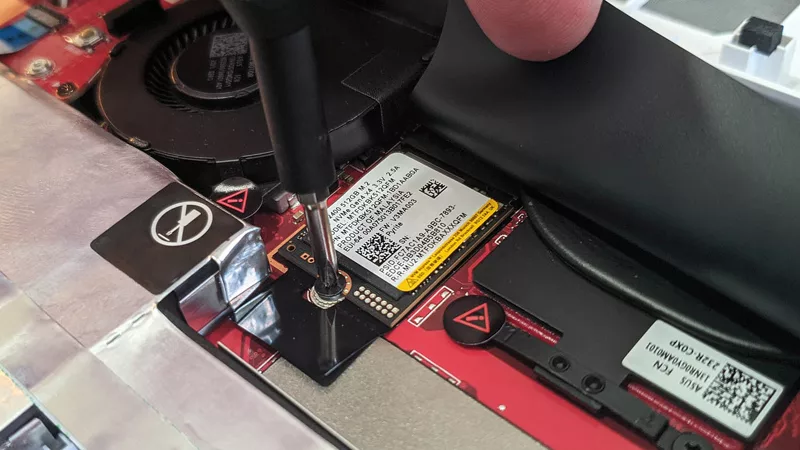
How to upgrade the SSD and reinstall Windows on your ROG Ally or Ally X
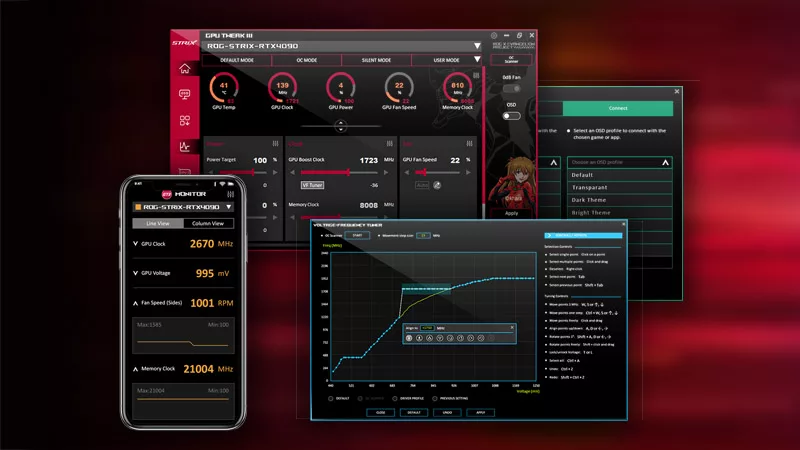
ASUS GPU Tweak III: The ultimate tool for advanced GPU tuning
LATEST ARTICLES
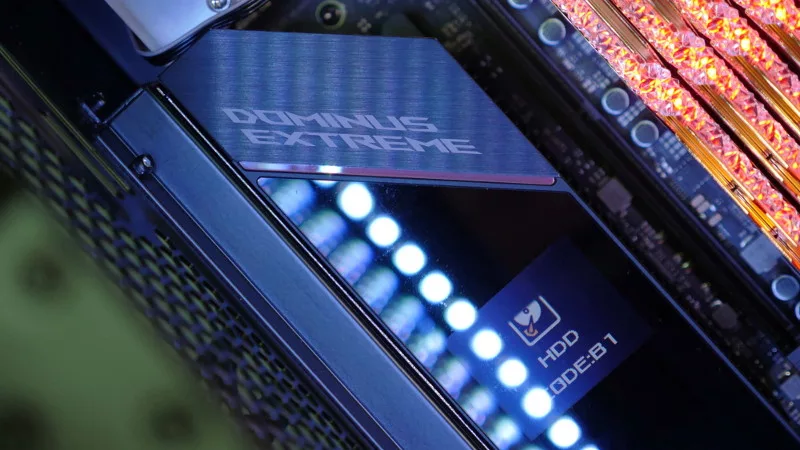
See the mammoth ROG Dominus build that takes Intel's 28-core Xeon W-3175X to the Extreme
The ROG Dominus Extreme pushes the boundaries of PC performance in our awesome CES 2019 build.

Breaking world records with the ROG Maximus XI Gene and the Intel Core i9-9900K
Tasked with pushing performance on the Z390 platform as far as possible, we invited the best overclockers to ROG HQ for a week of extreme overclocking.
How to overclock your system using AI Overclocking
AI Overclocking one-click tuning makes its debut on Z390 motherboards and we have a quick how-to guide to get you started.
HW GURUS win the ROG OC Showdown Team Edition 2
The results are in from our second ROG OC Showdown Team Edition. See who posted the top scores.
Breaking records with the Maximus X Apex and i7-8700K
ROG is obsessed with chasing the highest overclocks and fastest performance, and Coffee Lake is our new muse on the Maximus X Apex.
The Rampage VI Apex claims more performance victories with Intel's new Core i9-7940X and i9-7980XE
After dominating extreme overclocking with the first wave of Skylake-X CPUs, we've taken the latest 14- and 18-core models to sub-zero extremes.