The best streaming gear from ROG and TUF Gaming (and how to set it up)
Whether you’re looking to become a professional content creator or just enjoy the social aspect of broadcasting your games online, live streaming is a great way to engage with the gaming community — and it doesn’t take much to get started. But if you want to make your stream compelling, high quality audio and video go a long way.
After all, watching someone game isn’t very fun if you can’t even tell what’s happening on screen, or if they sound like a robot caught in a well. And if the stream is choppy or crashing, forget about it. That’s why ROG and TUF Gaming have a whole lineup of streaming-ready gear that’ll help you level up your content. Here’s everything you’ll need, from barebones to bombastic, and how to get it up and running.
The essential gear for live streaming
While you can start streaming with nothing but free software to capture your gameplay, voice and video is half the fun. So here’s a basic list of the gear we recommend for any budding streamer.
A powerful PC to stream your gameplay
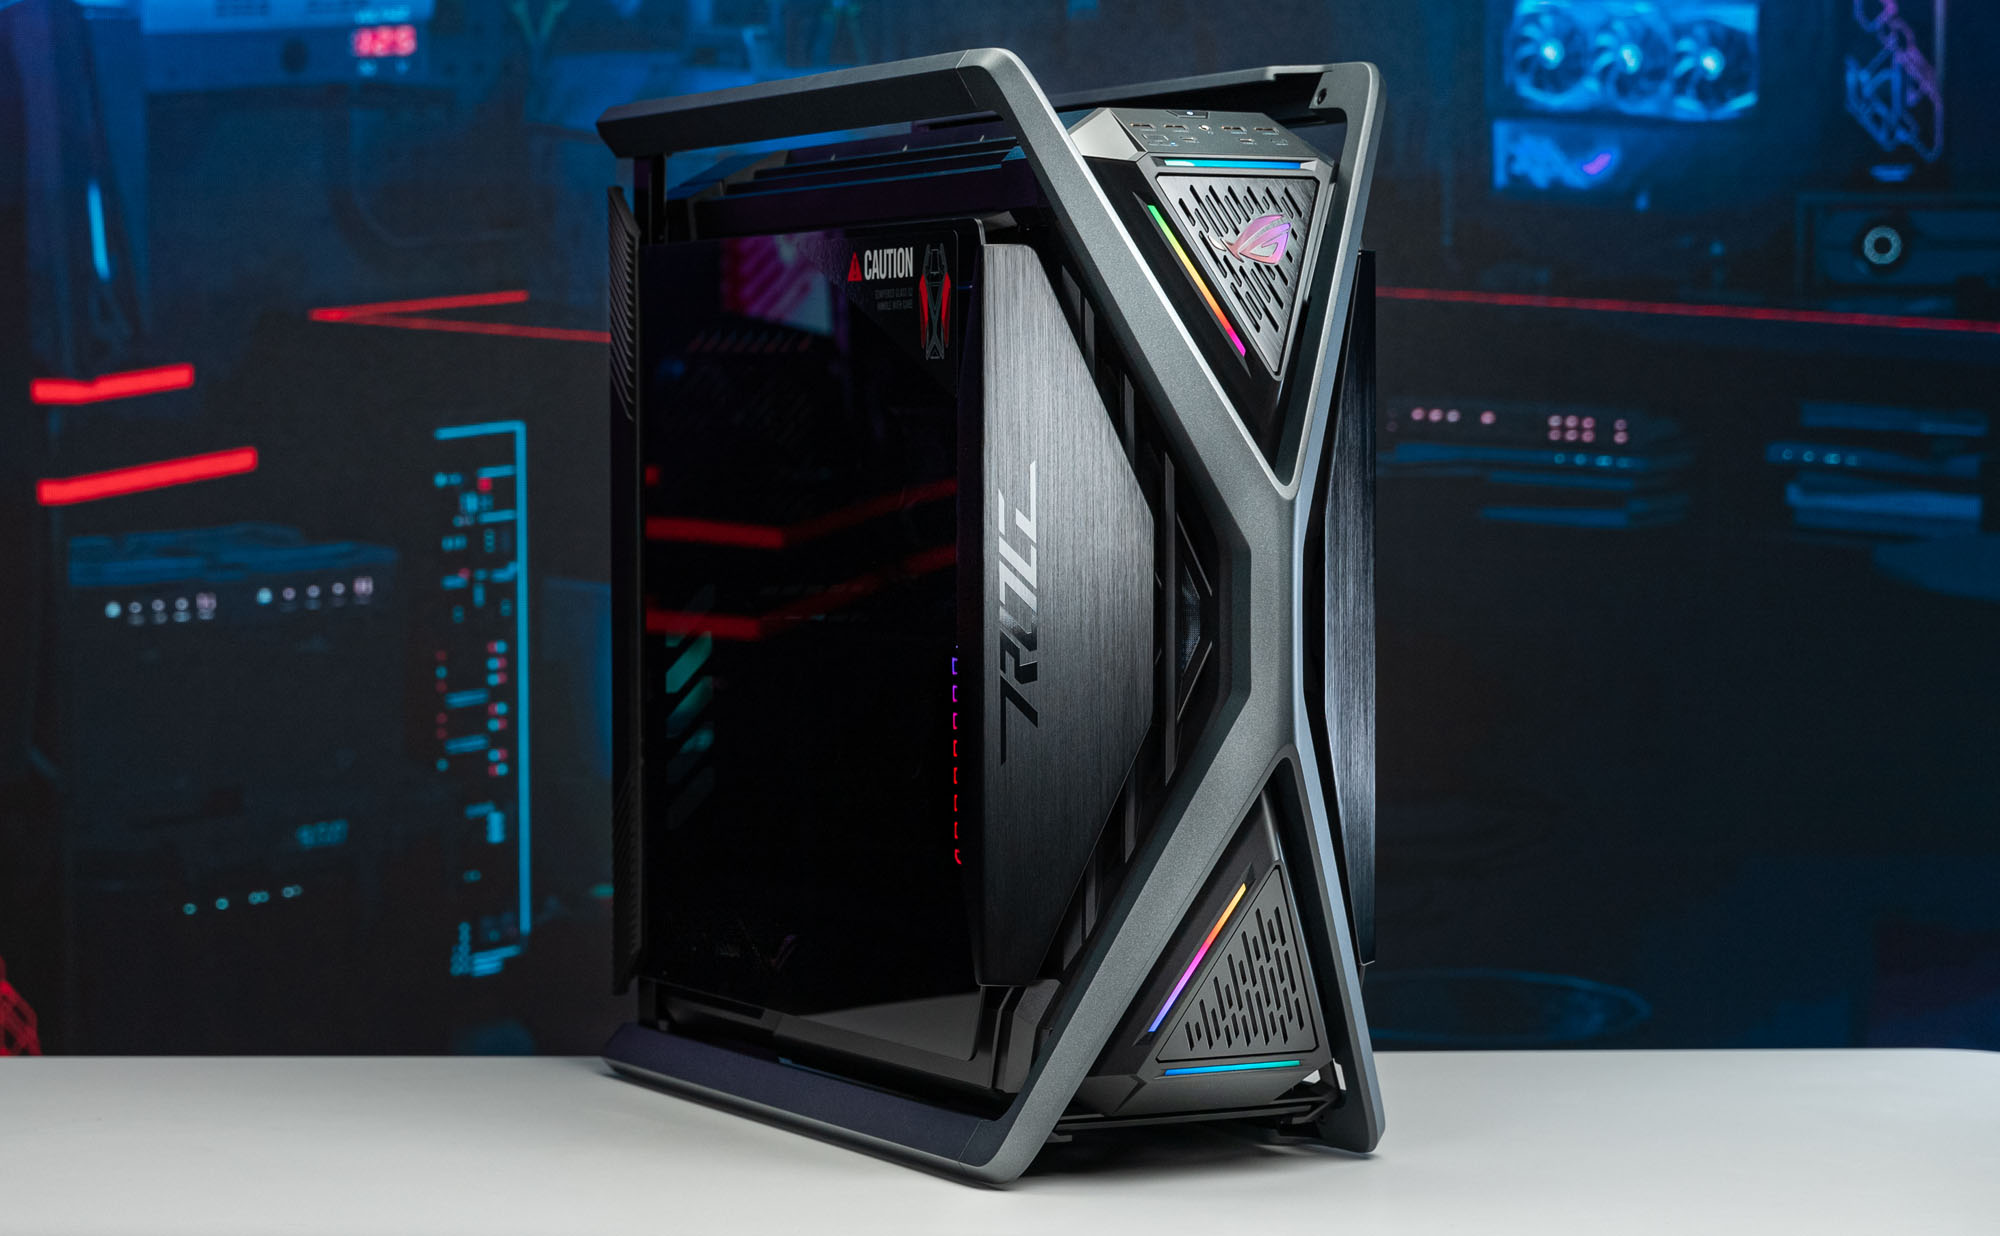
First, and most obviously, you’ll need a PC. Your streaming PC captures your gameplay, face, and audio, and sends it to services like Twitch and YouTube for streaming to your audience. Some people play their games on their streaming PC, while others play games on a separate device, like a console or handheld. And many streamers play their games on a completely separate PC, so that even if their gaming PC goes down, the stream doesn’t crash. This is generally common among more advanced streamers with an established audience, but it’s still useful to know how it all works.
Most beginners will be streaming and gaming on the same PC, which means you might want to buy a bit more than your usual target requirements. For example, if you’re eyeballing a desktop or laptop with an Intel Core i5 or AMD Ryzen 5 tier CPU for your desired gaming levels of gaming performance, you may want to step up to a Core i7 or Ryzen 7 CPU to widen your resource pool for gaming and streaming at the same time. If you plan on having more complex streams, with animated backgrounds, live reactions from the community on video, or other fun elements, you’ll want to increase your processing power even further, since compositing all those layers live can use up CPU resources.
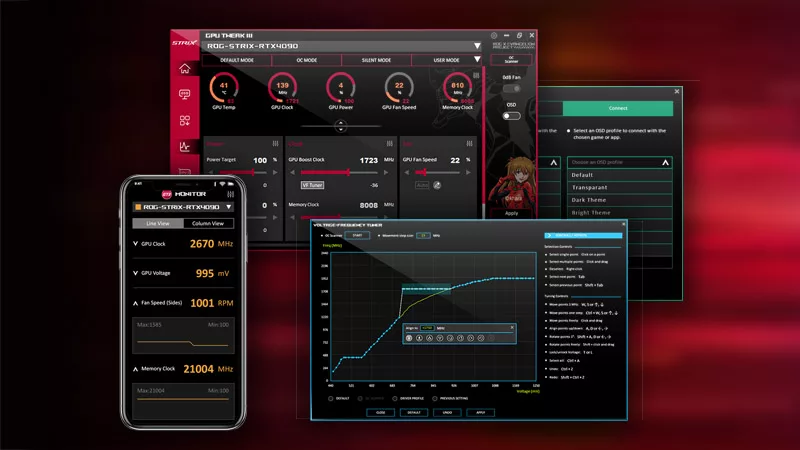
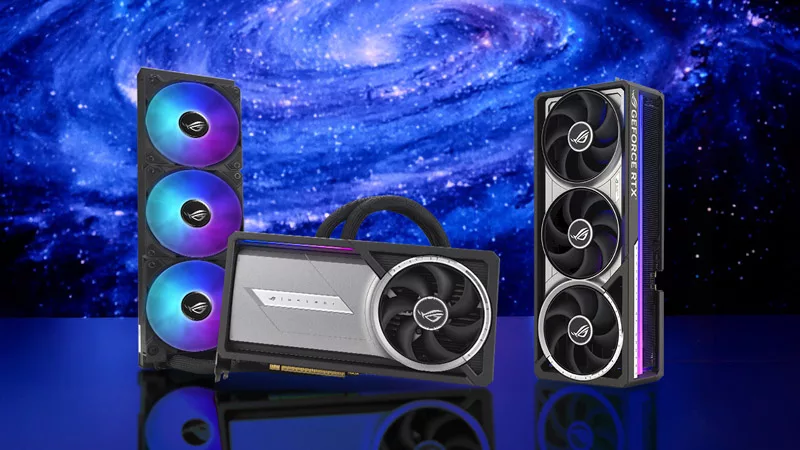
Your PC will also need enough resources to encode the final video and send it off for streaming. You can do this one of a few different ways — doing it on the CPU offers the highest quality video, but it uses a lot of resources, so it’s not as common these days. Encoding video with your GPU is much more efficient, and what most beginning streamers will want to use. In fact, modern NVIDIA GPUs have a dedicated component on the die designed specifically for hardware-accelerated encoding known as NVENC. So just pick the right NVIDIA GPU for your gaming needs, as described in our 40 SUPER series guide or laptop buying guide, and you should be good to go.
Finally, if you’re building a PC for streaming, make sure you have a motherboard with plenty of USB ports — like our ROG Maximus, ROG Crosshair, or ROG Strix –E tier boards as described in this guide — plus plenty of RAM. 32GB is a good sweet spot for new streaming PCs in 2024, though you could go higher depending on your multitasking needs. If you plan on recording any of your footage for editing later, you’ll also want a spacious SSD or two, so stock up on those terabytes.
Note that the above recommendations assume you’re gaming and streaming on the same PC. If you plan on gaming with one PC and streaming with another, you can split your resources between the two PCs accordingly. (The ROG G22CH is a great compact PC for this use case). The same goes if you’re streaming gameplay from a console — you’ll still want a decent CPU and GPU, but you won’t need quite as powerful as a machine since it won't be handling the gaming load.
A dedicated capture box
If you plan on streaming from a separate machine — whether that’s a console, handheld, or a different PC — you’ll need a way to feed that device’s video into your streaming PC. That’s where a capture box comes in.
First if you're gaming on a console and want to capture that video while also sending it to a monitor or TV, it’s important to get a capture box with passthrough capabilities. This type of capture device can send the video to two places at once: your streaming software, and your display. Ideally, you want one that’s able to pass through the video in high quality with a high frame rate.
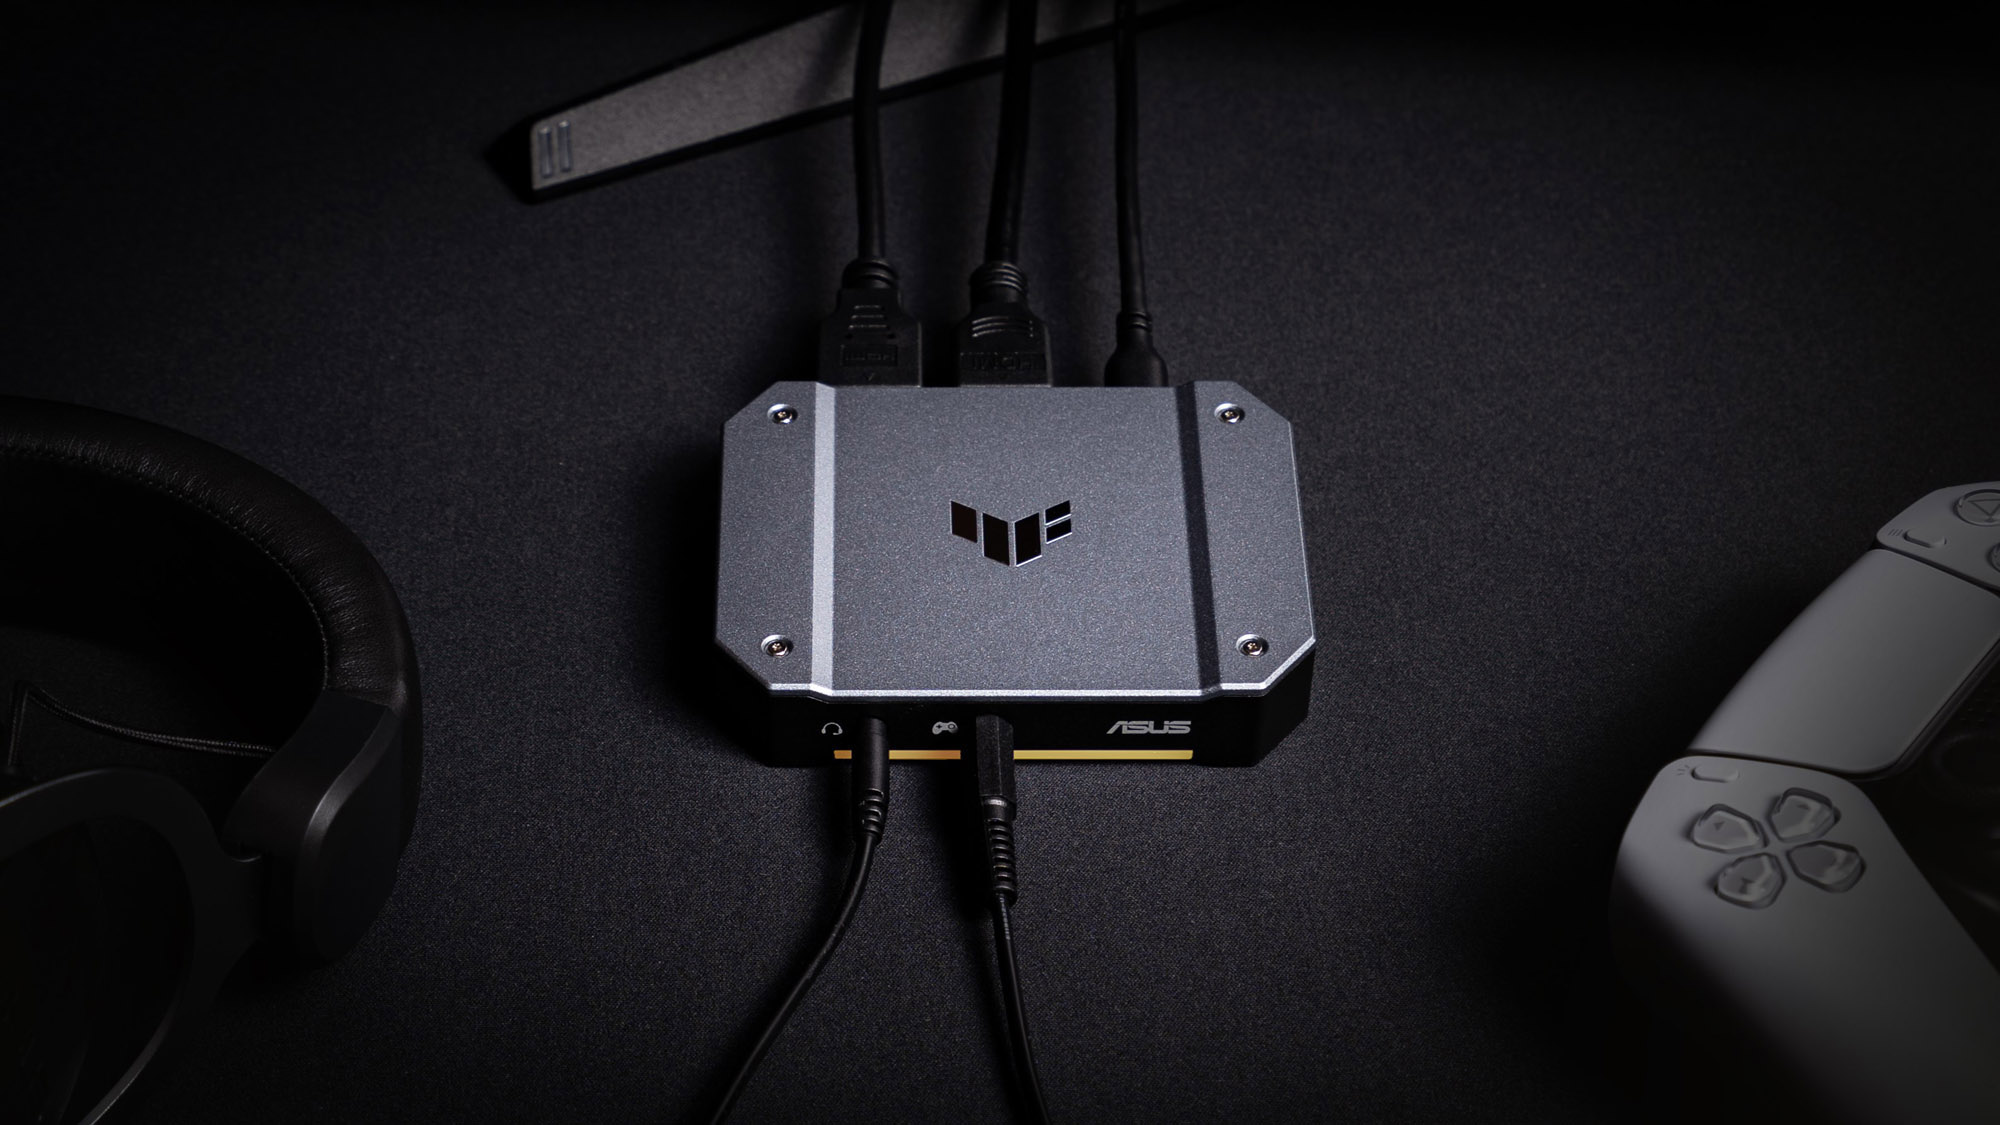
We offer three capture boxes with passthrough capabilities, plus varying specs depending on what you need for your stream. The TUF Gaming Capture Box-CU4K30 is our base model in most regions, which can stream in 4K up to 30 FPS, 2K up to 60 FPS, or Full HD up to 120 FPS. In some regions, we also offer the TUF Gaming Capture Box-FHD120, which is slightly more affordable and aims for Full HD streaming at up to 120FPS without the higher resolution options. Both offer passthrough at 4K up to 60Hz, though, so even if you’re streaming at a lower framerate, you can enjoy the full majesty of 4K60 on your own monitor.
If you’d like to stream in higher quality, the TUF Gaming Capture Box-4KPRO allows for 4K up to 60 FPS or 2K up to 120 FPS, with passthrough of 4K up to 144Hz or Full HDR up to 240Hz, fully supporting HDR and VRR. This is the ideal capture box if you have a higher-end monitor with high refresh rates, VRR, and HDR, and want to take advantage while you stream.
Capture devices can also be great for capturing video from a high quality camera — more on that below.
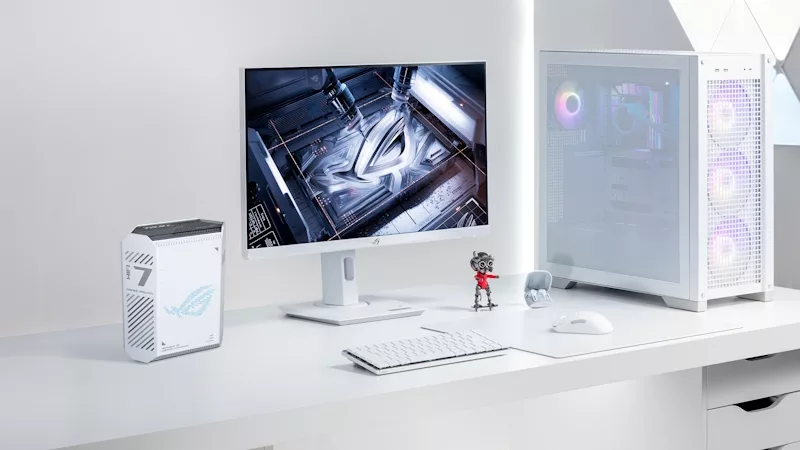
At least one 16:9 monitor – probably two
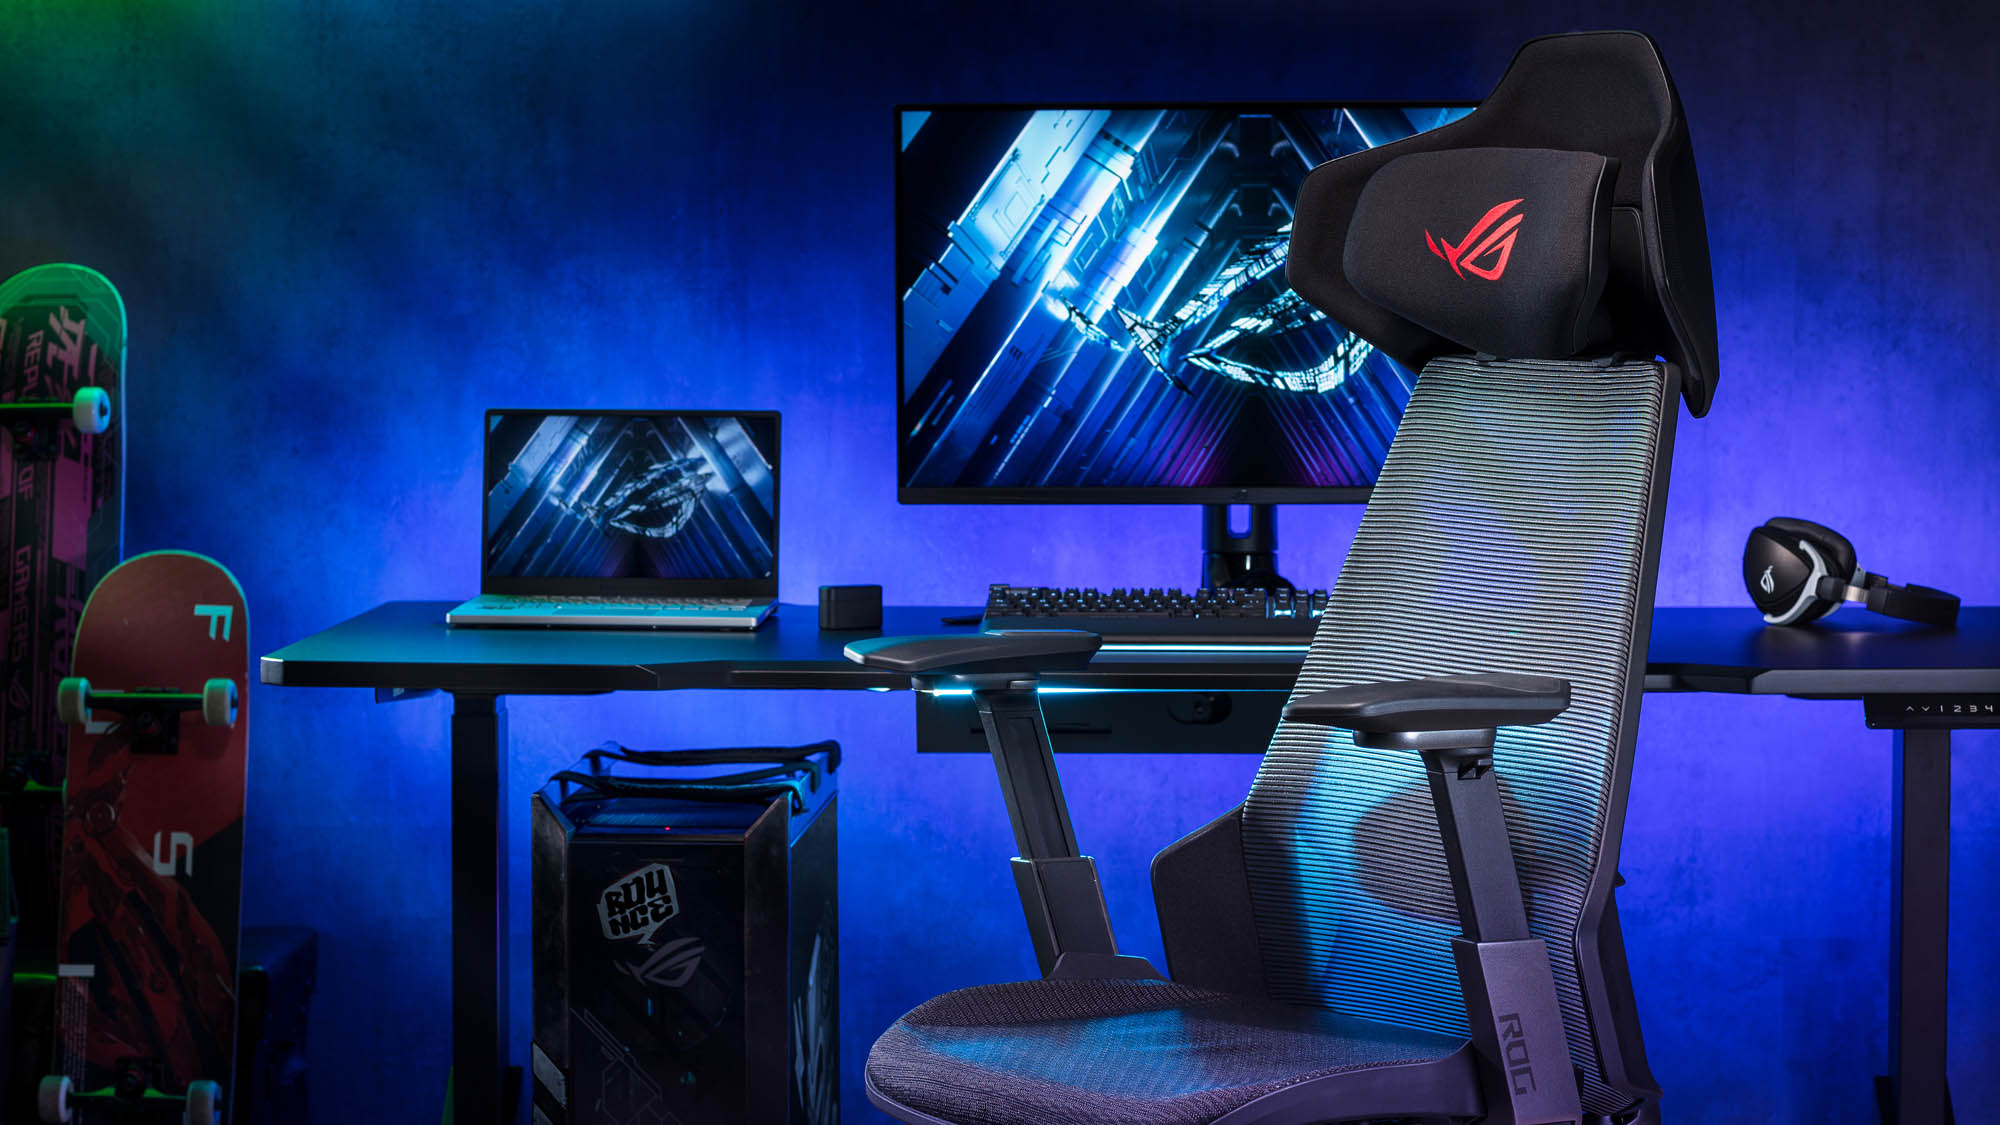
When it comes to displays, there are a few special considerations you’ll have to take as a streamer. For example, you almost certainly want your main display to be a standard 16:9 aspect ratio. While streaming from an ultrawide display is possible (and I’ve done so myself), it’s not ideal. Since your stream will likely use a standard 16:9 aspect ratio, using an ultrawide monitor either means you’re cutting off part of the gameplay (including UI elements), or you have to force the game in to 16:9 borderless mode, which doesn’t always work perfectly. So take it from someone who has done it before: you probably want your main display to be 16:9. Something like our 32-inch ROG Swift OLED PG32UCDM or 27-inch ROG Swift OLED PG27AQDM would be a great choice. If you’re on a tighter budget, check out the 27-inch1440p ROG Strix XG27ACS or 4K ROG Strix XG27UCS instead.
In fact, you’ll probably want two displays for streaming – that way you can fit your gameplay full-screen on one monitor, with your streaming software and live chat on the other monitor. If you’re using a desktop, pick two of the monitors listed above; and if you’re using a laptop, you can use your laptop display as the secondary monitor as described in our ultimate laptop setup guide.
A headset and microphone
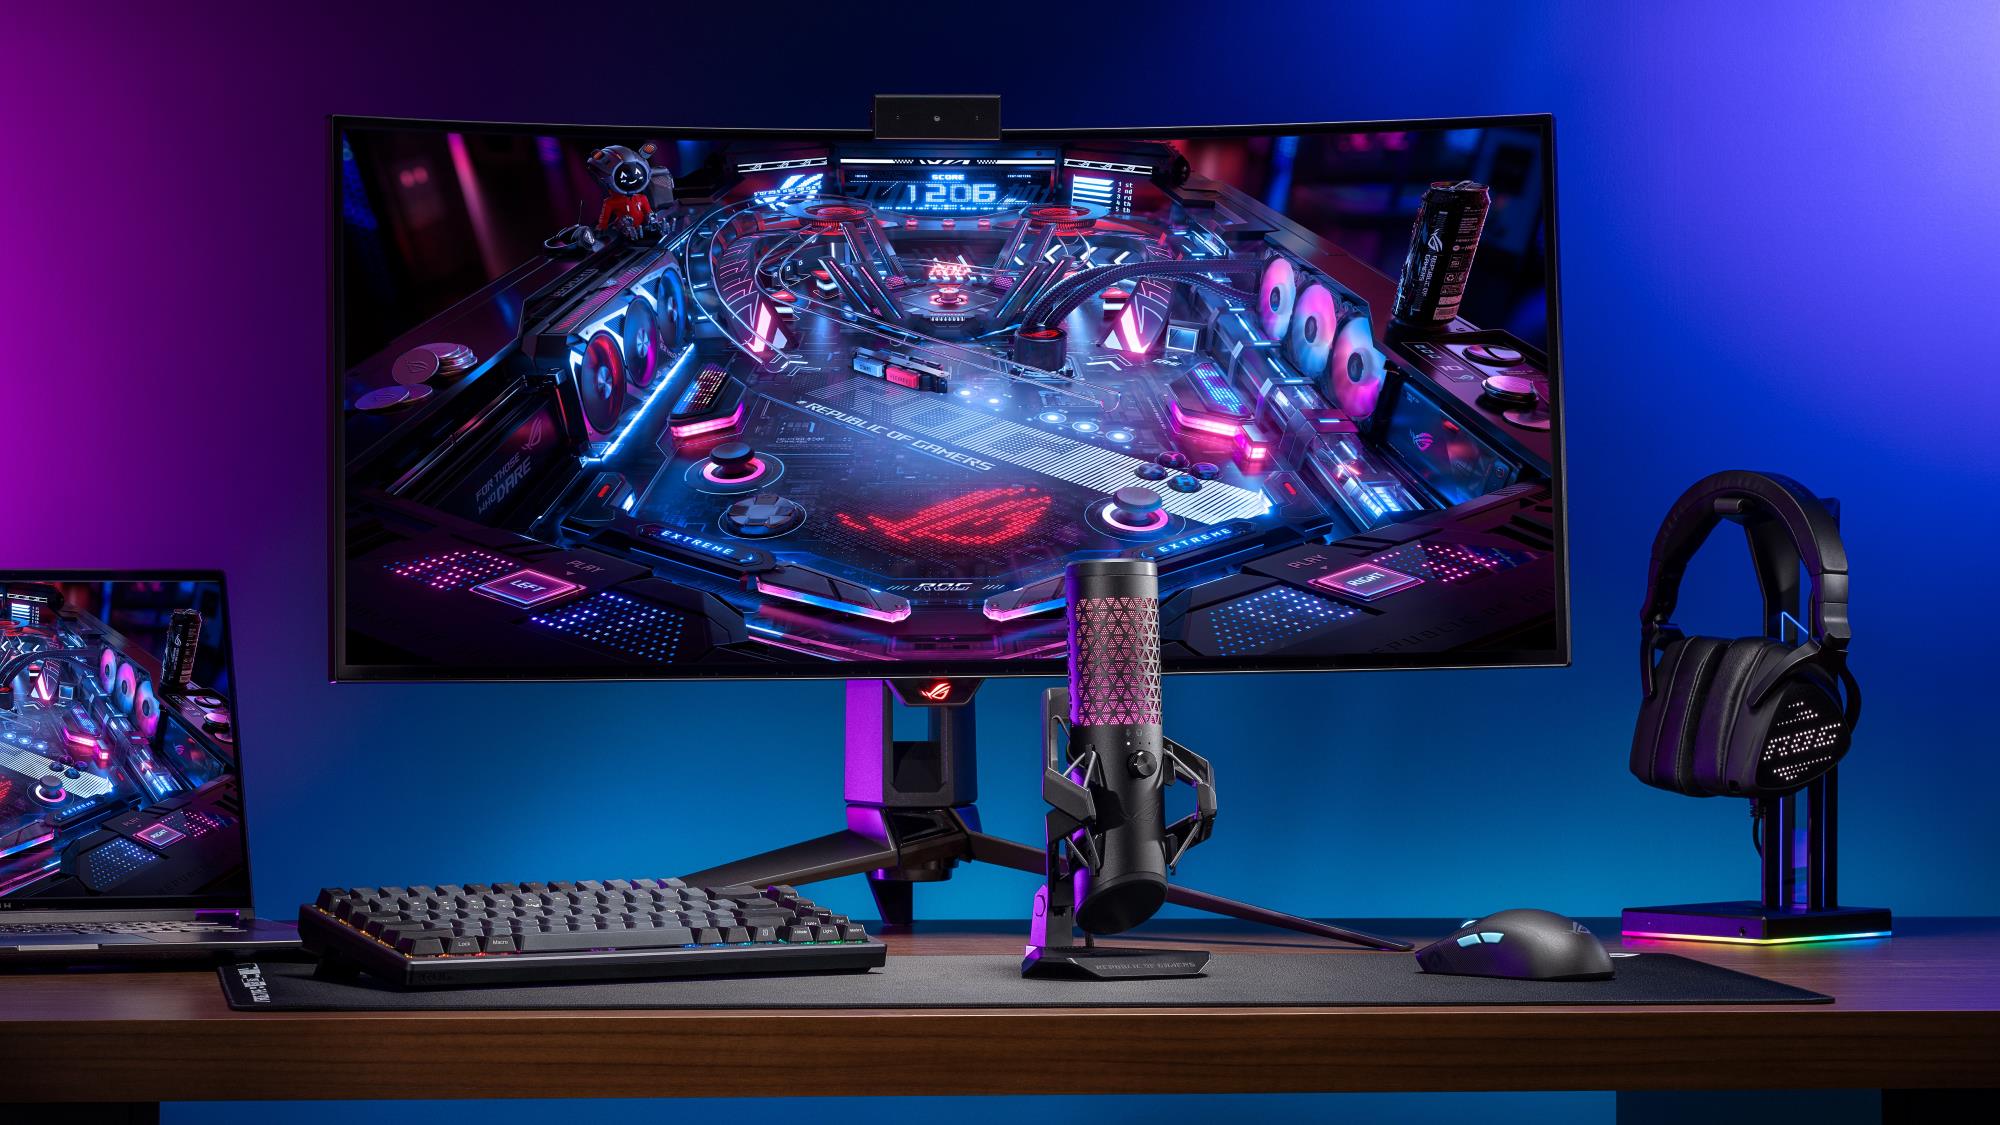
Alright, so you’ve got the PC, now let’s talk about the actual streaming gear. First and foremost, you’ll need a way to monitor audio and talk to your audience. A USB headset like the ROG Delta S or ROG Delta S Animate would be a great choice – it's comfortable, sounds great, and has some awfully stylish lighting that really shines on stream.
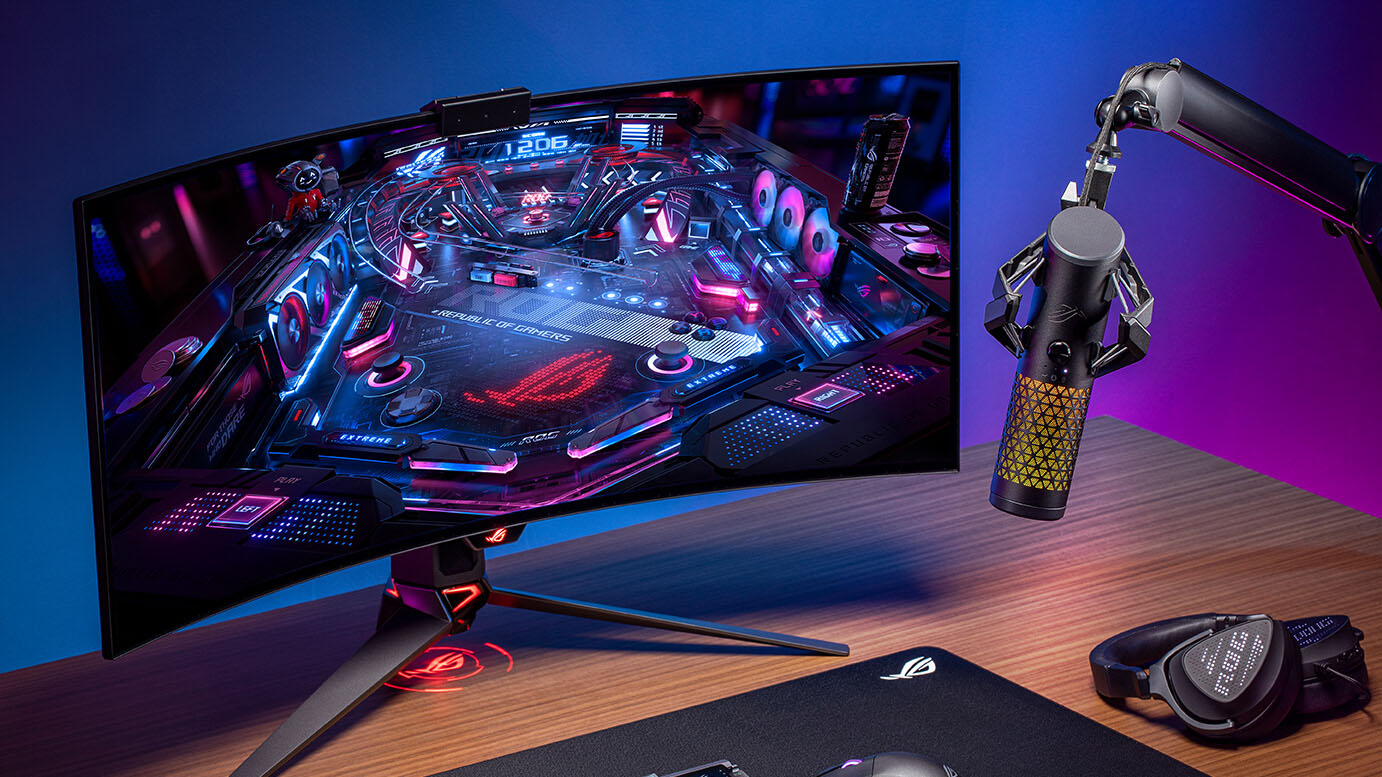
While your headset’s built-in mic is great for in-game comms with your friends, we recommend stepping up to a dedicated mic if you’re going to be live streaming. The better your audio, the more clearly your audience will hear you, and the more professional your entire stream will feel. The ROG Carnyx was designed for exactly this scenario, with a 25mm condenser capsule, high-pass filter, and a quality stand that provides warm, clear audio without too much background noise. It’s also threaded, so if you want to attach it to a boom arm, you can do so. And as a bonus, its Aura Sync RGB lighting can be coordinated with your headset and PC for a totally cohesive look.
A camera for your face
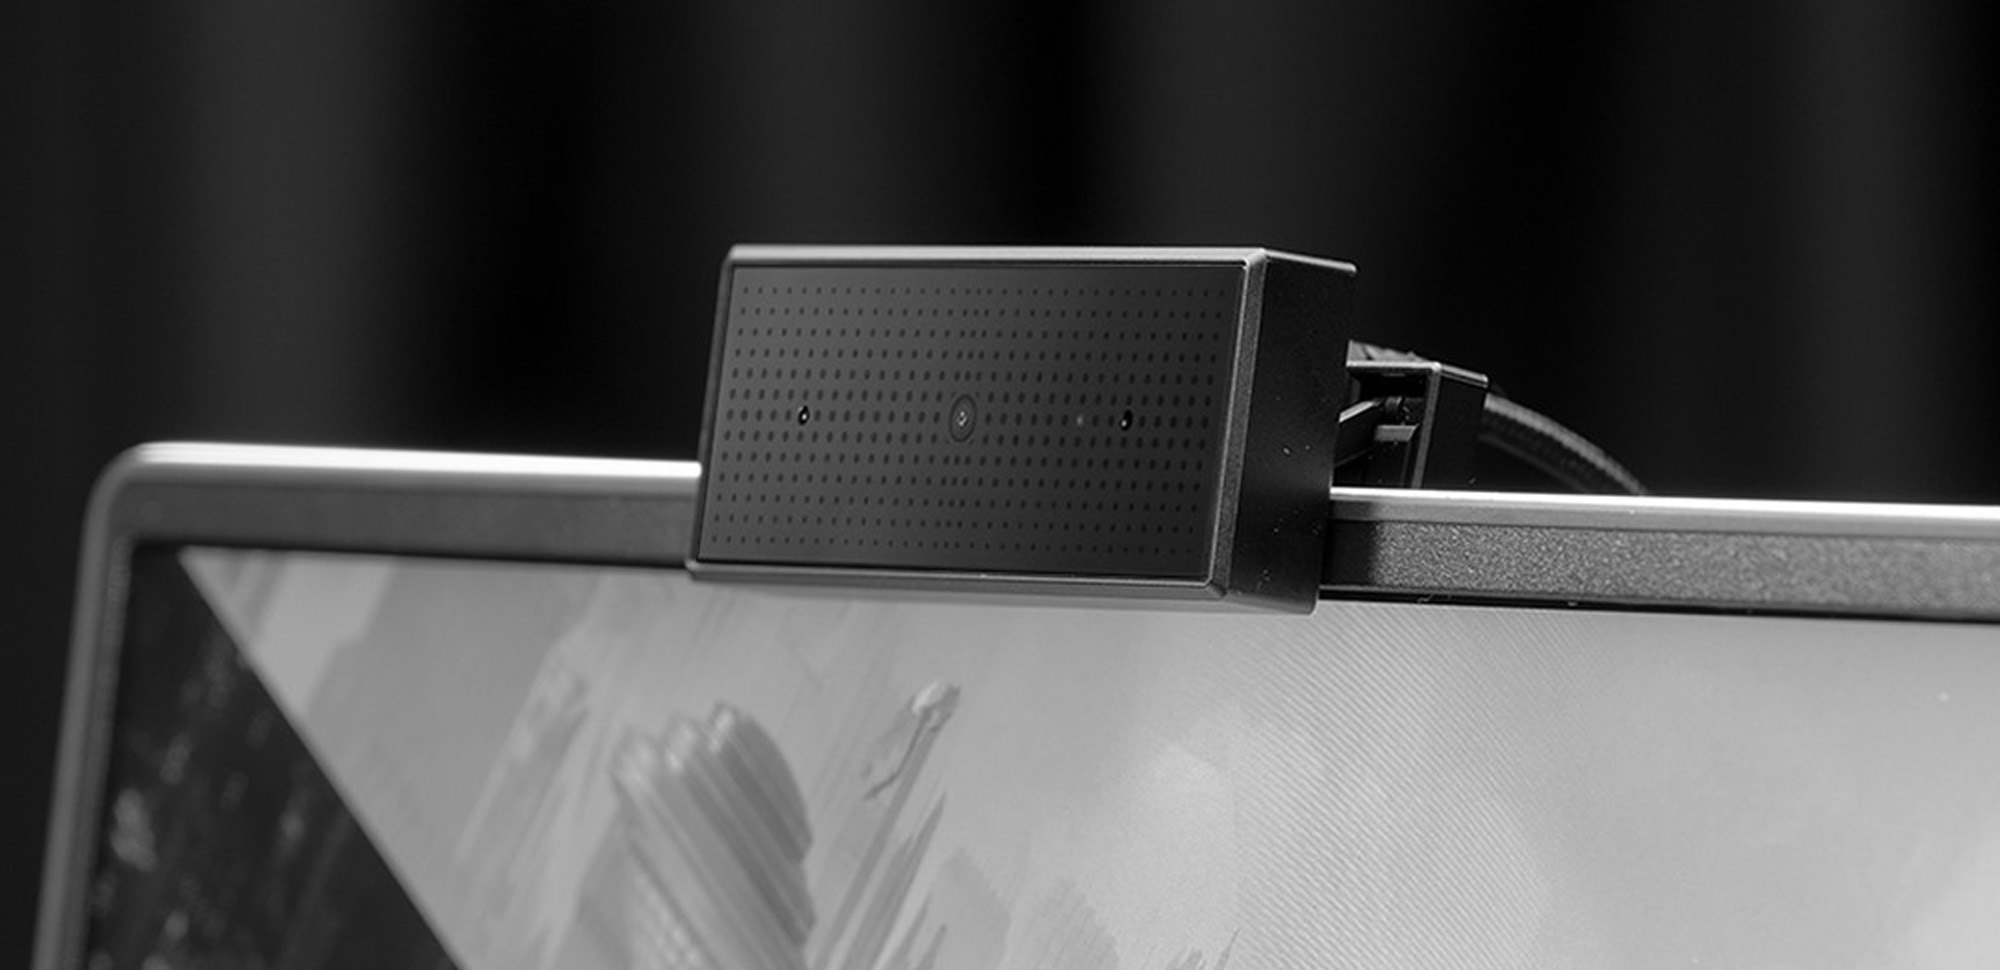
If you’re ready to show your face to the world, you’ll need a camera to go with your audio gear. If you’re using a laptop, your built-in webcam will do in a pinch, though you’ll likely get better picture from a dedicated webcam like the ROG Eye S. And if you’re using a desktop, this is basically a necessity, as your monitor likely doesn’t have a camera built-in. The better your lighting, the better the picture will look (more on this below), and don’t be afraid to play with the brightness, contrast, and other settings in your streaming software to really nail down the look you’re going for.
If you’ve got budget to spare and want to boost your quality even further, a mirrorless SLR camera offers a big jump in video quality, with an incredibly sharp image, a depth of field effect that exudes professionalism, and better performance in low lighting scenarios. Unlike a webcam, however, most SLR cameras don’t have a direct USB connection for your PC, so you’ll need to send your camera’s video to your PC over HDMI using one of the TUF Gaming capture boxes mentioned above.
Video capture and streaming software
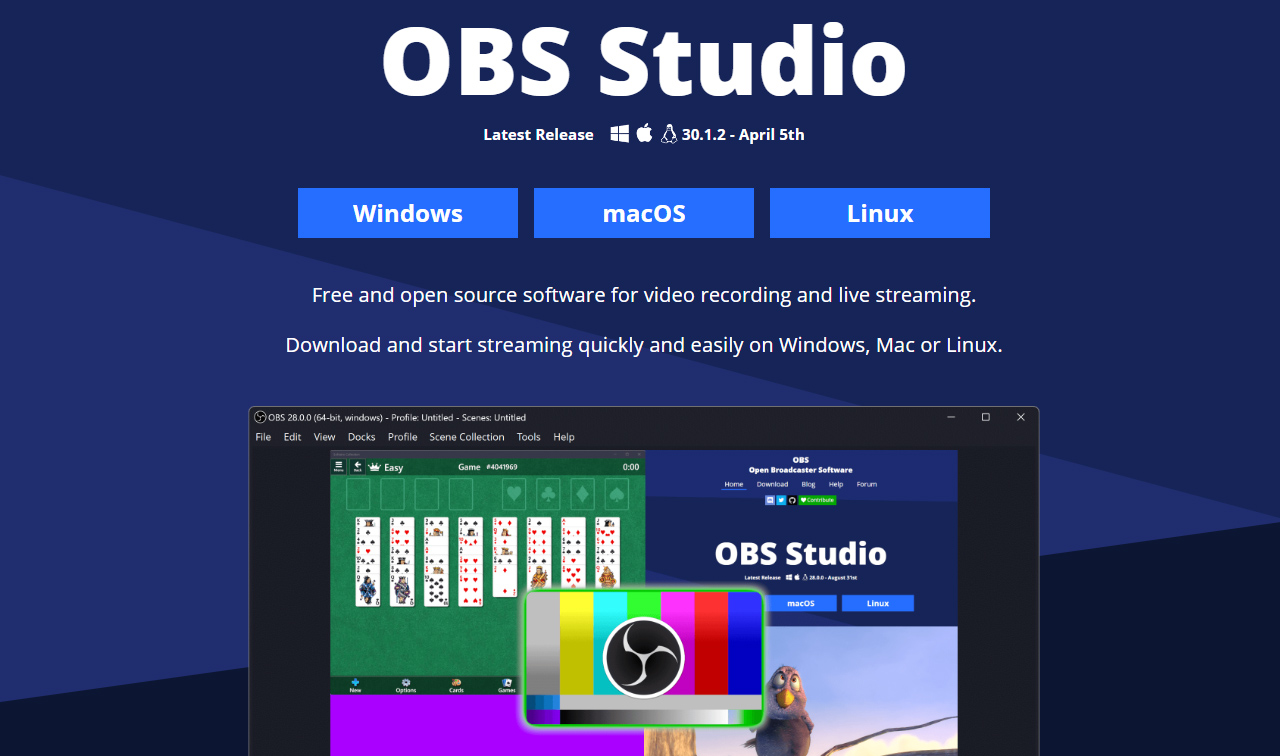
Finally, once you’ve gathered all your gear, you’ll need some software to capture your game footage, slap your face cam on top of it, and stream it for all the world to see. You have a few different options here. OBS Studio is the most popular, it’s free, and it’s extremely flexible with a vast array of plug-ins. (It’s also what we use here for our own weekly ROG live streams). Our TUF Gaming capture boxes are Certified OBS Studio™ compatible, so you know they’ll work beautifully – though other software is an option as well. Streamlabs is based off of OBS and offers a slightly more plug-and-play experience for new users, and XSplit is popular as well. Download, install, and set it up with our instructions below.
Going above and beyond
The above gear will get you started, but it’s far from the end of the journey. You’ll notice, for example, that we didn’t talk much about lighting. For beginners, a well-placed lamp or two can go a long way, but as you experiment, you can also deck out your setup with dedicated lighting, which is available in many forms and at many budgets. Check out your favorite retailer or e-tailer for the different options available to you.
The same goes for the rest of your gear. As you build out more and more scenes, you might want an easier way to switch between them – and while you could certainly use the number pad on your keyboard, a dedicated Stream Deck offers a ton of flexibility with customizable buttons that make it easier to quickly switch back and forth.
You can also add more monitors, more cameras, an audio interface for controlling volume levels of all your different sources, and a whole lot more. But here’s a tip: don't buy it all at once. Start with the basics above, and as you stream more and more, you’ll learn what kinds of things you need (and which kinds of things don’t fit your streaming style). Build your setup in a way that it can grow with you, and you’ll save yourself a lot of money and hassle in the long run.
Putting it all together: how to set up your streaming gear
Once you’ve gathered all your gear, it’s time to hook it up. Most of it is self-explanatory: plug your USB microphone and headset into your PC, get your lights dimmed to the right setting, and make sure your RGB is ready to show off.
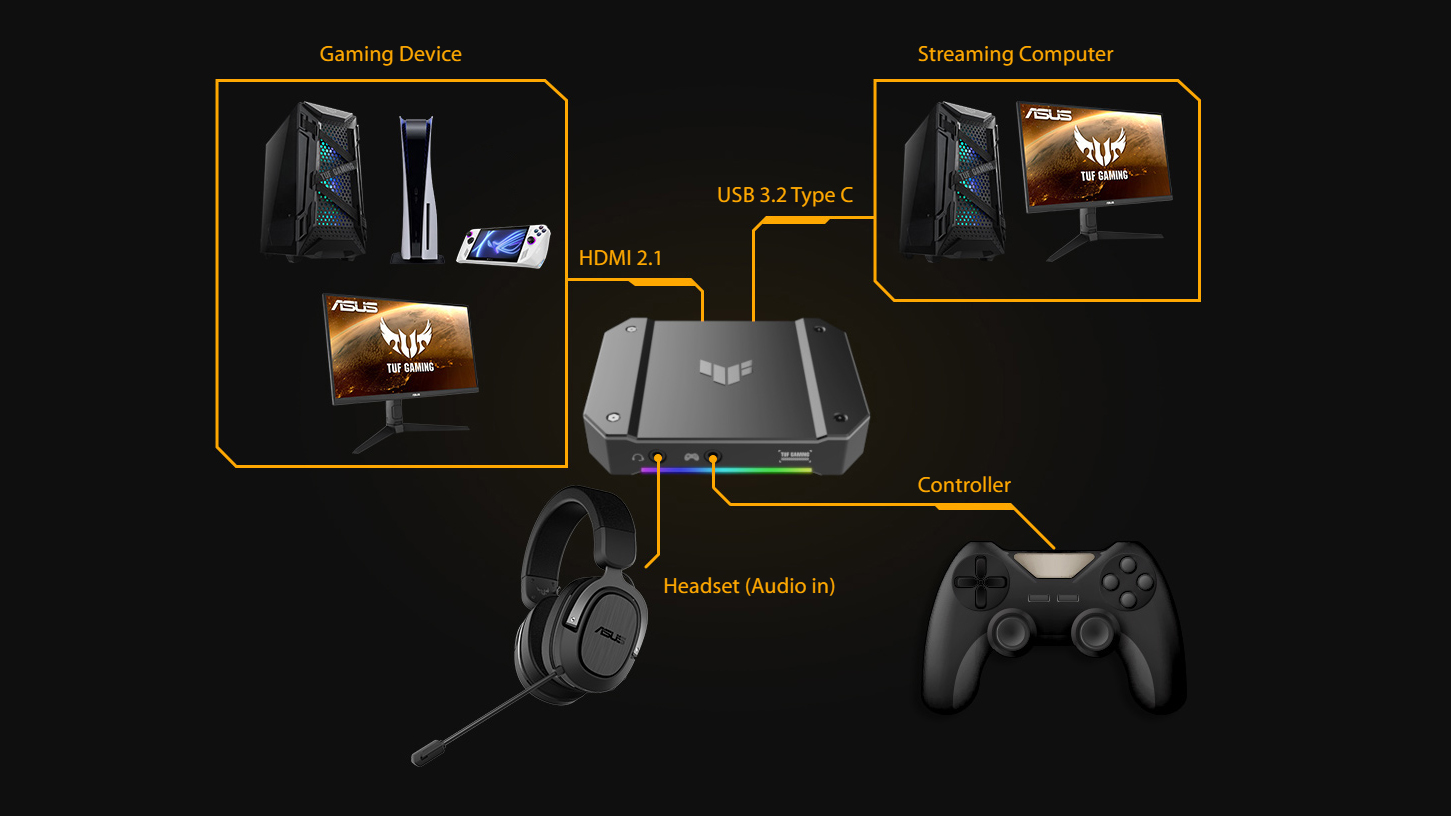
If you’re using a capture device — either for your camera or a separate gaming machine — there are a few more connections involved. Each of our TUF Gaming Capture Boxes has one HDMI input, one HDMI output, and a USB port. Connect the gaming machine or camera to the HDMI In port, connect your main monitor to the HDMI Out , and connect the USB port to the PC with your streaming software installed. This allows the video to be passed through to your monitor and to your streaming software at the same time.
If you’re connecting an SLR camera to your capture box, you’ll likely need a Mini HDMI to HDMI cable going to the HDMI In port. You’ll also want to make sure you’ve set it up for a Clean HDMI Out signal — look up the instructions for your specific model of camera to do so.
Once everything is connected, launch your streaming software of choice — we’ll use OBS in our example — and focus your attention on the Scenes and Sources panes in the bottom left. A Scene is made up of one (or more) sources, so click the plus sign under Sources to add one to your blank scene. For example, to add your microphone, you’d add “Audio Input Capture,” and to capture that machine’s display, you’d choose “Display Capture.” Let's add one of our TUF Gaming Capture Boxes as an example.
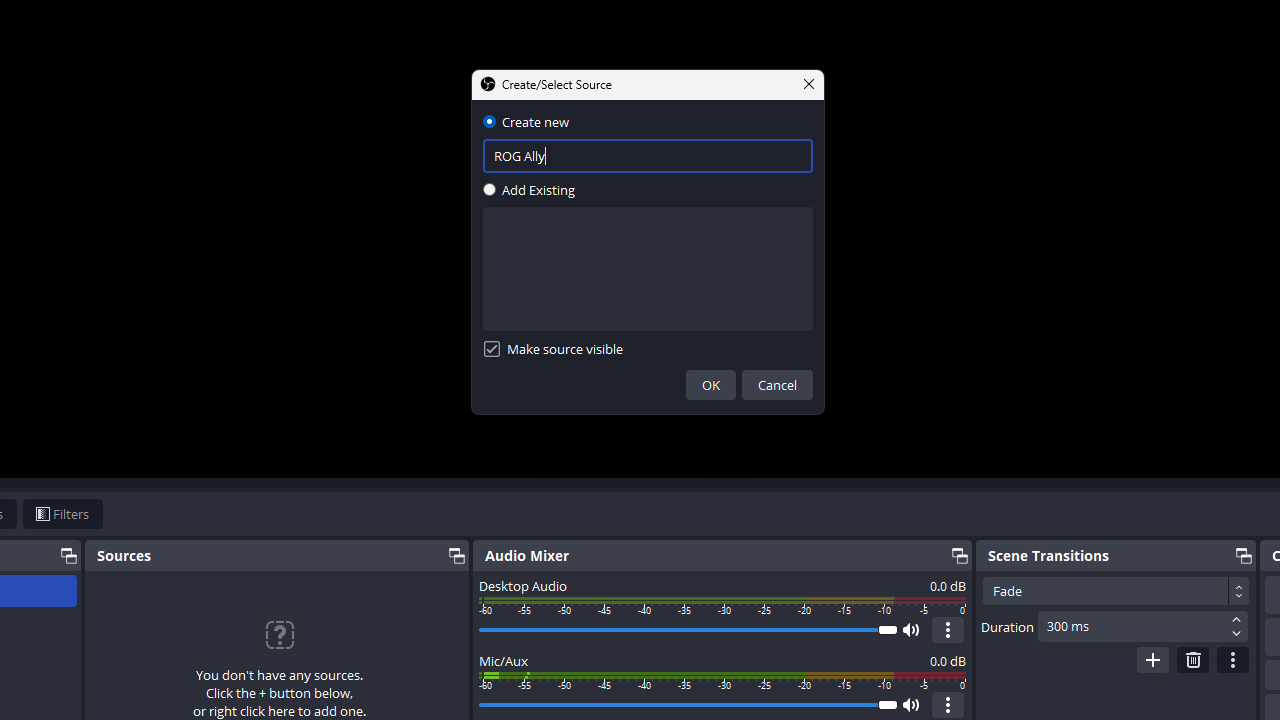
Click the Plus sign and choose Video Capture Device (the one with the camera icon). Create a new capture device with whatever name you want — for example, if you have an ROG Ally connected to your TUF Gaming Capture Box, you might name this “ROG Ally.”
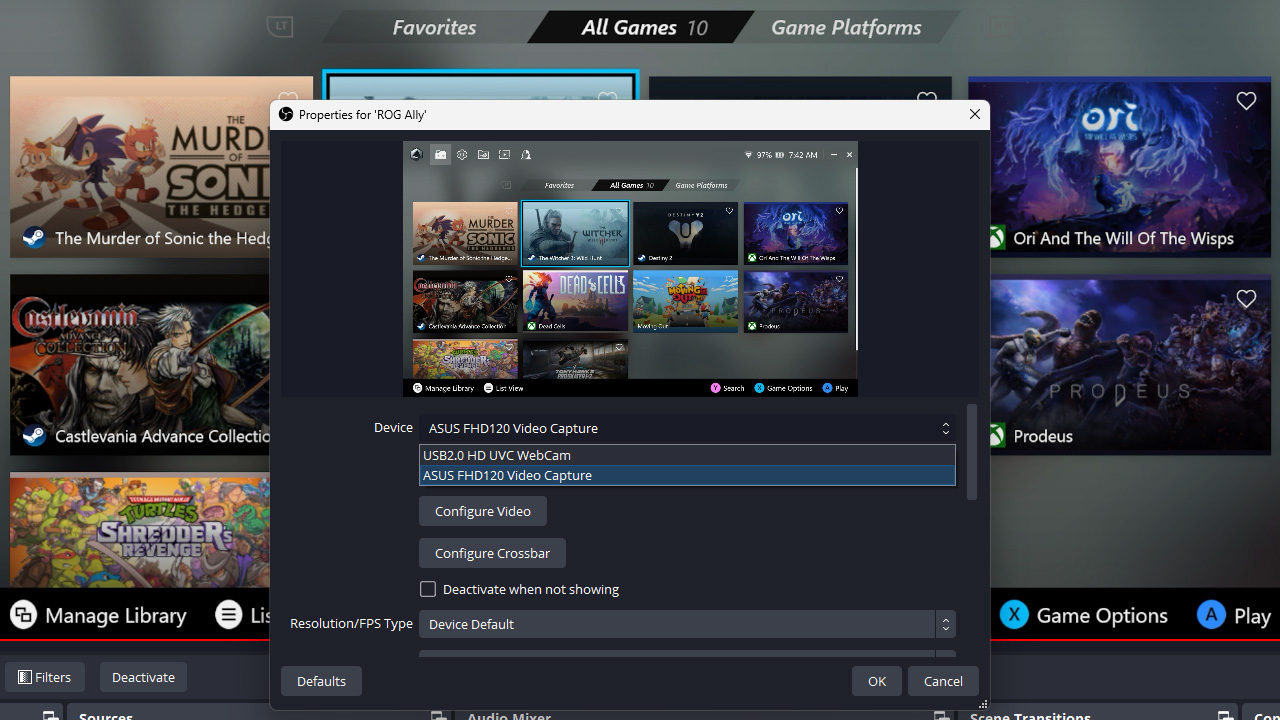
In the next window that appears, choose your TUF Gaming Capture Box from the Device dropdown. Most of the default settings should work for most people, but feel free to change the resolution and FPS if necessary, or use the Configure Video button to adjust the brightness, contrast, hue, and saturation (which may be useful for fine-tuning your face cam). Click OK when you’re finished, and you should see the video feed appear in your scene.
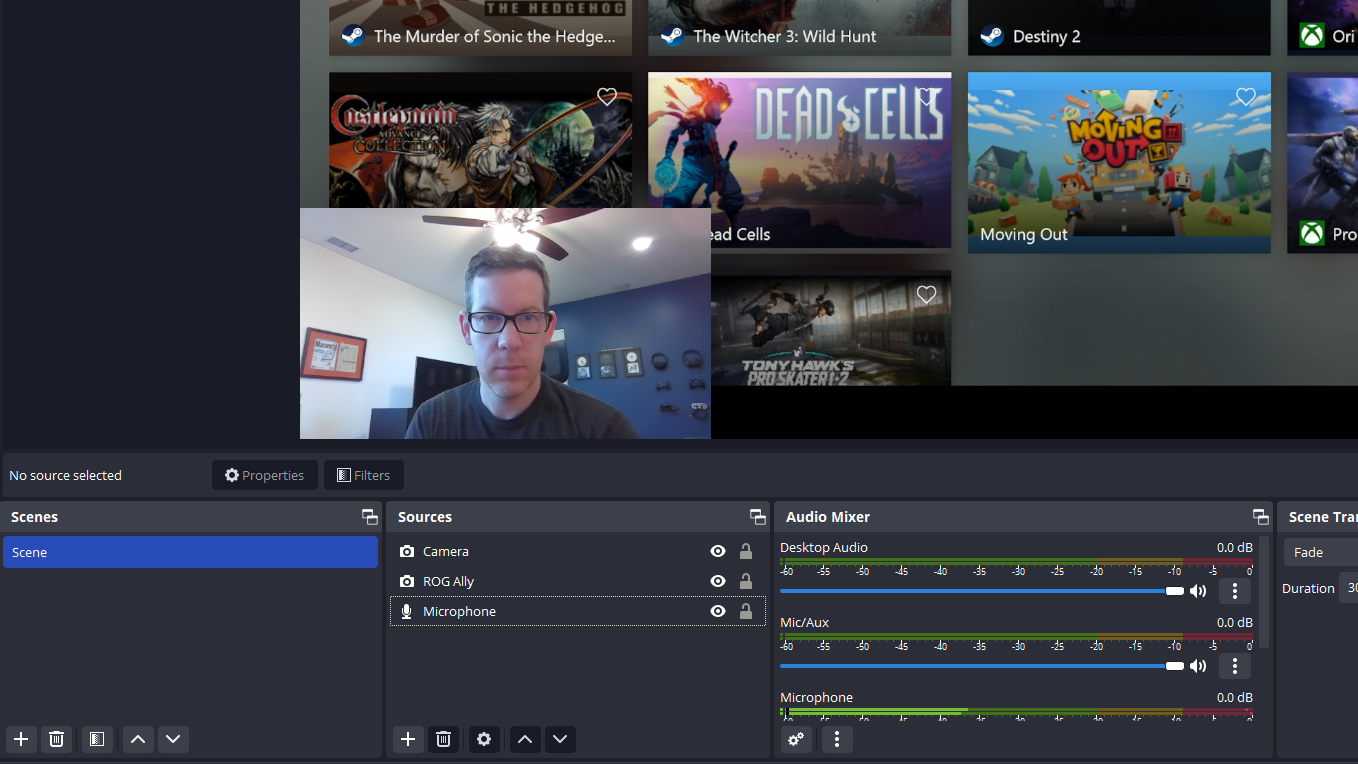
Repeat this process for the other sources in your scene. For example, a scene might contain a capture of your gameplay from a TUF Gaming Capture Box, a face cam from a USB webcam, and your voice from a USB microphone. Resize and rearrange the elements on the canvas to fit how you want your stream to look — you can even add overlays and other effects by adding a PNG image as a source to your scene. Be sure to set your audio levels, too — you want your voice in the yellow range, but not exceeding it into the red range. Adjust the gain on your microphone and the volume in OBS to something that sounds good to you. (You may want to do a couple recordings before you stream to ensure your video and audio is dialed in.)
Once your scene is finished, create any other scenes you want for your livestreams. For example, some streamers have a scene with their face cam enlarged for the opening portion of a stream, then jump into another scene with their gameplay as the main focus. You can switch between scenes during your livestream by setting hotkeys for each under File > Settings > Hotkeys.
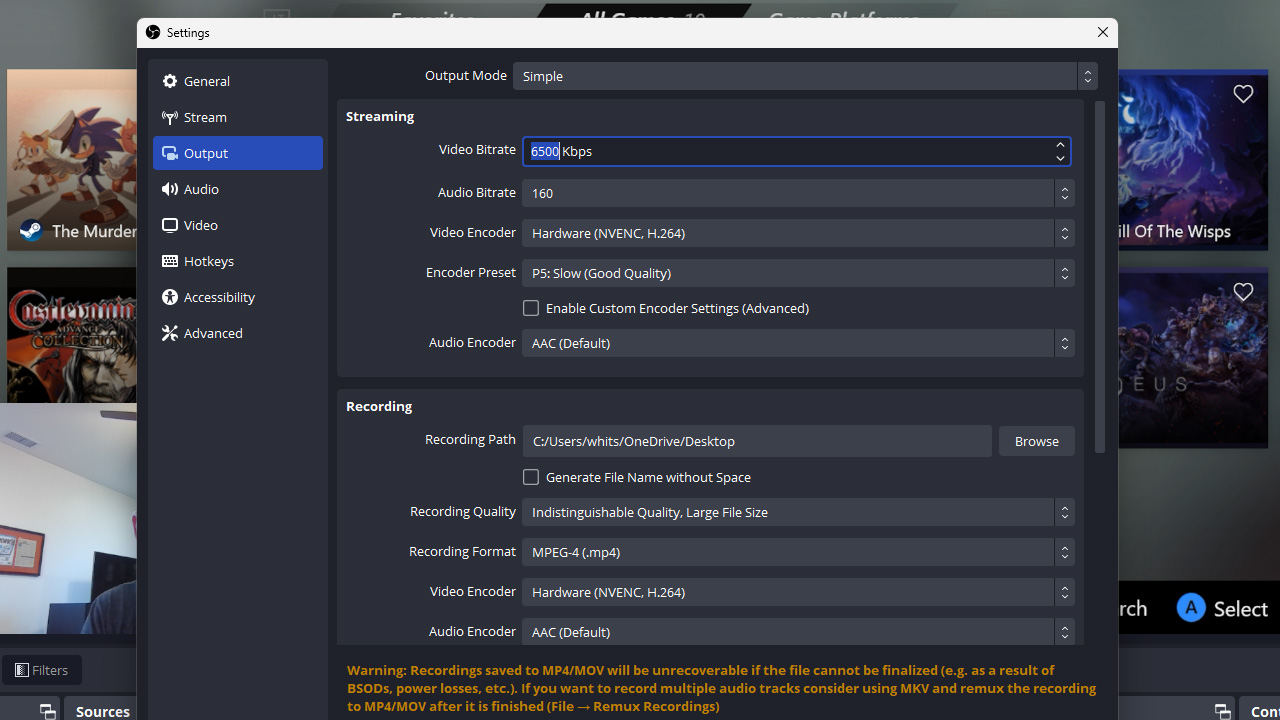
Finally, head to File > Settings > Stream and connect your Twitch, YouTube, or other streaming accounts to OBS. Most of the default settings will be fine for your first stream, though for better video quality, we recommend going to the Output tab and setting your bitrate higher — something like 6500kbps is a good place to start, though this will depend on your internet connection speed and the maximum bitrate of your streaming service. So you may have to do some digging and experimentation to find the right value for you.
Click OK when you’re finished, and you can start a new stream by clicking the Start Streaming button in the bottom-right corner.
As you get more and more comfortable with streaming, you can expand your OBS setup to include more sources, new scenes, or add Docks to your window (like the Stats dock which will tell you if your stream is dropping frames, or the Chat dock that will show your chat in OBS). Don’t be afraid to experiment as you find your footing — every streamer is different, but once you get into a groove, you’ll get more comfortable with the tech side. Enjoy the ride!
[WTB Table]

LATEST ARTICLES
Level up your calls: ROG gear and tips to dominate Discord and Zoom alike
ROG headsets, laptops, and software give you the technology you need to effortlessly dominate virtual work meetings and gaming voice chats.
ROG Xbox Ally vs Gaming Laptop: which portable gaming device is right for you?
Both the ROG Xbox Ally and ROG gaming laptops have a lot to offer gamers, depending on what they're looking for.

Which ROG Xbox Ally to give the gamer in your life this holiday
The powerful, portable ROG Xbox Ally is the perfect gift for any gamer who wants to take their favorite games everywhere they go.
The best accessories to supercharge your ROG Xbox Ally
Here’s the must-have gear that’ll catapult your ROG Xbox Ally gaming to the next level.

How to boost gaming performance on the ROG Ally or ROG Xbox Ally
The ROG Ally is a true Full HD handheld ready to make your games look better than ever. Here's how to maximize its performance.
How to extend the battery life of your ROG Ally or ROG Xbox Ally
The ROG Ally’s compact, lightweight form factor allows you to play all your favorite modern games anywhere you go. Here are a few tips to extend your game time as long as possible.