How to Adjust Your Graphics Card’s Fan Speed in GPU Tweak III
Cooling your PC is a delicate art. There’s a push and pull to adjusting your fans, carefully balancing cooling power with acoustics. With a few small tweaks, you can dial in your graphics card’s fans to perfectly fit your needs and preferences. Here’s how to adjust GPU fan speed in GPU Tweak III.
This is just one of many things GPU Tweak III can do! Click here to see all of our GPU Tweak guides.
Cool or Quiet: Adjust GPU fan speed with GPU Tweak III
Even if you aren't overclocking your GPU, ASUS GPU Tweak III is an excellent tool for dialing in every aspect of your graphics card, including the advanced option of GPU undervolting for more efficient, cool operation. You can read about all of GPU Tweak III’s features here, but this guide is all about cooling. Whether you want a cooler card or a quieter card, GPU Tweak III has the tools you need to get the job done: just know that the lower your fan speeds, the higher your temperatures will be, and the higher your fan speeds, the more noise they’ll produce. Your graphics card will throttle itself if it gets too hot, so it's unlikely you’ll cause any permanent damage just by adjusting the fans — but make sure they stay in the safe zone for your GPU so you don’t experience decreased performance.
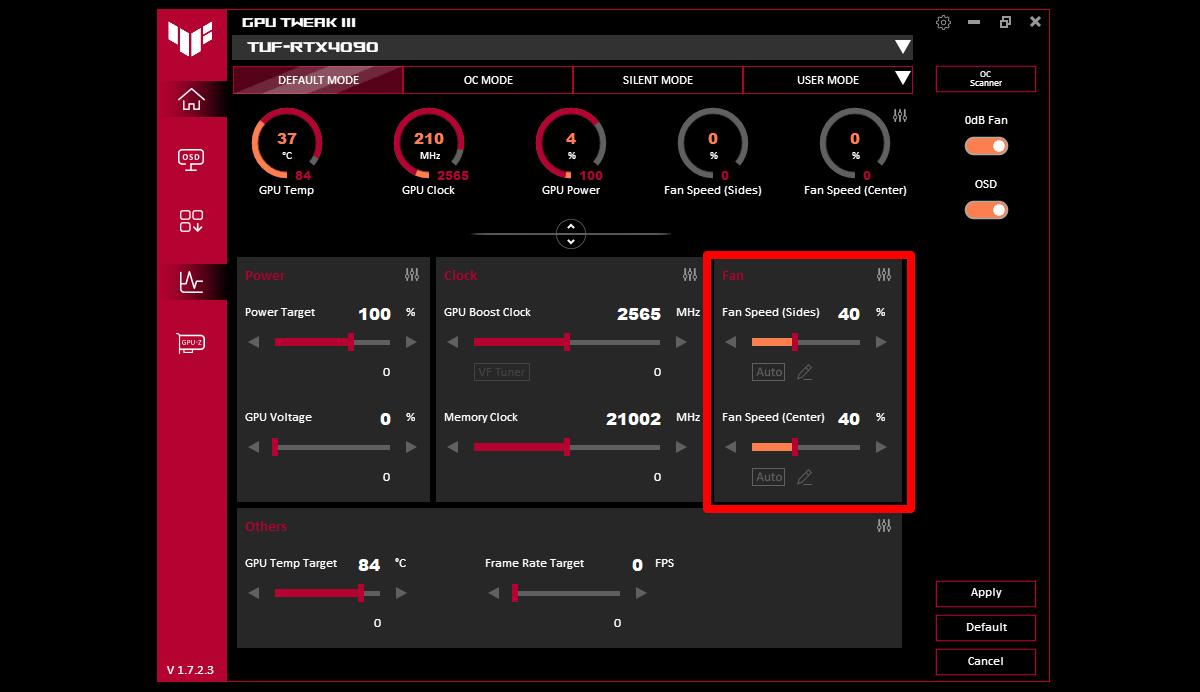
To adjust your GPU’s fan speed, launch GPU Tweak III and look for the Fan Speed sliders on the right-hand side. On NVIDIA GeForce cards from ROG and TUF Gaming, you’ll see two sliders here: one for the side fans, and one for the center fan, which spins the opposite direction to minimize turbulence and maximize air dispersion through the heatsink. For other graphics cards, including many cards not manufactured by ASUS, you’ll see one slider here for all the card’s fans.
By default, the fans will ramp up and down automatically according to your GPU’s temperature. You can adjust this Fan Speed slider up or down and press Apply to set the fan to a constant speed of your choosing, however. For most people, this won’t be ideal for everyday use, but playing with this slider can help you figure out what speeds give you the right balance of acoustics. For example, after moving the slider up and down a bit, I found that my card’s fan noise isn’t too bothersome until it reaches about 60 or 70%, which will help me dial in a custom curve to fit my preferences. You can click the Auto button at any time to return to the default fan behavior.
How to customize your GPU fan curves
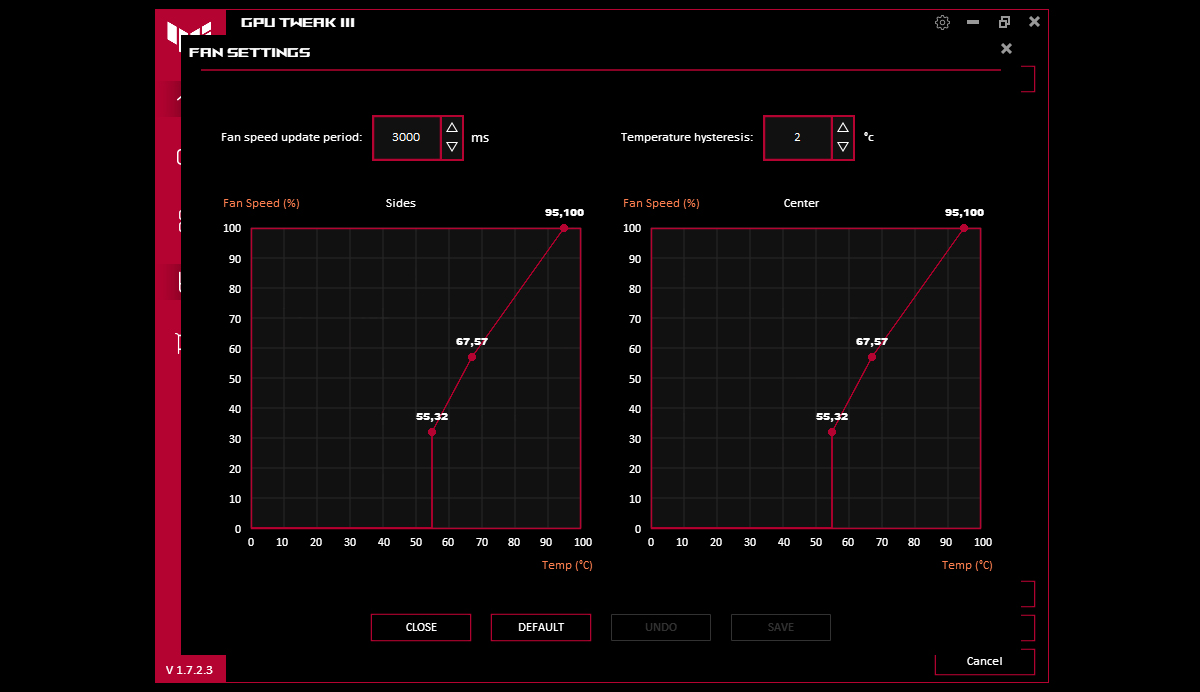
Here’s the real trick: with the fan curve editor, you can adjust the fan’s automatic behavior for a more fully-customized experience. Click the pencil icon under the fan speed slider to enter the Fan Settings window, where you can adjust how the fans respond to different levels of load. By default, ROG and TUF Gaming cards keep the fans off for completely silent operation under a certain temperature — 55° C in the case of my TUF Gaming GeForce RTX 4090 — and they quickly ramps up from there. Since I like to run a very quiet PC (and I’m willing to allow slightly higher GPU temperatures to make that happen), I want to adjust the curve so it ramps up slower. To move the curve, just click anywhere on the graph to add a new point, and drag it to your desired location on the graph.
People often ask: what’s the “best” GPU fan curve to use? But this tool isn’t there because there’s one “best” curve for everyone — that’s why we offer customization! We’ve already dialed in a curve we think will be optimal for most people, but if you want something different, you’ll have to experiment with the curve to find the ideal balance of cooling and acoustics for your build, your room, and your preferences.
Change how quickly or slowly the fans ramp up
You can also adjust the Fan Speed Update Period along the top of this window. Lower values mean the fan will take less time to change under fluctuating temperatures, while higher values will take longer. You might think an ultra-responsive fan is a good thing, but it’s a double-edged sword — if you set this number low and your temperature spikes for only a second or two, the fans will ramp up and down, which can be very distracting. Adjusting the fan speed update period is probably the single most effective setting you can change to make your fans less distracting. With a slow ramp, even a high fan RPM can blend in with the background and never draw your attention.
The same goes for the Temperature Hysteresis value, which determines how many degrees the temperature has to change before the new fan speed values will kick in. Again, you can set this higher or lower to make the fans more or less responsive, but note that it can cause more fluctuations in noise levels if you set it too low.
Additional settings to boost your GPU cooling
Finally, there are a few other settings you may want to look at for optimal GPU cooling. If you’re using an ROG Strix graphics card, you can plug up to two of your regular case fans into the card’s FanConnect II headers and adjust their speed according to your GPU temperature. When plugged in, you’ll see these fans appear alongside the Sides and Center fans in GPU Tweak III, and you can adjust their curves in the same fashion.
If you’re having trouble achieving your ideal balance of temperature and acoustics, you might consider adjusting the GPU’s power usage by clicking the Silent Mode option at the top of GPU Tweak III window, lowering the Power Target slider, or adjusting the GPU Temp Target slider. These may decrease clock speeds slightly, but will increase the card’s efficiency as well, giving you better bang for your buck when it comes to temperatures and noise. Play around with the settings to find your ideal configuration!
Author
Popular Post
Introducing the ROG Astral GeForce RTX 5090 and 5080: a new frontier of gaming graphics

The complete list of GeForce GPU power specifications for 2024 ROG and TUF Gaming laptops

ROG and Opera join forces for a special edition of Opera GX, the browser for gamers
ROG goes all-in on ATX 3.0: get your free 16-pin cable today

How to choose a gaming laptop: The ultimate 2025 buying guide
LATEST ARTICLES

How to choose a gaming laptop: The ultimate 2025 buying guide
Learn how to choose a gaming laptop with our complete guide, ensuring you find the perfect match for your gaming needs and preferences.
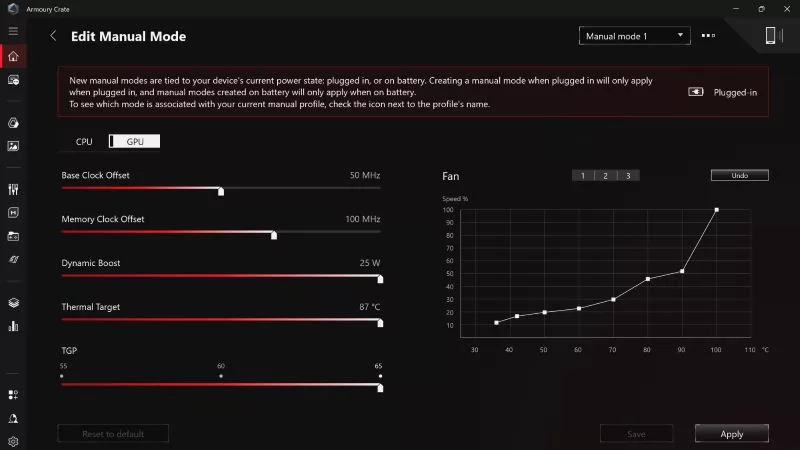
Can I overclock my GPU with Armoury Crate?
If you have an ROG machine — whether it’s a gaming desktop or a gaming laptop — you can control most of its functions from the bundled Armoury Crate software. On laptops, this includes tuning your GPU performance and overclocking your graphics chip. On desktops, you'll need GPU Tweak III as well.
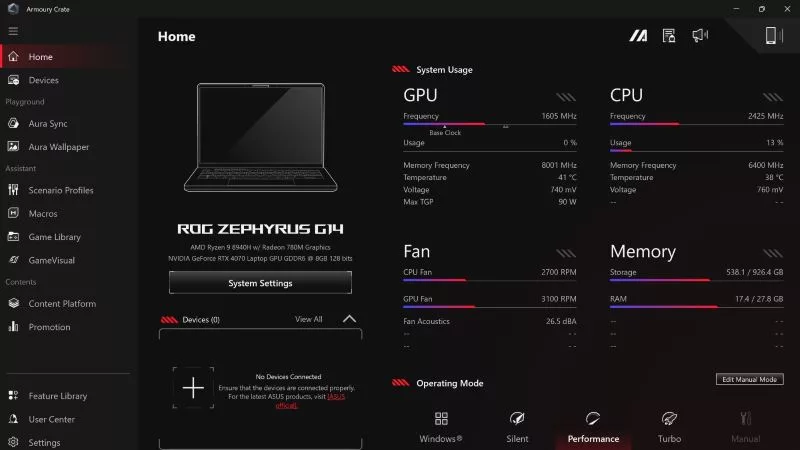
Do I need Armoury Crate on my PC?
If you just bought an ROG desktop PC or gaming laptop, you may be wondering what the preinstalled Armoury Crate software does. Here are its banner features.
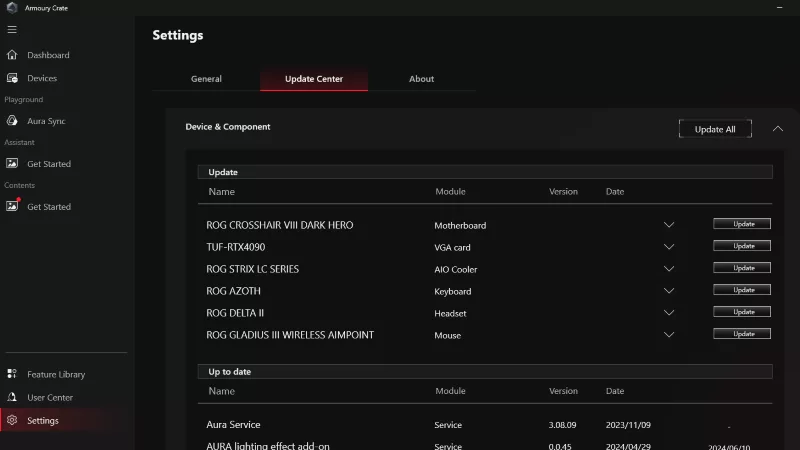
How to fix a device that's not showing up in Armoury Crate
If Armoury Crate isn’t automatically detecting your new device, don't worry — you probably just need to download a quick update.

Reintegrated: An ROG stylebook for today's competitive corporate world
Working in a corporate office doesn't necessarily mean that you have to settle for bland, underwhelming PC hardware.
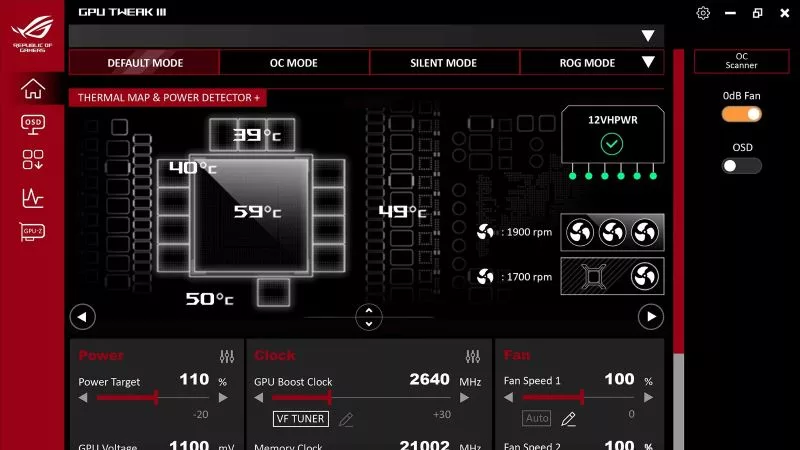
How GPU Tweak's Power Detector+ alerts you to abnormal current on your ROG Astral graphics card
Our new Power Detector+ feature on our ROG Astral graphics cards lets you know exactly what’s going on with your card at all times.