How to undervolt your graphics card with GPU Tweak III for lower temperatures
For years, gamers have been overclocking their graphics cards to boost performance. But what if you’re happy with your framerate, and instead wish for a card that provides the same performance with lower power consumption, less heat, and less noise? That’s where undervolting comes in.
This is just one of the many things GPU Tweak III can do! Click here to see all of our GPU Tweak guides.
Undervolting your graphics card only takes a bit of time, and it can greatly improve your gaming experience. With ASUS GPU Tweak III, you have two different ways to make your card more efficient, and we’ll discuss both in the guide below. You can read about all of GPU Tweak III’s features here — and remember, this software works with graphics cards from any manufacturer, not just ASUS, so all you need to do is download and install it to get started.
Disclaimer: Like overclocking, undervolting is typically very safe, but it may cause instability and crashes during the testing process. As long as you don’t leave your card at unstable settings, you shouldn’t have to worry too much — your card has many built-in protections to avoid permanent damage. Just proceed at your own risk.
The easy way: decrease the power limit
Okay, so this first method isn’t technically undervolting in the traditional sense, but if you want to do the least amount of work possible and still reap similar benefits, this quick-and-dirty method will decrease GPU power usage, temperatures, and fan noise significantly with only a tiny decrease in performance. (If you’d like to do all that with zero decrease to performance, skip to the next section.)
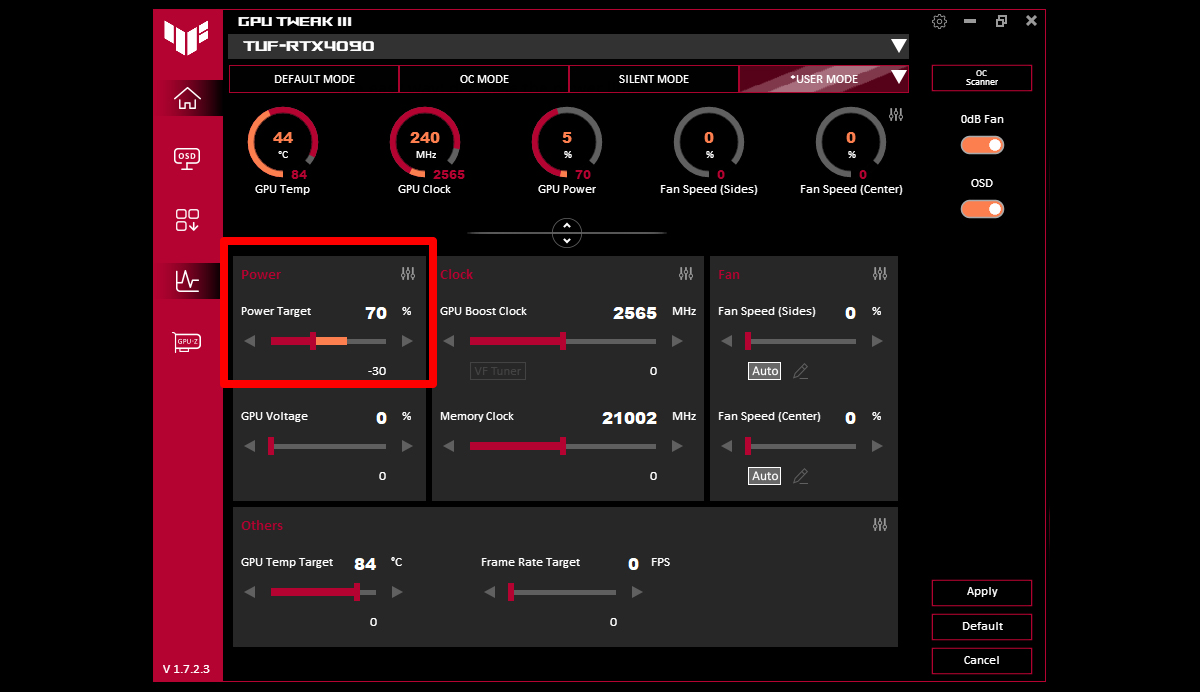
Before you start tweaking power usage, I recommend running a GPU benchmark test to gauge your card’s performance at stock settings. This can be the built-in benchmark of your favorite game or a free benchmark tool like Unigine Superposition. Write down your score and/or framerate after the benchmark runs. Then, follow the steps below.
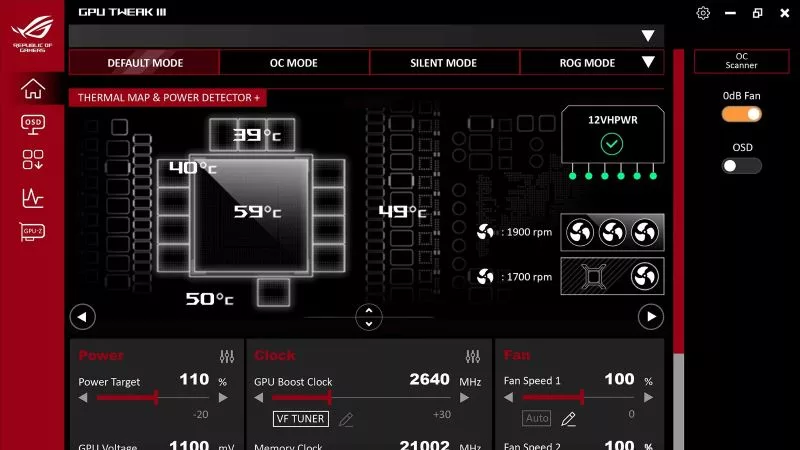
- Open GPU Tweak III and look for the Power Target slider on the left side of the program. Move this slider down 5 or 10% and click Apply in the bottom-right corner.
- Re-run your GPU benchmark and write down your score and/or framerate you got at the current power target. You may also want to take note of temperatures and the level of subjective fan noise during each benchmark.
- Repeat the above two steps until you reach a performance dropoff that’s too steep for your liking.
You should then have a list of benchmark results at multiple power targets. You can pick which one best meets your sweet spot of GPU power usage, performance, temperatures, and acoustics — and this will be different for different GPUs. For example, on my TUF Gaming GeForce RTX 4090, I only saw a 4% decrease in performance at a 70% power limit, which is an incredible improvement thanks to the 40 series’ efficiency. On my ROG Strix GeForce RTX 3080 Ti LC, I found performance started dropping off more steeply below 80%, so I set my card to 80% for only a 5.5% decrease in performance.
While I’ve manually undervolted many graphics cards over the years, this is actually my preferred method of increasing GPU efficiency these days — it’s just too easy and time-efficient to pass up. However, if you want to go even further, read on to the section below.
Maximum performance, minimum GPU power usage: undervolt with the VF Tuner
This section deals with the more traditional definition of undervolting. Every GPU has a voltage-frequency curve that it follows as it ramps up usage. To reach X frequency, the GPU requires Y voltage. But this curve isn’t set in stone — your GPU may be capable of a slightly higher frequency at that voltage, which is what allows you to overclock the GPU for more performance. You can read more about this in our GPU Tweak III overclocking guide.
Undervolting is basically this same principle in reverse: instead of saying “run the GPU at a higher frequency for the same voltage,” you’re telling it to “run the GPU at the same frequency for lower voltage.” You’ll get around the same performance as you would at stock settings, but with lower GPU power usage, temperatures, and fan noise, leading to an overall better user experience.
There are multiple ways to undervolt your GPU, but there’s one method I’ve found to be the best overall. In essence, we’ll be overclocking the card to raise the entire voltage-frequency curve, then manually setting the maximum boost clock back to stock levels. This will cause the card to reach that frequency at lower voltage levels than it normally would.
Before beginning this process, you’ll want to find the maximum frequency your GPU tends to hit during intense gaming sessions. So run a pass of your preferred game or benchmark and make sure you’re GPU-bound (that is, your GPU is at 98% usage or higher). Your clock speed, listed in the upper-right corner during the benchmark, will fluctuate as the benchmark runs. You’ll find, however, that it peaks at a certain frequency — write this down; it’s your target for today’s session. For example, my TUF Gaming GeForce RTX 4090 topped off around 2670MHz, while my ROG Strix GeForce RTX 3080 Ti hit closer to 1920MHz.
Once you’ve found your target, here’s the process for undervolting your card:
- In GPU Tweak III, find the GPU Boost Clock setting and increase it by 20MHz or so. Click Apply. This moves the voltage-frequency curve up, effectively overclocking your GPU.
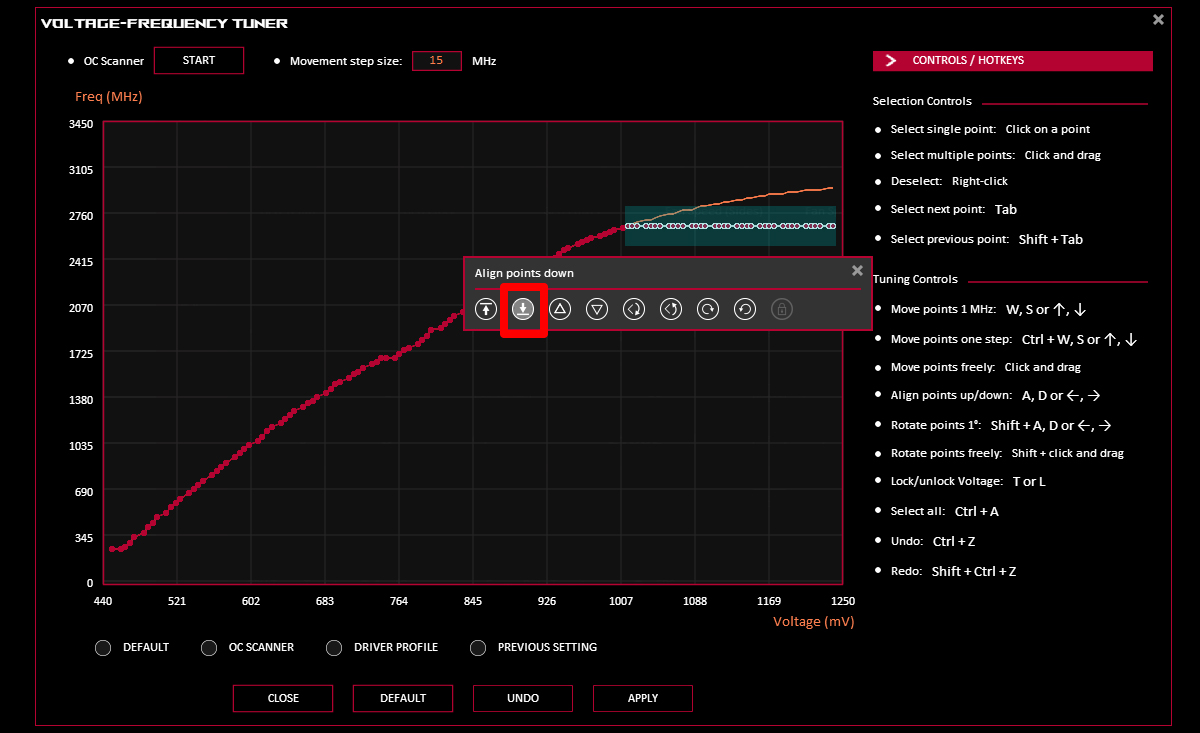
- Next, click the VF Tuner button. This will show you the newly-boosted voltage-frequency curve of your GPU. Find your preferred frequency target on the graph and click the dot on the graph that corresponds to it. Mark the voltage of that dot in your notes.
- Click and drag to select every point to the right of your preferred frequency. A pop-up will appear with options — click the Align Points Down button. This will level off the curve at the frequency you’ve selected. Click Apply, then click the Save button in the lower-right corner to save your settings.
- Run a single round of your preferred benchmark at very high settings (enough to tax your GPU near 99%). When it finishes, write down the GPU Score or average framerate, along with the GPU Tweak III settings that got you that score.
- Click the Default button in the lower-right corner of GPU Tweak III, then perform the above steps again, boosting the GPU Boost Clock 20MHz more than last time. You’ll find that the curve flattens off at a lower voltage each time you go through this process. For example, if last time you found that the curve reached 1920MHz at 887mV, after boosting it another 20MHz and aligning the points down, it will reach 1920MHz at 880mV. Apply your settings, run your stress test again, and repeat this process until you experience crashing, artifacts, or other stability issues.
- Once the benchmark becomes unstable, dial your settings back to the last stable curve and click the Save button in the lower right corner to save your final settings.
If all goes well, you should find that your card boosts to the same frequency as it does at stock settings – but possibly more often, and with lower power usage, temperatures, and fan noise. You can adjust the fan curves even further to meet your desired experience. At this point, I recommend running a looping benchmark for a few hours to make extra sure everything is stable under a longer session. If you click the toolbox in GPU Tweak’s left sidebar, you’ll also find ROG Furmark, which is another option for stability testing your GPU after undervolting.
Note also that most stress tests tend to use the upper frequency ranges more than lower ones, so in rare circumstances you may find that games are stable in GPU-bound scenarios, but are unstable when the GPU is not maxed out. If you experience a crash in certain games when not GPU-bound, you may have to dial your curve down a bit more to achieve stability across the full range of frequencies – so don’t be afraid to keep tuning as you go, if needed. There’s a whole world to undervolting, and we’ve only scratched the surface here today!
Remember also that your results will vary from others, even those with the exact same graphics card. So make sure you test thoroughly on your specific card rather than just applying someone else’s settings. Some cards are capable of deeper undervolting than others, but no matter what your results, you can be confident that you’ve eked a bit more efficiency out of your graphics card. Enjoy the fruits of your labor.
Author
Popular Post
Introducing the ROG Astral GeForce RTX 5090 and 5080: a new frontier of gaming graphics

The complete list of GeForce GPU power specifications for 2024 ROG and TUF Gaming laptops

ROG and Opera join forces for a special edition of Opera GX, the browser for gamers
ROG goes all-in on ATX 3.0: get your free 16-pin cable today
How to choose a gaming laptop: The ultimate 2025 buying guide
LATEST ARTICLES

How to choose a gaming laptop: The ultimate 2025 buying guide
Learn how to choose a gaming laptop with our complete guide, ensuring you find the perfect match for your gaming needs and preferences.
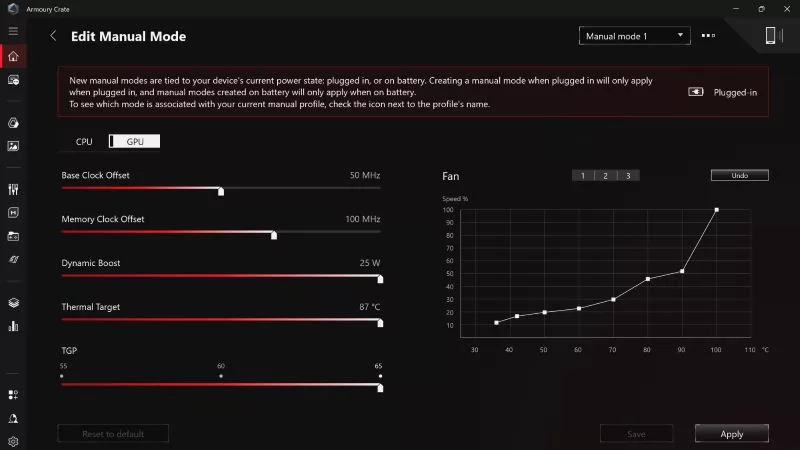
Can I overclock my GPU with Armoury Crate?
If you have an ROG machine — whether it’s a gaming desktop or a gaming laptop — you can control most of its functions from the bundled Armoury Crate software. On laptops, this includes tuning your GPU performance and overclocking your graphics chip. On desktops, you'll need GPU Tweak III as well.
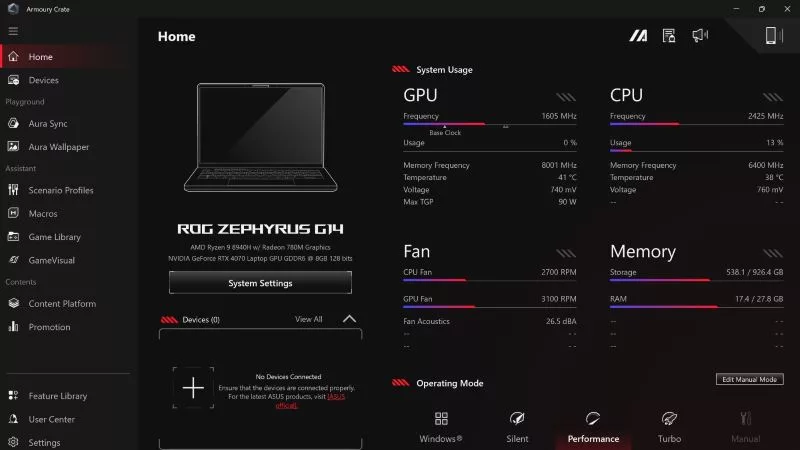
Do I need Armoury Crate on my PC?
If you just bought an ROG desktop PC or gaming laptop, you may be wondering what the preinstalled Armoury Crate software does. Here are its banner features.
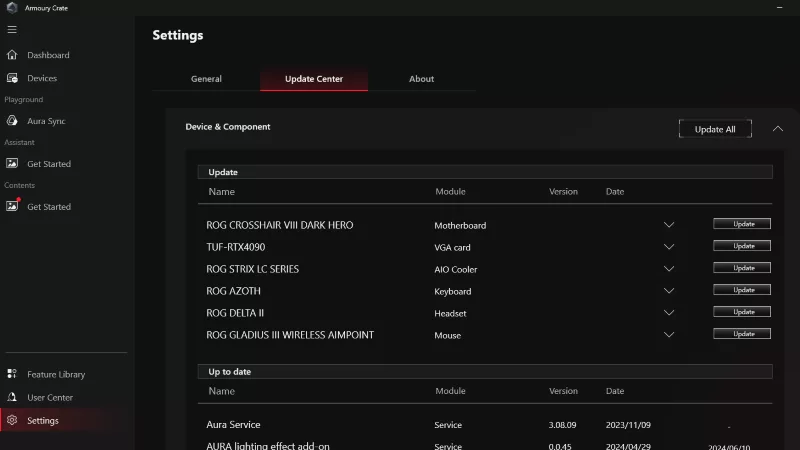
How to fix a device that's not showing up in Armoury Crate
If Armoury Crate isn’t automatically detecting your new device, don't worry — you probably just need to download a quick update.
Reintegrated: An ROG stylebook for today's competitive corporate world
Working in a corporate office doesn't necessarily mean that you have to settle for bland, underwhelming PC hardware.
How GPU Tweak's Power Detector+ alerts you to abnormal current on your ROG Astral graphics card
Our new Power Detector+ feature on our ROG Astral graphics cards lets you know exactly what’s going on with your card at all times.