Guide: Overclocking Core i7-6700K to 4.6GHz on the Maximus VIII Extreme
If you are the lucky owner of a new Z170 motherboard this guide is for you. Chino who is a hardware guru from Mexico, shared with us on how to to overclock the Core i7-6700K on the ROG Maximus VIII Extreme.
Before you go jumping into overclocking your CPU, there are two important factors that will determine if your CPU is capable of reaching 4.6GHz. First and foremost, the quality of your CPU will be the main factor in play here. Each CPU is unique and requires a different voltage for a certain frequency. So it is normal that some samples will overclock better than others. And some will achieve 4.6GHz while others can’t. It’s nothing to be sad about. It’s simply the silicon lottery. The second factor to take into consideration is your cooling solution. Heat will be your biggest enemy. Invest in a high end CPU cooler to get the best results as lower temperatures means more headroom to do your overclocking. If you want to push your CPU as far as it can go, then water-cooling is the way to go whether you choose to build your own custom setup or get a closed loop AIO like EKWB’s new EK-XLC Predator 360 used in this guide.
Installing the Intel Core i7-6700K
Place the CPU bottom side up and slide it into the exclusive ASUS CPU Installation Tool until it clicks into place.
Release the CPU socket tension arm and lift the socket lid. Then carefully place the bracket into the socket.
Lower the socket lid, hook it under screw and secure the tension arm. Then apply thermal paste to your CPU. While there are many techniques for applying thermal paste, the difference in degrees between each technique is so small it’s negligible. The rice sized dot in the middle technique is usually the easiest to perform.
Proceed to install your CPU cooler. If you’re water-cooling your CPU, tighten the mounting screws with your hands in a crisscross pattern until the CPU block is firmly attached to the CPU. Take special care not to overtighten the screws as this may cause irreparable damage to the CPU block while also warping the motherboard. If your liquid cooler uses a custom backplate like the EKWB Predator 360, it is easier to install it outside your case.
Preliminary Test
It is highly recommended to run a quick preliminary test to assess your system’s stability at stock and your CPU cooler’s ability to cool your CPU before embarking on your overclocking journey. You will need the following three programs for this guide.
- ROG Realbench for stability testing
- CPU-Z for verifying CPU frequency and Vcore
- HWMonitor for temperature monitoring
Once you have installed the programs, proceed to open them. Make sure the Benchmark option is selected in ROG Realbench. Normally one run is sufficient to determine your system’s stability at stock. You can choose more runs just to be on the safe side.
After completing the benchmark, you will get a pretty good idea of how well your CPU cooler performs. Remember that you should monitor your CPU’s temperatures at all times. Ideally you would want to keep your CPU’s temperatures below 80°C during the entire overclocking process. If your cooling solution is unable to do so or your CPU simply requires too much voltage, you will have to settle for a lower overclock perhaps something in the range of 4.5GHz.
In this particular example, the EKWB Predator 360 manages to keep the stock i7-6700K’s temperatures around 56°C in a room with an ambient temperature of 30°C.
Tweaking time
Once inside the BIOS, press F5 to load the optimized defaults then navigate to the Extreme Tweaker tab. Locate the 1-Core Ratio Limit option and input a value of 46 for a 4.6GHz overclock.
Scroll down to the CPU Core/Cache Voltage option and change it from Auto to Manual Mode.
A new CPU Core Voltage Override option will appear. Type in a starting voltage of 1.35.
Press the F10 key and a window will appear showing you a summary of all the options that were modified. If everything is exactly how you had configured it, press OK and your system will reboot.
One of two scenarios can happen.
- If your system fails to boot or load your OS, go back into the BIOS and raise the CPU core voltage using increments of 0.01V.
- If you made it inside the OS, proceed to run ROG Realbench’s stress test.
Once inside your OS, it’s time to test your overclock’s stability. Open ROG Realbench, select the Stress Test option. Change the duration to 1 hour and select the amount of memory installed in your system using the dropdown boxes. Finally, press the Start button to get the show on the road.
- If your system freezes or crashes during the stress test, return to the BIOS and raise the CPU core voltage using increments of 0.01V.
- If your system is able to complete the stress test at 4.6GHz with 1.35V, begin to reduce the CPU core voltage by 0.01V until you find the lowest value to be stable.
There is no official word on a safe CPU core voltage. But it is widely accepted that you shouldn’t exceed 1.45V. If you’re the type of user who likes to play it safe, then keep it under 1.4V. The amount of time to invest in stress testing is subjective. Some users run stress tests for hours and other hardcore enthusiasts for days. If you’re not fond of cooking your CPU during prolonged periods of time, running the stress test for 1 hour should be good enough. In the end, the best stability test is real world usage after all. What’s the point in bragging about passing x amount of hours running y program just to have your system crash doing random stuff?
If all goes well, you should see a results window in ROG Realbench like the one below. This particular i7-6700K sample certainly isn’t one of the best out there. It requires 1.44V to achieve stability at 4.6GHz. Nevertheless, the EKWB Predator 360 performs very well and the temperatures are kept below 80°C during the stress test.
Putting on the Final Touch
Once you’re satisfied with your overclock, it’s time to return to the BIOS to make some final adjustments. Navigate to the CPU Core/Cache Voltage option again. Change it from Manual Mode to Adaptive Mode.
This time you will see a few options appear on screen. The only option that will interest you will be Additional Turbo Mode CPU Core Voltage. You will input the voltage that your CPU requires for 4.6GHz. To give your overclock some margin for error, it is good practice to increase your borderline voltage a notch. In other words, if 1.35V is the minimum voltage required for stability, add 0.01V - 0.02V to it. Finally press F10 to save your changes.
 Source: Chino's Thread
Author
Popular Posts
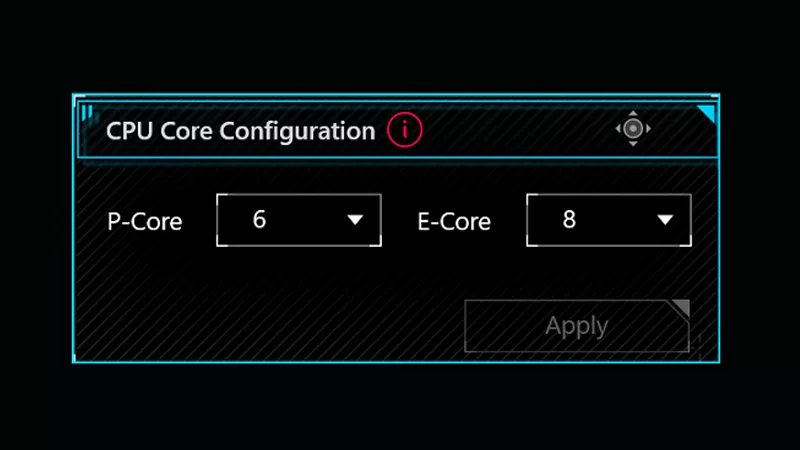
How to adjust your laptop's P-Cores and E-Cores for better performance and battery life

How to Cleanly Uninstall and Reinstall Armoury Crate
How to configure your PC's RGB lighting with Aura Sync
Introducing the ROG Astral GeForce RTX 5090 and 5080: a new frontier of gaming graphics
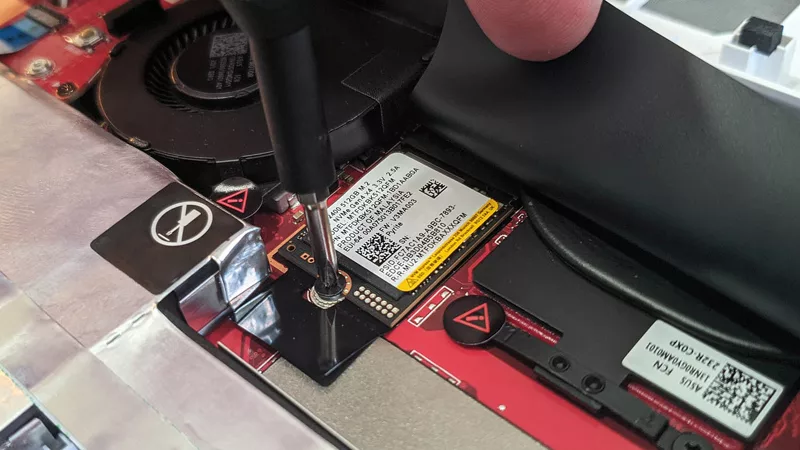
How to upgrade the SSD and reinstall Windows on your ROG Ally or Ally X
LATEST ARTICLES
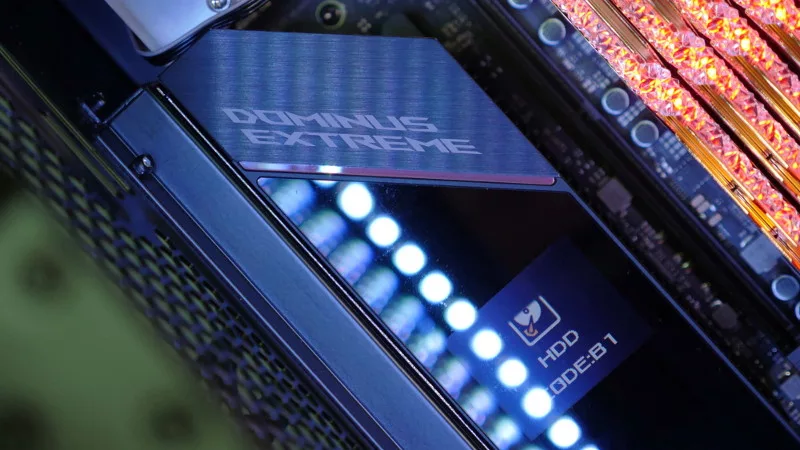
See the mammoth ROG Dominus build that takes Intel's 28-core Xeon W-3175X to the Extreme
The ROG Dominus Extreme pushes the boundaries of PC performance in our awesome CES 2019 build.
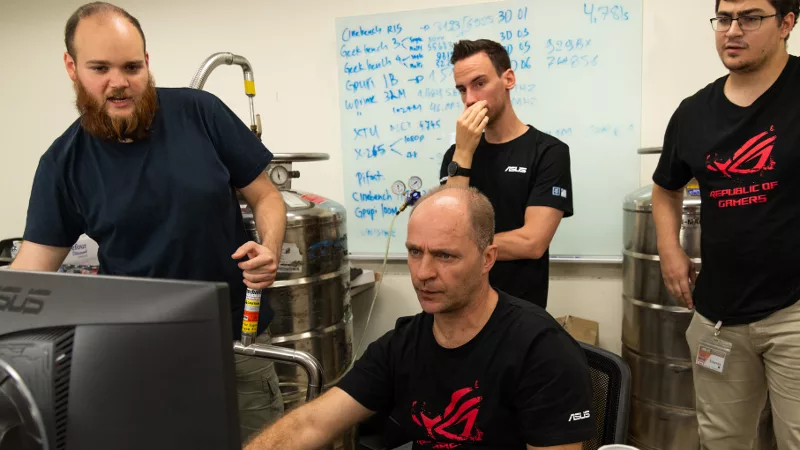
Breaking world records with the ROG Maximus XI Gene and the Intel Core i9-9900K
Tasked with pushing performance on the Z390 platform as far as possible, we invited the best overclockers to ROG HQ for a week of extreme overclocking.
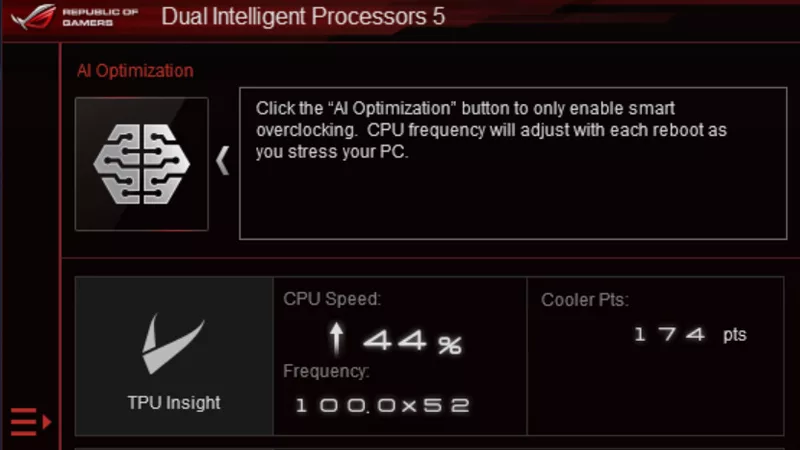
How to overclock your system using AI Overclocking
AI Overclocking one-click tuning makes its debut on Z390 motherboards and we have a quick how-to guide to get you started.

HW GURUS win the ROG OC Showdown Team Edition 2
The results are in from our second ROG OC Showdown Team Edition. See who posted the top scores.
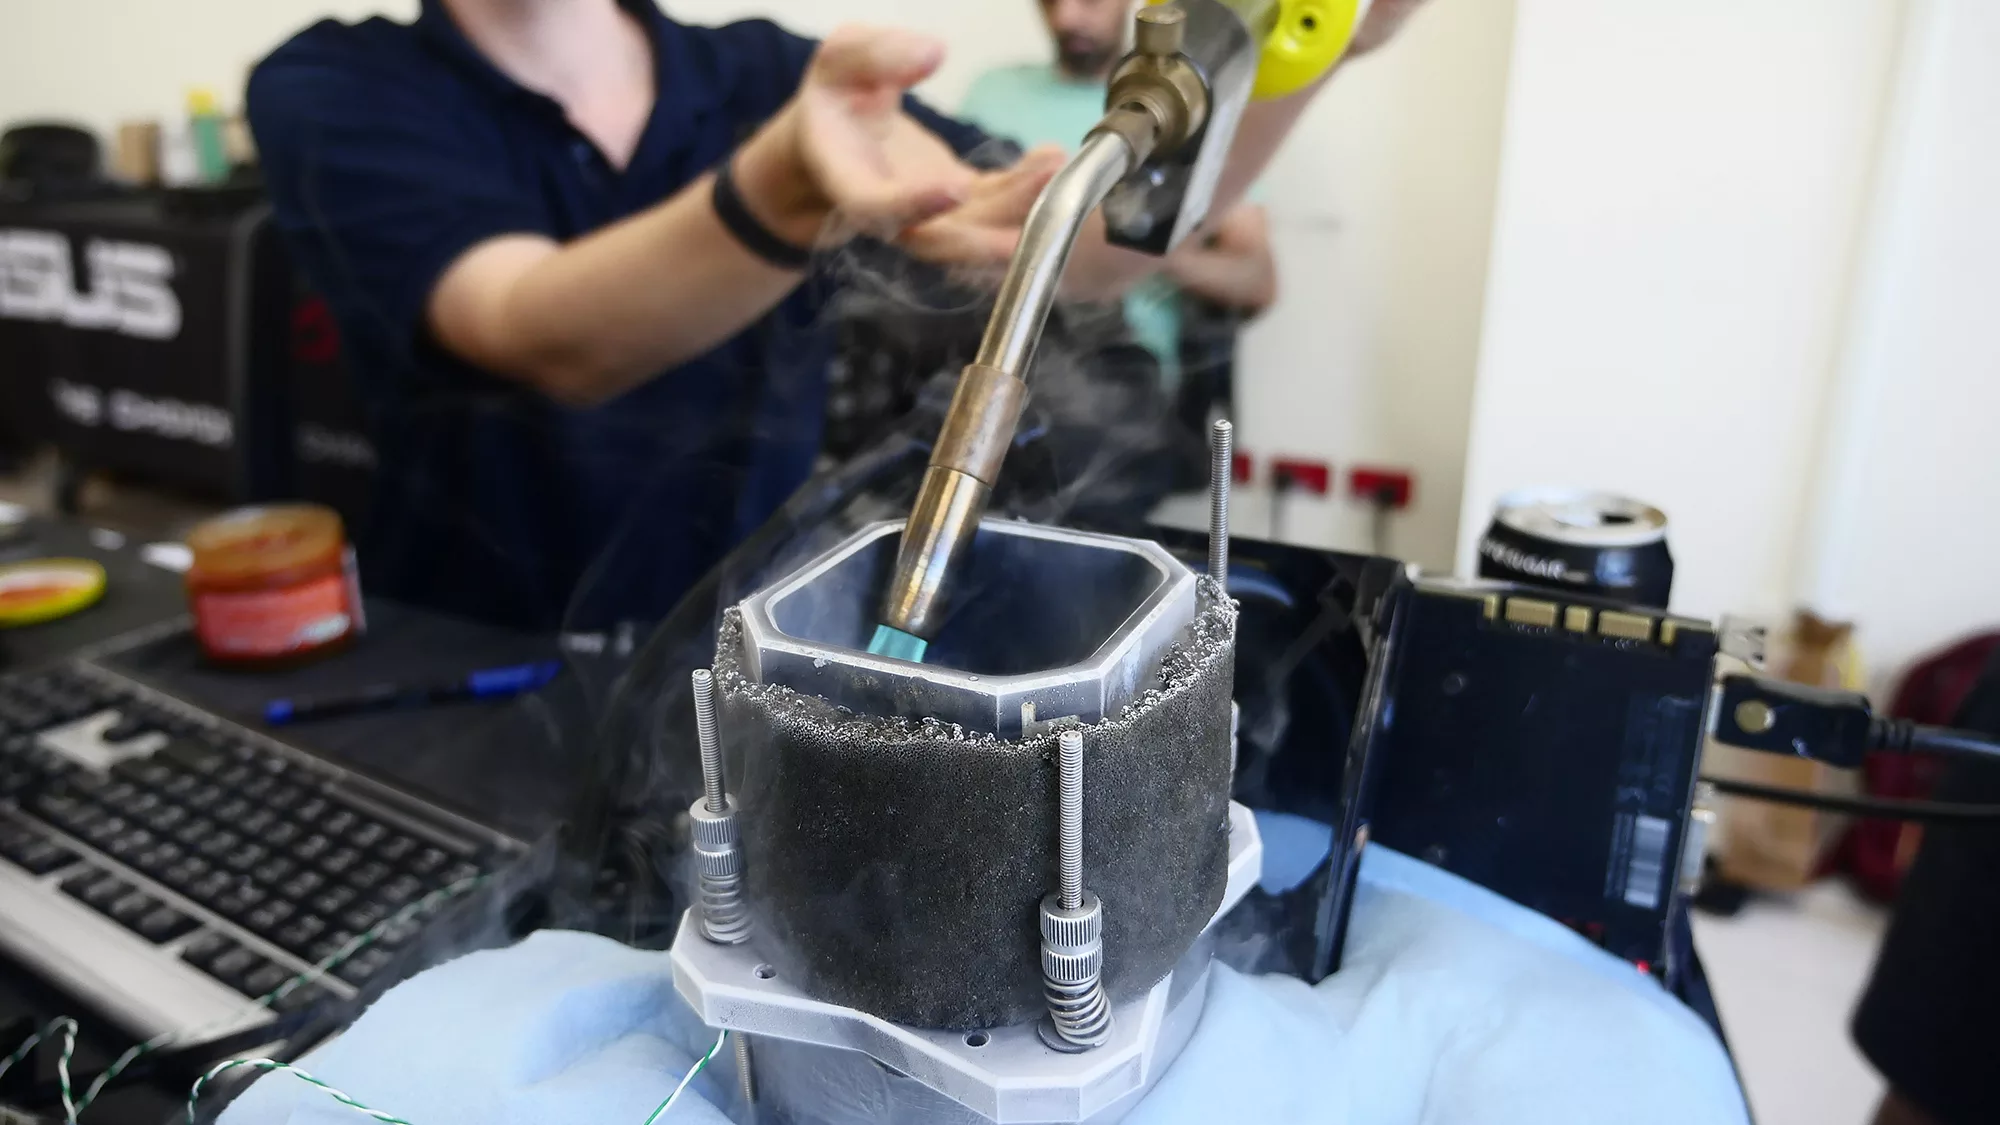
Breaking records with the Maximus X Apex and i7-8700K
ROG is obsessed with chasing the highest overclocks and fastest performance, and Coffee Lake is our new muse on the Maximus X Apex.
The Rampage VI Apex claims more performance victories with Intel's new Core i9-7940X and i9-7980XE
After dominating extreme overclocking with the first wave of Skylake-X CPUs, we've taken the latest 14- and 18-core models to sub-zero extremes.


